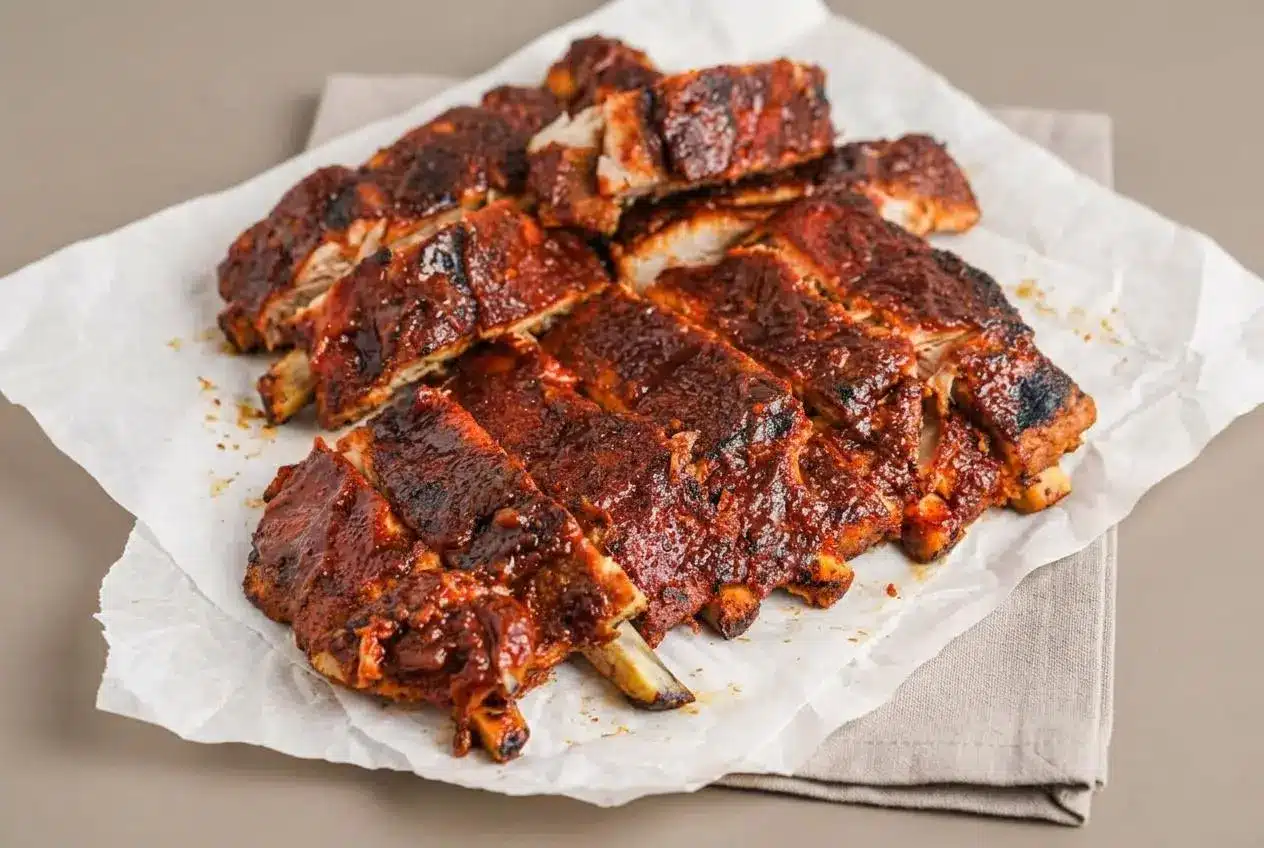
For tender oven baked ribs, bake seasoned baby back racks tightly sealed in foil at 275°F for 2 to 2½ hours, then brush with barbecue sauce and broil until glossy and caramelized.
These oven baked ribs pair a smoky-sweet rub with onions and garlic that soften beneath the foil. The result is tender pork, lightly pulled back from the bones, with a sticky barbecue finish.
Brown sugar, garlic, paprika, and sauce will perfume the kitchen long before dinner is ready. The broiler brings it all together.
Use heavy-duty foil if possible, and crimp every edge firmly so the ribs stay surrounded by their fragrant cooking steam.
Baby Back vs St. Louis Spare Ribs: Choosing Your Cut
The cut you buy affects the rib shape, richness, and cooking time. Baby back ribs and St. Louis-style ribs both work beautifully in the oven, but they reach tenderness at a different pace.
Understanding Anatomy, Fat, and Flavor
Baby back ribs come from near the loin, so their bones are shorter and more curved. A rack often weighs about 1½ to 2 pounds and has lean, tender meat that cooks relatively quickly. They are a great choice when you want a lighter pork flavor and compact portions.
St. Louis-style ribs are trimmed from pork spare ribs. They are flatter, wider, and usually more heavily marbled, often weighing around 3 to 3½ pounds per rack. That extra fat and connective tissue gives them a deeper pork flavor and a rich, succulent texture after slow cooking.
Neither cut is universally better. Choose baby backs for a leaner, curved rack or St. Louis ribs for meatier bones and fuller flavor. If you are comparing different rib styles, beef short ribs are much thicker and better suited to a longer braise.
Adapting Cook Times for Meatier Cuts
St. Louis ribs need more time than baby backs because the rack is thicker and contains more connective tissue. At 275°F, plan on an additional 30 to 60 minutes, then test the meat rather than relying on the clock alone.
Keep the foil tightly sealed while the ribs cook. When a knife slips between the bones with little resistance and the meat begins to draw back from the bone ends, the rack is ready for its glaze.
Essential Ingredients and the Perfect Dry Rub
Each ingredient builds flavor and texture: ribs provide richness, onions and garlic perfume the steam, spices form a savory crust, and the sauce mixture creates a sweet-tangy finish.
Ribs
- 3 pounds baby back ribs (2 slabs)
- 2 yellow onions (sliced)
- 4 cloves garlic (sliced)
Spice Rub (optional)
- 1 tablespoon paprika
- 1 tablespoon brown sugar
- ¾ teaspoon garlic powder
- ¾ teaspoon onion powder
- ½ teaspoon black pepper
- ½ teaspoon lemon pepper seasoning
- ½ teaspoon salt (or to taste)
BBQ Sauce
- ½ cup barbecue sauce
- ½ cup chili sauce
- ¼ cup ketchup
Brown sugar softens the savory spices and caramelizes into a darker crust during the finish. Paprika brings earthy sweetness and deep color, while garlic powder and onion powder round out the pork. Lemon pepper adds a bright edge that keeps the glaze from tasting heavy.
The barbecue sauce, chili sauce, and ketchup combine into a balanced glaze with tang, sweetness, and enough body to cling to the ribs. For another oven barbecue dinner built around that same glossy finish, try baked bbq chicken.
I press the rub gently over both sides instead of rubbing aggressively, which coats the meat evenly without leaving sugary clumps that can scorch.
Spice Chemistry: Salt, Sugar, and Heat
Salt helps season the surface of the pork, while brown sugar melts slowly during the foil bake. Paprika, pepper, garlic, and onion powder bloom as the ribs warm, creating a fragrant coating that tastes savory before the sauce ever goes on.
Low heat matters here. It gives the sugar time to melt and darken gradually instead of burning, while the foil protects the rub from the direct blast of oven heat.
For a dry-rub-only version, leave off the barbecue glaze after baking and finish the ribs briefly under the broiler until the spiced surface looks dry, dark, and lightly crisp at the edges. The flavor will be more savory and peppery, with less sticky sweetness.
Choosing the Right Binder: Oil vs Mustard
A thin coating of olive oil helps the rub adhere and keeps the surface from feeling dry. Yellow mustard can also work as an optional binder because it is tacky enough to hold spices in place.
Mustard does not leave a strong sharp flavor after cooking, especially beneath a bold rub and barbecue glaze. Use only a thin layer if you choose it, since the seasoning should still be the main flavor on the meat.
How to Make Fall-Off-the-Bone Oven Baked Ribs
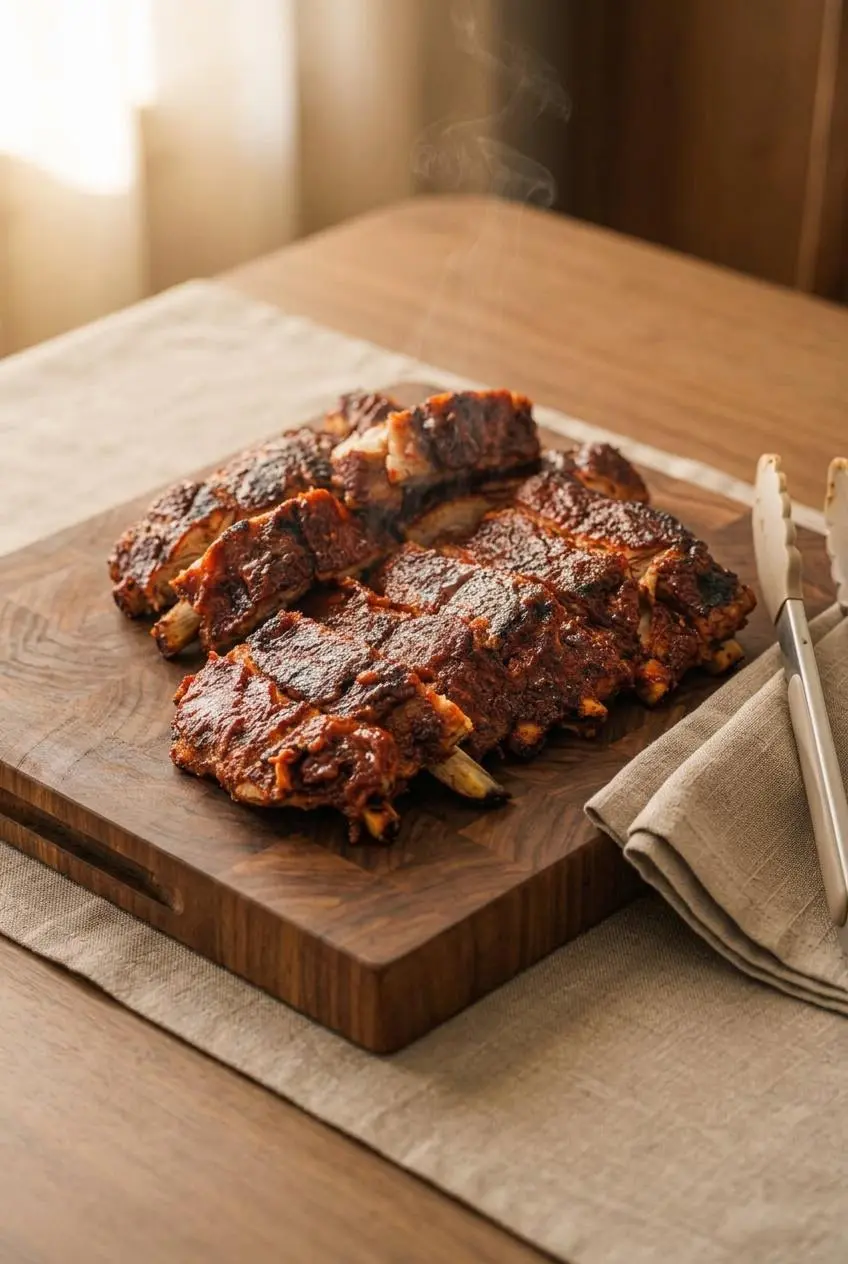
The method works because the ribs cook gently in a sealed foil pouch before they meet high heat. The foil stage softens the meat, while the final broil turns the sauce dark, bubbling, and sticky.
- Heat the oven to 275°F, mix the spice rub in a small bowl, and line a large rimmed baking sheet with foil.
Keep the pan ready before handling the ribs so the seasoned meat can go straight onto the foil. - Check the bone side of each rack for the white membrane, remove it if present, then pat the ribs dry and inspect for small bone fragments before cutting into pieces of 4 to 6 ribs.
A dry surface helps the seasoning stay put rather than sliding off. - Coat both sides of the rib pieces with the spice mixture, or season them with salt and pepper if skipping the rub.
The meat should look evenly covered, with paprika and brown sugar visible across the surface. - Arrange the ribs meat-side down on the prepared pan and scatter the sliced onions and garlic over them.
The aromatics will soften and release a savory scent as the pork cooks. - Lay another sheet of foil over the pan and seal the edges tightly to enclose the ribs.
The packet should hold steam inside without loose openings around the rim. - Bake for 2 hours, then carefully open one corner of the foil and pull off a small piece of meat to test tenderness.
If the meat still feels firm or clings tightly to the bone, reseal the packet and bake for another 20 to 30 minutes before checking again. - Stir the barbecue sauce, chili sauce, and ketchup together while the ribs finish baking.
The mixture should be smooth and thick enough to coat the back of a spoon. - Remove the ribs from the pan, discard the cooking juices, onions, and garlic, then brush the ribs with olive oil followed by a generous coating of sauce.
The surface should look fully glazed before it goes under high heat. - Broil or grill the ribs over medium-high heat for 5 to 10 minutes, until the edges char lightly.
Watch closely as the sauce bubbles and darkens into a fragrant, glossy coating.
Prepping the Rack and Removing the Membrane
The silver skin membrane sits on the bone side of some racks. It can turn chewy and can block the rub from reaching the meat, so remove it before seasoning whenever you find it.
Slide a butter knife under the membrane near one end of the rack until you can lift a small flap. Grip that flap with a dry paper towel, which gives you traction on the slippery surface, then pull steadily across the rack. It often comes away in one clean sheet.
If the membrane tears, loosen another edge and continue. A few small pieces are less of a problem than leaving a thick, tight layer across the entire bone side.
The Aromatic Foil Packet Method
The onion and garlic do more than add flavor. As the packet heats, they release moisture and aroma around the ribs, helping create a gentle braising environment inside the foil.
Place the ribs meat-side down as directed, then let the sliced aromatics rest over them before sealing the pan. Crimp the foil firmly along every edge. A loose packet allows steam to escape, which can leave the outer edges dry before the center turns tender.
Open the foil carefully after baking because hot steam rushes out quickly. The ribs should smell deeply savory, and the meat should have softened enough to yield when nudged between the bones.
Finishing Under the Broiler for Sticky Glaze
The broiler transforms the sauce from wet and shiny into a clingy caramelized glaze. Brush the ribs generously, then position the pan 6 to 8 inches beneath the preheated broiler.
Broil for 5 to 10 minutes, watching the ribs closely. Sugars can go from bubbling to burned fast, so pull the pan when the sauce looks glossy, darker at the edges, and lightly charred in spots.
If you prefer an outdoor finish, transfer the baked and glazed ribs to a preheated grill over direct medium-high heat for the same 5 to 10 minutes. Turn them as needed so the sauce caramelizes without scorching.
Oven Temperature and Cooking Time Guide
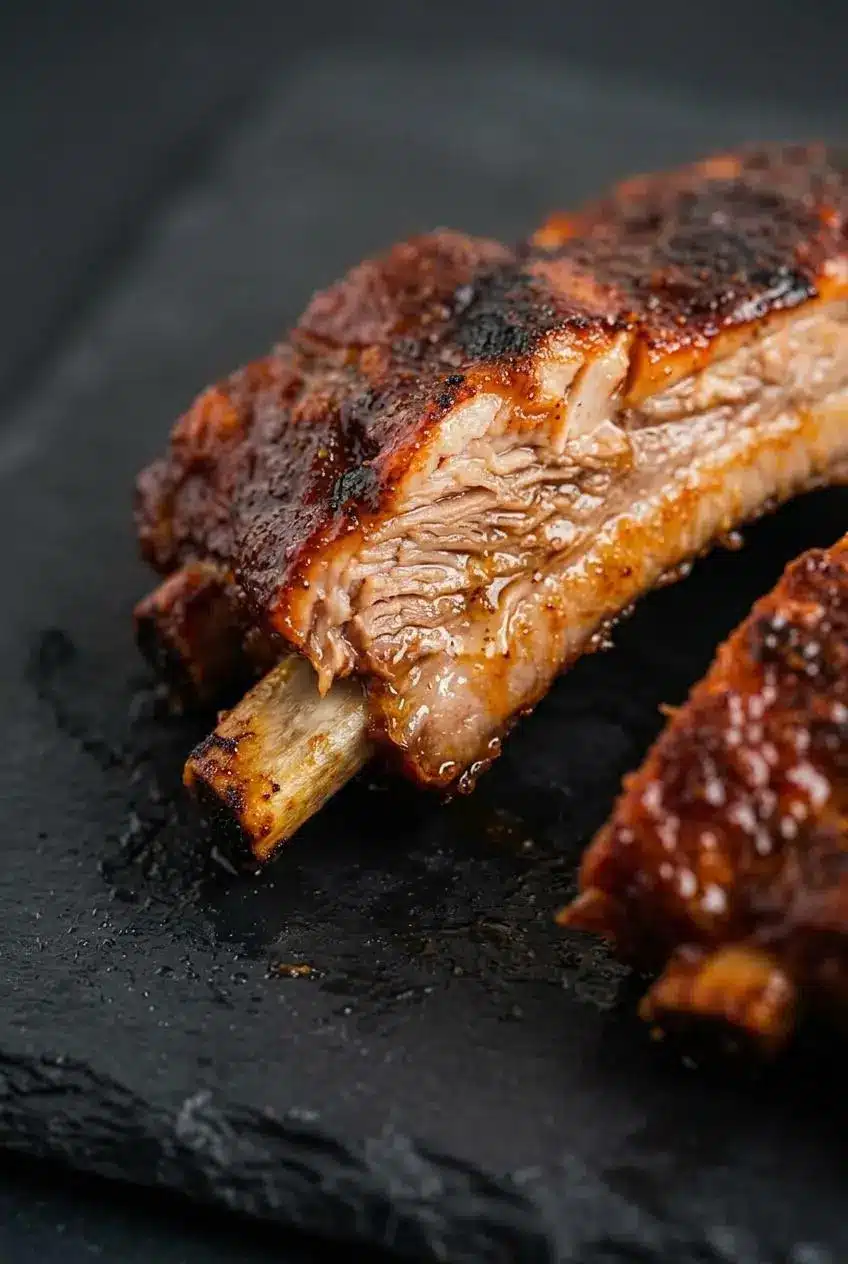
Low oven heat gives connective tissue time to soften while the foil holds in moisture. Higher heat can shorten the cook, but it also makes tight foil seals and frequent tenderness checks more important.
Baking at 275°F vs 300°F vs 350°F
- 275°F: Baby back ribs generally take 2 to 2½ hours. This is the most forgiving choice for soft, tender meat and the method used here.
- 300°F: Expect about 1½ to 2 hours. The ribs cook faster but usually keep a slightly firmer bite.
- 350°F: Ribs may cook in about 75 to 90 minutes, but the outer edges are more likely to dry if the foil packet is not tightly sealed.
For St. Louis-style ribs, add 30 to 60 minutes at 275°F because the meatier rack needs more time to soften. Avoid pushing the oven beyond 350°F for this technique, since the meat can tighten before it becomes tender.
Three Tactile Tests for Doneness
Use the clock as a guide, then confirm tenderness with the ribs themselves.
- Bone pull: Look for meat that has pulled back about ½ inch from the bone tips.
- Bend test: Lift the rack with tongs. A tender rack bows in the middle and may crack slightly along the surface.
- Knife glide: Slip a small knife or toothpick between two bones. It should slide in with very little resistance.
If the meat still feels springy or the knife catches, return the ribs to their sealed foil pouch and continue baking. Tough ribs usually need more gentle cooking time, not more broiler heat.
Storing and Reheating Ribs
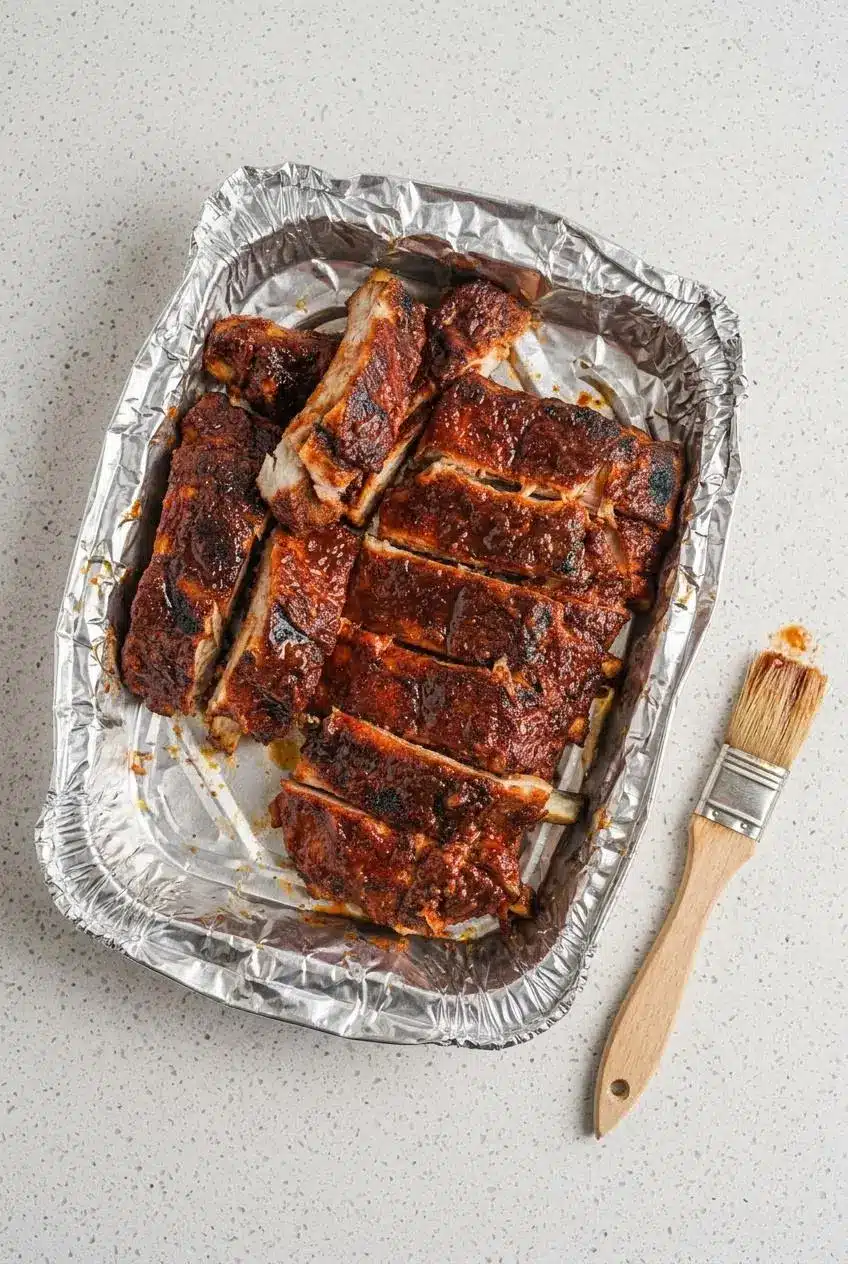
Let leftover ribs cool, then keep them covered in an airtight container in the refrigerator. Store the sauce-coated pieces together so the surface does not dry out.
To reheat, wrap the ribs tightly in foil with a small splash of water or barbecue sauce and warm them gently in the oven until heated through. Avoid bare high-power microwaving, which can make the pork chewy and leave the glaze patchy.
You can season the ribs before cooking and keep them chilled until it is time to bake. The rub has time to settle onto the meat, and the prep work is already done when dinner starts.
Serve the ribs with crunchy apple slaw and skillet cornbread for contrast, or add classic baked beans for a hearty barbecue-style plate.
Conclusion
Tender ribs do not require a smoker. A well-sealed foil pouch, low oven heat, and a quick broiler finish give you juicy pork with a dark, sticky barbecue crust right from a baking sheet.
Let the hot ribs rest for 5 minutes after broiling, then slice between the bones. That brief pause keeps the meat juicy and makes serving much less messy.
Frequently Asked Questions
Should I Bake Ribs at 275 or 300 Degrees?
Bake at 275°F for the most tender, fall-off-the-bone texture. Baby back ribs generally need 2 to 2½ hours at that temperature. Choose 300°F when you need to save time. The ribs usually finish about 30 minutes sooner but may have a slightly firmer bite.
Is It Better to Bake Ribs Covered or Uncovered?
Bake the ribs tightly covered in foil. The sealed packet traps steam and helps the meat soften without drying around the edges. Uncover the ribs only for the final 5 to 10 minutes under the broiler or grill. That exposure to high heat caramelizes the sauce into a sticky glaze.
How Do You Know When Oven Baked Ribs Are Done?
Look for meat that has retracted about ½ inch from the bone tips. The rack should bend when lifted with tongs, with a little cracking on the surface. For the clearest check, slide a toothpick or small knife between the bones. It should move through the meat with very little resistance.
How Do You Reheat Leftover Ribs Without Drying Them Out?
Wrap the ribs tightly in foil with a small splash of water or barbecue sauce. The enclosed moisture helps the meat warm more gently. Reheat in the oven until the ribs are hot throughout and the glaze looks loose and glossy again. Keep the ribs covered until the final moments so the edges stay tender.
Can Oven Ribs Be Finished on an Outdoor Barbecue Grill?
Yes. Bake the ribs in foil until tender, then brush them with the barbecue glaze and move them to a preheated grill over medium-high heat. Finish for 5 to 10 minutes, turning as needed. Pull them when the sauce bubbles, darkens, and develops light char marks.
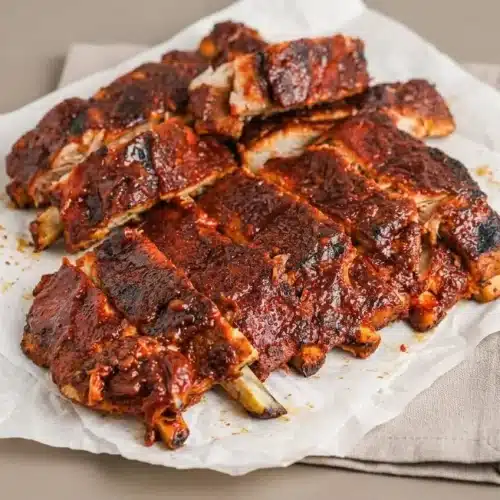
Oven Baked Ribs

Equipment
- Baking Sheet
- Aluminum Foil
Ingredients
Ribs
- 3 pounds baby back ribs (2 slabs)
- 2 yellow onions (sliced)
- 4 cloves garlic (sliced)
Spice Rub (optional)
- 1 tablespoon paprika
- 1 tablespoon brown sugar
- ¾ teaspoon garlic powder
- ¾ teaspoon onion powder
- ½ teaspoon black pepper
- ½ teaspoon lemon pepper seasoning
- ½ teaspoon salt (or to taste)
BBQ Sauce
- ½ cup barbecue sauce
- ½ cup chili sauce
- ¼ cup ketchup
Instructions
- Heat the oven to 275°F, mix the spice rub in a small bowl, and line a large rimmed baking sheet with foil. Keep the pan ready before handling the ribs so the seasoned meat can go straight onto the foil.
- Check the bone side of each rack for the white membrane, remove it if present, then pat the ribs dry and inspect for small bone fragments before cutting into pieces of 4 to 6 ribs. A dry surface helps the seasoning stay put rather than sliding off.
- Coat both sides of the rib pieces with the spice mixture, or season them with salt and pepper if skipping the rub. The meat should look evenly covered, with paprika and brown sugar visible across the surface.
- Arrange the ribs meat-side down on the prepared pan and scatter the sliced onions and garlic over them. The aromatics will soften and release a savory scent as the pork cooks.
- Lay another sheet of foil over the pan and seal the edges tightly to enclose the ribs. The packet should hold steam inside without loose openings around the rim.
- Bake for 2 hours, then carefully open one corner of the foil and pull off a small piece of meat to test tenderness. If the meat still feels firm or clings tightly to the bone, reseal the packet and bake for another 20 to 30 minutes before checking again.
- Stir the barbecue sauce, chili sauce, and ketchup together while the ribs finish baking. The mixture should be smooth and thick enough to coat the back of a spoon.
- Remove the ribs from the pan, discard the cooking juices, onions, and garlic, then brush the ribs with olive oil followed by a generous coating of sauce. The surface should look fully glazed before it goes under high heat.
- Broil or grill the ribs over medium-high heat for 5 to 10 minutes, until the edges char lightly. Watch closely as the sauce bubbles and darkens into a fragrant, glossy coating.