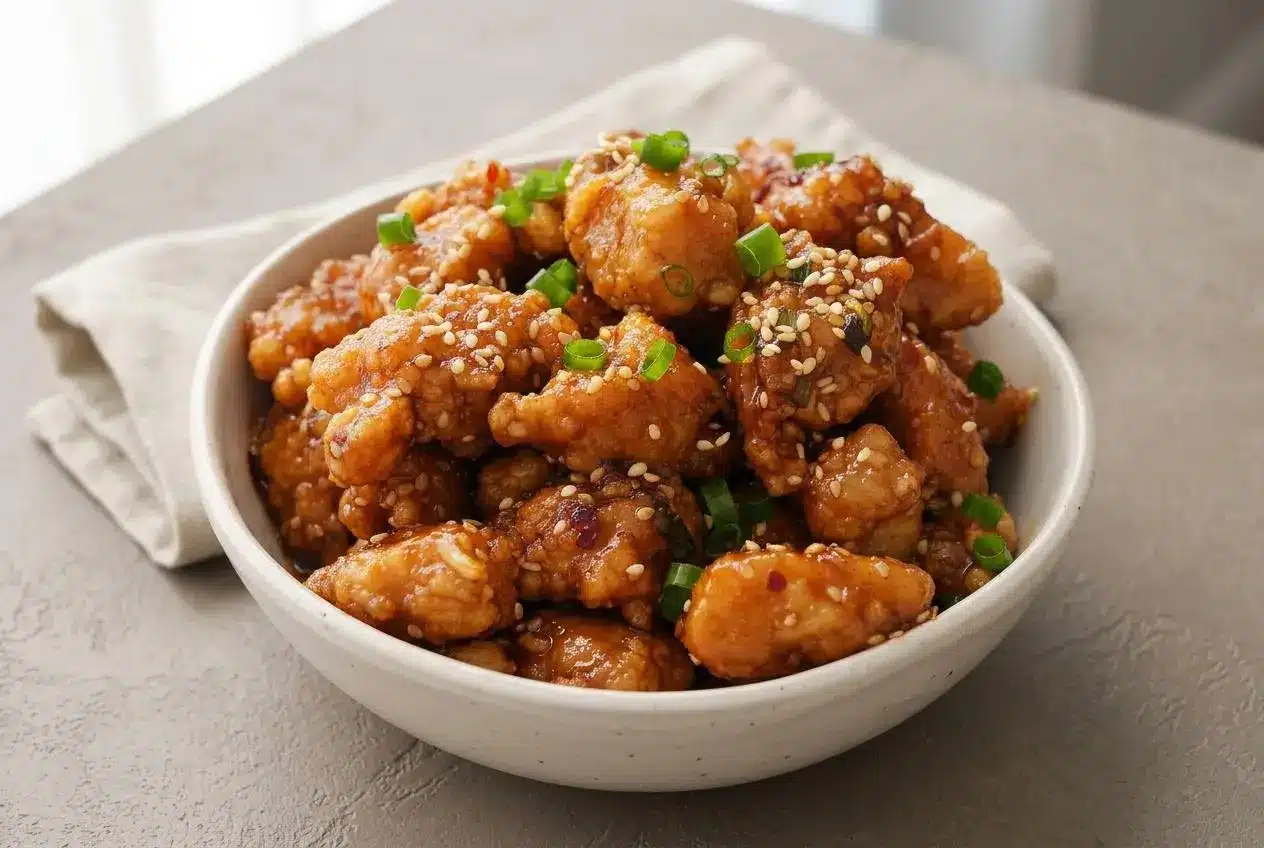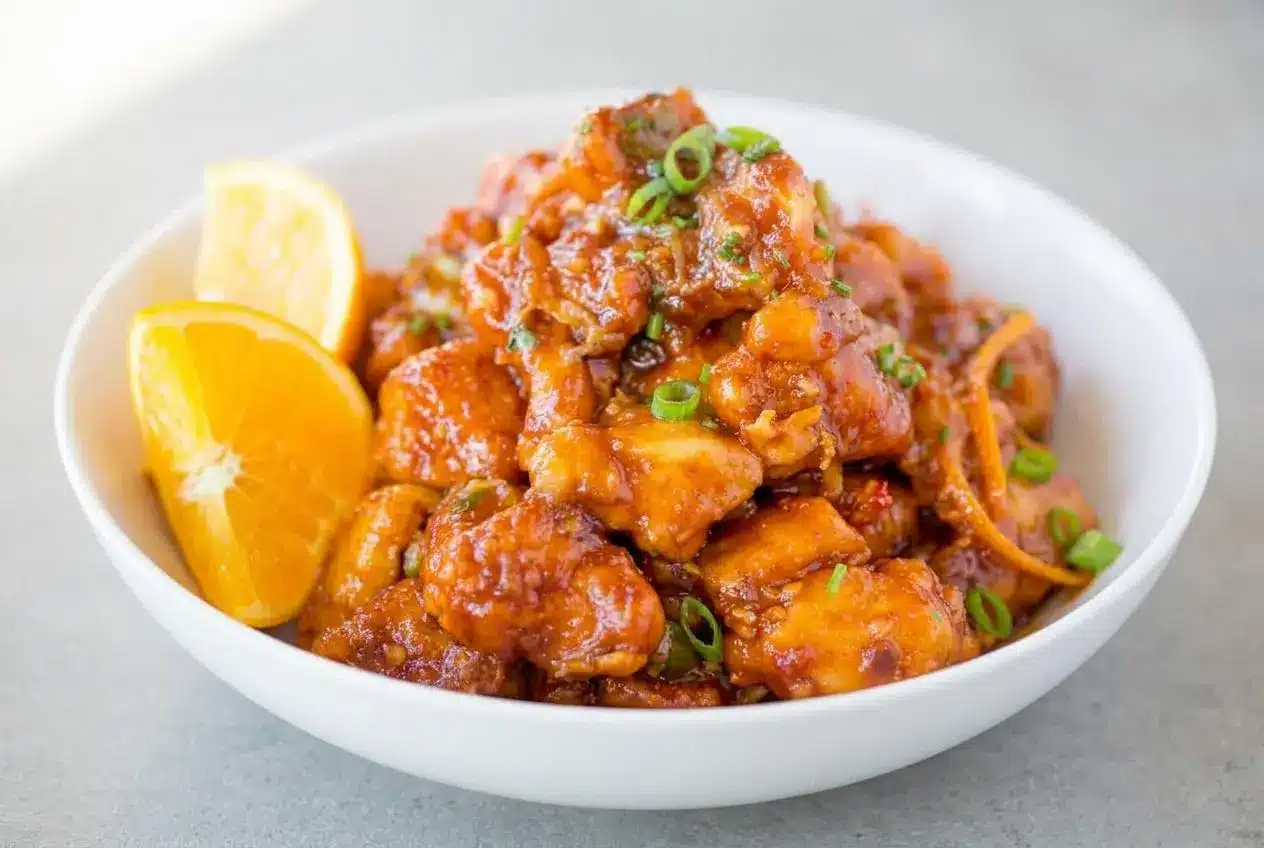
Orange peel chicken is a crispy Chinese-American chicken dish tossed in a sweet, spicy, citrusy sauce made with real orange peel, and this version brings that bold P.F. Chang’s style flavor home.
Orange peel chicken stands out from regular orange chicken because the peel itself goes into the pan, giving the sauce a deeper aroma and a little pleasant chew. It’s tangy, glossy, and especially good when the chicken stays crisp.
You’ll like this one because the ingredient list is straightforward, the sauce comes together fast, and the guide below helps you avoid soggy chicken and bitter peel. That last-minute toss changes everything.
Have the sauce ingredients and orange peel ready before the chicken hits the wok, because once the sizzling starts, this dish moves fast.
What Is Orange Peel Chicken?
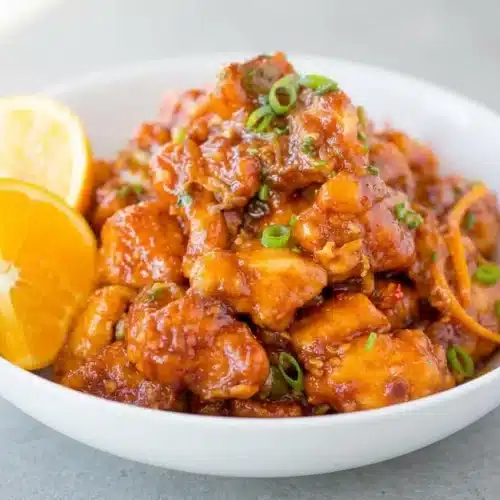
This dish is all about contrast: crispy coated chicken, a glossy orange-red sauce, and thin strips of orange peel that bring a fragrant citrus punch you can smell as soon as they hit the heat.
It’s a popular Chinese-American takeout-style stir-fry, and the peel is what makes it different. Orange juice gives sweetness, but the peel adds aroma, slight bitterness in a good way, and that signature restaurant-style edge.
This version is especially close in spirit to the well-known P.F. Chang’s copycat style that many home cooks look for. The tomato sauce may seem unexpected, but it gives the sauce body, color, and a gentle tang that helps balance the sugars.
Orange Peel Chicken vs. Orange Chicken: An Explainer
If you’ve ever wondered why these dishes sound so similar, the short answer is the peel. That one detail changes the flavor, texture, and overall feel of the sauce.
| Dish | Main Citrus Element | Flavor | Texture |
|---|---|---|---|
| Orange Peel Chicken | Julienned orange peel and zest | More aromatic, zesty, and slightly sharper | Crispy chicken with tender-chewy peel pieces |
| Orange Chicken | Usually orange juice | Sweeter, fruitier, rounder | Crispy chicken with a smoother sauce |
| General Tso’s Chicken | Usually no strong citrus focus | Sweeter, savory, often deeper and chile-forward | Crispy chicken in a thick sticky glaze |
So if orange chicken tastes juicy and candy-sweet, orange peel chicken tastes more perfumed and vivid. The peel gives tiny bursts of citrus oil that make the whole dish feel brighter.
A lot of home cooks ask if the two are interchangeable. They’re close cousins, but orange peel chicken has more bite and more aroma, while orange chicken usually leans smoother and sweeter.
Ingredients for Orange Peel Chicken
Each ingredient pulls its weight here: cornstarch builds the crust, tomato sauce adds color and body, and the orange peel gives the dish its sharp, fragrant finish.
- 2 lb chicken breast, cut into 1-inch pieces
- 1/4 cup cornstarch
- 1 tablespoon vegetable oil
- 4 tablespoons minced garlic
- 4 green onions, sliced
- 1 cup tomato sauce
- 1/2 cup water
- 1/4 cup granulated sugar
- 2 tablespoons brown sugar
- 1 tablespoon Sriracha sauce
- 1 tablespoon low sodium soy sauce
- 2 tablespoons Vegetable oil
- peel from 1 orange, half zested and half julienned
The orange peel is the star, so choose a fragrant orange with bright skin. Cornstarch gives the chicken a light, brittle crust instead of a heavy coating.
Tomato sauce is the ingredient that makes people pause, but it works. It rounds out the sauce, gives it that restaurant-style reddish color, and adds enough acidity to keep the sugar and heat from tasting flat.
I always reach for fresh garlic here. Jarred garlic can work in a pinch, but freshly minced cloves give the sauce a cleaner, punchier aroma.
How to Make Orange Peel Chicken
- Toss the chicken pieces in a bowl with the cornstarch until every piece is evenly coated.
The coating should look dry and clingy, with no wet patches on the surface. - Pour 2 tablespoons Vegetable oil into a wok and set it over medium-high heat.
When the oil starts to shimmer, it’s hot enough to give the chicken that satisfying sizzle. - Add the coated chicken to the wok and cook until browned on both sides.
The outside should turn golden in spots while the centers cook through. - Transfer the chicken out of the wok and check the pan for about 1 tablespoon of oil; use what’s there or add the 1 tablespoon vegetable oil if needed, then cook the garlic and green onions for about 1 minute.
You should smell a strong garlicky aroma, but stop before the garlic darkens or tastes bitter. - Stir in the tomato sauce, water, granulated sugar, brown sugar, Sriracha sauce, and low sodium soy sauce.
The mixture will look loose at first, but the color should quickly turn a glossy orange-red. - Bring the sauce to a boil, then lower it to a simmer for about 5 minutes.
It’s ready when it thickens enough to coat the back of a spoon. - Take the wok off the heat and let the sauce sit briefly.
This short pause keeps it from reducing too far while the chicken waits. - Return the browned chicken to the sauce and toss to coat.
The crust should stay visible under the glaze instead of disappearing into it. - Add the orange zest and julienned peel, then cook for another 20 to 30 seconds while mixing everything together.
You’ll smell the citrus bloom almost immediately, and the chicken should be hot all the way through. For doneness, chicken should reach 165°F minimum internal temperature. - Serve right away.
The best texture is glossy, sticky, and still crisp around the edges.
A Guide to Preparing Orange Peel
This is the make-or-break detail for flavor. Good orange peel tastes bright and floral, while poorly trimmed peel can taste harsh and bitter.
Use a fragrant orange with clean skin, and if you can, choose one with unwaxed peel since you’ll be eating it. Wash and dry it well before peeling.
Use a vegetable peeler or a sharp knife to remove broad strips of orange skin, trying to leave as much of the white pith behind as possible. The pith is what usually brings bitterness.
Once you have the peel, slice it into very thin matchsticks. Thin strips soften quickly in the sauce and taste pleasant, while thick chunks can stay tough.
For the zest portion, use a fine grater over a plate so you catch the fragrant oils and don’t lose them on the cutting board. Add the zest at the end for a fresher citrus hit.
If you have extra peel left over, turning it into candied orange peel is a smart way to use it up instead of letting it dry out in the fridge.
You can also toast the julienned peel in a dry pan for 30 to 60 seconds before adding it to the sauce. It deepens the aroma and takes the raw edge off the citrus. Honestly, it smells incredible.
Tips for Perfectly Crispy Results
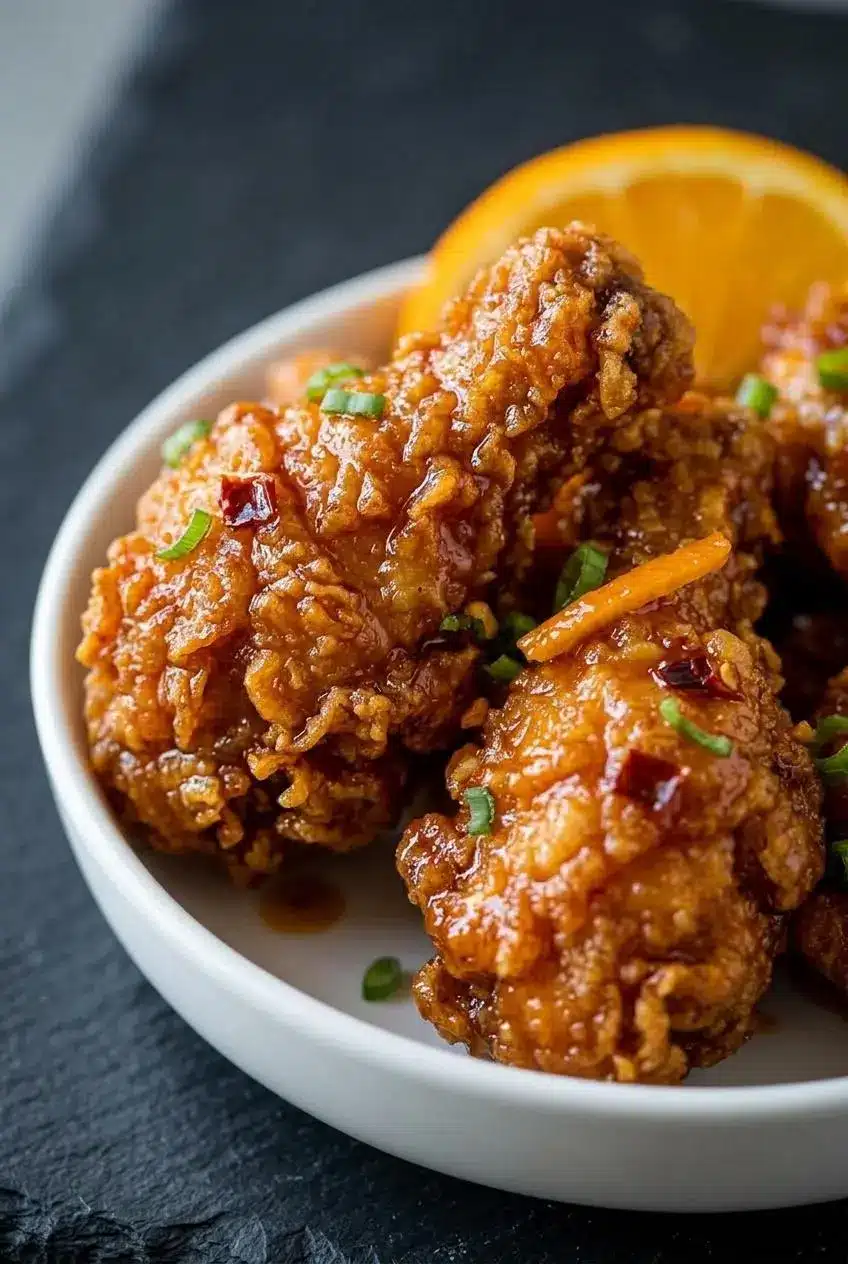
If you want crisp chicken instead of soft, sauce-soaked pieces, a few small choices matter a lot.
Start with dry chicken. Patting the pieces dry before coating helps the cornstarch cling evenly, and that means a lighter crust with better browning.
Don’t skip the cornstarch. It creates a delicate shell that fries up crisp and shattery rather than bready. If you want an even crunchier finish, some cooks double-coat the chicken or use a light batter as an optional variation, but the straight cornstarch coating keeps this version true to the recipe.
Make sure the oil is properly hot before the chicken goes in. If the chicken lands in lukewarm oil, the coating absorbs oil before it sets, which leads to greasy, limp pieces instead of crisp ones.
Give the chicken space in the wok. Overcrowding drops the temperature and traps steam, so the chicken effectively sweats instead of browning.
The biggest challenge home cooks face here is sauce timing. Toss the chicken with the sauce right before serving, because even a great crust softens if it sits too long under a wet glaze.
Variations and Dietary Swaps
This recipe is easy to adapt if you want less oil, a different cut of chicken, or a version that fits your pantry a little better. The main thing is to keep these changes optional so the original method still works exactly as written.
Cooking Method Comparison: Pan-Fry vs. Bake vs. Air-Fry
| Method | Crispiness Level | Oil Required | Estimated Time |
|---|---|---|---|
| Pan-Fry | High | Moderate | Fastest stovetop option |
| Bake | Medium | Low | About 20 to 25 min |
| Air-Fry | High | Low | About 15 to 18 min |
Pan-frying gives the closest takeout-style result. Baking is easier for bigger batches, while air frying gives strong crispiness with less oil and less splatter.
Healthier Baked Method
Coat the chicken the same way, then spread it on a baking sheet in a single layer. Bake at 400°F for about 20 to 25 minutes, flipping halfway through, until the pieces are cooked through and golden at the edges. The texture is a little less craggy than the wok version, but the sauce still works beautifully.
Crispy Air Fryer Method
Arrange the coated chicken in a single layer in the basket and cook at 400°F for about 15 to 18 minutes, shaking halfway through. You’ll still want to toss it with the sauce at the end, just before serving, so the outside stays as crisp as possible.
Using Chicken Thighs
Boneless, skinless chicken thighs are a great swap if you want a juicier, more tender bite. Cut them into similar 1-inch pieces and expect them to need a little more time than breast meat to brown and cook through.
Gluten-Free and Soy-Free Adjustments
For a gluten-free version, use tamari in place of soy sauce and swap the coating for tapioca starch or a gluten-free flour blend if that’s what you prefer. For soy-free cooking, coconut aminos work well and give the sauce a slightly sweeter, softer savory note.
If you want a different flavor direction, a tiny splash of fish sauce or oyster sauce can give the sauce a Thai-style savory depth. Keep that as an optional twist, because the classic version is already nicely balanced.
What to Serve With Orange Peel Chicken
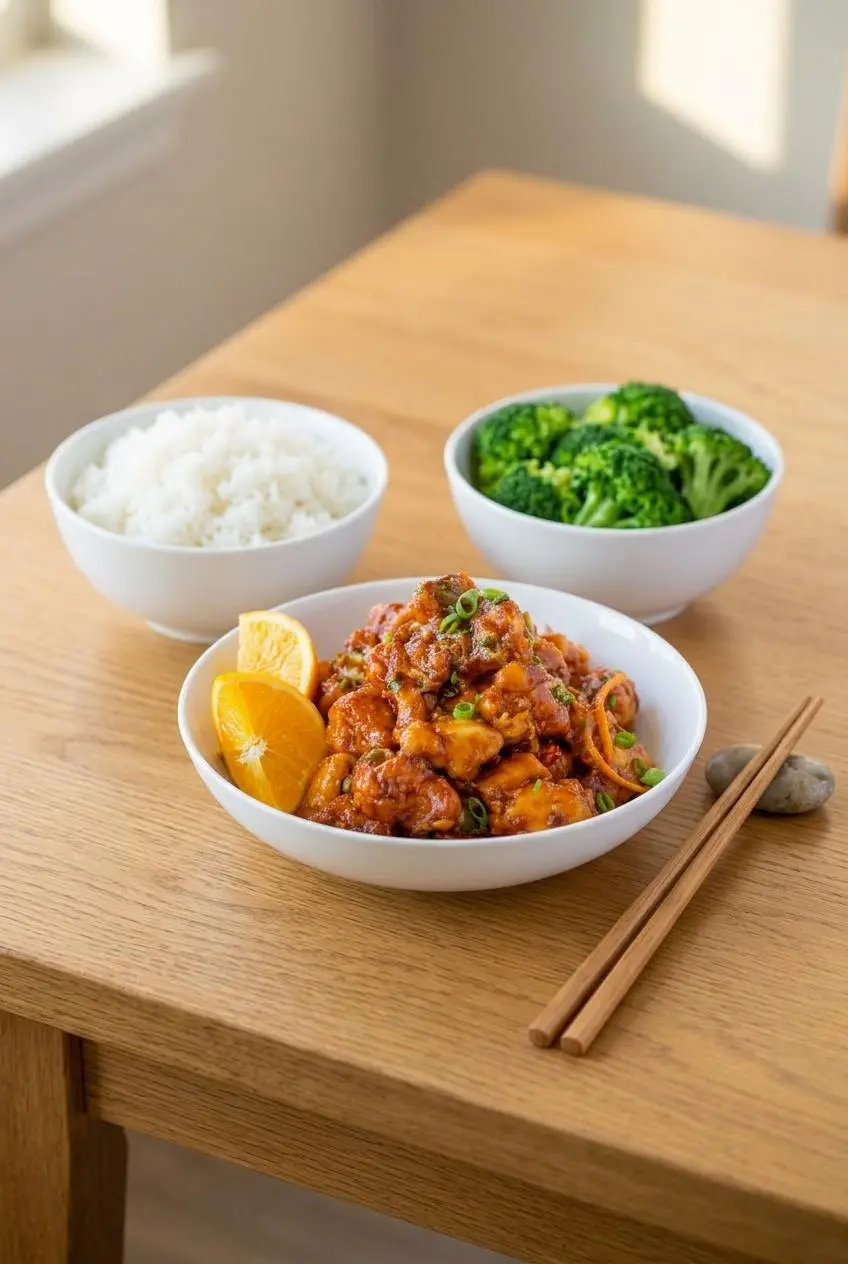
This dish loves something mild underneath it to catch the sauce. White rice is the classic move, but brown rice, quinoa, or noodles also work well.
- Steamed white rice for the most takeout-style plate
- Brown rice if you want a nuttier base
- Quinoa for a lighter, grainy texture
- Noodles when you want more of a saucy, slurpable dinner
- Steamed broccoli, roasted bell peppers, or carrots for easy color and crunch
- A crisp Asian-style slaw for something cool against the hot sticky sauce
If you enjoy making restaurant-style dinners at home, homemade Teriyaki Chicken is another good one to keep on your list for a different sweet-savory weeknight option.
Storage, Freezing, and Reheating
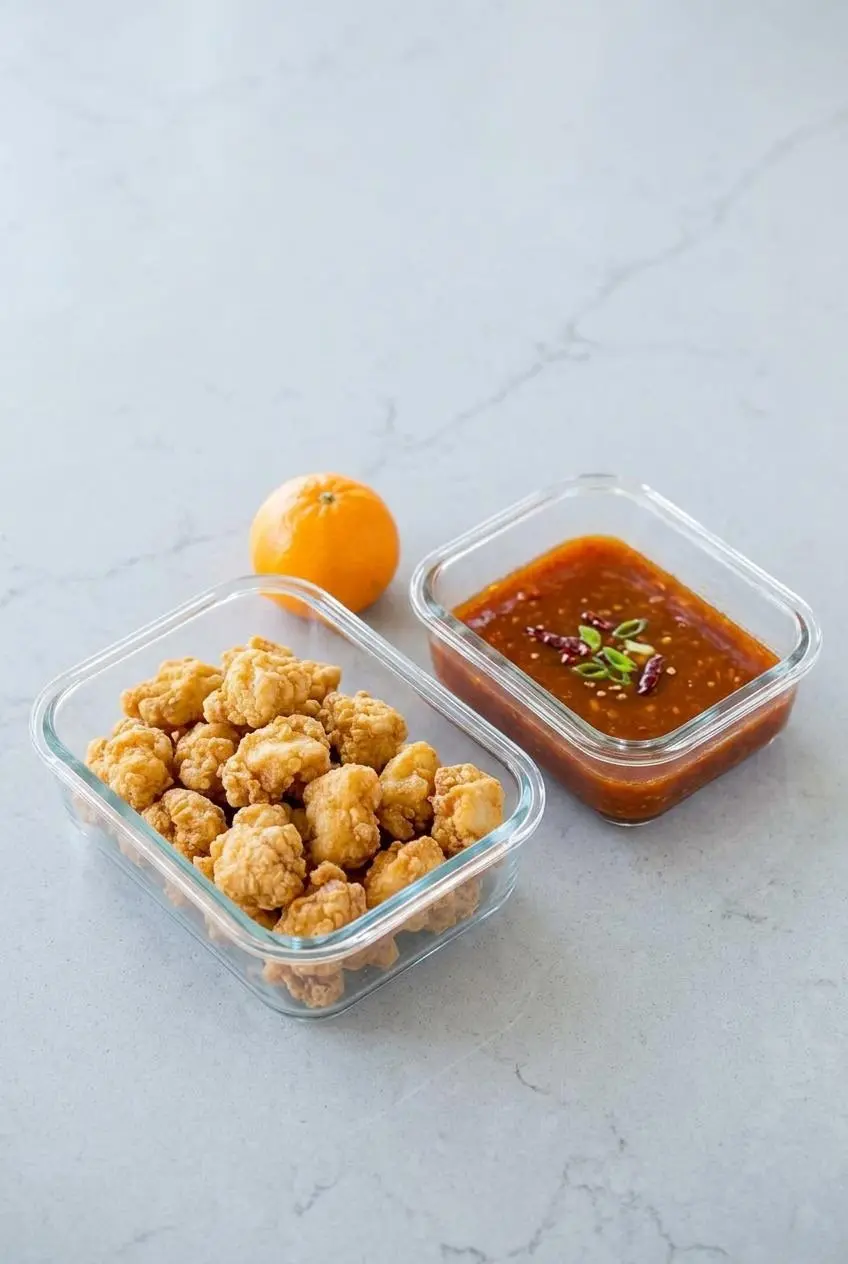
Texture changes fast with a dish like this, so storing the components separately gives you the best shot at a crisp second round. Once cooled, keep the chicken and sauce in separate airtight containers in the refrigerator; leftovers generally keep for 3 to 4 days when chilled and handled properly, following food safety guidance for refrigerated leftovers.
For reheating, the oven or air fryer works best because dry heat revives the crust far better than the microwave. Reheat the chicken until hot and crisp again, then warm the sauce separately and toss them together at the end.
If you want to prep ahead, make the sauce in advance and store it separately from the cooked chicken. That way the coating stays as intact as possible until serving time.
Freezing guidance isn’t built into this version, so for the best texture, it’s smarter to make only what you plan to eat soon or refrigerate leftovers and reheat them with dry heat.
Troubleshooting Common Issues
Most problems with this dish come down to three things: moisture, heat, or timing. Here’s how to fix the common ones without guessing.
My Chicken Isn’t Crispy
If the chicken comes out soft, the oil usually wasn’t hot enough, the pan was too crowded, or the chicken sat in the sauce too long. Fry in batches if needed, start with dry chicken, and wait until the last minute to coat it in sauce.
Another possible issue is too little cornstarch on the surface. The coating should fully cover the chicken in a dry layer before it ever reaches the pan.
My Sauce Is Too Thin (or Too Thick)
If the sauce looks runny, simmer it a bit longer so excess water can cook off. If it still needs help, stir in a cornstarch slurry made from 1 tablespoon cornstarch and 2 tablespoons cold water, then simmer just until glossy.
If the sauce turns too thick, loosen it with a small splash of water and stir well. Add only a little at a time so you don’t overshoot and end up back at square one.
My Sauce Tastes Bitter
Bitterness usually comes from too much white pith on the peel or garlic that cooked too dark. Trim the peel carefully, keep the strips thin, and cook the garlic just until fragrant.
If you’re extra sensitive to bitterness, lightly toasting the peel before adding it can mellow the flavor. And if a peel strip looks thick and spongy with pith, trim it down before it goes in the pan.
Conclusion
This orange peel chicken delivers that sweet-spicy-citrusy takeout feel with a sharper orange flavor and a better crunch than many homemade versions. The peel really is the secret weapon.
Keep the chicken dry, the oil hot, and the sauce until the very end. Do that, and dinner feels a whole lot more exciting.
Frequently Asked Questions
What is the difference between orange chicken and orange peel chicken?
Orange chicken usually gets its citrus flavor from orange juice, so the sauce tastes sweeter and smoother. Orange peel chicken uses the actual peel, which gives the dish a more aromatic, zesty flavor and adds a little texture from the thin peel strips.
How do I make my orange peel chicken extra crispy?
Start by drying the chicken well, then coat it evenly with cornstarch. Cook it in hot oil without crowding the pan, and wait to toss it with the sauce until right before serving.
Can I make this recipe ahead of time?
Yes, with one small strategy: keep the components separate. Make the sauce ahead, and if you want the best texture, cook and sauce the chicken as close to serving time as you can.
What’s the best way to reheat leftovers?
An air fryer or oven is the best choice because it brings back some of the crisp texture. Warm the sauce separately, then combine everything once the chicken is hot.
Why does this recipe use tomato sauce?
Tomato sauce adds color, body, and a subtle tangy depth that helps the sauce taste more balanced. It also nudges the dish toward that familiar restaurant-style orange-red glaze many people expect from a P.F. Chang’s inspired version.
Orange Peel Chicken

Equipment
- wok
- bowl
Ingredients
- 2 lb chicken breast, cut into 1-inch pieces
- 1/4 cup cornstarch
- 1 tablespoon vegetable oil
- 4 tablespoons minced garlic
- 4 green onions, sliced
- 1 cup tomato sauce
- 1/2 cup water
- 1/4 cup granulated sugar
- 2 tablespoons brown sugar
- 1 tablespoon Sriracha sauce
- 1 tablespoon low sodium soy sauce
- 2 tablespoons Vegetable oil
- 1 orange, peel from, half zested and half julienned
Instructions
- Toss the chicken pieces in a bowl with the cornstarch until every piece is evenly coated. The coating should look dry and clingy, with no wet patches on the surface.
- Pour 2 tablespoons Vegetable oil into a wok and set it over medium-high heat. When the oil starts to shimmer, it’s hot enough to give the chicken that satisfying sizzle.
- Add the coated chicken to the wok and cook until browned on both sides. The outside should turn golden in spots while the centers cook through.
- Transfer the chicken out of the wok and check the pan for about 1 tablespoon of oil; use what’s there or add the 1 tablespoon vegetable oil if needed, then cook the garlic and green onions for about 1 minute. You should smell a strong garlicky aroma, but stop before the garlic darkens or tastes bitter.
- Stir in the tomato sauce, water, granulated sugar, brown sugar, Sriracha sauce, and low sodium soy sauce. The mixture will look loose at first, but the color should quickly turn a glossy orange-red.
- Bring the sauce to a boil, then lower it to a simmer for about 5 minutes. It’s ready when it thickens enough to coat the back of a spoon.
- Take the wok off the heat and let the sauce sit briefly. This short pause keeps it from reducing too far while the chicken waits.
- Return the browned chicken to the sauce and toss to coat. The crust should stay visible under the glaze instead of disappearing into it.
- Add the orange zest and julienned peel, then cook for another 20 to 30 seconds while mixing everything together. You’ll smell the citrus bloom almost immediately, and the chicken should be hot all the way through. For doneness, chicken should reach 165°F minimum internal temperature.
- Serve right away. The best texture is glossy, sticky, and still crisp around the edges.