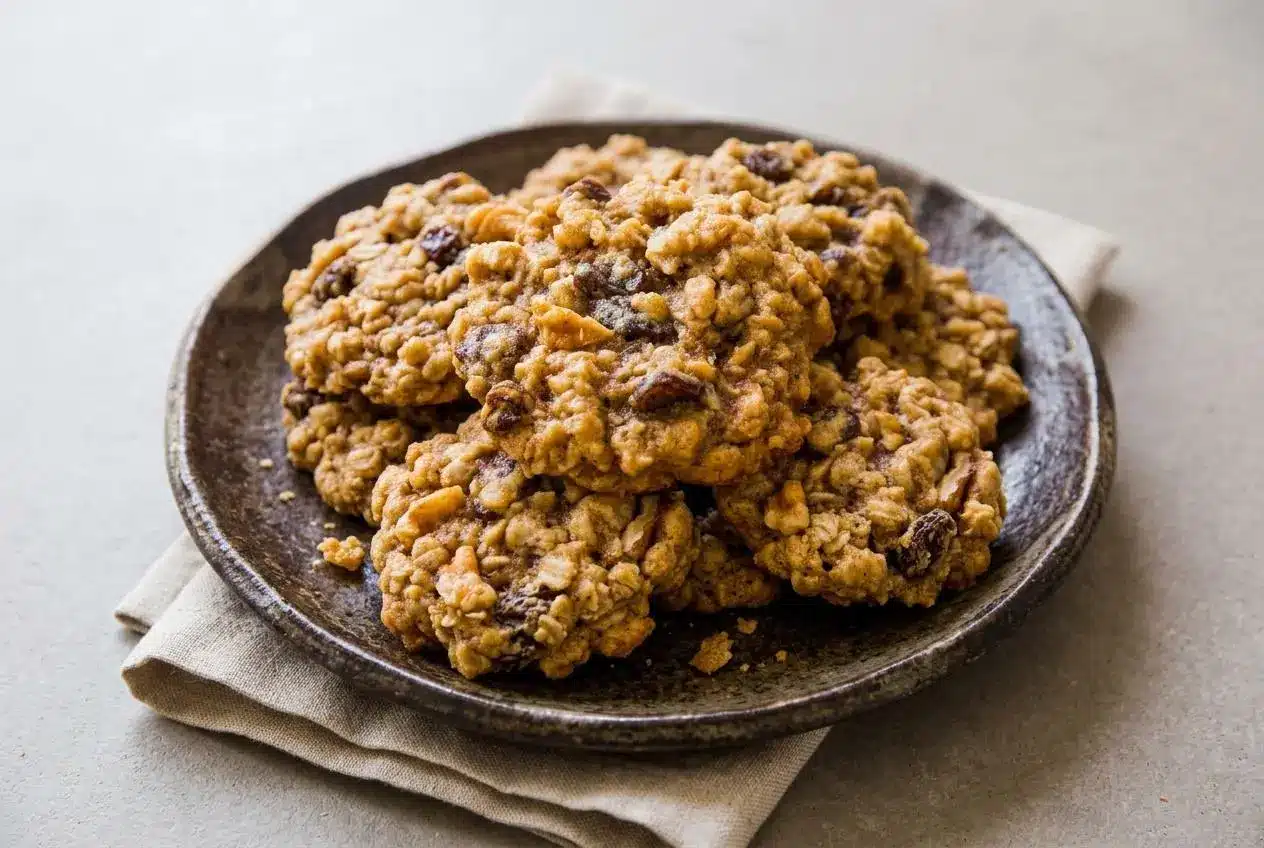
Soft, chewy oatmeal cookies come from rolled oats, brown sugar and molasses for moisture, plumped raisins, and pulling the pans when the centers still look tender.
These Oatmeal Raisin Cookies bake up with buttery golden edges, a soft cinnamon-scented middle, and plenty of hearty oat texture. Brown sugar and a little molasses keep the flavor deep without making the cookies overly sweet.
The kitchen smells warm and cozy while they bake, but the real payoff is that first chewy bite. Watch for the golden ring around each cookie.
Soak the raisins while you measure the remaining ingredients, then blot them very dry before they meet the dough.
Essential Ingredients for the Best Oatmeal Raisin Cookies
Every ingredient supports the finished cookie, from buttery richness and cinnamon aroma to chewy structure, gentle lift, and moisture around the fruit.
- 1 cup (16 Tbsp; 226g) unsalted butter, softened to room temperature
- 1 cup (200g) packed light or dark brown sugar
- 1/4 cup (50g) granulated sugar
- 2 large eggs
- 2 teaspoons pure vanilla extract
- 1 Tablespoon (15ml) unsulphured or dark molasses (do not use blackstrap; I prefer Grandma’s brand)
- 1 and 2/3 cups (209g) all-purpose flour (spooned & leveled)
- 1 teaspoon baking soda
- 1 and 1/2 teaspoons ground cinnamon
- 1/2 teaspoon salt
- 3 cups (255g) old-fashioned whole rolled oats
- 1 cup (140g) raisins
- optional: 1/2 cup (64g) chopped toasted walnuts
Softened butter traps air with the sugars, while eggs bind the dough and vanilla rounds out the spice. Baking soda gives the cookies enough lift to avoid a heavy texture. Spoon flour into the measuring cup and level it off, or use the gram weight, so packed flour does not dry out the dough.
I like to use dark brown sugar here because its deeper molasses flavor makes the cinnamon and raisins taste especially warm and rounded.
Rolled Oats vs Quick Oats
Old-fashioned whole rolled oats give these cookies their classic chewy, toothsome bite. Their larger flakes absorb moisture gradually, so the cookies hold a pleasant oat texture instead of turning soft all the way through.
Quick oats can replace rolled oats in a 1-to-1 swap, but expect a noticeably denser, softer cookie with a more uniform crumb. The dough may also spread differently because the smaller oat pieces absorb moisture faster. Use rolled oats when you want the heartiest chew.
Why Soaking Raisins Matters
Soak the raisins in warm water for 10 minutes, then blot them dry. This gives dried fruit a chance to take in moisture before baking, so it is less likely to pull moisture from the dough around it.
Plumper raisins stay pleasantly tender inside the finished cookies rather than becoming tough little pockets. Blotting matters: excess water on the fruit can loosen the dough and encourage extra spread.
The Role of Brown Sugar and Molasses
Brown sugar brings moisture and a light caramel flavor, while molasses adds a darker, almost toffee-like depth. Together, they help the centers stay soft and complement the warm cinnamon.
The molasses also works with the baking soda to support a balanced rise and deeper browning. Use unsulphured or dark molasses as listed, not blackstrap, whose strong bitterness can overwhelm the cookie’s buttery flavor.
How to Make Oatmeal Raisin Cookies
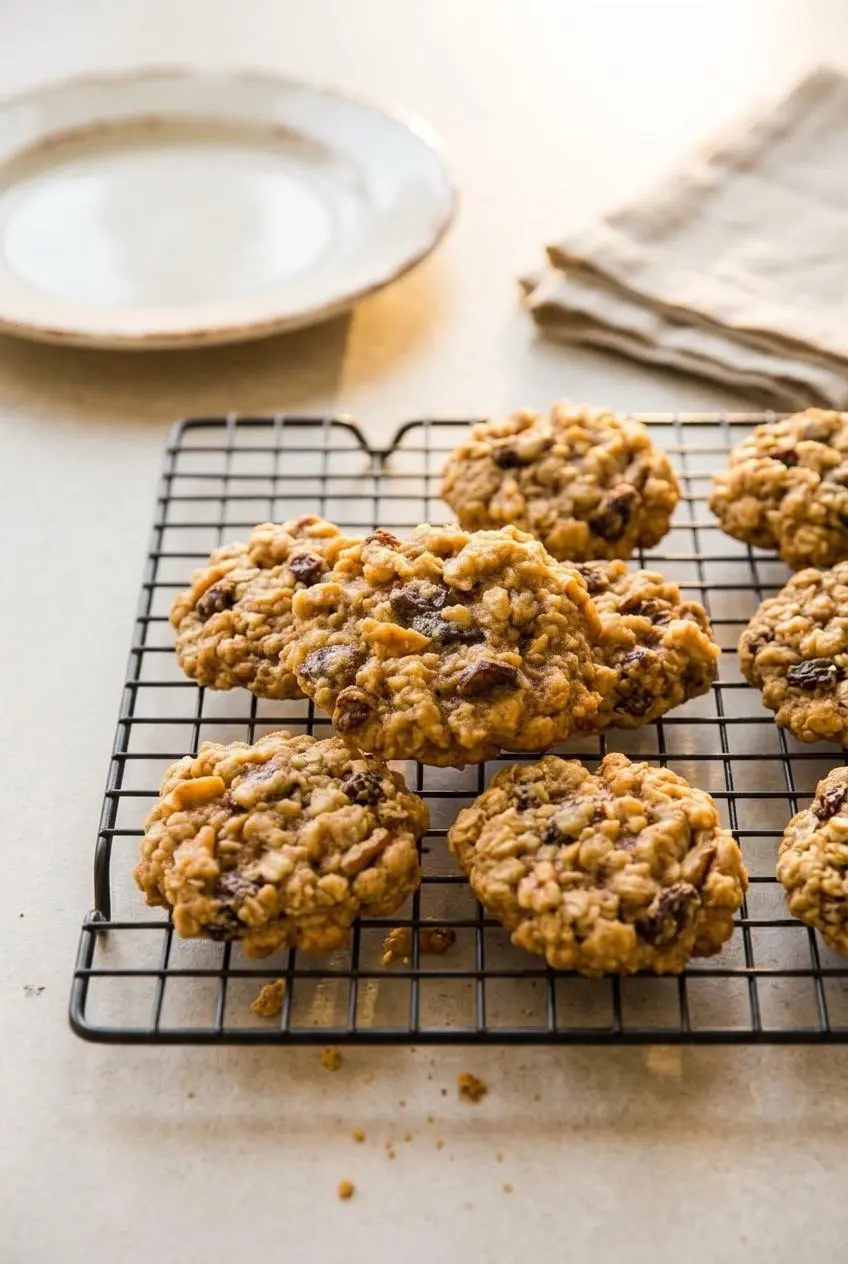
The dough is intentionally thick and sticky before chilling. Resist the urge to add more flour, because the refrigerator rest firms the butter and gives the oats time to absorb moisture.
- Beat the softened butter with the brown sugar and granulated sugar on medium speed for about 3 minutes, then add the eggs and mix on high for about 1 minute. Scrape the bowl, then beat in the vanilla and molasses until the mixture looks smooth, glossy, and creamy.
- Whisk the flour, baking soda, cinnamon, and salt in a separate bowl, then mix the dry ingredients into the butter mixture on low speed just until no dry streaks remain. Fold in the oats, raisins, and walnuts if using on low speed, and expect a thick, very sticky dough.
- Chill the dough in the refrigerator for 30 to 60 minutes, using the full hour when you want to limit spreading. The chilled dough should feel firmer and easier to portion without adding extra flour.
- Heat the oven to 350°F (177°C) and line two large baking sheets with parchment paper or silicone baking mats. Cool baking sheets help the dough begin baking at the right pace instead of melting too quickly.
- Portion about 2 tablespoons of dough for each cookie, roll into balls, and arrange them 2 inches apart on the prepared sheets. A cookie scoop keeps the portions even and makes the sticky dough much easier to handle.
- Bake for 12 to 14 minutes, then leave the cookies on the baking sheets for 5 minutes before moving them to a wire rack. Pull the pans when the sides are lightly browned with a golden ring at the base and the centers still look very soft, because they finish setting on the warm sheet.
Common Baking Pitfalls and Troubleshooting
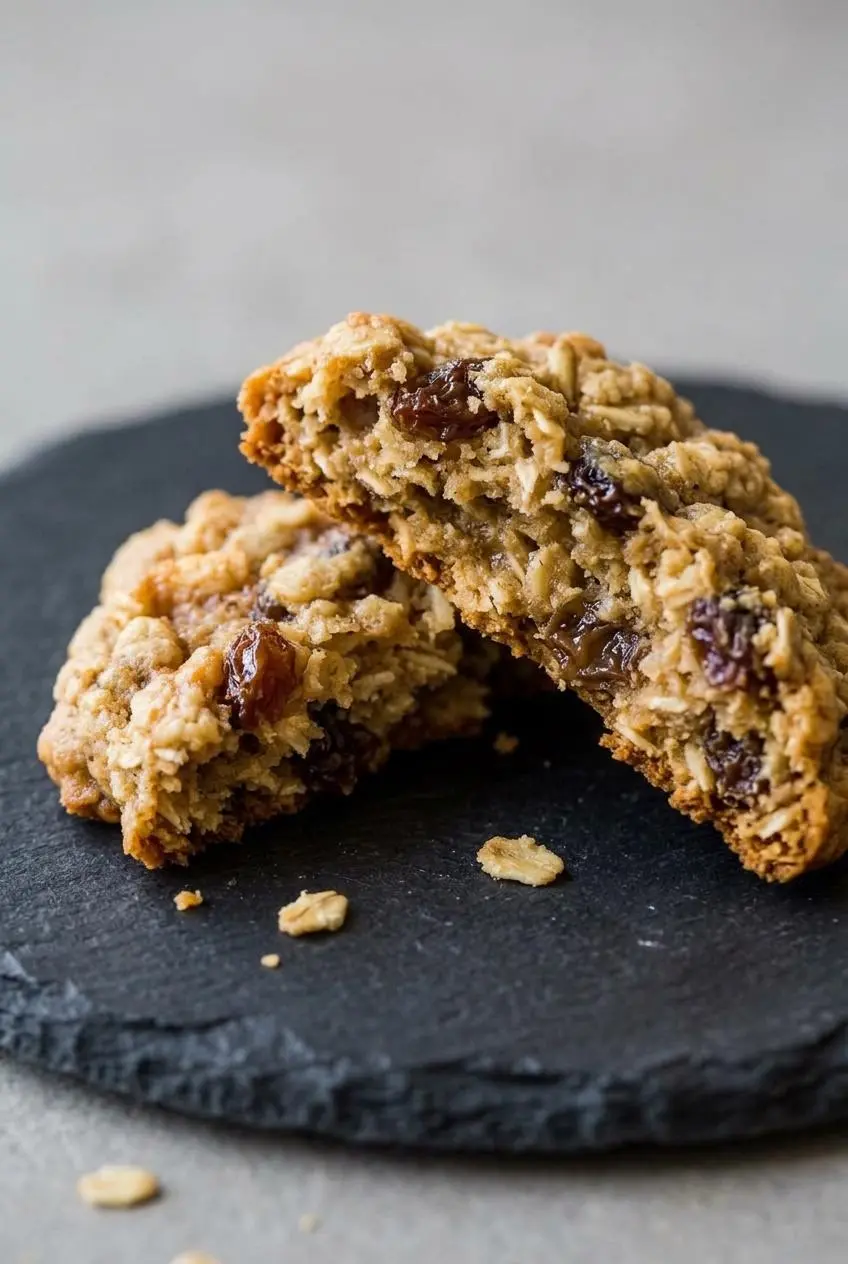
Most oatmeal cookie problems come down to butter temperature, flour measurement, dough temperature, or leaving the cookies in the oven too long. These fixes keep the texture chewy instead of flat, dry, or cakey.
Why Cookies Spread Too Thin
- Problem: The cookies melt into thin pools. Likely cause: The butter was melted rather than softened. Fix: Use butter that yields slightly when pressed but still holds its shape.
- Problem: The cookies spread more than expected. Likely cause: The dough skipped its chill. Fix: Refrigerate the dough until it firms up, especially in a warm kitchen.
- Problem: Later batches spread more than the first. Likely cause: Dough went onto warm baking sheets. Fix: Let the sheets cool fully before loading another batch.
- Problem: The centers stay thick while the edges bake. Likely cause: The dough was packed too firmly. Fix: Portion evenly and gently round each scoop without compressing it.
How to Avoid Cakey or Dry Texture
- Problem: The cookies bake into dry, crumbly mounds. Likely cause: Flour was scooped directly from the container, packing too much into the cup. Fix: Spoon flour into the cup, level it, or use the listed gram weight.
- Problem: The cookies turn hard after cooling. Likely cause: They stayed in the oven until the middles looked firm. Fix: Remove them while the centers still look soft and let the baking sheet finish the job.
- Problem: Raisins become bitter or scorched. Likely cause: Pieces sit exposed on top of the dough. Fix: Tuck exposed raisins into the dough balls before baking.
- Problem: The dough feels dry before chilling. Likely cause: The flour was overmeasured or the raisins were very dry. Fix: Check the flour measurement and plump the raisins before mixing.
Chilling and Storing the Dough and Cookies
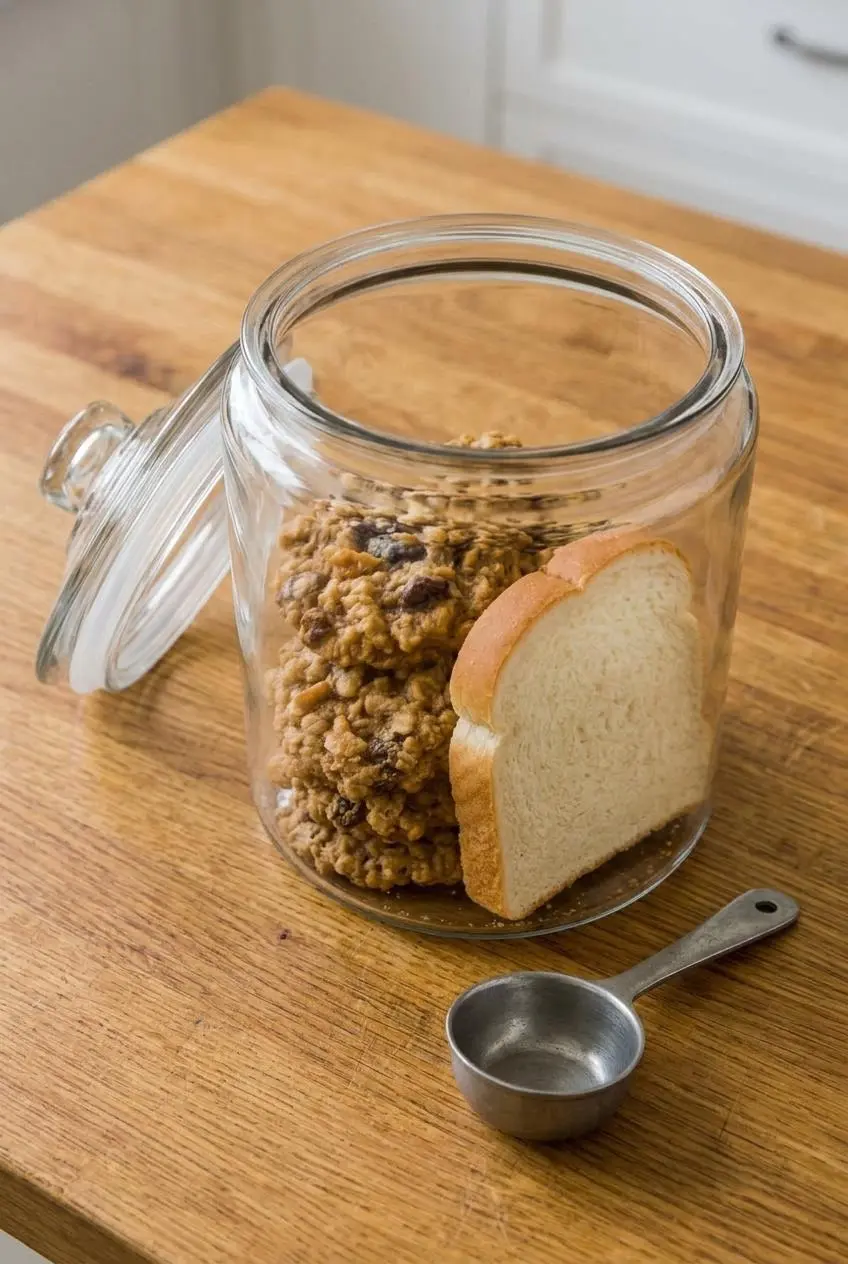
For the best shape, chill the mixed dough for 30 to 60 minutes before baking. If the dough has been refrigerated longer, let it sit at room temperature for at least 30 minutes so it is soft enough to scoop without forcing it.
Once the baked cookies have cooled completely, keep them in an airtight container away from humidity. A slice of plain sandwich bread in the container can help maintain a soft texture by sharing moisture with the cookies. Replace the bread if it becomes dry or firm.
For a fresh-from-the-oven treat, warm a cooled cookie briefly until the center softens and the cinnamon aroma returns. Avoid overheating, which can turn the edges crisp and hard.
Flavor Variations and Add-Ins
Keep additions modest so the dough still holds together and bakes evenly. These changes are optional and work best when you preserve the rolled oats as the main source of texture.
Toasted Walnut or Pecan Addition
The optional toasted walnuts add a mild crunch against the soft oats and raisins. Pecans work well too, bringing a buttery, slightly sweeter nut flavor. Toast either nut gently before chopping so its aroma comes through in every bite.
Cranberry and White Chocolate Variation
For a festive change, swap some or all of the raisins for dried cranberries and add white chocolate chips. The tart fruit brightens the sweet dough, while white chocolate gives each cookie a creamy finish. For another fruit-forward option, try these oatmeal cranberry cookies.
Creative Spicing and Dietary Options
- Add a pinch of ground cardamom and finely grated orange zest for a brighter, citrusy spice profile.
- Use certified gluten-free rolled oats and a 1-to-1 gluten-free baking blend if needed. The cookies may have a slightly different crumb, so watch the edge color closely.
- Replace part of the raisins with dark chocolate chunks for a richer, less fruit-forward cookie.
Conclusion
These cookies earn their soft chew from rolled oats, brown sugar, molasses, and raisins that stay plump in the dough. Cinnamon and butter carry the familiar bakery-style flavor through every bite.
Pull the cookies when their edges are golden and their centers still look soft, then let the warm baking sheet finish setting them. That small bit of patience keeps the texture tender and chewy.
Frequently Asked Questions
Do You Soak Raisins Before Putting Them in Cookies?
Yes. Soak them in warm water for 10 minutes before mixing. Blot them dry well so they do not add excess water to the dough. Plumped raisins stay tender and are less likely to draw moisture from the cookies as they bake.
Can I Use Quick Oats Instead of Old-Fashioned Rolled Oats?
Yes, quick oats can replace rolled oats in a 1-to-1 swap. The cookies will be softer and denser, with less of the hearty chew that rolled oats provide. Use old-fashioned rolled oats for the most classic oatmeal cookie texture.
Why Did My Oatmeal Raisin Cookies Turn Out Dry and Hard?
Too much flour is often the culprit, especially when the measuring cup is scooped directly into the flour container. Spoon and level the flour or use the listed gram weight for a lighter dough. Overbaking also dries cookies quickly, so remove them when the centers still look soft.
How Should I Handle Extra Cookie Dough?
Keep the dough covered in the refrigerator when you need to pause between mixing and baking. If it chills longer than the initial rest, let it sit at room temperature for at least 30 minutes before scooping. Portioning with a cookie scoop helps keep each cookie evenly sized when you return to baking.
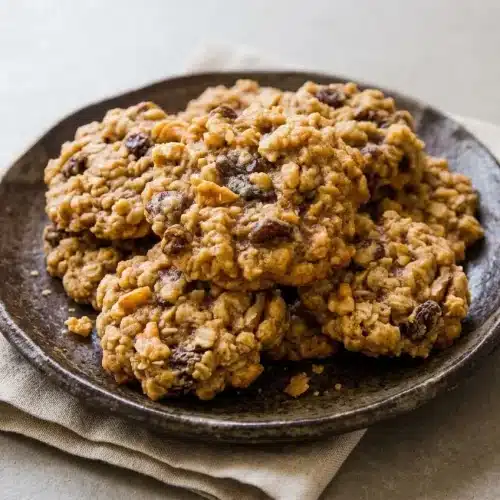
Oatmeal Raisin Cookies

Equipment
- Electric Mixer
- Baking Sheets
- Silicone Baking Mats or Parchment Paper
- Cookie Scoop
- Cooling Rack
Ingredients
- 1 cup unsalted butter softened to room temperature (16 Tbsp; 226g)
- 1 cup packed light or dark brown sugar 200g
- 1/4 cup granulated sugar 50g
- 2 large eggs
- 2 teaspoons pure vanilla extract
- 1 Tablespoon unsulphured or dark molasses 15ml; do not use blackstrap; I prefer Grandma’s brand
- 1 and 2/3 cups all-purpose flour spooned & leveled (209g)
- 1 teaspoon baking soda
- 1 and 1/2 teaspoons ground cinnamon
- 1/2 teaspoon salt
- 3 cups old-fashioned whole rolled oats 255g
- 1 cup raisins 140g
- 1/2 cup chopped toasted walnuts optional (64g)
Instructions
- Beat the softened butter with the brown sugar and granulated sugar on medium speed for about 3 minutes, then add the eggs and mix on high for about 1 minute. Scrape the bowl, then beat in the vanilla and molasses until the mixture looks smooth, glossy, and creamy.
- Whisk the flour, baking soda, cinnamon, and salt in a separate bowl, then mix the dry ingredients into the butter mixture on low speed just until no dry streaks remain. Fold in the oats, raisins, and walnuts if using on low speed, and expect a thick, very sticky dough.
- Chill the dough in the refrigerator for 30 to 60 minutes, using the full hour when you want to limit spreading. The chilled dough should feel firmer and easier to portion without adding extra flour.
- Heat the oven to 350°F (177°C) and line two large baking sheets with parchment paper or silicone baking mats. Cool baking sheets help the dough begin baking at the right pace instead of melting too quickly.
- Portion about 2 tablespoons of dough for each cookie, roll into balls, and arrange them 2 inches apart on the prepared sheets. A cookie scoop keeps the portions even and makes the sticky dough much easier to handle.
- Bake for 12 to 14 minutes, then leave the cookies on the baking sheets for 5 minutes before moving them to a wire rack. Pull the pans when the sides are lightly browned with a golden ring at the base and the centers still look very soft, because they finish setting on the warm sheet.