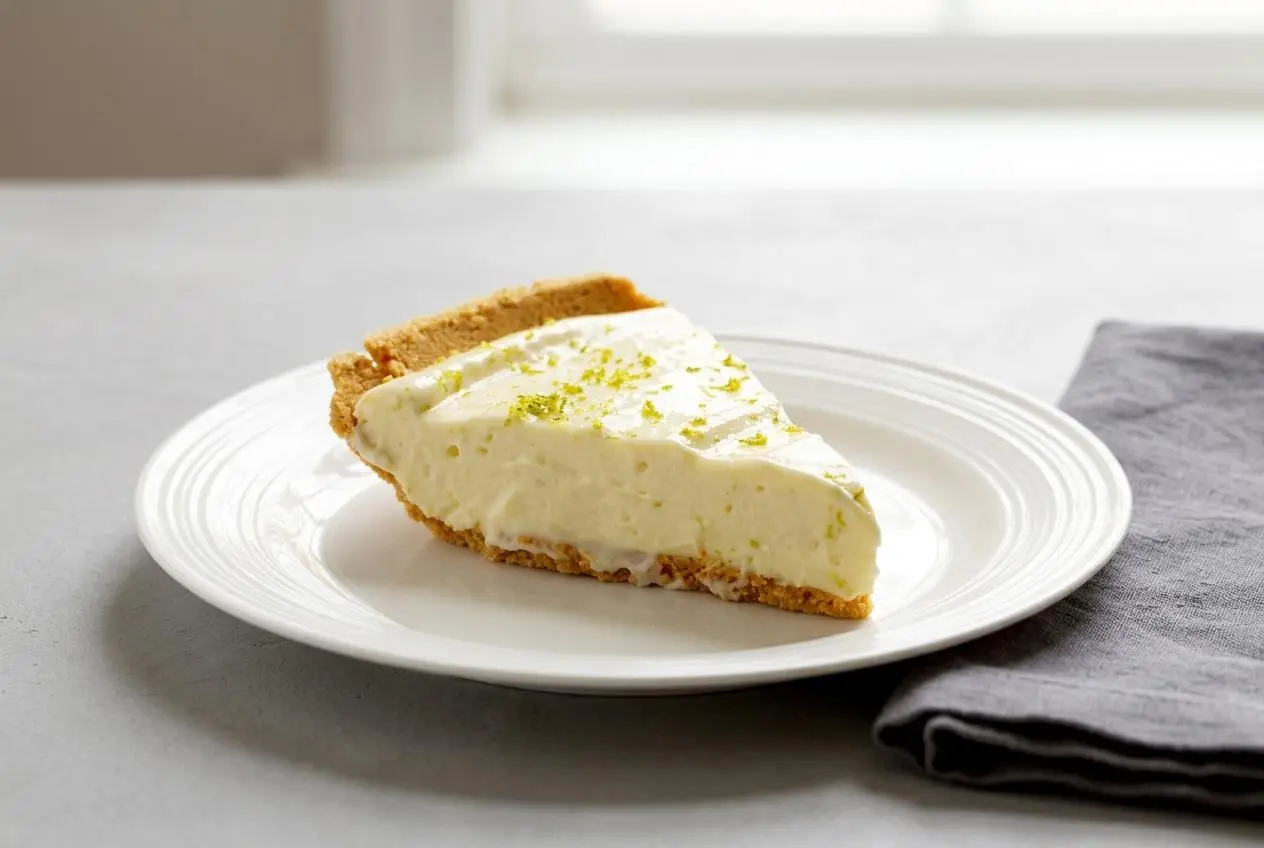
To make No Bake Key Lime Pie, beat softened cream cheese with sweetened condensed milk, lime juice, and zest until thick and smooth, pour it into a graham cracker crust, then chill until firmly set.
No Bake Key Lime Pie is the kind of dessert that earns a spot in your summer rotation fast. It’s cool, creamy, sharply limey, and balanced by that buttery graham cracker crunch.
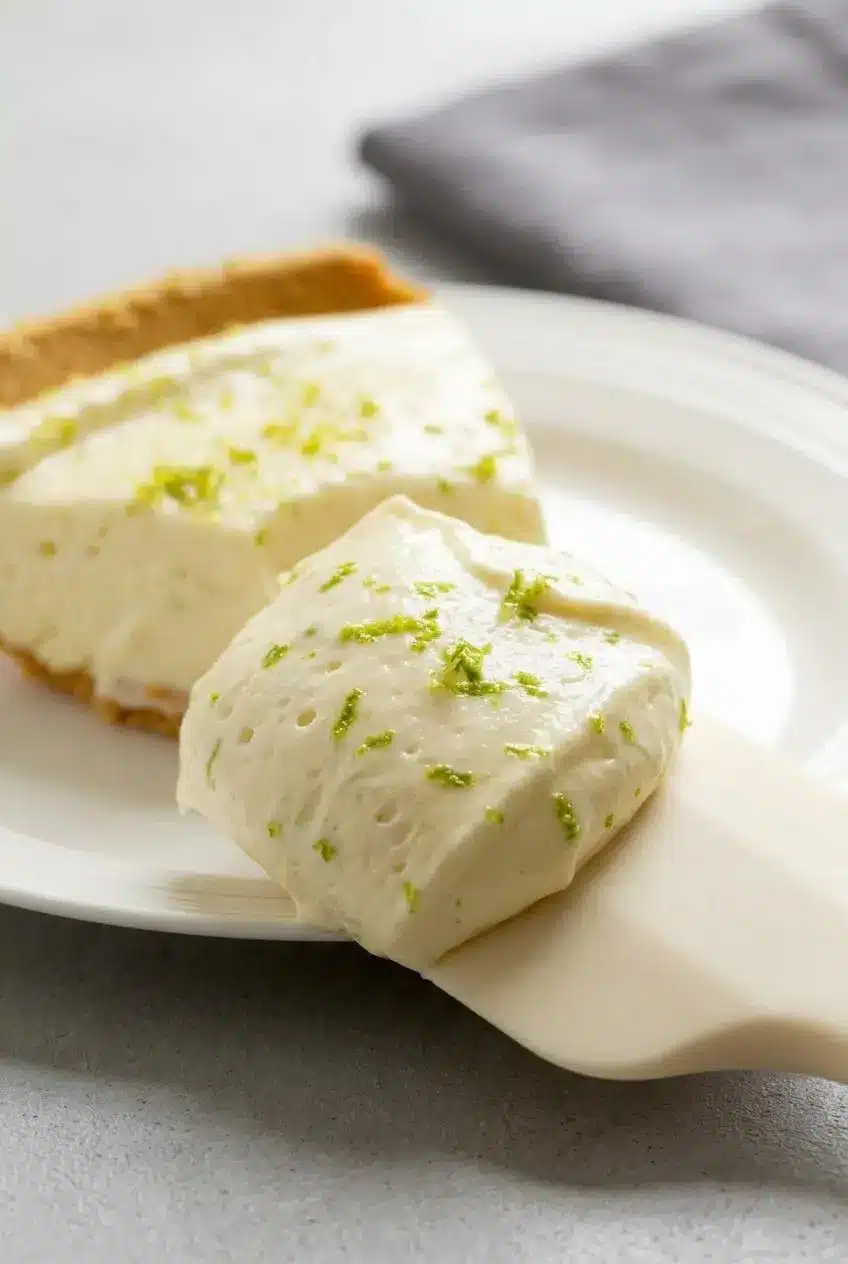
You don’t need the oven, the prep is quick, and the filling sets with a glossy, sliceable finish when the mixing and chilling are done right. The spatula cue makes all the difference.
Set the cream cheese out well before you start so it blends silky instead of leaving stubborn little lumps behind.
Why You Will Love This Easy No-Bake Recipe
This pie works especially well when it’s hot outside and turning on the oven sounds like a terrible plan. Everything comes together with a mixing bowl, a mixer, and a refrigerator.
The prep takes under 20 minutes, but it still feels like a real dessert, not a shortcut that tastes like one. The filling is creamy and rich, while the lime keeps it bright enough that each bite stays refreshing.
Sweetened condensed milk rounds out the tartness without muting it. That sweet-tart balance is what gives this pie its classic flavor, somewhere between cheesecake and citrus icebox pie.
For another chilled summer dessert with the same easygoing feel, no-bake banana split fits right into the same cookout or holiday table.
The 5 Simple Ingredients Explained
Each ingredient has a job here, from giving the filling structure to keeping the flavor bright and the crust sturdy enough to slice cleanly.
- 16 ounces cream cheese softened
- 14 ounces sweetened condensed milk
- 1/3 cup lime juice
- zest of 1 lime divided
- graham cracker crust
Cream cheese gives the filling body, richness, and that subtle tangy backbone. Sweetened condensed milk sweetens and thickens at the same time, while lime juice brings the sharp citrus bite that keeps the pie from tasting heavy. Lime zest adds fragrance and a fresher top note than juice alone, and the graham cracker crust brings buttery crunch against the silky filling.
I always use full-fat block cream cheese here because it whips up smoother and sets far more reliably than anything whipped or spreadable from a tub.
Block Cream Cheese vs Spreadable Tub Cheese
This is one of the biggest make-or-break details in the whole recipe. Block cream cheese has the density and fat content that help the filling hold its shape after chilling.
Spreadable tub cream cheese contains more moisture and is formulated for easier spreading, not for building structure in a pie. If you use it, the filling can stay loose, especially around the edges.
Fat-free cream cheese is also a poor fit here. The lower fat content weakens the texture, so the pie is more likely to look soft instead of cleanly sliceable.
Sweetened Condensed Milk: The Magic Setter
Sweetened condensed milk is doing more than sweetening the pie. It helps create that dense, creamy texture and works with the lime juice to thicken the filling without baking or gelatin.
Because it is concentrated and rich, it gives the pie a smooth finish that still feels light enough when served cold. It also softens the sharper edge of the lime so the flavor stays balanced instead of harsh.
Fresh Key Limes vs Bottled Juice
Fresh key limes have a floral, slightly deeper citrus flavor that feels classic in this pie. They’re great when you can find them, but they are tiny, seedy, and a bit fussy to juice.
Bottled key lime juice is a practical backup, especially when you want consistency and less prep. Regular Persian limes also work very well and are much easier to zest and juice.
If you’re using tiny key limes, a garlic press can help squeeze more juice with less mess. Just strain out the seeds before measuring.
Why Sugar and Acid Matter for the Perfect Set
The filling sets because acid and dairy work together. Lime juice changes the structure of the proteins in the cream cheese and condensed milk, so the mixture thickens as it is beaten and then firms further as it chills.
That is why the filling should look thicker before it ever goes into the crust. Once ready, it should mound softly on a spatula instead of pouring like a thin sauce.
The finished color is naturally pale yellow with tiny green flecks from the zest. Bright green filling may look playful, but the classic version keeps its softer, more natural color.
Choosing the Best Graham Crackers
A standard graham cracker crust gives you the classic buttery cookie crunch that works so well with the tangy filling. If you want to shift the flavor a bit, honey graham crackers keep things mellow, cinnamon graham crackers add warmth, and chocolate graham crackers turn the pie a little more dessert-forward.
If you love citrus and cream cheese together in other desserts too, blueberry lime loaf is another great example of that pairing working beautifully.
How to Make No Bake Key Lime Pie Step-by-Step
What matters most here is smooth mixing, proper thickness before pouring, and enough chill time for a firm finish.
- Place the softened cream cheese, sweetened condensed milk, lime juice, and 2/3 of the lime zest in a large mixing bowl, then beat on high for about 4 minutes with an electric hand mixer.
The filling should turn completely smooth, creamy, and slightly airy, with no visible lumps and enough body to hold on a spatula before it slowly slides off. - Spoon the filling into the graham cracker crust and spread it into an even layer.
The surface should look thick and glossy rather than loose, and it should settle with gentle smoothing instead of running. - Scatter the remaining lime zest over the top and refrigerate the pie for about 3 to 4 hours, until the filling is set.
When ready, the center should look smooth and firm with a soft sheen, and it should no longer wobble like a liquid filling. - Serve the pie chilled, and garnish with extra lime slices, if desired.
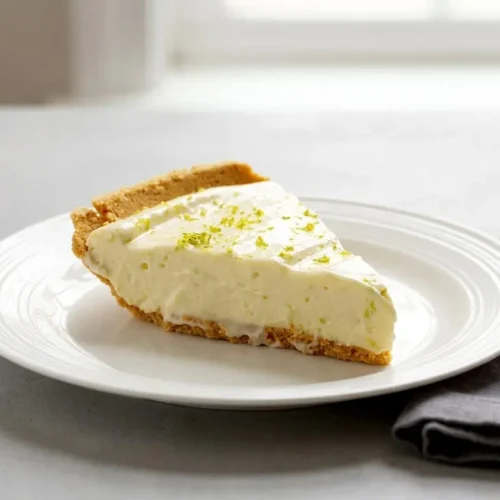
The slices should come out creamy and neat, with a cool tangy filling against the crisp crust.
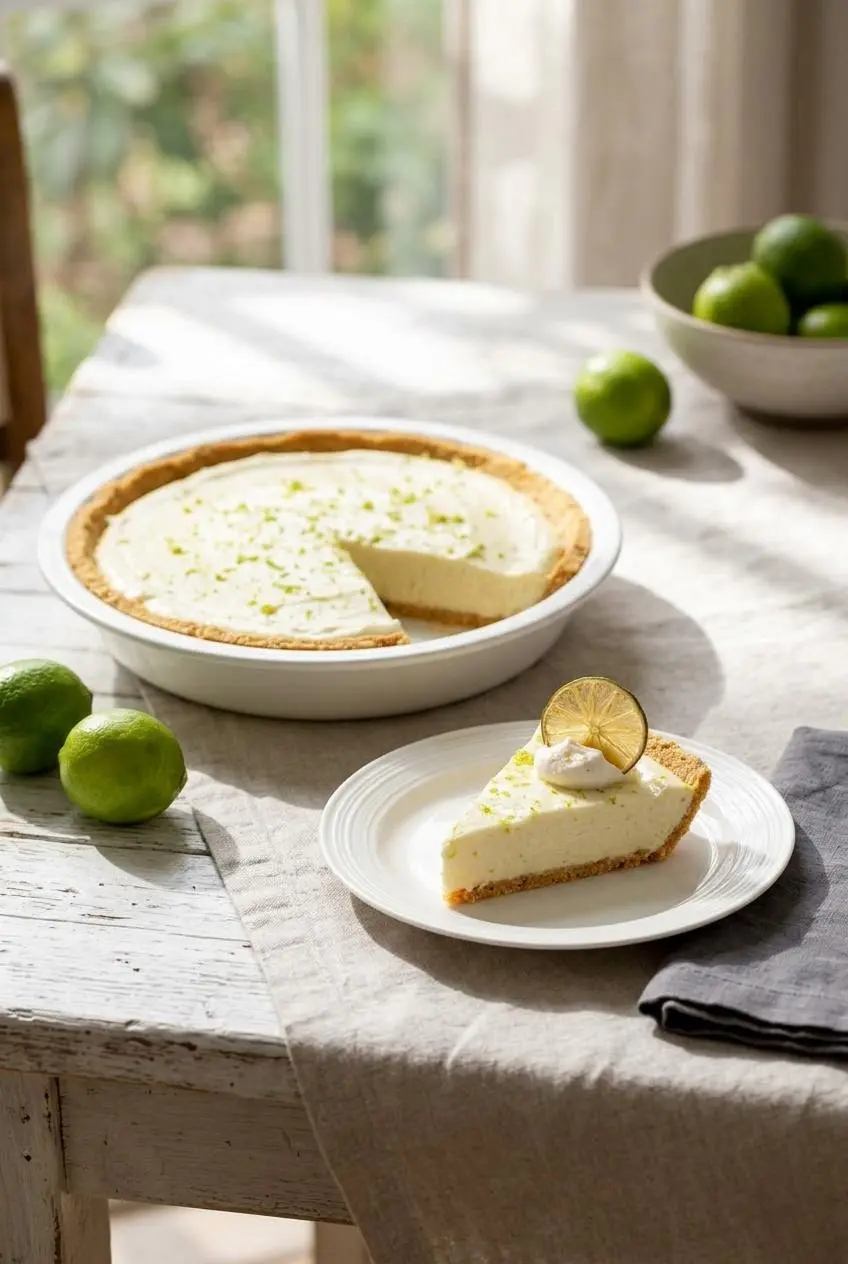
A small dollop of whipped cream and very thin lime wheels make a nice finish if you want the pie to look a little more dressed up for a party.
Troubleshooting: How to Prevent a Runny Filling
If this pie turns out soft or loose, the problem usually started before chilling. A few small details control the texture.
- The filling looks lumpy. The cream cheese was likely too cold. Let it soften fully before mixing so it whips smooth instead of staying grainy.
- The filling seems thin in the bowl. Tub cream cheese or low-fat cream cheese is often the cause. Use full-fat block cream cheese for the structure this pie needs.
- The mixture got looser as you kept beating. Over-mixing can start to break down the dairy structure once the filling is already smooth. Stop when it is creamy, thick, and uniform.
- You have a runny filling before pouring. Chill the bowl briefly, then beat just enough to bring it back together. If it still looks slack, the most likely issue is the dairy choice rather than a missing ingredient.
- The pie still feels soft after chilling. Make sure the refrigerator is cold enough to set a dairy dessert properly. The FDA recommends keeping the refrigerator at or below 40°F for perishable dairy foods.
- The crust softens too quickly. That usually happens after longer storage once the moisture from the filling starts moving into the crumbs. It will still taste good, but the crunch fades first.
If you want a lighter filling, fold in whipped cream or a stabilized whipped topping after the main mixture is smooth. Do not beat it in on high, or you’ll lose the airy texture you were trying to add.
Whipped Cream vs Cool Whip: Choosing Your Texture
These are optional directions if you want to change the feel of the pie without changing the core recipe.
Fresh whipped heavy cream gives the filling a softer, mousse-like texture. It tastes a little fresher and lighter on the tongue, but it also creates a gentler set, so the pie may slice more softly.
Cool Whip gives a more stable, slightly fluffier texture and holds its shape well when chilled. If you use it, fold it in gently after the filling is already smooth rather than beating it aggressively.
If you choose fresh whipped cream, use full-fat whipping cream. Lower-fat products do not whip with the same strength and can leave the filling less structured.
Creative Variations and Crust Swaps
These ideas keep the original pie intact while giving you a few fun ways to change the texture or presentation.
- Swap the graham cracker crust for digestive biscuits if you want a slightly deeper, less honeyed crumb.
- Use Biscoff cookies for a spiced crust that plays especially well with the tart lime filling.
- Stir toasted coconut flakes into the crust for a more tropical crunch and a little extra texture.
- Serve the pie partially frozen on very hot days for a firmer, icebox-style bite.
- Pair slices with a cold strawberry lime mocktail if you’re building out a bright summer dessert spread.
Key Lime Parfaits: Individual Party Desserts
If you want a party version, layer the filling with crushed graham crackers in small mason jars or shooter glasses. You get the same creamy-tart flavor, but in a format that’s easy to pass around at showers, cookouts, and dessert tables.
Keep the layers gentle rather than packed down too firmly. That way each spoonful still feels light instead of dense.
Spiced Crust Variations
Spiced cookies change the mood of the pie more than the filling does. Biscoff brings warm caramel notes, while digestive biscuits give a toasty, mellow crumb that feels a little less sweet.
If you’re serving this at a summer meal with fresh fruit, honey lime fruit salad makes a bright side option that keeps the citrus theme going.
Natural Pale Yellow vs Green Food Coloring
Classic key lime pie filling is usually pale yellow, not bright green. The yellow comes from the dairy and condensed milk, while the lime adds tiny green flecks only if zest is included.
That softer color is a good sign that the pie is staying true to its ingredients. If you skip food coloring, the pie still looks fresh and appealing, just more natural.
Storage and Make-Ahead Instructions
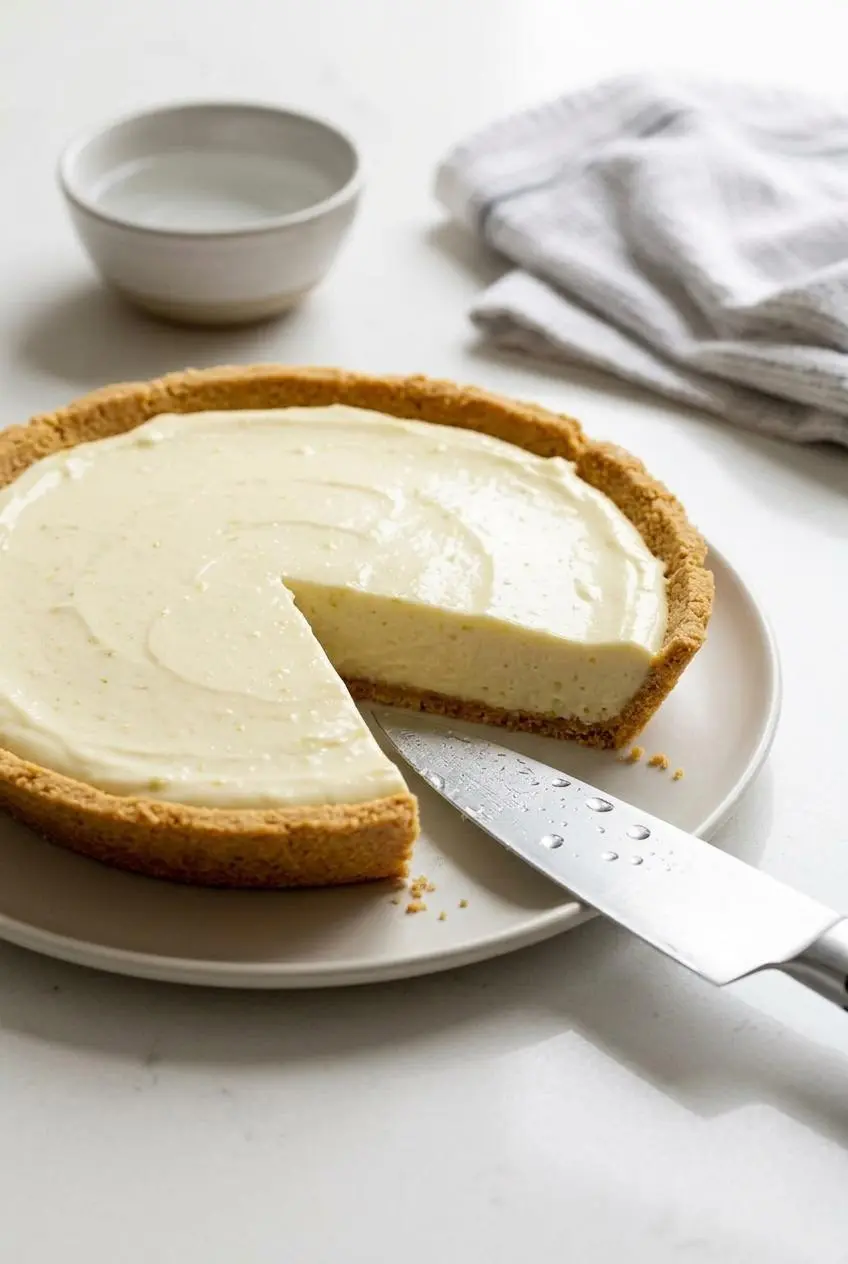
This pie is a great make-ahead dessert because chilling improves the texture. The main thing to protect is the crust, which gradually softens as it sits under the creamy filling.
Refrigeration Limits
Cover the pie tightly and keep it chilled. It holds its texture best while the crust still has some crunch, then the base slowly softens as the filling rests against it.
If you are storing it in the refrigerator, keep dairy desserts cold and covered, and keep your fridge at the proper temperature for perishable foods. The FDA advises refrigerator temperatures at or below 40°F.
How to Freeze Your Pie
You can freeze this pie for up to 3 months. Wrap it first in plastic wrap, then add a layer of foil to protect the texture and limit freezer exposure.
Freeze the pie without whipped cream topping if possible, then add garnishes after thawing or just before serving. Let it sit at room temperature for about 10 minutes before slicing if you want cleaner cuts, or serve it more firmly frozen for an icebox-style texture.
The Perfect Warm-Water Slicing Technique
For clean slices, dip a sharp knife in warm water, wipe it dry, and cut with steady downward pressure. Repeat between slices so the creamy filling does not drag or smear across the surface.
This trick matters even more once the pie is very cold. It keeps the edges smooth and helps the crust break less.
Why No-Bake Icebox Pies Became a Southern Classic
No-bake and icebox pies took off in warm Southern kitchens for a very practical reason. They delivered a cold, satisfying dessert without heating up the house.
In places like Florida, citrus pies became a natural fit because lime offered bright flavor that cut through rich dairy fillings. Chill it, slice it, and suddenly dessert feels like relief.
Conclusion
This pie gets a lot right with very little fuss: creamy filling, bold lime flavor, and that buttery cookie crunch underneath. When the mixture is whipped until thick and chilled fully, the slices come out smooth and glossy instead of soft and slouchy.
It’s a smart dessert for hot weekends, holidays, and casual summer dinners when you want something cool and dependable. Keep it chilled, slice it clean, and let the lime do the heavy lifting.
Frequently Asked Questions
Can I use regular Persian limes instead of key limes?
Yes. Regular Persian limes work beautifully here. They have a very similar tartness. They are much easier to zest and juice. The flavor is slightly less floral, but the pie still tastes bright and classic.
Why does my no-bake key lime pie filling look runny?
A runny filling usually comes down to one of a few texture problems. Warm dairy can keep the filling too soft. Spreadable tub cream cheese adds extra moisture. Over-beating after the filling is already smooth can loosen the structure. The mixture should look thick on a spatula before it goes into the crust.
How long can you freeze no-bake key lime pie?
You can freeze it for up to 3 months. Wrap it tightly in plastic wrap and foil. Freeze it without whipped topping for the best texture. Let it sit at room temperature for about 10 minutes before slicing if you want neater pieces.
Can I use Cool Whip instead of heavy whipping cream?
Yes, if you’re making an optional lighter variation. Cool Whip adds good structure and helps the filling hold its shape. It creates a fluffier texture than the standard version. Fold it in gently rather than beating it hard.
No Bake Key Lime Pie

Equipment
- Large Mixing Bowl
- Electric hand mixer
- Citrus Juicer
Ingredients
- 16 ounces cream cheese softened
- 14 ounces sweetened condensed milk
- 1/3 cup lime juice
- 1 zest of 1 lime divided
- graham cracker crust
Instructions
- Place the softened cream cheese, sweetened condensed milk, lime juice, and 2/3 of the lime zest in a large mixing bowl, then beat on high for about 4 minutes with an electric hand mixer. The filling should turn completely smooth, creamy, and slightly airy, with no visible lumps and enough body to hold on a spatula before it slowly slides off.
- Spoon the filling into the graham cracker crust and spread it into an even layer. The surface should look thick and glossy rather than loose, and it should settle with gentle smoothing instead of running.
- Scatter the remaining lime zest over the top and refrigerate the pie for about 3 to 4 hours, until the filling is set. When ready, the center should look smooth and firm with a soft sheen, and it should no longer wobble like a liquid filling.
- Serve the pie chilled, and garnish with extra lime slices, if desired. The slices should come out creamy and neat, with a cool tangy filling against the crisp crust.