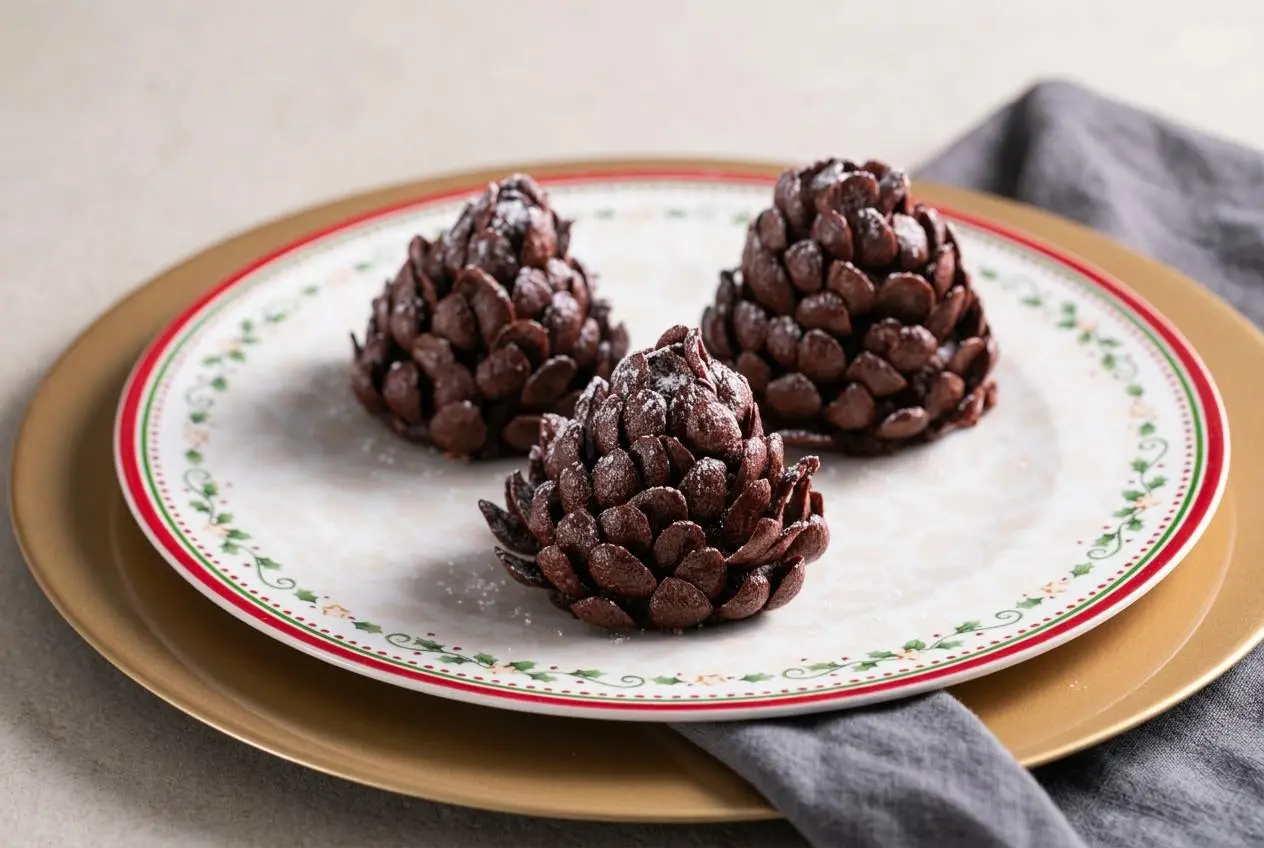
Chocolate pine cones are edible holiday treats made from cookie and cocoa dough covered with chocolate cereal scales. Shape eight cones, decorate them, and chill for at least 30 minutes before adding powdered sugar. They need no baking and about 20 minutes of active prep.
These chocolate pine cones have a rich, fudgy core beneath snowy, crisp scales. The center is a hand-shaped cookie truffle, so there’s no cake to bake or frosting to prepare. Curved cereal pieces give each cone its woodland shape, while a light sugar dusting brings the winter finish.
The decorating takes patience, but you don’t need pastry skills. A smooth dough and intact cereal pieces do most of the work. Keep the cones small, build the scales in rings, and leave room in the refrigerator for their final chill. The crunch is worth the care.
Set out a tray that fits in your refrigerator before you start shaping.
Ingredients and Smart US Grocery Choices
Cookies provide structure, cocoa adds chocolate depth, and sugar balances its bitterness. Butter and milk bring richness and moisture, while chocolate cereal supplies crisp scales and powdered sugar creates the snowy finish.
- Chocolate cereal 3 1/4 cups (100 g)
- Cookies 5.3 oz (150 g)
- Whole milk 0.42 cup (100 g)
- Butter 3 1/2 tbsp (50 g)
- Sugar 4.8 tbsp (60 g)
- Unsweetened cocoa powder 0.3 cup (30 g)
- Powdered sugar to taste
Finely ground cookies absorb the milk and butter to form a cohesive dough. Unsweetened cocoa gives the center its dark flavor without adding more sweetness. Let the melted butter cool before mixing so the dough doesn’t feel warm and greasy or slump as you shape it.
The cereal’s shape matters as much as its flavor. Look for curved pieces with enough surface area to resemble individual scales. Powdered sugar belongs on the finished cones just before serving, rather than mixed into the center.
I’d sort the cereal before mixing the dough, setting aside intact curved pieces so decorating doesn’t turn into a hunt through the box.
Best Chocolate Cereals to Buy in the US
Check the cereal shape before buying, since availability and product formats vary. These options give different results:
- Premier Protein Chocolate Almond: Look for the curved, shell-like pieces that suit larger scales; check local availability rather than counting on every supermarket carrying it.
- Cocoa Pebbles: The smaller, flatter flakes create a more delicate, irregular coating rather than broad, rounded scales.
- Chocapic: This imported chocolate cereal has curved pieces suited to the pine cone effect; check international grocery stores.
- Koko Krunch: Another imported option with curved chocolate pieces that can work well for overlapping scales.
Choose intact pieces over perfect uniformity. Slight differences in size make the cones look natural, especially when you reserve the wider pieces for the bottom.
Choosing the Right Dry Cookies and Measuring Accurately
Use crisp, un-iced cookies without cream filling. Maria cookies and digestive biscuits give a biscuit-like center, vanilla wafers add a softer vanilla flavor, and honey graham crackers bring a toasted sweetness. Soft cookies won’t produce the same dry powder or absorb liquid in the same way.
A kitchen scale makes the decimal measures easier to manage. Weighing 150 g cookies, 100 g milk, and 60 g sugar avoids estimating 0.42 cup or 4.8 tbsp. It improves consistency, though different cookies still absorb moisture differently.
Judge the finished dough by feel: it should resemble soft playdough, bend without cracking, and hold a pointed top without sticking heavily to clean hands.
How to Make the Chocolate Pine Cones Step by Step
Allow about 20 minutes for active preparation, then at least 30 minutes for chilling. This makes eight cones, with no baking required. Have a food processor or mixer, microwave-safe bowl, large mixing bowl, spoon, and tray ready.
- Process the cookies into powder, empty them into the large mixing bowl, and microwave the butter in a separate microwave-safe bowl until melted.
The cookie powder should feel fine and even, with no coarse chunks that could weaken the shaped cones. - Add the cocoa and sugar to the cookie powder, then pour in the butter once it has cooled slightly.
The butter should remain liquid but no longer feel hot, helping the mixture stay workable rather than greasy. - Pour in the milk, combine everything with a spoon, and knead by hand until the dough comes together evenly.
The warmth of your palms helps produce a smooth, pliable mixture with no dry pockets or crumbly edges. - Divide the dough into eight portions, mold each into a small pyramid on the tray, and insert cereal pieces in concentric rings from the narrow top down to the wide bottom.
Press each piece slightly outward so the overlapping scales give the cone depth while its pointed center stays upright. - Refrigerate the decorated cones for at least 30 minutes, then dust them with powdered sugar just before serving.
The centers should feel firm enough to lift gently, and the sugar should form a light snowy coating rather than hide the scales.
Keep the pyramids broad enough at the bottom to stand without support. A tall, narrow center makes decorating harder because pressing cereal into one side can push the cone over.
This method works from top to bottom, which lets you establish the narrow tip first and widen each ring below it. Bottom-up assembly is another approach, but finishing the tip can feel more crowded. For this batch, follow the top-down order and stagger the pieces so the gaps don’t line up.
Tips and Troubleshooting for Realistic Pine Cones
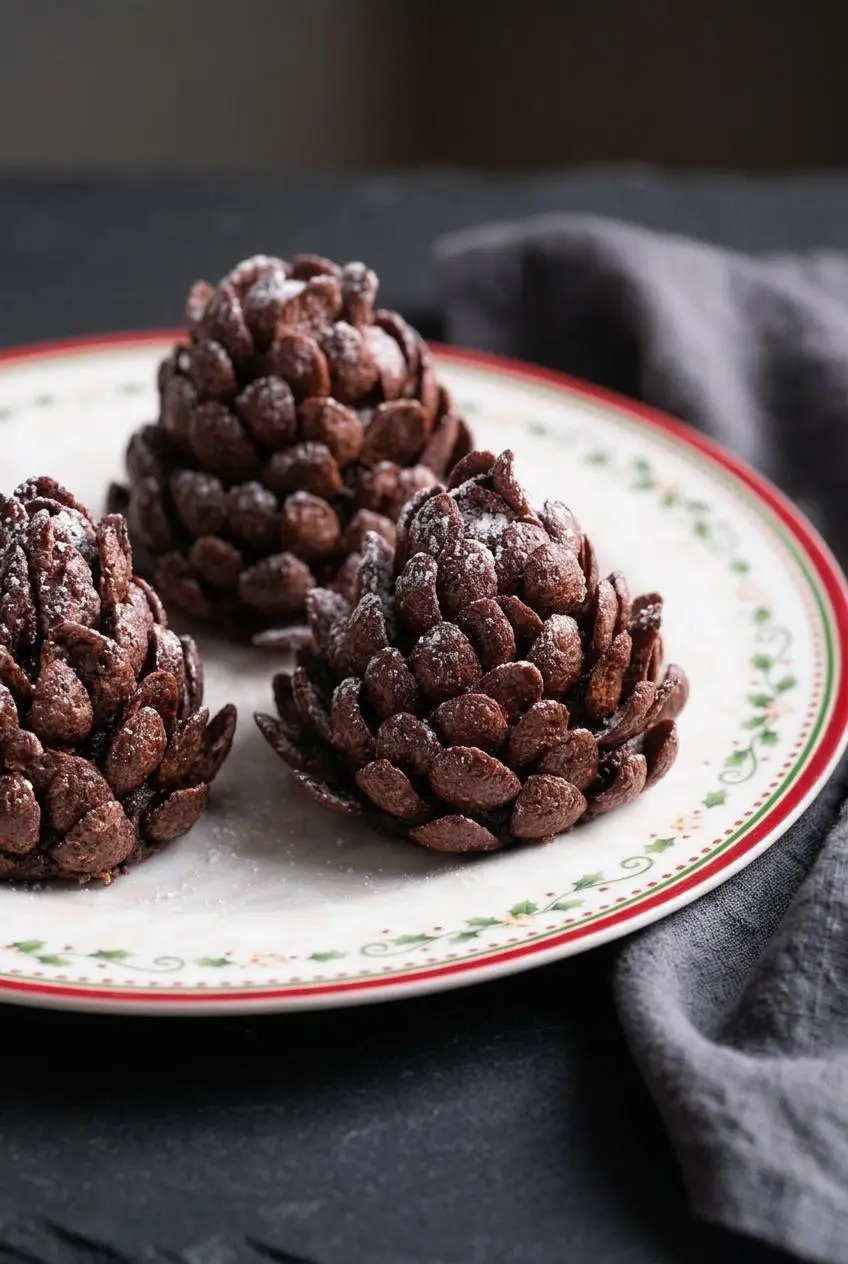
Most assembly problems come from crumb texture, warm dough, or pushing the cereal too hard. Adjust gently rather than remaking the mixture.
- The dough cracks: Coarse crumbs or insufficient moisture can leave weak spots; knead thoroughly, then work in a little milk if it still feels dry.
- The dough sticks heavily: Warm butter or excess moisture can make shaping difficult; let the mixture cool and, if needed, knead in extra finely ground cookie crumbs gradually.
- The cone leans: A narrow bottom offers little support; reshape it with a broader footing before adding more cereal.
- The scales look flat: Pieces pressed flush against the dough lose dimension; leave their outer edges lifted slightly.
- The cereal breaks: Fragile flakes can snap under pressure; hold each piece near the end you’re inserting and push gently.
- The tip looks bulky: Wide pieces crowd the narrow top; use smaller pieces there, or carefully trim a cereal piece diagonally for a neater finish.
Sort the cereal into smaller and wider pieces before assembly. You don’t need identical rows, but a gradual increase in scale size helps the shape read clearly. Leave enough exposed dough between rings to insert the next pieces without crushing the ones already in place.
Popular Variations With Brownies, Cake, and Peanut Butter
These optional versions change the center, not the cereal decoration. Each needs a mixture that holds its shape without crumbling or flowing. They aren’t quantity-for-quantity substitutions for the cookie dough above.
Fudgy Brownie Pine Cones
Use cooled, fully baked fudgy brownies for a chewy center. Scoop the soft interior into portions, compress it gently, and mold it into pyramid shapes before pressing in the cereal.
A moist brownie interior usually holds together more readily than dry edge pieces. Choose fudgy brownies rather than underbaking them for softness. If the crumbs won’t bind when squeezed, they aren’t ready to support the scales.
Chocolate Cake and Nutella or Condensed Milk Cones
Crumble cooled homemade chocolate cake into a bowl, then work in hazelnut spread or sweetened condensed milk gradually until the crumbs form a moldable mixture.
Hazelnut spread adds nutty chocolate richness; condensed milk makes a sweeter, milkier center. A little orange juice is another optional addition with the hazelnut spread, but add it cautiously. Stop adding binder when a squeezed portion holds together without smearing.
Peanut Butter Pretzel Core Cones
Combine peanut butter, chocolate hazelnut spread, softened butter, and powdered sugar into a firm, moldable dough. Shape it around an upright pretzel rod, keeping the bottom broad enough to stand, then cover it with cereal scales.
The pretzel adds a salty crunch through the middle. This version has a distinct nut-butter flavor, so it suits a different craving than the cocoa-cookie center.
Bright Orange Zest and Sea Salt
For an optional flavor change, knead finely grated orange zest and a light pinch of flaky sea salt into the cookie dough before shaping. Use the colored zest, avoiding the bitter white pith.
The citrus aroma brightens the rich cocoa and butter, while salt sharpens the chocolate flavor. Keep both additions restrained so they complement the center without making it salty or disrupting its texture.
Storage and Keeping the Cereal Crisp
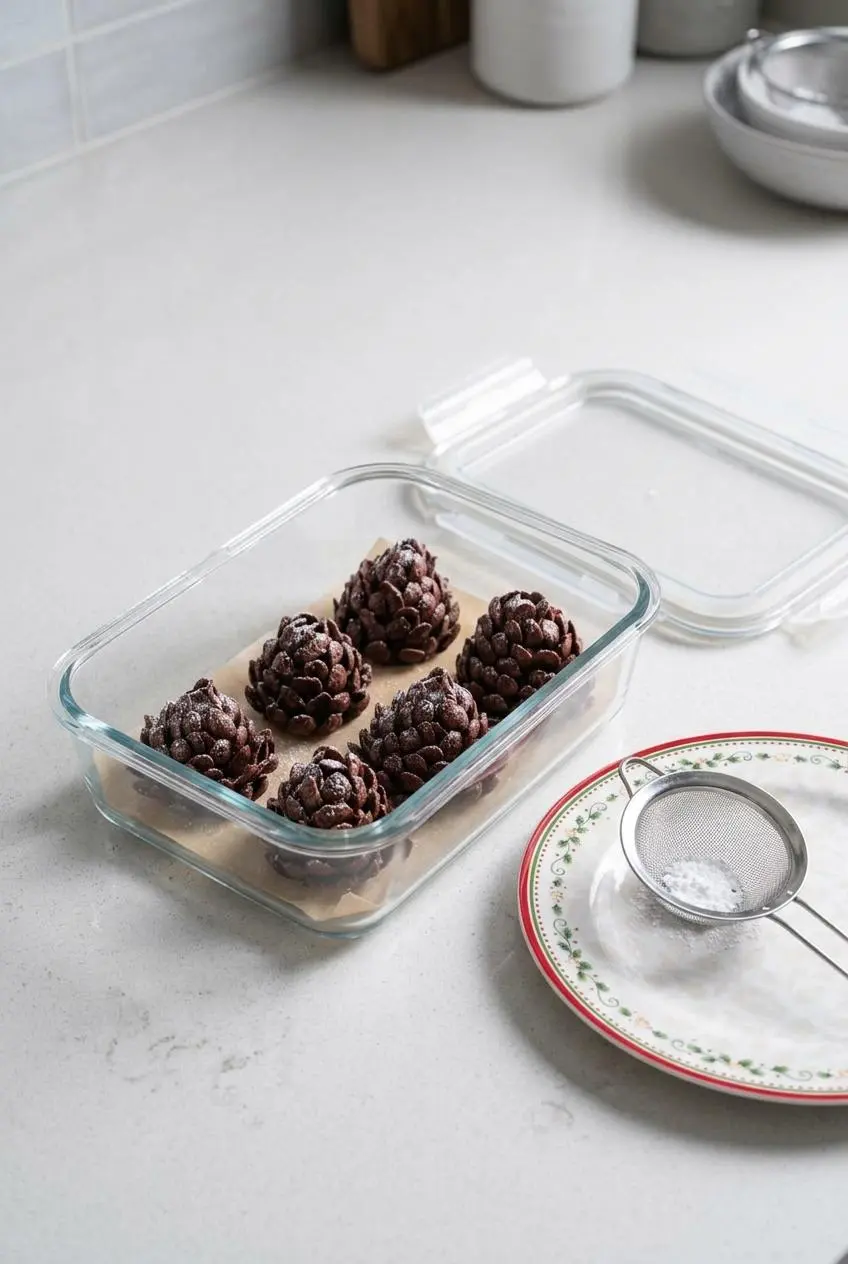
Moisture is the main obstacle to crisp cereal scales. Keep finished cones covered in the refrigerator, using a container deep enough that the lid doesn’t press against their tips.
Arrange them in a single layer with space between the cones. Stacking can crush the cereal, and tightly crowding them makes it difficult to lift one without disturbing its neighbors.
Keep unused cereal dry and separate from the dough until assembly. Complete the required chill, then add powdered sugar immediately before serving. Moisture can dissolve the sugar and soften the coating, so a longer hold won’t improve its texture.
Because the centers contain milk, keep them chilled when they aren’t being served. For a holiday platter, bring out a manageable batch rather than leaving the entire tray in a warm room.
Festive Serving and Holiday Centerpiece Ideas
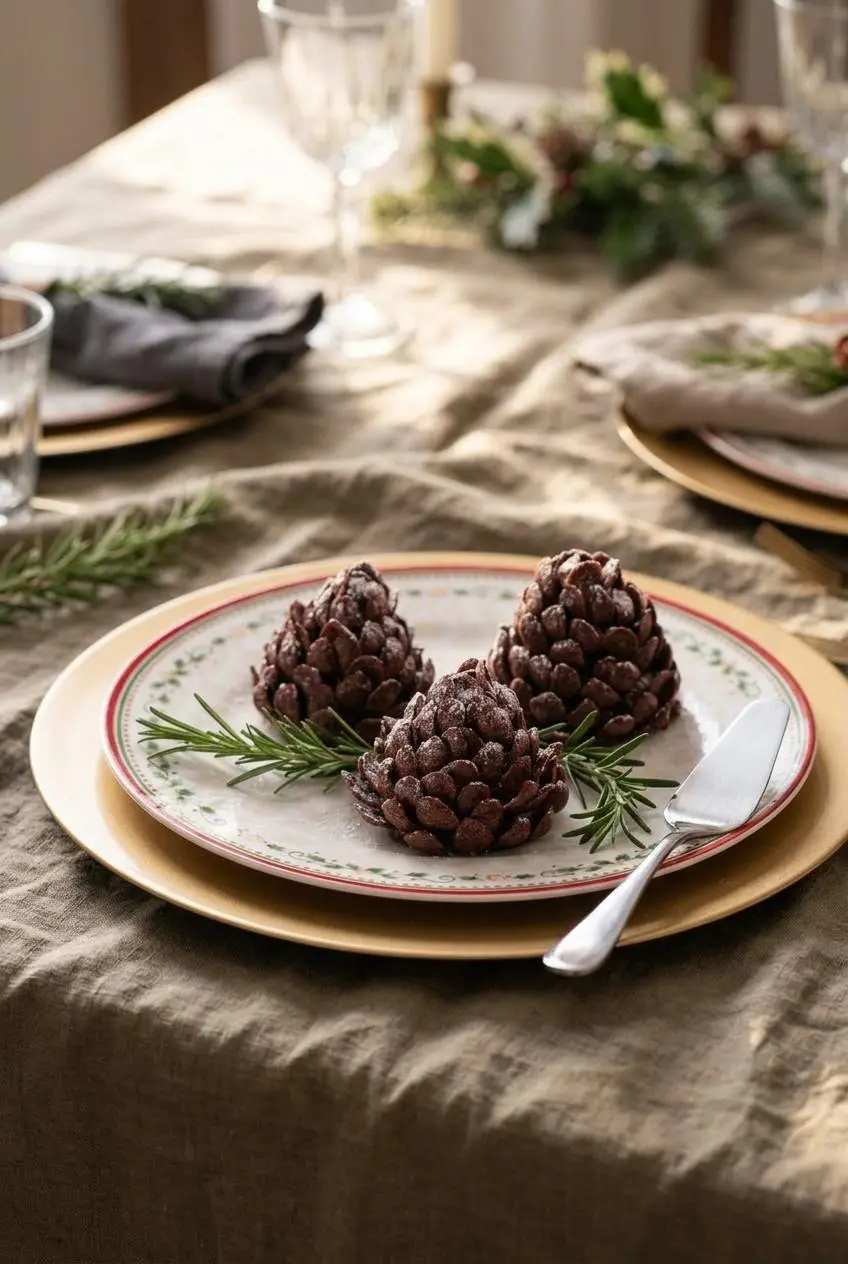
Move each cone by supporting its bottom, not gripping the cereal scales. A small spatula helps transfer them without losing the decoration.
- Winter dessert board: Arrange the cones with clean rosemary sprigs around them to suggest pine needles without adding rosemary to the dough.
- Woodland cake centerpiece: Place a few on a frosted chocolate Swiss roll decorated as a Yule log, leaving space to slice the cake.
- Holiday treat boxes: Use parchment liners and boxes with enough headroom to protect the cereal tips; keep the treats chilled rather than treating them as shelf-stable gifts.
Conclusion
These no-bake cones turn a fudgy cookie center and crisp cereal into a festive dessert with about 20 minutes of hands-on preparation. Sort intact cereal pieces first, then give each cone time to firm up in the refrigerator.
Add the powdered sugar just before serving for the freshest snowy finish. If you enjoy citrus with chocolate, try the optional orange zest and sea salt. A little patience with the scales makes the whole tray feel special.
Frequently Asked Questions
What Kind of Chocolate Cereal Works Best for Making Chocolate Pine Cones in the US?
Curved, shell-like chocolate cereal gives the most recognizable scales. Look for Premier Protein Chocolate Almond where available, or imported Chocapic and Koko Krunch at international markets. Cocoa Pebbles works for smaller, flatter scales, though the finished texture looks less rounded.
Does the Cereal on Chocolate Pine Cones Get Soggy in the Refrigerator?
It can soften as it absorbs moisture from the center and refrigerator environment. Keep the cones covered without crushing their scales, avoid unnecessary holding, and add powdered sugar right before serving. Refrigeration firms the dough but doesn’t preserve cereal crunch indefinitely.
What Type of Dry Cookies Should I Use for the No-Bake Chocolate Center?
Choose crisp, un-iced cookies that grind into fine powder. Maria cookies, digestive biscuits, vanilla wafers, and honey graham crackers are suitable options. Avoid cream-filled or soft cookies, which change the moisture and fat balance of the dough.
Can I Make Chocolate Pine Cones With Brownies or Cake Instead of Crushed Cookies?
Yes. Shape cooled, fully baked fudgy brownies directly into cones, or bind crumbled chocolate cake with hazelnut spread or sweetened condensed milk. Add cake binder gradually and check that the mixture holds a point before inserting cereal scales.
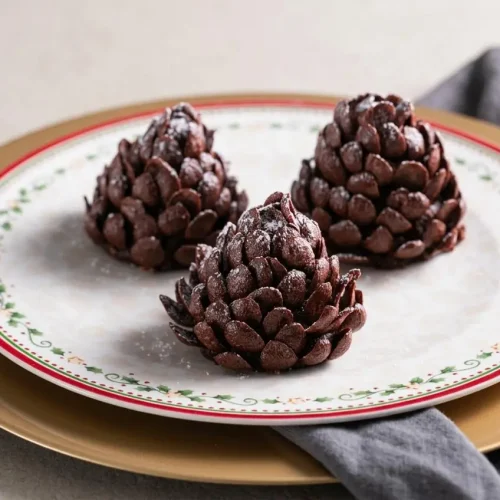
Chocolate Pine Cones

Equipment
- Mixer
- Microwave
- Tray
Ingredients
- 3 1/4 cups Chocolate cereal (100 g)
- 5.3 oz Cookies (150 g)
- 0.42 cup Whole milk (100 g)
- 3 1/2 tbsp Butter (50 g)
- 4.8 tbsp Sugar (60 g)
- 0.3 cup Unsweetened cocoa powder (30 g)
- Powdered sugar to taste
Instructions
- Process the cookies into powder, empty them into the large mixing bowl, and microwave the butter in a separate microwave-safe bowl until melted. The cookie powder should feel fine and even, with no coarse chunks that could weaken the shaped cones.
- Add the cocoa and sugar to the cookie powder, then pour in the butter once it has cooled slightly. The butter should remain liquid but no longer feel hot, helping the mixture stay workable rather than greasy.
- Pour in the milk, combine everything with a spoon, and knead by hand until the dough comes together evenly. The warmth of your palms helps produce a smooth, pliable mixture with no dry pockets or crumbly edges.
- Divide the dough into eight portions, mold each into a small pyramid on the tray, and insert cereal pieces in concentric rings from the narrow top down to the wide bottom. Press each piece slightly outward so the overlapping scales give the cone depth while its pointed center stays upright.
- Refrigerate the decorated cones for at least 30 minutes, then dust them with powdered sugar just before serving. The centers should feel firm enough to lift gently, and the sugar should form a light snowy coating rather than hide the scales.