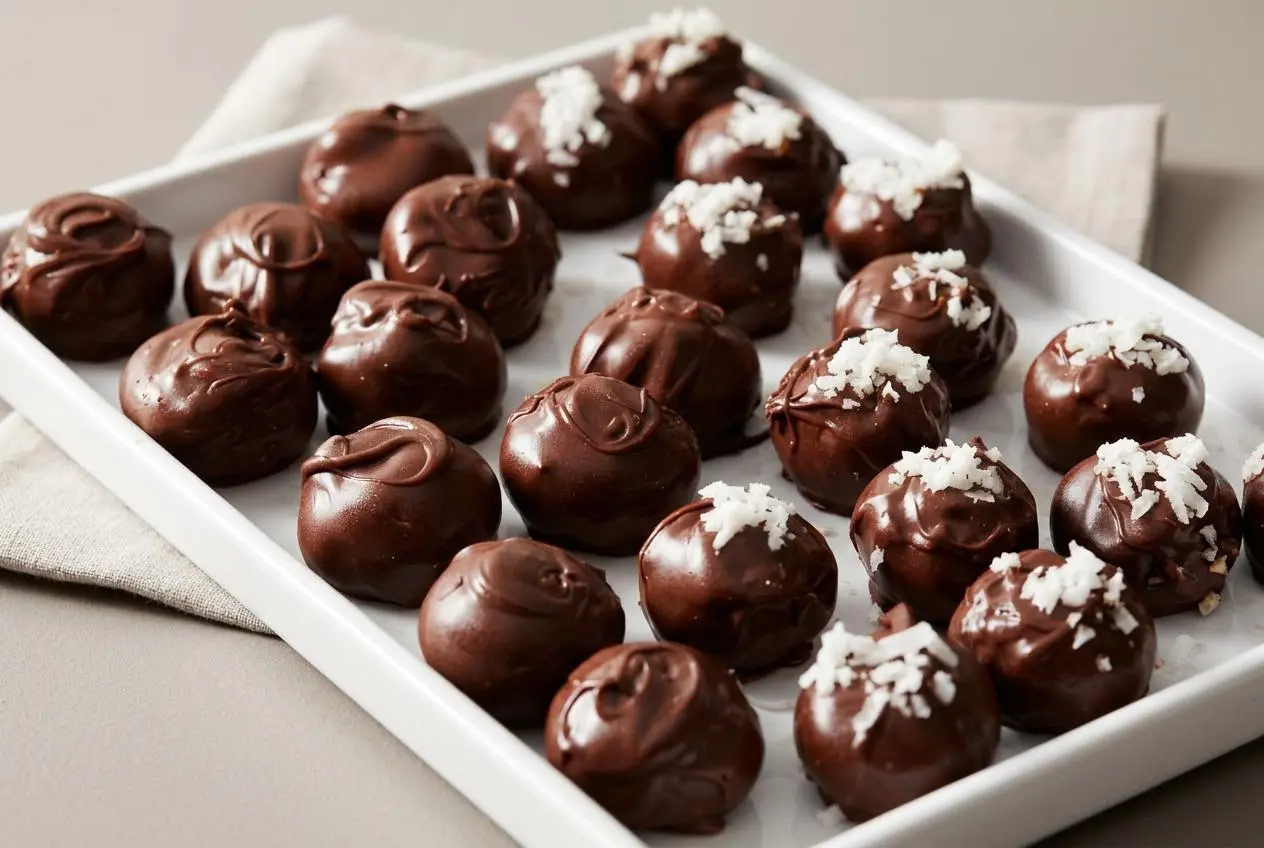
Martha Washington candy is a no-bake chocolate bonbon with a creamy filling of butter, sweetened condensed milk, confectioners’ sugar, coconut, and toasted pecans. Two rounds of chilling help the centers hold their shape for a smooth chocolate coating.
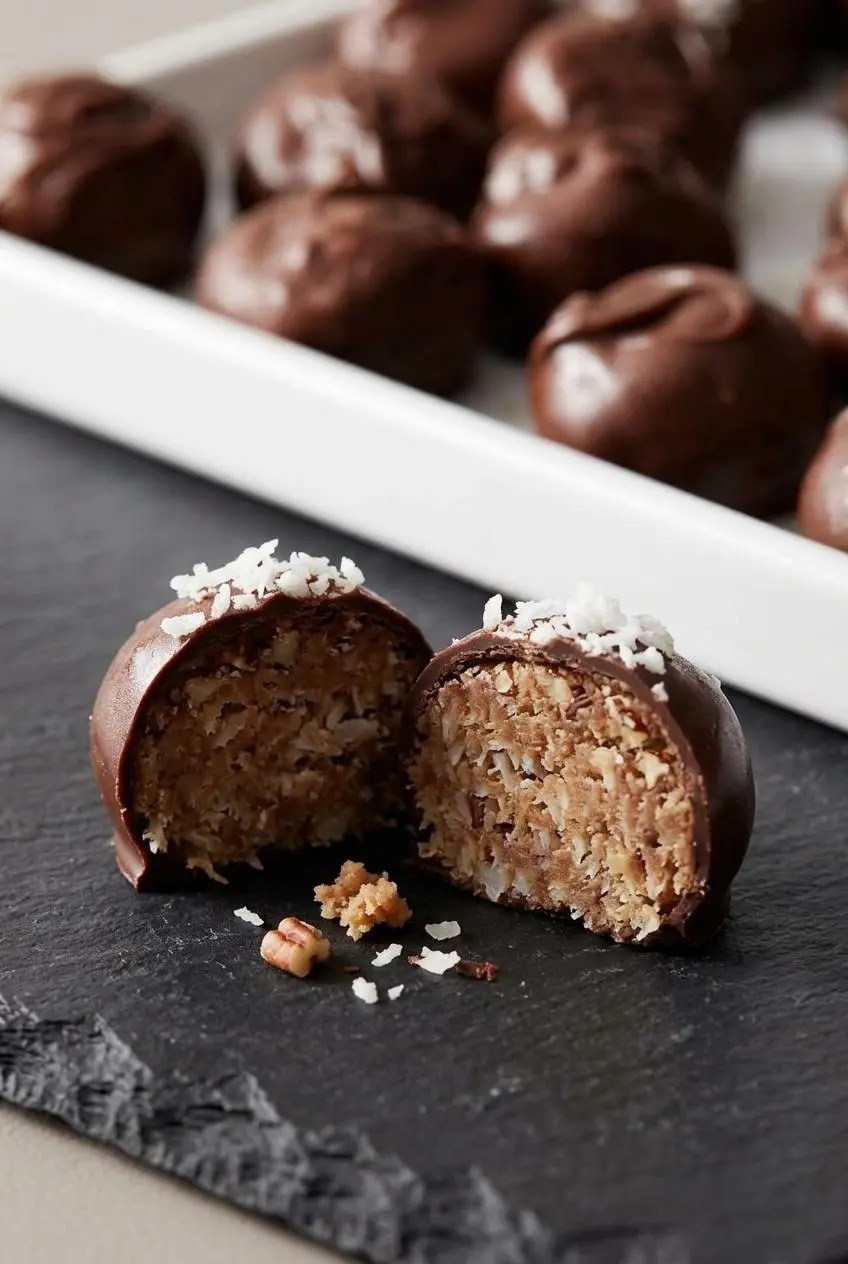
Each bite brings together a buttery center, chewy coconut, and the nutty crunch of toasted pecans. Semisweet chocolate balances the sweet filling without hiding its flavor.
This generous batch works beautifully for Christmas trays and candy tins, but leave room in your schedule for chilling. Cold centers make the dipping easier. That’s the trick behind a neat chocolate shell.
Clear refrigerator space for your baking sheets before mixing the filling.
What You Need to Make Martha Washington Candy
Butter and condensed milk give the centers richness, confectioners’ sugar provides structure, and coconut and pecans add chew and crunch. Vanilla rounds out the filling, while semisweet chocolate and shortening create a fluid coating for dipping.
- 1 cup butter, softened
- 4 cups confectioners’ sugar
- 1 can (14 ounces) sweetened condensed milk
- 1 teaspoon vanilla extract
- 3 cups sweetened shredded coconut
- 2 cups chopped pecans, toasted
- 6 cups semisweet chocolate chips
- 1/4 cup shortening
Gather a hand mixer or stand mixer, a large mixing bowl, baking sheets, waxed paper, and a double boiler. A metal bowl set over a saucepan also works for the coating.
Butter, Condensed Milk, Coconut, and Pecans
Use real butter softened enough to blend, not melted. It supplies richness and helps the refrigerated filling become firm. Confectioners’ sugar dissolves into the mixture while giving it body, and sweetened condensed milk binds everything together. Vanilla softens the edges of all that sweetness.
Evaporated milk isn’t a direct substitute: it lacks the concentrated sugar that this filling needs. Margarine also has a different composition and may change how the centers set.
Sweetened shredded coconut contributes moisture, sweetness, and substantial texture. Unsweetened coconut changes that balance. Toasted pecans provide a crisp contrast, so chop them small enough to distribute throughout each bite.
I’d let the toasted pecans cool completely before adding them so their warmth doesn’t soften the butter-rich filling.
Comparing Chocolate Coating Options
- Semisweet chocolate chips with shortening: This is the coating used below. Shortening makes the melted chocolate more fluid so excess coating drains away more readily.
- Chocolate almond bark: Use this optional confectionery coating instead of the entire chocolate-and-shortening mixture, following its package directions. Don’t add it to the listed coating formula.
- Paraffin coatings: Some older candy methods use paraffin explicitly intended for food use, but it isn’t needed here. Don’t improvise a wax ratio or use household candle wax.
How to Make Martha Washington Candy Step by Step
Allow about 45 minutes for preparation, plus 1 hour 30 minutes of scheduled chilling and additional refrigeration until the chocolate sets. The yield is about 5-1/2 dozen, so the preparation estimate is not the complete elapsed time.
- Use a mixer and a large bowl to combine the softened butter, confectioners’ sugar, sweetened condensed milk, and vanilla, then fold in the coconut and toasted pecans.
The filling should look evenly mixed, with coconut and nuts distributed throughout the soft mixture. - Separate the filling into two portions, cover them, and refrigerate for 1 hour.
The chilled mixture should feel firmer and scoopable rather than loose. - Keep one portion refrigerated while rolling the other into 1-inch balls on waxed paper-lined baking sheets, then repeat with the remaining portion and refrigerate the shaped centers for 30 minutes longer.
The balls should hold their rounded shape without slumping. - Gently heat the chocolate chips and shortening in a double boiler or metal bowl over barely simmering water, stirring as they melt.
The coating is ready when it looks smooth and flows easily from the spoon. - Coat each chilled ball in melted chocolate, let the excess drain, and transfer it back to the waxed paper, adding extra coconut on top if desired.
A thin, even coating should cover the center without leaving a large puddle underneath. - Refrigerate the coated candies until the shells set, then keep them refrigerated in an airtight container.
The finished chocolate should feel firm rather than wet or tacky.
Mix the Filling and Chill for 1 Hour
Blending the butter, sugar, condensed milk, and vanilla first creates an even foundation before the coconut and pecans go in. Expect the freshly mixed filling to feel somewhat soft. Its covered chill turns it into a firmer, fudge-like paste that’s easier to portion.
Roll 1-Inch Balls and Chill Again
Working with half the filling keeps the rest from warming while you roll. Aim for consistent centers rather than perfectly polished spheres. The second chill firms them again after handling, helping them withstand the warm coating.
Melt, Dip, and Refrigerate Until Set
Keep the water barely simmering, not boiling vigorously. Gentle warmth lets the coating melt without unnecessary heat. Let excess chocolate drain before placing each candy on the paper, then refrigerate until the coating holds firm; no fixed setting time is needed.
Expert Candy-Making Tips and Troubleshooting
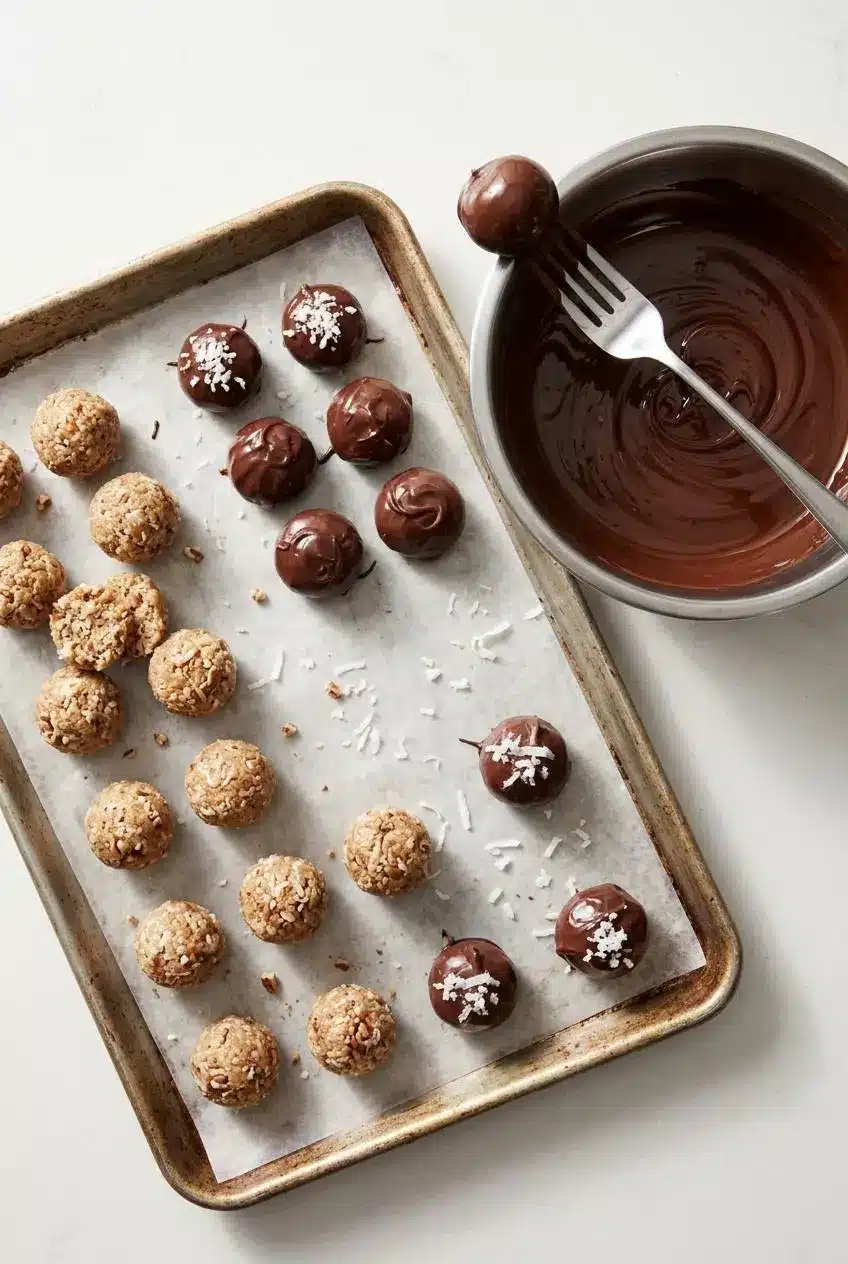
Temperature causes most rolling and dipping frustrations here. Keep the filling cold and the coating gently warm, rather than trying to rush either stage.
How to Toast Pecans for a Fragrant Filling
To prepare the toasted pecans, spread them on a baking sheet and toast at 350°F for 6 to 10 minutes. Watch for a lightly deepened color and a fragrant, nutty aroma. Chopped nuts can move from toasted to scorched quickly.
Transfer them promptly to a cool plate to stop the cooking, then cool completely before mixing. Warm pecans can soften the butter and make the filling harder to handle.
Fixing Sticky Dough and Thick Dipping Chocolate
- Filling is too soft to roll: Check your measurements and confirm you used sweetened condensed milk and real butter. Try additional chilling before changing the formula.
- Filling stays unusually sticky: As a last-resort adjustment, work in confectioners’ sugar gradually. This changes sweetness and texture, so avoid adding it automatically.
- Centers soften during dipping: Bring out roughly a dozen at a time and keep the remaining shaped balls refrigerated. Return soft centers to the refrigerator before continuing.
- Chocolate thickens as it cools: Return it briefly to gentle double-boiler warmth and stir until fluid again. Don’t increase the heat sharply.
- Chocolate turns grainy or pasty: Moisture may have caused it to seize. Keep water and steam out of the bowl; adding water isn’t a dependable rescue for a dipping coating.
Dipping Forks That Leave Less Chocolate on the Paper
An ordinary metal fork or candy-dipping fork works well. Lift the coated center, let the chocolate drain, and gently tap the fork against the bowl rim before sliding the candy onto the paper. This reduces the wide chocolate “foot” underneath.
A plastic fork with its two center tines removed is an optional homemade alternative. Discard any fork with cracks or loose fragments. For portioning, a small scoop or melon baller helps keep the centers close to the required 1-inch size.
Variations and Custom Swaps for Coconut Bonbons
Customize flavor without treating every ingredient as interchangeable. Additions that bring extra moisture or fat can change how the filling rolls and sets.
Adding Maraschino Cherries Without Soggy Dough
For an optional cherry version, chop maraschino cherries and spread them on paper towels to dry for 2 hours before folding them into the filling. Their surfaces should look dry, without visible juice. Wet cherries can loosen the mixture and make shaping frustrating.
Almond Joy Style and Other Nut Swaps
- Toasted almonds: Use these instead of pecans for an Almond Joy-style combination of coconut, almond, and chocolate.
- Macadamias: These give the centers a buttery flavor and a different crunch.
- Hazelnuts: Choose these for a more pronounced toasted-nut flavor alongside the chocolate.
Chop any optional nuts into manageable pieces so they don’t make the centers difficult to shape or coat.
No-Coconut, Peanut Butter, and Decorative Toppings
- No coconut: Coconut supplies substantial bulk and texture. Simply leaving it out won’t produce an equivalent filling; choose a separately formulated adaptation.
- Peanut butter: Adding it changes the fat balance and consistency. Use a tested formulation, such as old-fashioned potato candy, rather than improvising a swap here.
- Decorative finishes: Add an optional white chocolate drizzle after the shells set, or decorate the still-wet coating with crushed nuts or festive sprinkles.
- A salty finish: A light pinch of flaky salt on the shell offers contrast to the sweet center.
How to Store and Serve Martha Washington Candy
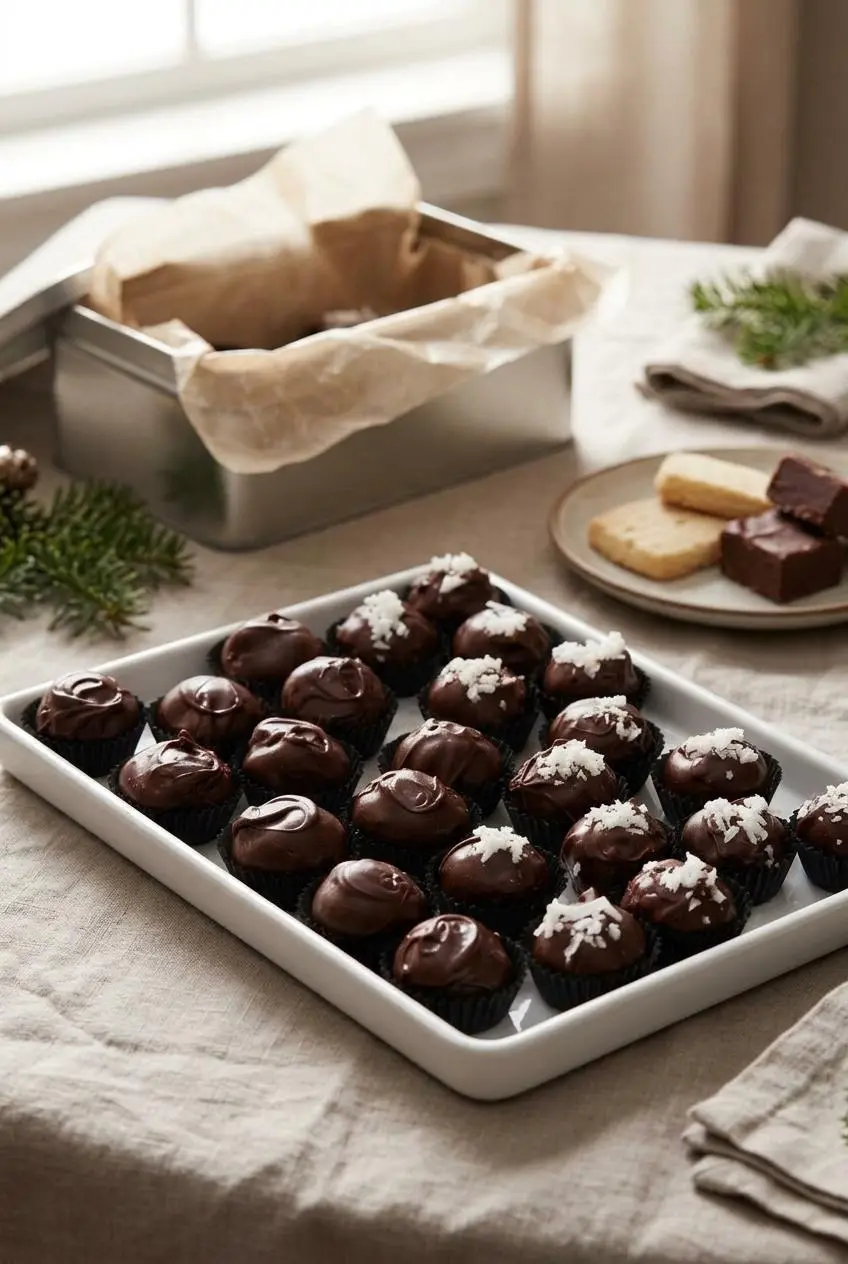
Keep the finished candies refrigerated in an airtight container. Separate layers with waxed paper to prevent sticking and protect the chocolate finish.
Refrigerating a Holiday Batch
Let the shells set before stacking or packing the candies. Choose a container that closes securely and leaves room for protective paper between layers. Refrigeration also keeps the butter-rich centers firm.
Pack serving portions separately if that makes holiday trays easier to assemble. Keep the main batch chilled rather than bringing the whole container into a warm kitchen each time.
Candy Cups, Christmas Trays, and Gift Tins
Mini paper candy cups keep the bonbons tidy on Christmas trays. Pair them with rich Texas fudge or shortbread for contrasting textures.
For gifts, line tins with waxed paper and explain that the candies need refrigeration. Include an ingredient list noting dairy, coconut, and pecans. Serve chilled or allow a brief period at cool room temperature, keeping the centers firm and avoiding extended warm display.
Conclusion
Creamy coconut-pecan centers and a smooth chocolate coating make these bonbons a lovely addition to a holiday candy tray. Give both chilling stages their full time for easier shaping and dipping.
Tuck them into candy cups or arrange them in a paper-lined tin. Keep the batch chilled, and bring out a serving when it’s time to share.
Frequently Asked Questions
What Is Martha Washington Candy and Why Is It Called That?
It’s a chocolate-coated bonbon filled with butter, confectioners’ sugar, sweetened condensed milk, coconut, and pecans. The name doesn’t establish that Martha Washington made it, and its precise naming history isn’t confirmed here.
Does Martha Washington Candy Have to Be Refrigerated?
Yes. Keep the candies in an airtight container in the refrigerator as directed. The butter-rich filling softens when warm, so bring out serving portions rather than leaving the whole batch on display.
How Should I Keep Martha Washington Candy for Christmas?
Refrigerate the set candies in a tightly closed container with waxed paper between layers. Pack them only after the shells firm up, and keep gift tins refrigerated until you’re ready to give them.
Can I Use Almond Bark or Paraffin Wax Instead of Shortening in the Chocolate?
Chocolate almond bark can replace the entire coating when you follow its package directions; it isn’t an addition to the chocolate-and-shortening mixture. Paraffin belongs to a separate vintage method and isn’t necessary here. Don’t improvise a ratio or use nonfood wax.
Can I Make Martha Washington Candy Without Coconut or Pecans?
Changing the nut choice is more straightforward than removing coconut, which contributes substantial structure. Omitting either ingredient changes the filling. For a coconut-free or nut-free version, choose a tested adaptation rather than guessing at replacements.
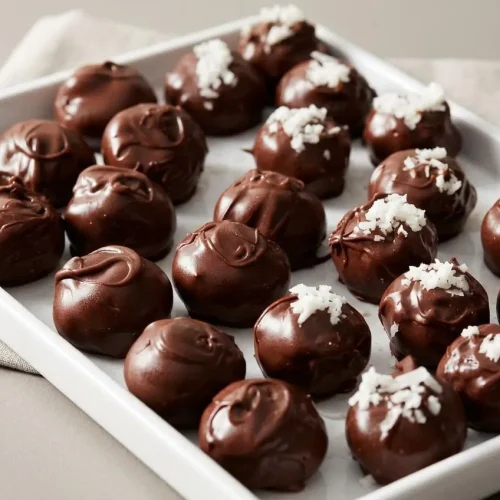
Martha Washington Candy

Equipment
- Hand Mixer or Stand Mixer
- Baking Sheets
- Waxed paper
- Double Boiler
Ingredients
- 1 cup butter softened
- 4 cups confectioners’ sugar
- 1 can (14 ounces) sweetened condensed milk
- 1 teaspoon vanilla extract
- 3 cups sweetened shredded coconut
- 2 cups chopped pecans toasted
- 6 cups semisweet chocolate chips
- 1/4 cup shortening
Instructions
- Use a mixer and a large bowl to combine the softened butter, confectioners’ sugar, sweetened condensed milk, and vanilla, then fold in the coconut and toasted pecans. The filling should look evenly mixed, with coconut and nuts distributed throughout the soft mixture.
- Separate the filling into two portions, cover them, and refrigerate for 1 hour. The chilled mixture should feel firmer and scoopable rather than loose.
- Keep one portion refrigerated while rolling the other into 1-inch balls on waxed paper-lined baking sheets, then repeat with the remaining portion and refrigerate the shaped centers for 30 minutes longer. The balls should hold their rounded shape without slumping.
- Gently heat the chocolate chips and shortening in a double boiler or metal bowl over barely simmering water, stirring as they melt. The coating is ready when it looks smooth and flows easily from the spoon.
- Coat each chilled ball in melted chocolate, let the excess drain, and transfer it back to the waxed paper, adding extra coconut on top if desired. A thin, even coating should cover the center without leaving a large puddle underneath.
- Refrigerate the coated candies until the shells set, then keep them refrigerated in an airtight container. The finished chocolate should feel firm rather than wet or tacky.