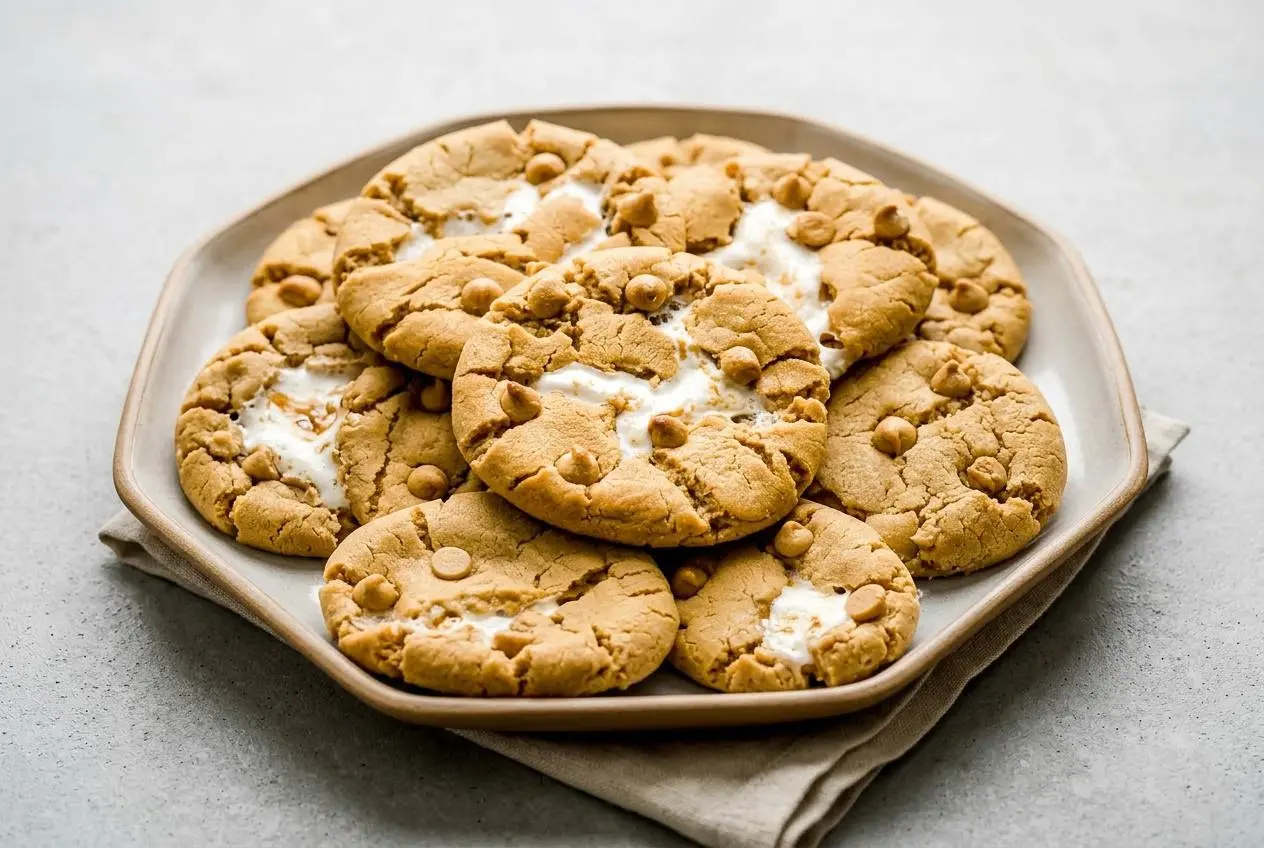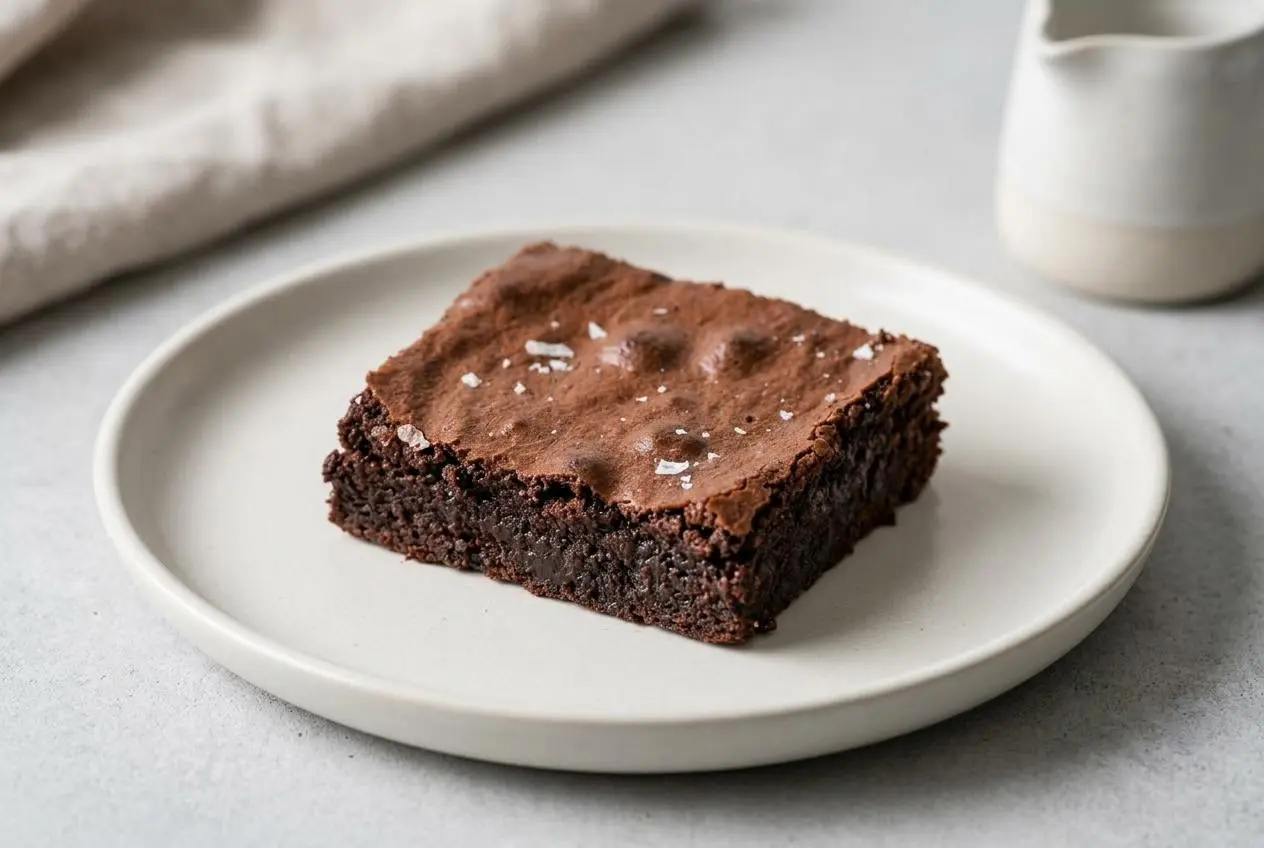
For thick, fudgy brownies with a glossy crust, use measure-for-measure gluten-free flour with xanthan gum, whisk sugar into warm melted chocolate and butter, and bake until the center is set with moist crumbs on a tester.
This gluten free brownie recipe makes rich chocolate squares with chewy edges, a dense center, and plenty of melted chocolate in every bite.
Warm butter, cocoa, and chocolate create an aroma that makes the cooling time feel longer than it is. The crackly top is worth the wait.
Set out the eggs before melting the chocolate so they blend smoothly into the warm batter without cooling it too quickly.
Essential Ingredients for Gluten Free Brownies
Each ingredient supports the brownies’ rich flavor, fudgy texture, chewy structure, glossy crust, or deep chocolate aroma.
- 10 tablespoons (140g) salted butter
- 1/2 cup (85g) high quality semi-sweet chocolate chips (I like Guittard)
- 1/2 cup (105g) brown sugar
- 3/4 cup (150g) granulated sugar
- 2 large eggs + 1 egg yolk
- 1 teaspoon vanilla extract
- 1/2 teaspoon espresso powder ((optional))
- 1/2 teaspoon kosher salt
- 1/3 cup (25g) unsweetened cocoa powder
- 3/4 cup (115g) gluten-free measure-for-measure flour
- 1 cup chocolate chips ((for mixing in!))
Butter carries the chocolate flavor and gives the brownies their soft, dense bite. Melted semi-sweet chocolate provides richness and chew, while cocoa powder deepens the chocolate flavor as it blends into the warm fat. The brown sugar contributes moisture and a faint caramel note; granulated sugar helps create the shiny crust.
The extra egg yolk adds richness and helps the batter stay fudgy rather than cakey. Vanilla rounds out the chocolate, espresso powder makes the cocoa taste fuller without making the brownies taste like coffee, and kosher salt keeps the sweetness in balance. The final chocolate chips leave little molten pockets throughout each square.
I prefer chocolate chips with a flavor you enjoy straight from the bag, because their taste stays noticeable in a brownie this chocolate-forward.
Flour Blend Selection and Xanthan Gum
A 1-to-1 gluten-free measure-for-measure flour blend is the best fit here. Look for one containing rice flour, potato starch, and xanthan gum. Rice flour gives the batter body, while starch helps it bake into a tender, dense crumb instead of a dry cake-like square.
Xanthan gum gives the batter the stretch and cohesion that wheat flour normally provides. Without that binder, gluten-free brownies can crumble at the edges or feel sandy when sliced. Avoid adding extra xanthan gum unless your flour blend specifically calls for it. Too much can make the center feel gummy rather than fudgy.
Spoon the flour into the measuring cup and level it off rather than packing it down. A heavy scoop can add more flour than intended, which steals moisture from the finished brownies.
Dairy-Free Butter and Chocolate Swaps
To make dairy-free gluten-free brownies, use solid plant butter baking sticks in place of the salted butter and choose dairy-free semi-sweet chocolate chips for both chocolate additions. Baking sticks behave more like butter when melted, helping the batter stay smooth and cohesive.
A soft tub-style spread can contain extra water and may make the melted mixture look greasy or separated. Keep the plant butter and chocolate warm while you whisk in the sugars, then continue with the method as written. The result will still be rich, dense, and deeply chocolatey.
How to Make Gluten Free Brownies
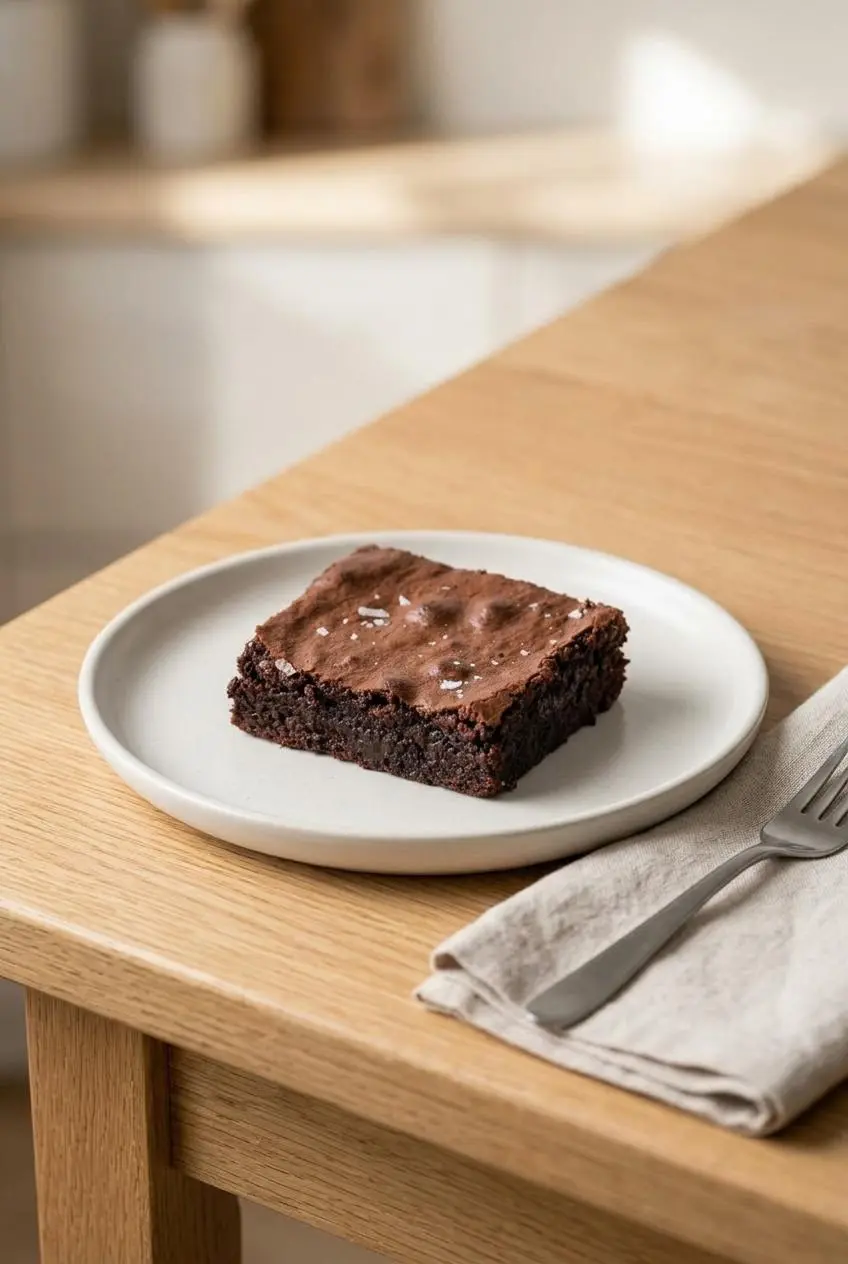
These brownies come together in one main bowl, but the order matters. Keeping the chocolate mixture warm while the sugar dissolves gives the batter the glossy foundation needed for a crackly top.
- Heat the oven to 350°F and coat a 9×9 baking dish with cooking spray.
A light-colored metal pan encourages even baking and helps the corners stay tender. - Place the butter pieces and the 1/2 cup (85g) semi-sweet chocolate chips in a large microwave-safe bowl, then microwave for 30 seconds.
Stir thoroughly, then continue heating in 15-second bursts and stirring after each burst until the mixture is fully melted and glossy. - Whisk the brown sugar and granulated sugar into the warm chocolate-butter mixture for 1 minute.
The mixture should look slightly lighter, thicker, and shinier as the sugar begins to dissolve. - Add the eggs one at a time, whisking each for 20 seconds before adding the next, then whisk in the egg yolk, vanilla, espresso powder, and salt.
The batter should become smooth and ribbony, with no streaks of egg remaining. - Use a rubber spatula to fold in the cocoa powder and gluten-free flour until no dry patches remain, then fold in the chocolate chips.
Stop mixing as soon as the batter looks uniformly dark and thick to keep the brownies dense. - Spread the batter evenly in the prepared pan and bake for 30 to 35 minutes.
The edges should look set and pull away slightly from the pan, while a tester in the center should show moist crumbs but no wet batter. - Let the brownies cool in the pan for 30 minutes before slicing.
The center firms as it cools, giving you cleaner cuts and a fudgier texture.
For an optional crunchy contrast, fold toasted chopped walnuts or pecans into the batter with the chocolate chips. You can also sprinkle flaky sea salt over the surface before baking for a sweet-salty finish.
Want a classic dessert plate? Serve a slightly warm square with vanilla bean ice cream, or dust cooled brownies lightly with powdered sugar.
Technique for the Perfect Crackly Top
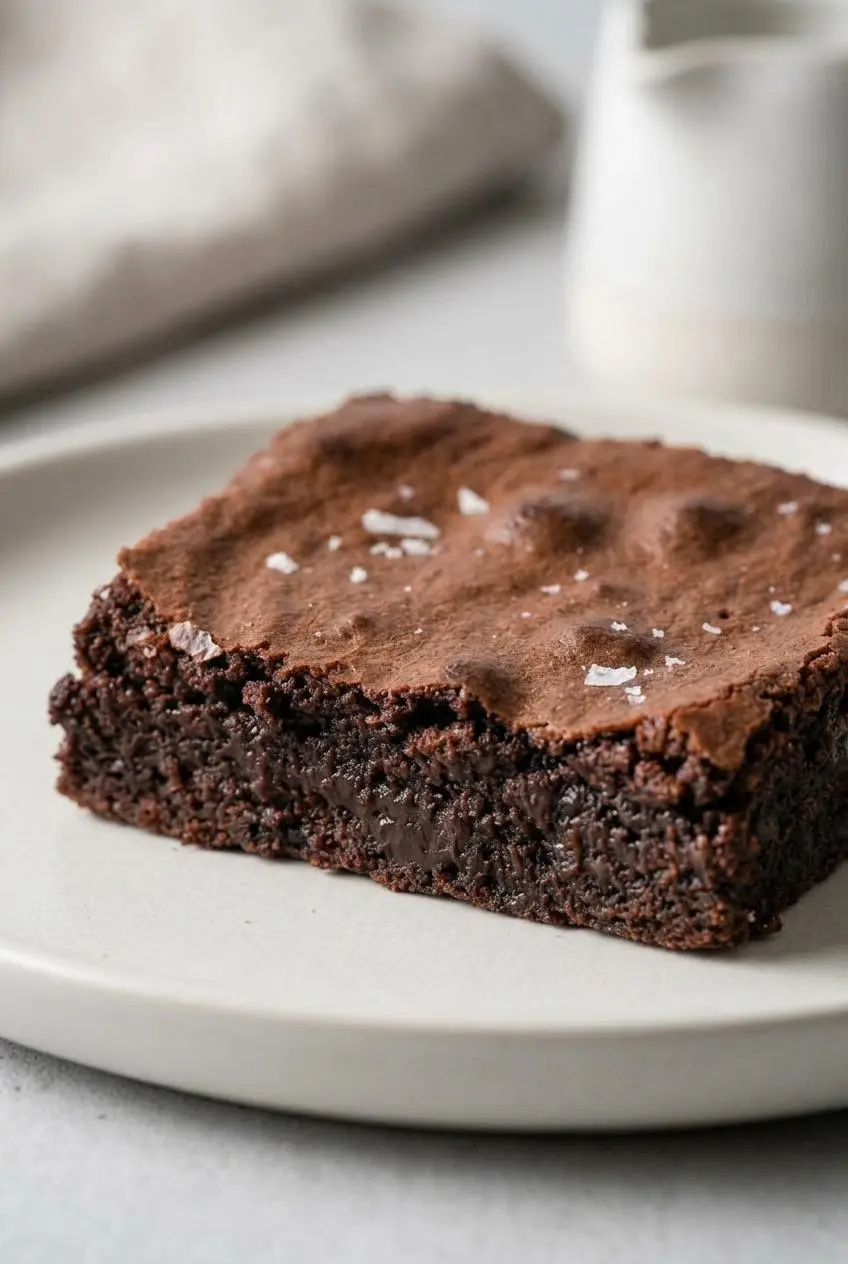
A shiny crackly top comes from deliberate mixing, not luck. The key is whisking both sugars into the melted butter and chocolate while the mixture is still noticeably warm. Warm fat helps the sugar begin dissolving before the eggs go in.
Once the eggs and extra yolk are whisked into that warm sugar mixture, the batter becomes glossy and thick. During baking, the dissolved sugar and egg mixture rise toward the surface and form a thin, delicate meringue-like layer. That is the paper-thin crust that breaks into shiny flakes when you cut the brownies.
Keep the chocolate mixture warm through the sugar-whisking stage. If it cools too much before the sugars dissolve, the batter can look dull and the crust may be less crinkly. Whisk with energy for the full minute, but switch to a spatula once the flour goes in. Vigorous flour mixing can make the texture heavier than you want.
The extra egg yolk helps emulsify the rich chocolate base, while the whole eggs support the glossy surface. There is no need for baking powder here. Skipping it keeps the brownies focused on chew and fudge rather than lift.
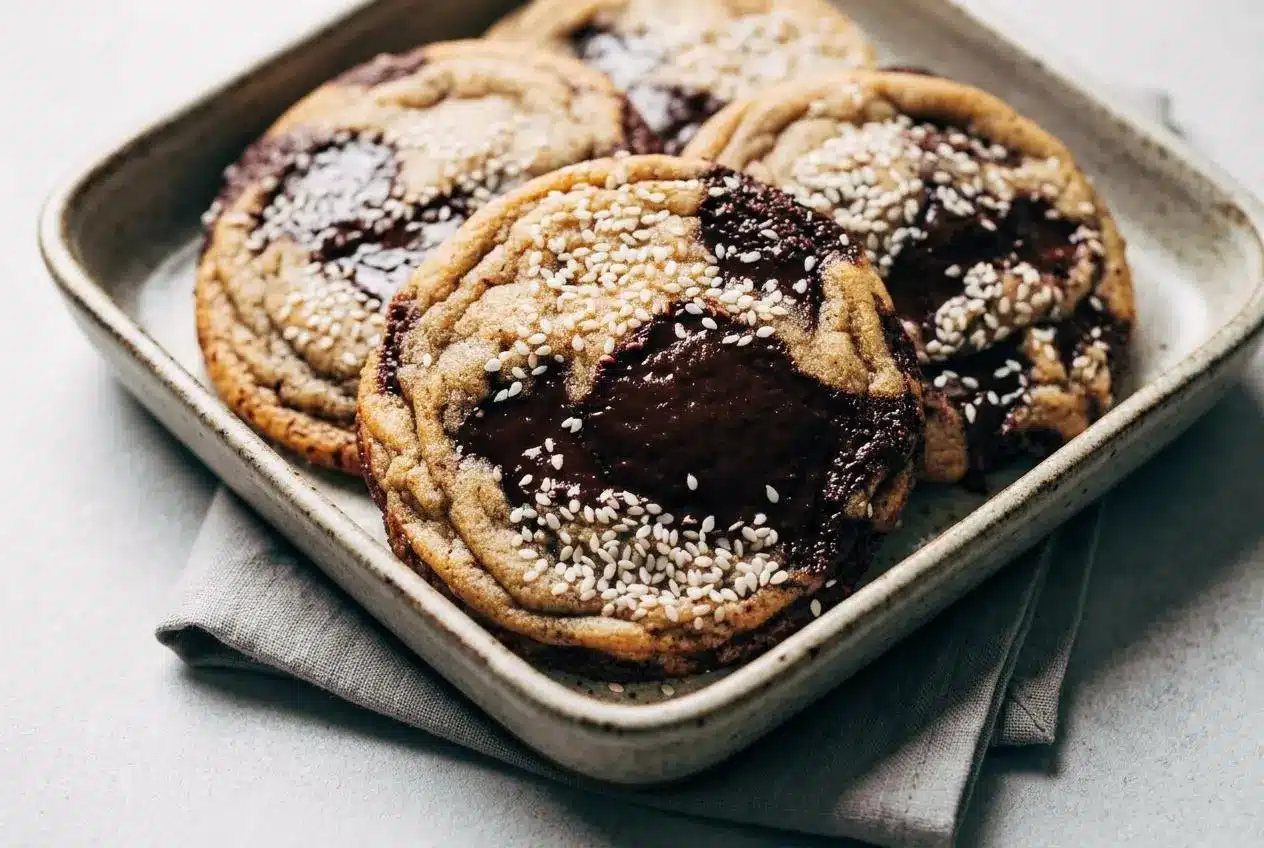
The same warm sugar-and-egg technique gives fudgy brownie cookies their appealing crinkled finish, too.
Troubleshooting Common Gluten Free Baking Errors
Most brownie problems come down to flour choice, mixing, pan material, or pulling the pan from the oven a little too late. These quick fixes help protect the dense center and chewy edges.
- Gummy center: Too much xanthan gum or an underbaked middle can make the crumb sticky. Use a measure-for-measure blend that already includes xanthan gum, measure the flour lightly, and bake until the center has moist crumbs rather than wet batter.
- Dry edges: Overbaking dries gluten-free starches quickly. Start checking at 30 minutes and remove the pan when the edges are set but the middle still looks slightly soft.
- Gritty texture: Sugar that has not had time to dissolve can leave the batter less smooth. Whisk both sugars firmly into the warm melted butter and chocolate before adding the eggs.
- Dense but crumbly squares: A flour blend without a binder may not hold together well. Choose a blend with xanthan gum and allow the brownies to cool before cutting.
- Sticking: Grease the pan thoroughly, especially in the corners. Letting the brownies rest for the full cooling time also helps the crumb release cleanly.
Preventing Dry and Crumbly Texture
Gluten-free brownies can dry out quickly when baked until a tester comes out completely dry. Check them around the 30-minute mark instead. A few moist crumbs clinging to the tester signal a fudgy center, while wet streaks of batter mean they need more baking time.
Remember that the brownies continue setting in the hot pan after they leave the oven. Cutting too early can make them seem underdone and tear the soft crumb. Give them the full 30-minute rest before slicing.
If a batch has already gone too far, save the dry crumbs for easy brownie truffles instead of tossing them.
Metal vs Glass Pan Adjustments
A light-colored metal 9×9 pan is the most forgiving choice for these thick brownies because it heats evenly and helps the corners bake without becoming overly firm. It also gives you a clearer view of when the edges are set.
Glass holds heat longer than metal, so the edges can continue cooking after the pan leaves the oven. If using glass, begin checking at the early end of the baking range and rely on the center crumb test rather than waiting for the top to look completely dry.
Storing Brownies for Best Texture
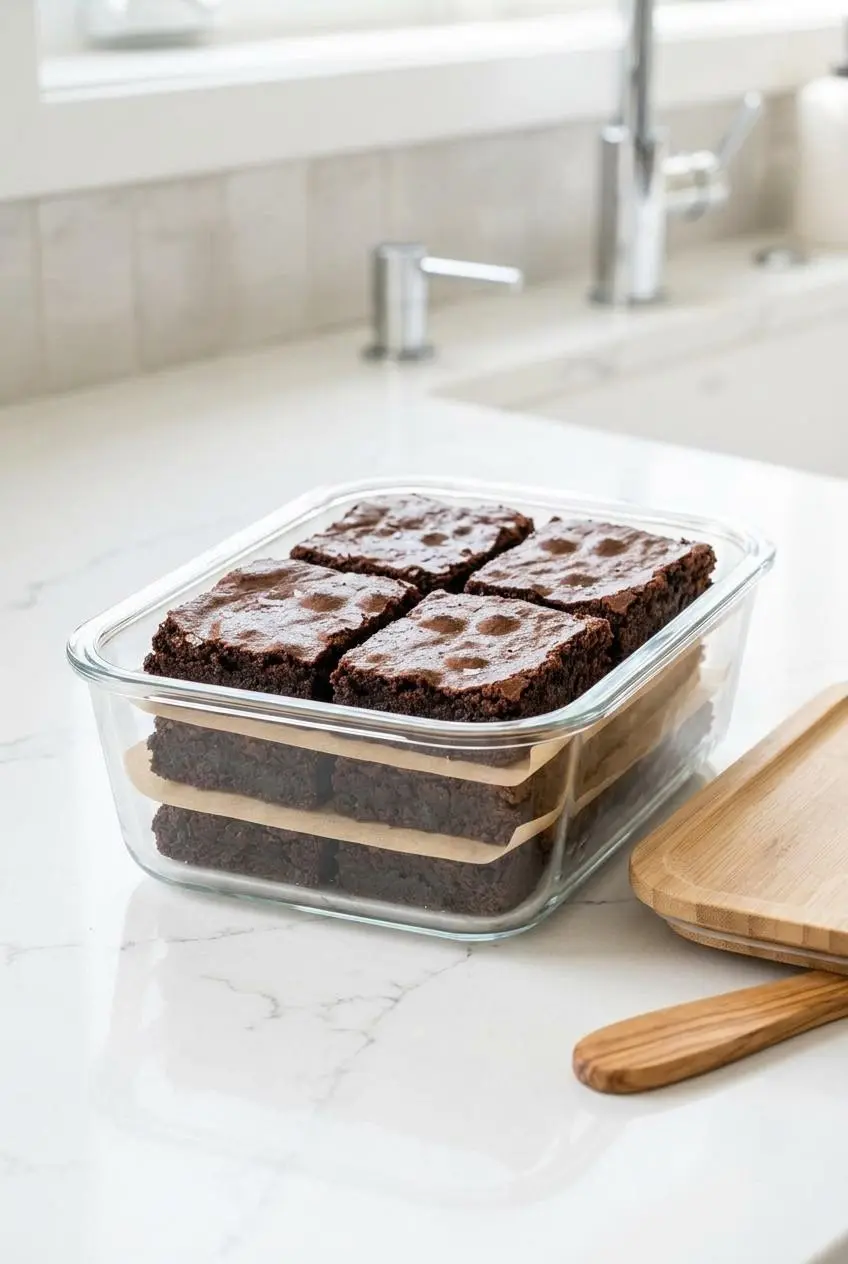
Cool the brownies completely, then keep the squares in an airtight container at room temperature and away from humidity. Refrigeration can make the chocolate firm and the texture less fudgy, so it is better reserved for situations where your kitchen is unusually warm.
For a make-ahead dessert, slice only after the brownies have fully cooled and keep the pieces tightly covered. A brief gentle warming can soften the chocolate chips and bring back some of that fresh-baked chew without drying the center.
To protect the crackly surface, avoid stacking uncovered squares. If you need to layer them in a container, place a sheet of parchment between layers so the tops do not stick together.
Conclusion
These brownies deliver the things a great chocolate brownie should: a deep cocoa flavor, a dense fudgy center, chewy edges, and a delicate crackly top.
Keep the butter and chocolate warm, whisk the sugars until the batter turns glossy, and pull the pan when moist crumbs remain. A little patience while they cool pays off beautifully.
Frequently Asked Questions
Which Gluten Free Flour Blend Works Best for Brownies?
A 1-to-1 measure-for-measure blend containing rice flour, potato starch, and xanthan gum works especially well. Rice flour provides structure. Potato starch supports a tender, fudgy crumb. Xanthan gum helps the brownies stay chewy and hold together when sliced.
How Do I Get a Shiny Crackly Top on Gluten Free Brownies?
Whisk the brown sugar and granulated sugar vigorously into the warm melted butter and chocolate for the full minute. Keep the chocolate mixture warm when the sugars go in. Whisk the eggs thoroughly after the sugar mixture looks glossy. Fold in the flour gently so the batter stays dense.
Can I Freeze Homemade Gluten Free Brownies?
For make-ahead brownies, cool and slice them completely before placing them in an airtight container. Keep the squares protected from air and moisture, then warm individual portions gently when you want a softer, fudgier bite.
Why Are My Gluten Free Brownies Dry and Crumbly?
Dry, crumbly brownies usually come from overbaking or using a flour blend without xanthan gum. Check for moist crumbs rather than waiting for a completely dry tester. Use a measure-for-measure flour blend with a binder. Let the brownies cool before slicing so the crumb can finish setting.
Gluten Free Brownie Recipe

Equipment
- 9×9 baking dish
- Microwave-safe Bowl
- Rubber spatula
- Whisk
Ingredients
- 10 tablespoons (140g) salted butter
- 1/2 cup (85g) high quality semi-sweet chocolate chips (I like Guittard)
- 1/2 cup (105g) brown sugar
- 3/4 cup (150g) granulated sugar
- 2 large eggs + 1 egg yolk
- 1 teaspoon vanilla extract
- 1/2 teaspoon espresso powder ((optional))
- 1/2 teaspoon kosher salt
- 1/3 cup (25g) unsweetened cocoa powder
- 3/4 cup (115g) gluten-free measure-for-measure flour
- 1 cup chocolate chips ((for mixing in!))
Instructions
- Heat the oven to 350°F and coat a 9×9 baking dish with cooking spray. A light-colored metal pan encourages even baking and helps the corners stay tender.
- Place the butter pieces and the 1/2 cup (85g) semi-sweet chocolate chips in a large microwave-safe bowl, then microwave for 30 seconds. Stir thoroughly, then continue heating in 15-second bursts and stirring after each burst until the mixture is fully melted and glossy.
- Whisk the brown sugar and granulated sugar into the warm chocolate-butter mixture for 1 minute. The mixture should look slightly lighter, thicker, and shinier as the sugar begins to dissolve.
- Add the eggs one at a time, whisking each for 20 seconds before adding the next, then whisk in the egg yolk, vanilla, espresso powder, and salt. The batter should become smooth and ribbony, with no streaks of egg remaining.
- Use a rubber spatula to fold in the cocoa powder and gluten-free flour until no dry patches remain, then fold in the chocolate chips. Stop mixing as soon as the batter looks uniformly dark and thick to keep the brownies dense.
- Spread the batter evenly in the prepared pan and bake for 30 to 35 minutes. The edges should look set and pull away slightly from the pan, while a tester in the center should show moist crumbs but no wet batter.
- Let the brownies cool in the pan for 30 minutes before slicing. The center firms as it cools, giving you cleaner cuts and a fudgier texture.