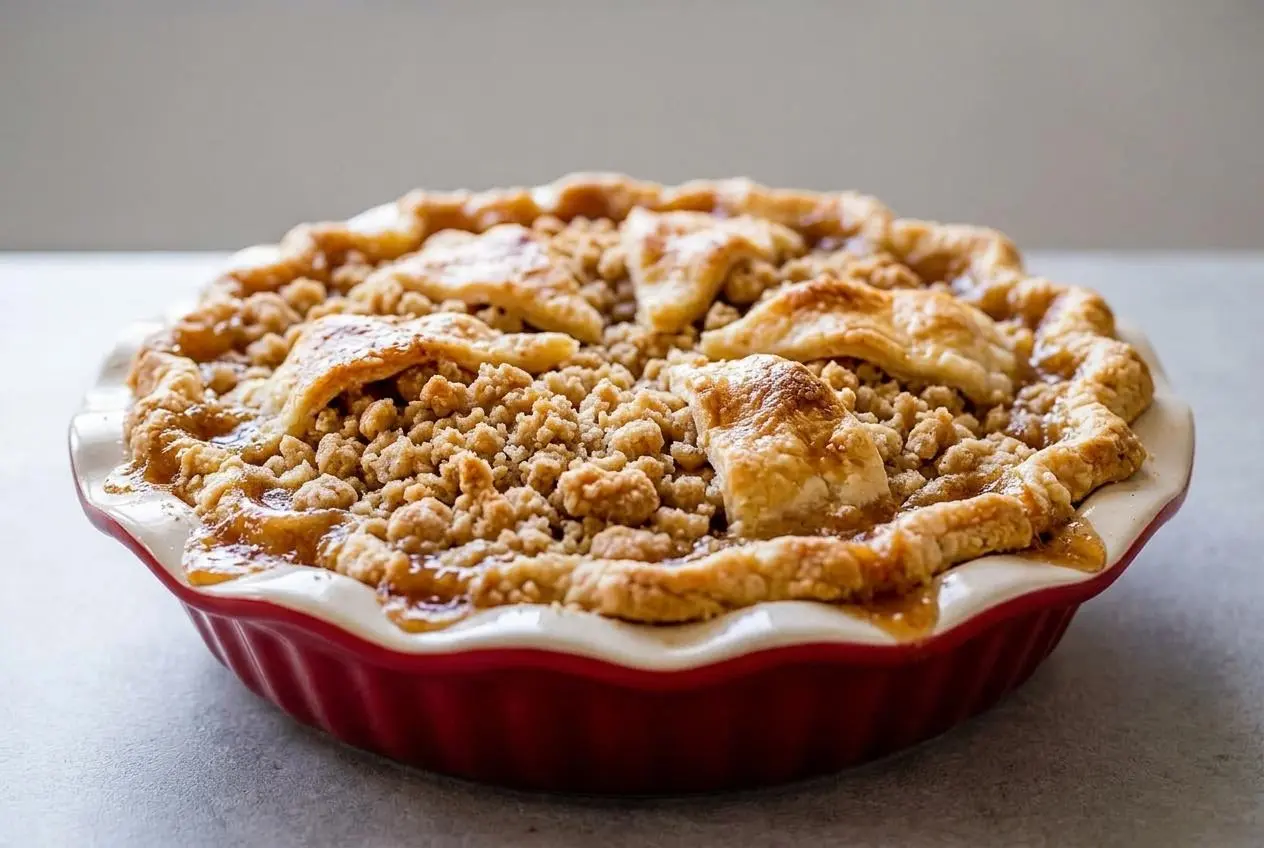
A Dutch apple pie has one bottom crust, a spiced apple filling, and a buttery crumble topping. This dutch apple pie recipe stands out because the apples are pre-cooked first, so the filling stays thick and the bottom crust bakes up crisp instead of soggy.
It’s the kind of pie that smells like cinnamon, nutmeg, and warm butter before it even comes out of the oven. You get tender apples, a sturdy crust, and that crunchy topping in the same bite.
If you usually worry about runny pie filling, this method fixes the problem before the pie ever hits the oven.
Keep a sheet pan in the oven while it preheats so the bottom crust gets a head start the moment the pie goes in.
What Is a Dutch Apple Pie?
A Dutch apple pie is defined by its crumb or streusel topping. Instead of a second pastry crust on top, it has a layer of buttery flour, sugar, and butter crumbs that bake into a crisp golden cap.
That’s what separates it from a classic American apple pie, which usually has a full top crust or lattice, and from an apple crumble, which skips the bottom crust entirely.
Key Ingredients for the Perfect Pie
Each part of this pie has a job to do. The crust gives structure, the apples bring body and flavor, the flour thickens the juices, and the crumble adds that signature crisp finish.
The bottom crust needs to stay cold so it bakes flaky and holds the filling well. The apple mixture works best with a blend of varieties because one apple rarely gives both bright flavor and sturdy texture on its own.
Flour in the filling is especially important here. As the apples cook, it thickens the released juices so the filling turns glossy and sliceable instead of loose.
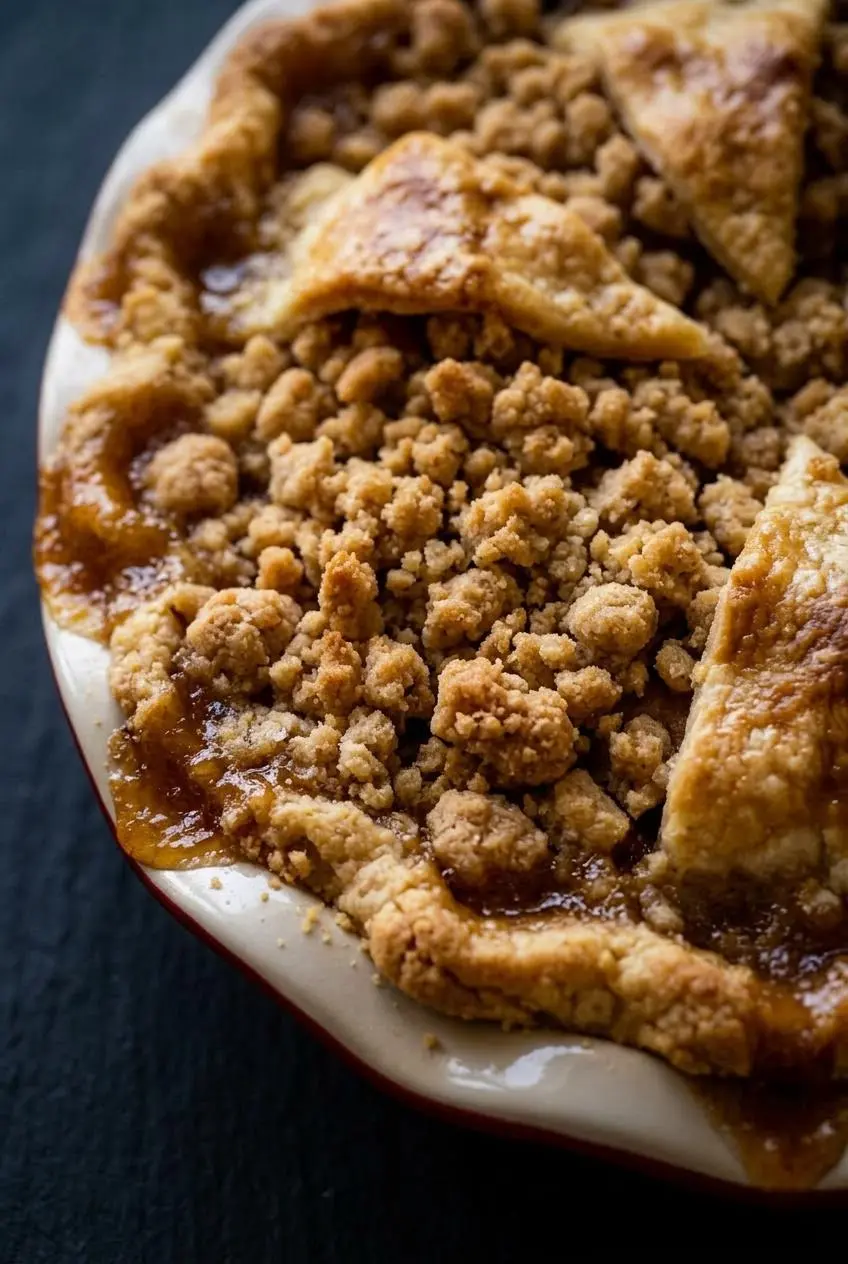
The crumble topping is all about contrast. Melted butter creates a mixture that can be sandy in some spots and clumpy in others, which is exactly what gives the top its crunchy texture after baking.
Ingredients for Dutch Apple Pie
Every ingredient here helps build flavor, structure, aroma, or texture, from the tart apples and warm spices to the flour-thickened filling and the buttery crumble that bakes crisp on top.
- 1 homemade single pie crust (1 sheet of pie dough)
For the apple filling
- 1/4 teaspoon lemon zest
- juice from half a lemon (2 tablespoons, no more)
- 5 pounds apples (5 pounds before peeling and coring)
- 1/2 cup brown sugar (packed)
- 1/2 cup granulated sugar
- 1/3 cup all-purpose flour
- 1/2 teaspoon kosher salt
- 1 & 1/2 teaspoons cinnamon
- 3/4 teaspoon nutmeg
- 1/2 teaspoon cardamom (optional)
- 1 teaspoon vanilla
For the sugar crumble
- 1 & 1/2 cups all purpose flour
- 1/3 cup granulated sugar
- 3/4 cup brown sugar (packed)
- 1/2 teaspoon kosher salt (use a little less if using table salt)
- 3/4 cup butter (melted (1 and 1/2 sticks))
A mix of apples like Granny Smith and Honeycrisp gives you the best balance of tartness, sweetness, and slices that stay intact after baking. The flour in the filling thickens the apple juices, while the melted butter in the crumble creates that classic sandy texture with crisp little clusters.
I always reach for freshly grated nutmeg when I can, because the aroma is sharper, warmer, and really noticeable once the apples start cooking.
How to Make Dutch Apple Pie
Choose your apples
- Select 5 pounds of apples and use a mix if possible, such as tart and sweet-firm varieties.
The blend gives the filling more balanced flavor and helps the slices keep their shape after baking.
Make the filling
- Zest 1/4 teaspoon lemon zest into a 12-inch high sided skillet while the pan is still off the heat, then add the juice from half a lemon.
The lemon lightly brightens the filling and helps keep the cut apples from browning too quickly. - Peel the apples and slice them into 1/8 inch pieces, adding them to the skillet as you work and tossing now and then in the lemon juice.
Thin, even slices cook at the same pace and stay neatly layered instead of turning patchy or uneven. - Set the skillet over medium heat and add 1/2 cup brown sugar (packed), 1/2 cup granulated sugar, 1/3 cup all-purpose flour, 1/2 teaspoon kosher salt, 1 & 1/2 teaspoons cinnamon, 3/4 teaspoon nutmeg, and 1/2 teaspoon cardamom (optional).
Stir gently until the flour and spices disappear and the apples look evenly coated. - Cover the skillet and cook the apples for 20 minutes, stirring about every 3 minutes and returning the lid each time.
The apples should become fork tender but still hold their shape, and the juices should thicken enough to coat the back of a spoon. - Add 1 tablespoon water if the apples begin sticking, then use more only as needed and very sparingly.
You want a thick glossy filling, not extra liquid pooling in the pan. - Take the skillet off the heat and stir in 1 teaspoon vanilla.
The filling will smell deeply spiced and sweet once the vanilla hits the warm apples. - Spread the filling on a half sheet pan or another rimmed pan and chill it until completely cool.
Cooling the apples all the way helps prevent a soggy crust and keeps the topping from melting into the filling.
Assemble the pie
- Roll out the pie dough, fit it into a 9-inch pie dish, then fold the edges under and crimp them.
A neatly shaped edge gives the pie better structure and helps the crust brown more evenly. - Chill the lined pie dish in the fridge or freezer for about 30 minutes.
A very cold crust bakes flakier and is less likely to slump in the oven. - Set a baking sheet or pizza stone on the center rack and preheat the oven to 425 °F for at least 20 to 30 minutes.
The hot surface helps the bottom crust start baking right away instead of steaming under the filling.
Make the sugar crumble
- Whisk together 1 & 1/2 cups all purpose flour, 1/3 cup granulated sugar, 3/4 cup brown sugar (packed), and 1/2 teaspoon kosher salt (use a little less if using table salt) in a medium bowl.
Mixing the dry ingredients first keeps the sweetness and salt evenly distributed through the topping. - Pour 3/4 cup butter (melted (1 and 1/2 sticks)) over the flour mixture and stir gently just until combined, then chill the crumble until needed.
It should feel like wet sand with some larger, pea-sized clumps.
Assemble and Bake the pie
- Fill the chilled crust with the completely cooled apple mixture, using a rubber spatula to scrape in all the thickened juices.
The filling should look packed and glossy rather than watery. - Scatter about a cup or two of the crumble over the apples and return the rest to the fridge.
Use enough to cover the fruit without burying it under the full batch too early. - Place the pie on the hot baking sheet and bake at 425 °F for 15 minutes.
By the end of this stage, the crust edge should be starting to turn light brown. - Fold a square of foil into quarters, cut out the center, and open it back up to make a simple crust shield.
The middle should stay open so the topping can continue to brown while the edges stay protected. - Lower the oven to 350 °F without removing the pie and continue baking for 10 minutes.
This keeps the crust moving while the filling and topping bake more evenly. - Take the pie out briefly, add the remaining chilled crumble over the top, then set the foil shield around the crust edge.
Cold crumble added partway through stays crisper and forms better clusters. - Return the pie to the hot baking sheet and bake at 350 °F for 25 to 35 minutes more, for a total bake time of about 55 to 65 minutes.
The pie is ready when the crust is deep golden, the center topping is golden brown, and the filling is bubbling thickly. - Remove the foil shield for another 5 to 10 minutes if you want more color on the crust or crumble.
Watch closely here so you gain browning without pushing the topping too far. - Cool the pie on a wire rack for about 4 hours before slicing.
The filling sets as it cools, and the crumble stays crisp instead of collapsing into steam.
Tips for Foolproof Success
These are the details that turn a good apple pie into one that slices cleanly, stays crisp, and tastes fully finished. Most pie problems come down to moisture, temperature, or timing.
The Secret to a No-Soggy Pie
Pre-cooking the filling is the biggest win in this recipe. Apples release a surprising amount of juice, and if that liquid goes straight into the oven raw, it can thin out the filling and soak the crust before the thickener has time to catch up.
Cooking the apples first solves that in two ways. It drives off some excess moisture, and it gives the flour time to thicken the juices before the filling ever reaches the pie shell. That’s why the finished slices hold together instead of slumping onto the plate.
There’s a texture bonus too. The apples soften under your control, so you can stop when they’re fork tender but still intact. Since they do not soften much more in the oven, this step helps you avoid apples that are mushy in one spot and firm in another.
Chilling matters just as much. A cold crust, a cooled filling, and a preheated baking sheet work together so the bottom crust bakes through before the apple juices have a chance to linger.
How to Get a Perfectly Crisp Crumble Topping
A crisp topping starts with temperature. Once the melted butter is mixed into the dry ingredients, chill the crumble so it firms up into little clumps instead of staying loose and greasy.
This recipe also bakes the crumble in two rounds, which is smart. The first layer starts the top, and the second chilled addition later in baking gives you more texture and better crunch across the surface.
If your topping tends to melt flat, the usual causes are warm filling, warm crumble, or overmixing. You want a mixture that looks like wet sand with some pea-sized lumps, not a smooth paste.
The foil shield is the other small trick that pays off. It protects the crust edge so the crumble can keep browning without the rim getting too dark first.
Why You Must Let the Pie Cool
Cooling is not optional here. The pie needs about 4 hours to reach room temperature so the filling can finish setting.
Warm pie smells incredible, but if you cut it too early, the filling will run even if you cooked it well on the stove. Waiting gives you cleaner slices, better texture, and a topping that stays crunchy instead of softening from trapped steam.
Troubleshooting Common Pie Problems
If something goes off track, the fix is usually straightforward once you know what caused it.
| Problem | Cause | Solution |
|---|---|---|
| Watery filling | The apples were not cooked long enough before baking, or the pie was sliced while still warm. | Cook the apples until the juices thicken and coat a spoon, then cool the baked pie fully before cutting. |
| Soggy bottom crust | The filling went into the crust while warm, or the pie was not baked on a fully heated sheet pan or stone. | Chill the filling and crust well, then bake on a thoroughly preheated surface. |
| Burnt topping or crust edge | The pie baked uncovered too long near the rim. | Use a foil shield once the edge starts browning so the topping can finish coloring more gently. |
| Apples too firm | The slices were too thick or the stovetop filling stage was cut short. | Slice evenly to 1/8 inch and cook until fork tender before chilling the filling. |
| Crumble too soft | The topping was warm when added, or the pie was covered before it had cooled. | Keep the crumble cold and let the pie cool uncovered first so steam can escape. |
Choosing the Best Apples (Comparison Guide)
The apple variety changes both flavor and texture, so choosing well makes a real difference.
| Apple Type | Flavor (Tart to Sweet) | Texture After Baking (Firm to Soft) |
|---|---|---|
| Granny Smith | Very tart | Very firm |
| Honeycrisp | Balanced sweet tart | Firm |
| Braeburn | Tart sweet | Firm |
| Golden Delicious | Sweet | Medium soft |
| Jonagold | Sweet tart | Medium firm |
The best combination is usually one tart, firm apple and one sweeter, firm apple. Granny Smith plus Honeycrisp is a strong choice because you get bright flavor, good structure, and a filling that tastes layered instead of flat.
Storing, Make-Ahead, and Reheating Guide
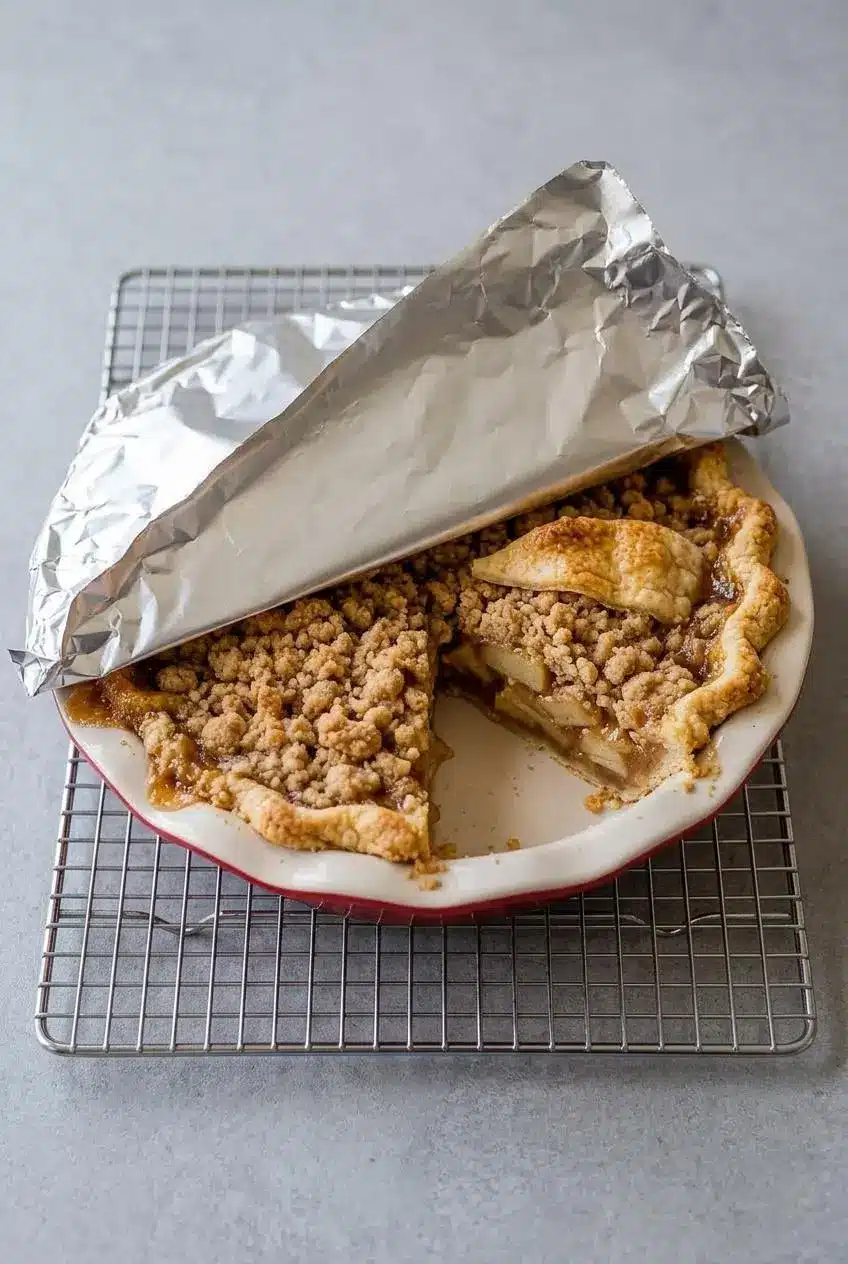
Apple pie is a good choice when you want dessert ready before a holiday meal or gathering. The main goal is to protect the crust and topping from moisture while keeping the filling set and flavorful.
How to Make Apple Pie in Advance
You can bake the pie earlier the same day and let it cool completely at room temperature before serving. That full cooling period is part of the recipe, not just a convenience step.
If you need to hold it longer, keep it covered once fully cooled. If your kitchen is warm or humid, it’s better to move the pie to the refrigerator so the topping and filling stay in better shape.
You can also prep the components ahead without fully assembling the pie. The crust can be fitted into the pan and chilled, the filling can be cooked and cooled, and the crumble can be mixed and kept cold until you’re ready to bake.
How to Store a Baked Pie
Once the pie has cooled completely, cover it well so the topping does not absorb extra moisture from the air. Leave it at room temperature for a short hold if your kitchen is cool, then refrigerate for longer storage.
If you refrigerate it, expect the crumble to soften slightly. A quick warm-up in the oven brings back much of the crust and topping texture.
The Best Way to Reheat Apple Pie
Reheat slices or the whole pie in a 350 °F oven until warmed through. The oven works better than the microwave here because it helps re-crisp the crumble and bottom crust instead of softening them.
For slices, place them on a baking sheet so the underside warms evenly. For a whole pie, keep it loosely tented with foil if the top already has enough color and you only want to warm the center.
Serving Suggestions and Variations
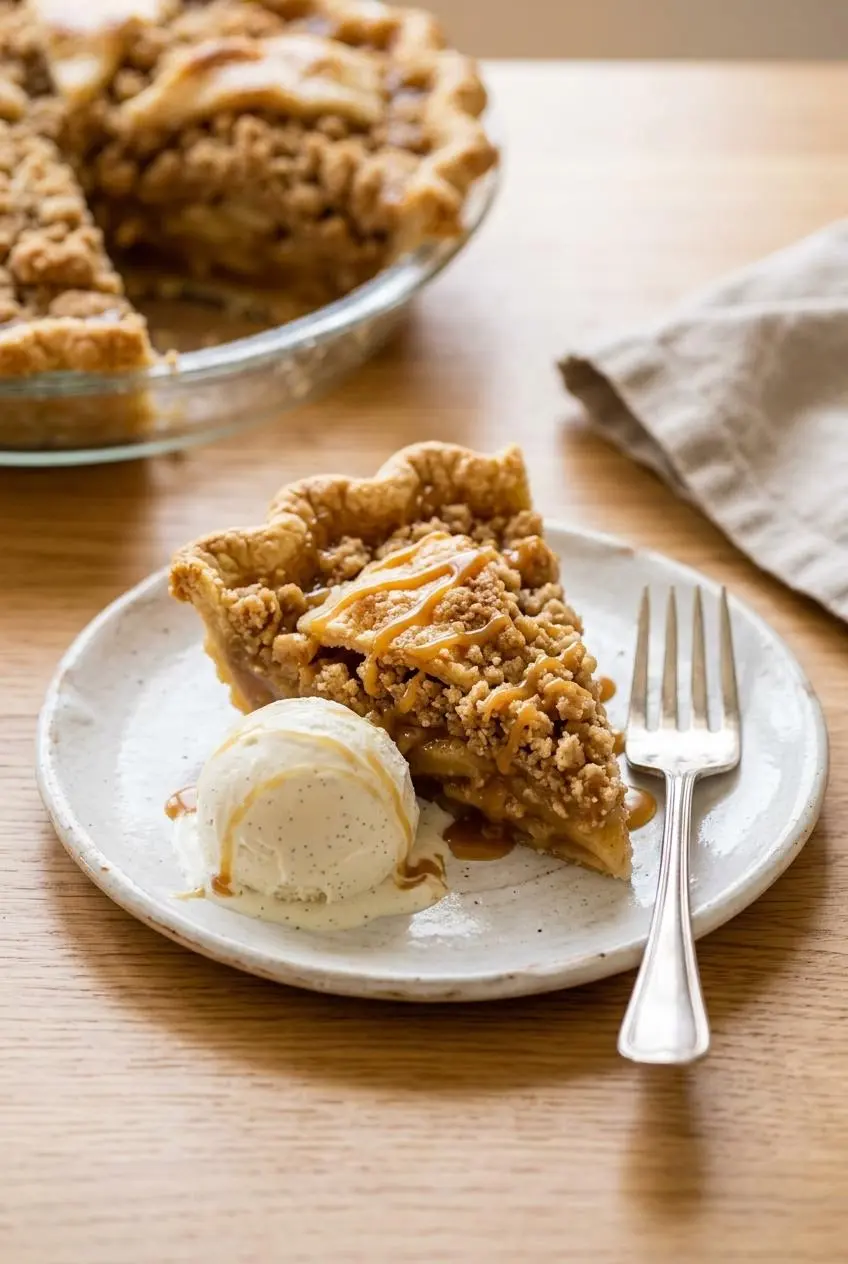
This pie is excellent on its own, but a few simple extras can make it feel especially festive.
- Serve a slice slightly warm with vanilla bean ice cream for the classic hot-and-cold contrast.
- Drizzle with salted caramel sauce if you want a richer dessert-table version.
- Add a thin slice of sharp cheddar on the side for a savory contrast that works surprisingly well with the sweet apples.
If you love apple desserts in different formats, making mini apple pies is a fun option for parties or individual servings.
| Variation | What to Change | What It Adds |
|---|---|---|
| Richer, nuttier topping | Brown the butter first, then let it cool slightly before mixing it into the crumble. | A deeper toasty flavor that makes the topping taste more complex. |
| Oat crumble topping | Add old-fashioned oats to the crumble mixture as an optional variation. | More chew and a heartier crunch. |
| Extra spice | Add allspice or ginger to the filling, or lean into the optional cardamom. | A warmer, more layered spice profile. |
| Flavor boost | Add a splash of bourbon to the filling if you enjoy that flavor. | A slightly deeper, rounder finish. |
If you bought extra apples for pie season, our fresh apple cake is another great way to use them up.
Conclusion
This pie works because it solves the two biggest apple pie problems before they happen: watery filling and a soggy bottom crust. Pre-cooking the apples, chilling the parts, and baking on a hot sheet pan make the whole process far more reliable.
Once you try it, the method feels straightforward and very repeatable. Save this one for fall weekends, holiday tables, or any day your kitchen could use the smell of warm apples and butter.
Frequently Asked Questions
What is the difference between a Dutch apple pie and an apple crumble?
A Dutch apple pie has a pastry crust on the bottom. An apple crumble or crisp usually has no bottom crust and is baked more like a fruit dessert in a dish. They share a crumb topping, but the pie has a more defined slice and sturdier structure.
Can I use a store-bought pie crust?
Yes, absolutely. A 9-inch store-bought pie crust works well here, and a deep-dish style is especially helpful if you can find one. Keep it cold until you’re ready to fill it so the crust stays flaky.
My crumble topping is sandy, not clumpy. What did I do wrong?
Probably nothing. A sandy topping is still delicious and bakes up nicely. For larger clumps, use very cold butter rather than melted butter and work it into the dry ingredients with your fingertips or a pastry blender. Stop when you see pea-sized pieces, because overmixing turns those clumps back into finer crumbs.
How do I know when the apple pie is done baking?
Look for three signs. The filling should be bubbling thickly, the crumble should be deep golden brown, and the crust edges should be well browned too. If the top looks pale and dry, it usually needs a little more time.
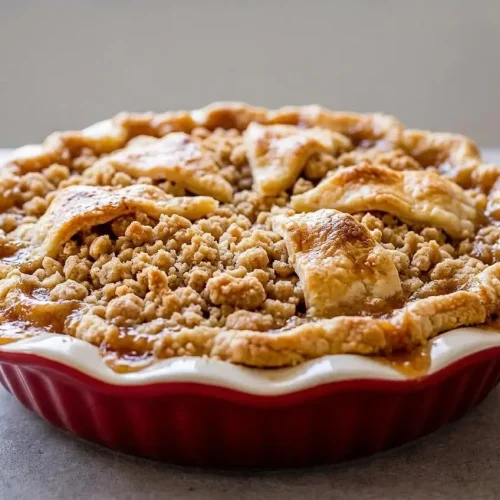
Dutch Apple Pie Recipe

Equipment
- 12 inch high sided skillet
- Microplane grater
- Pie pan
Ingredients
- 1 homemade single pie crust (1 sheet of pie dough)
For the apple filling
- 1/4 teaspoon lemon zest
- 2 tablespoons juice from half a lemon no more
- 5 pounds apples 5 pounds before peeling and coring
- 1/2 cup brown sugar packed
- 1/2 cup granulated sugar
- 1/3 cup all-purpose flour
- 1/2 teaspoon kosher salt
- 1 & 1/2 teaspoons cinnamon
- 3/4 teaspoon nutmeg
- 1/2 teaspoon cardamom optional
- 1 teaspoon vanilla
For the sugar crumble
- 1 & 1/2 cups all purpose flour
- 1/3 cup granulated sugar
- 3/4 cup brown sugar packed
- 1/2 teaspoon kosher salt use a little less if using table salt
- 3/4 cup butter melted (1 and 1/2 sticks)
Instructions
Choose your apples
- Select 5 pounds of apples and use a mix if possible, such as tart and sweet-firm varieties. The blend gives the filling more balanced flavor and helps the slices keep their shape after baking.
Make the filling
- Zest 1/4 teaspoon lemon zest into a 12-inch high sided skillet while the pan is still off the heat, then add the juice from half a lemon. The lemon lightly brightens the filling and helps keep the cut apples from browning too quickly.
- Peel the apples and slice them into 1/8 inch pieces, adding them to the skillet as you work and tossing now and then in the lemon juice. Thin, even slices cook at the same pace and stay neatly layered instead of turning patchy or uneven.
- Set the skillet over medium heat and add 1/2 cup brown sugar (packed), 1/2 cup granulated sugar, 1/3 cup all-purpose flour, 1/2 teaspoon kosher salt, 1 & 1/2 teaspoons cinnamon, 3/4 teaspoon nutmeg, and 1/2 teaspoon cardamom (optional). Stir gently until the flour and spices disappear and the apples look evenly coated.
- Cover the skillet and cook the apples for 20 minutes, stirring about every 3 minutes and returning the lid each time. The apples should become fork tender but still hold their shape, and the juices should thicken enough to coat the back of a spoon.
- Add 1 tablespoon water if the apples begin sticking, then use more only as needed and very sparingly. You want a thick glossy filling, not extra liquid pooling in the pan.
- Take the skillet off the heat and stir in 1 teaspoon vanilla. The filling will smell deeply spiced and sweet once the vanilla hits the warm apples.
- Spread the filling on a half sheet pan or another rimmed pan and chill it until completely cool. Cooling the apples all the way helps prevent a soggy crust and keeps the topping from melting into the filling.
Assemble the pie
- Roll out the pie dough, fit it into a 9-inch pie dish, then fold the edges under and crimp them. A neatly shaped edge gives the pie better structure and helps the crust brown more evenly.
- Chill the lined pie dish in the fridge or freezer for about 30 minutes. A very cold crust bakes flakier and is less likely to slump in the oven.
- Set a baking sheet or pizza stone on the center rack and preheat the oven to 425 °F for at least 20 to 30 minutes. The hot surface helps the bottom crust start baking right away instead of steaming under the filling.
Make the sugar crumble
- Whisk together 1 & 1/2 cups all purpose flour, 1/3 cup granulated sugar, 3/4 cup brown sugar (packed), and 1/2 teaspoon kosher salt (use a little less if using table salt) in a medium bowl. Mixing the dry ingredients first keeps the sweetness and salt evenly distributed through the topping.
- Pour 3/4 cup butter (melted (1 and 1/2 sticks)) over the flour mixture and stir gently just until combined, then chill the crumble until needed. It should feel like wet sand with some larger, pea-sized clumps.
Assemble and Bake the pie
- Fill the chilled crust with the completely cooled apple mixture, using a rubber spatula to scrape in all the thickened juices. The filling should look packed and glossy rather than watery.
- Scatter about a cup or two of the crumble over the apples and return the rest to the fridge. Use enough to cover the fruit without burying it under the full batch too early.
- Place the pie on the hot baking sheet and bake at 425 °F for 15 minutes. By the end of this stage, the crust edge should be starting to turn light brown.
- Fold a square of foil into quarters, cut out the center, and open it back up to make a simple crust shield. The middle should stay open so the topping can continue to brown while the edges stay protected.
- Lower the oven to 350 °F without removing the pie and continue baking for 10 minutes. This keeps the crust moving while the filling and topping bake more evenly.
- Take the pie out briefly, add the remaining chilled crumble over the top, then set the foil shield around the crust edge. Cold crumble added partway through stays crisper and forms better clusters.
- Return the pie to the hot baking sheet and bake at 350 °F for 25 to 35 minutes more, for a total bake time of about 55 to 65 minutes. The pie is ready when the crust is deep golden, the center topping is golden brown, and the filling is bubbling thickly.
- Remove the foil shield for another 5 to 10 minutes if you want more color on the crust or crumble. Watch closely here so you gain browning without pushing the topping too far.
- Cool the pie on a wire rack for about 4 hours before slicing. The filling sets as it cools, and the crumble stays crisp instead of collapsing into steam.