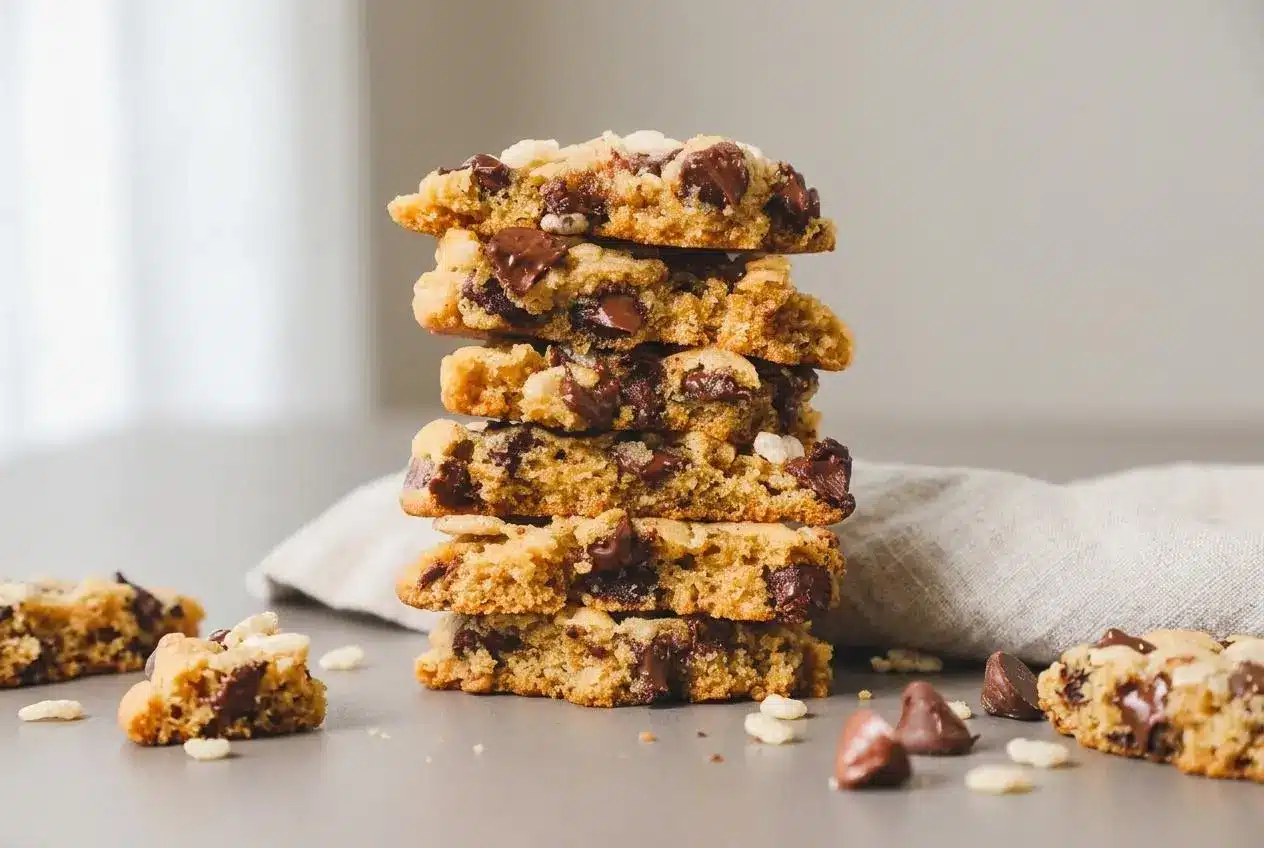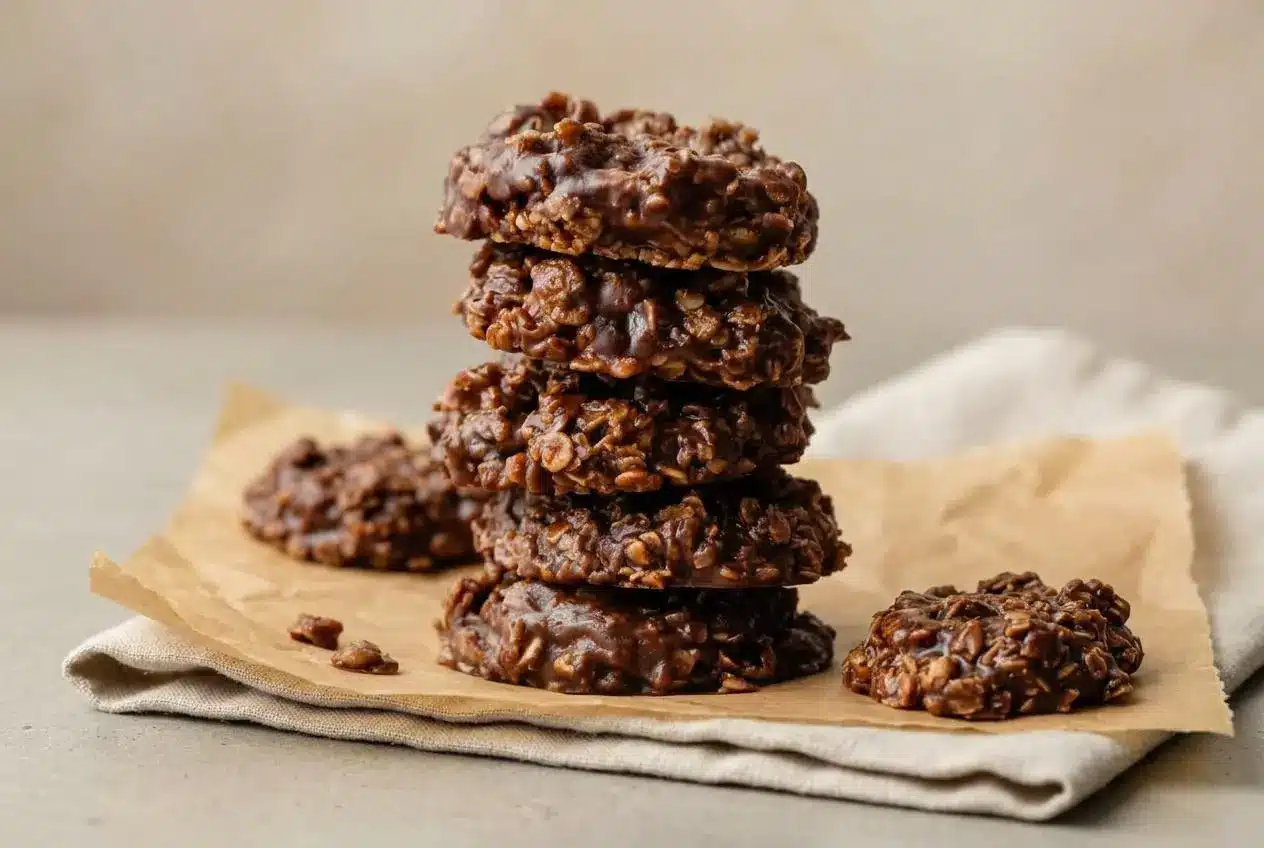
Chocolate peanut butter no bake cookies are stovetop drop cookies made by boiling butter, sugar, milk, and cocoa for 60 seconds, then stirring in peanut butter, vanilla, and oats before chilling until firm.
These chocolate peanut butter no bake cookies bring together a rich cocoa aroma, creamy peanut butter, and a satisfying oat chew without turning on the oven.
The key is a true rolling boil followed by a short oat rest. That is where the fudgy texture begins.
Measure the peanut butter, vanilla, oats, and salt before heating the syrup so they can go into the pan without delay.
Essential Ingredients and Their Structural Roles
Each ingredient contributes to the cookie’s flavor, moisture, structure, and texture: cocoa builds chocolate depth, peanut butter adds richness, and oats create the chewy body that holds each scoop together.
- 6 Tablespoons (85g) unsalted butter
- 1 and 1/2 cups (300g) granulated sugar
- 1/2 cup (120g/ml) milk
- 1/4 cup (21g) unsweetened natural or Dutch-process cocoa powder
- 2/3 cup (170g) creamy peanut butter
- 1 Tablespoon (15ml) pure vanilla extract (yes, a full Tablespoon!)
- 3 cups (255g) old-fashioned whole rolled oats or quick oats
- 1/8 teaspoon salt
Butter, sugar, milk, and cocoa form the hot chocolate syrup that gives these cookies their set. As it cools, the syrup firms around the oats. Cocoa brings a dark chocolate backbone, while creamy peanut butter blends into the syrup for a smooth, rich texture instead of a greasy one.
The full tablespoon of vanilla matters here. It softens cocoa’s faint bitterness and gives the finished cookies a rounder, more dessert-like flavor. Salt keeps the sweetness from tasting flat.
I measure the peanut butter and oats before starting because the hot syrup changes quickly once it comes off the heat.
Oat Selection: Rolled Oats vs. Quick Oats
Old-fashioned whole rolled oats make a heartier cookie with more distinct flakes and a firmer chew. They hydrate more slowly, so the five-minute rest helps them settle into the chocolate mixture.
Quick oats absorb moisture faster and create a softer, more compact cookie. Either option works with the listed amount, but the texture will be noticeably different. Avoid steel-cut oats, which stay too hard and do not soften properly in this stovetop mixture.
Peanut Butter: Commercial Creamy vs. All-Natural
Standard creamy peanut butter, such as Jif or Skippy, gives the most dependable set because it stays evenly blended and does not release a layer of oil into the warm syrup.
Natural peanut butter can work, but stir the jar thoroughly until no oil remains on top before measuring. Even well-mixed natural peanut butter tends to create a softer cookie, so chilling becomes especially helpful.
How to Make Chocolate Peanut Butter No Bake Cookies
- Add the butter, sugar, milk, and cocoa powder to a medium 3-quart saucepan and heat over medium, whisking until the butter has melted.
The mixture should look smooth, glossy, and deep brown before it begins bubbling. - Let the mixture come to a full rolling boil, then stop whisking and boil it for 1 minute.
Start the timer only when rapid bubbles break across the center of the pan, not when small bubbles cling to the edges; an instant-read thermometer should reach 225°F (107°C). - Take the saucepan off the heat and promptly stir in the peanut butter and vanilla, followed by the oats and salt.
The chocolate mixture should become thick and shiny, falling from the spatula in a heavy ribbon. - Leave the mixture in the saucepan for 5 minutes.
During this pause, the oats absorb moisture and the mixture gains enough resistance to hold a rounded scoop. - Line two baking sheets with parchment paper or silicone baking mats while the oat mixture rests, leaving room in the refrigerator for both sheets.
The lined surfaces prevent the warm cookies from sticking as they firm. - Portion the mixture onto the prepared sheets with a 1-Tablespoon cookie scoop or a Tablespoon, flattening the tops lightly with the back of a spoon if desired.
The scoops should sit in mounds rather than spreading into thin puddles. - Refrigerate the cookies for 30–60 minutes, then remove them once they have set.
They are ready when the surface looks matte and the edges feel firm enough to lift cleanly from the parchment.
The Science of the 60-Second Stovetop Boil
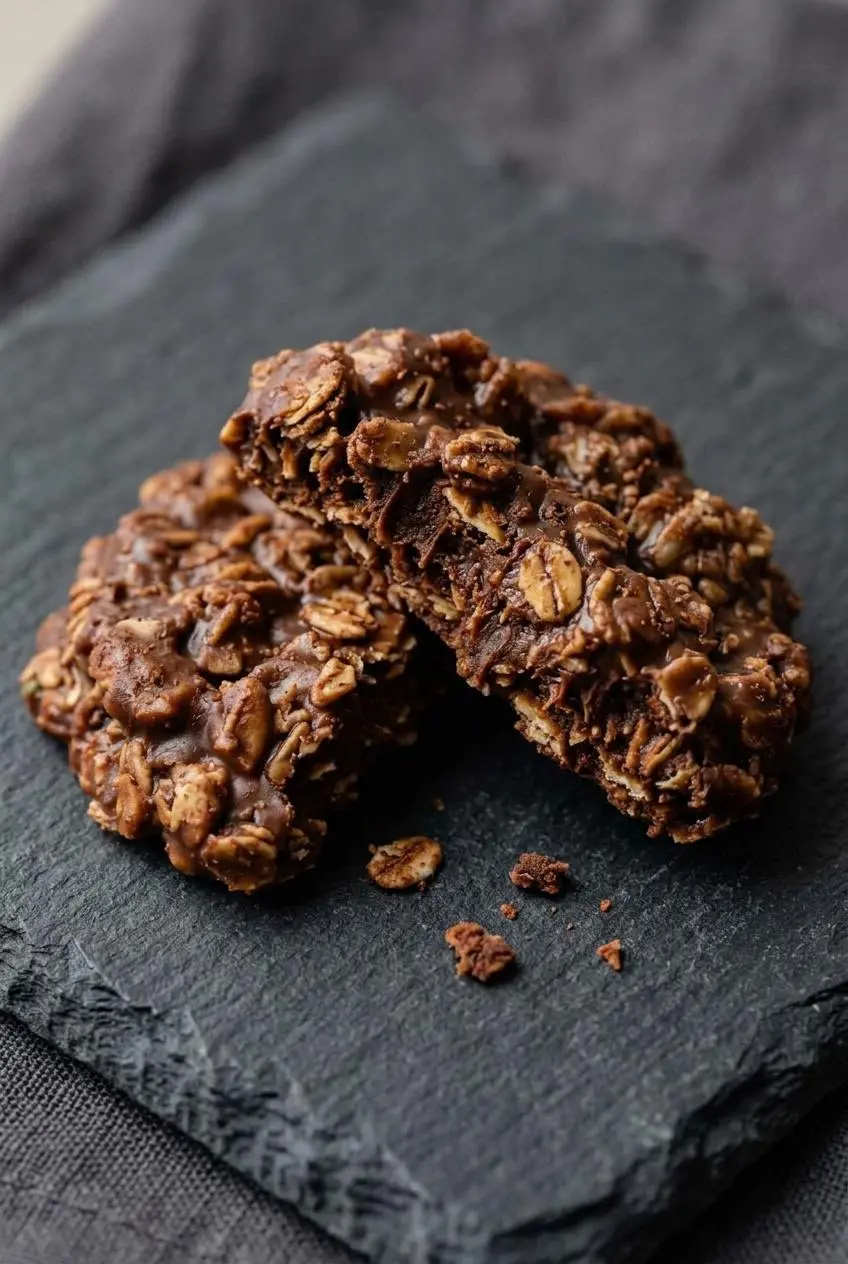
The one-minute boil determines whether the cookies hold their shape. Heating concentrates the sugar syrup so it can firm as it cools. A candy thermometer reading of 225°F (107°C) offers a useful checkpoint for this particular mixture, but the rolling-boil cue matters just as much.
A few timid bubbles around the rim are a simmer, not a rolling boil. Wait until large, energetic bubbles rise through the entire center of the saucepan. Then start the 60-second timer. Beginning too soon leaves excess moisture in the syrup, which can lead to glossy cookies that remain soft.
Do not keep the mixture boiling after the minute is up. Extra boiling drives off more moisture, and the finished cookies can become dry or sandy instead of fudgy.
The five-minute rest has a job, too. The oats draw in some of the warm chocolate syrup and thicken the mixture before scooping. You should feel the batter become heavier and less fluid as the oats swell.
- Before boiling: the mixture is dark, glossy, and fluid.
- At a rolling boil: bubbles break steadily across the entire surface, including the center.
- After peanut butter: the mixture turns smooth, thick, and shiny.
- After resting: a scoop holds its shape instead of flowing outward.
Troubleshooting Common No-Bake Cookie Mistakes
Most no-bake cookie problems come down to boil timing, oat absorption, or separated peanut butter. The good news is that the batter often gives a clear warning before it reaches the baking sheets.
Fixing Cookies That Refuse to Set
- Wet, shiny cookies that spread flat: the syrup likely did not reach a full center rolling boil before the timer began. If the mixture is still warm in the saucepan, return it to gentle heat briefly, stirring only as needed, then let it thicken before scooping again.
- Soft cookies on a humid day: moisture in the air can slow the setting process. Chill the scooped cookies on parchment until the surface turns matte and the edges feel firm.
- Loose, oily batter: natural peanut butter may not have been fully emulsified. Stir the warm mixture steadily until the oil disappears into the chocolate base, then allow the oats to rest and thicken it.
If the batter already sits on the baking sheets and looks loose, refrigerate it rather than repeatedly reshaping it. Disturbing warm scoops tends to make the surface sticky and uneven.
Preventing Dry, Grainy, and Crumbly Dough
- Chalky or crumbly cookies: the syrup probably boiled longer than 60 seconds, leaving too little moisture for the oats. Stop the heat as soon as the minute ends.
- Stiff batter before scooping: oats may have been packed tightly into the measuring cup. Using the listed 255g weight helps keep the oat-to-syrup balance consistent.
- Dry mixture while still warm: stir in a small amount of warm milk, a little at a time, only until the batter loosens enough to scoop. The goal is a thick, cohesive mixture, not a pourable one.
- Grainy texture: avoid aggressive stirring once the syrup reaches its rolling boil. Let the hot mixture boil undisturbed for the timed minute.
A properly mixed batch should feel dense and sticky, with enough body that a spoonful stays rounded. If it crumbles as you scoop, correct the texture while it is still warm rather than waiting for it to cool.
Dietary Swaps and Flavor Variations
Keep the main method unchanged, then use one of these optional adjustments when it suits your needs or cravings.
Gluten-Free and Vegan Adjustments
- For a gluten-free version, choose certified gluten-free rolled oats made under a purity protocol to avoid cross-contact concerns.
- For dairy-free and vegan cookies, use plant-based butter and unsweetened almond or oat milk in place of the dairy ingredients. Keep the same boiling method and timing.
- If you enjoy dairy-free treats, these dairy free chocolate cookies offer another chocolate-forward option for the cookie jar.
Nut-Free Seed Butter Alternatives
For a nut-free option, replace the creamy peanut butter with the same amount of creamy sunflower seed butter or cookie butter spread. Sunflower seed butter adds a slightly earthy flavor and keeps the dense, fudgy character. For allergy-sensitive settings, check each packaged ingredient carefully for cross-contact information.
Brown Sugar, Espresso, and Sea Salt
- Replace half of the granulated sugar with light brown sugar for a deeper caramel-like flavor and a chewier finish.
- Whisk a pinch of espresso powder into the cocoa for fuller chocolate flavor without making the cookies taste like coffee.
- Sprinkle flaky sea salt over the warm scoops right after portioning to balance the sweet chocolate richness.
- Fold in shredded unsweetened coconut or crushed toasted peanuts for extra texture, keeping them as optional additions rather than part of the main mixture.
Proper Storage Instructions
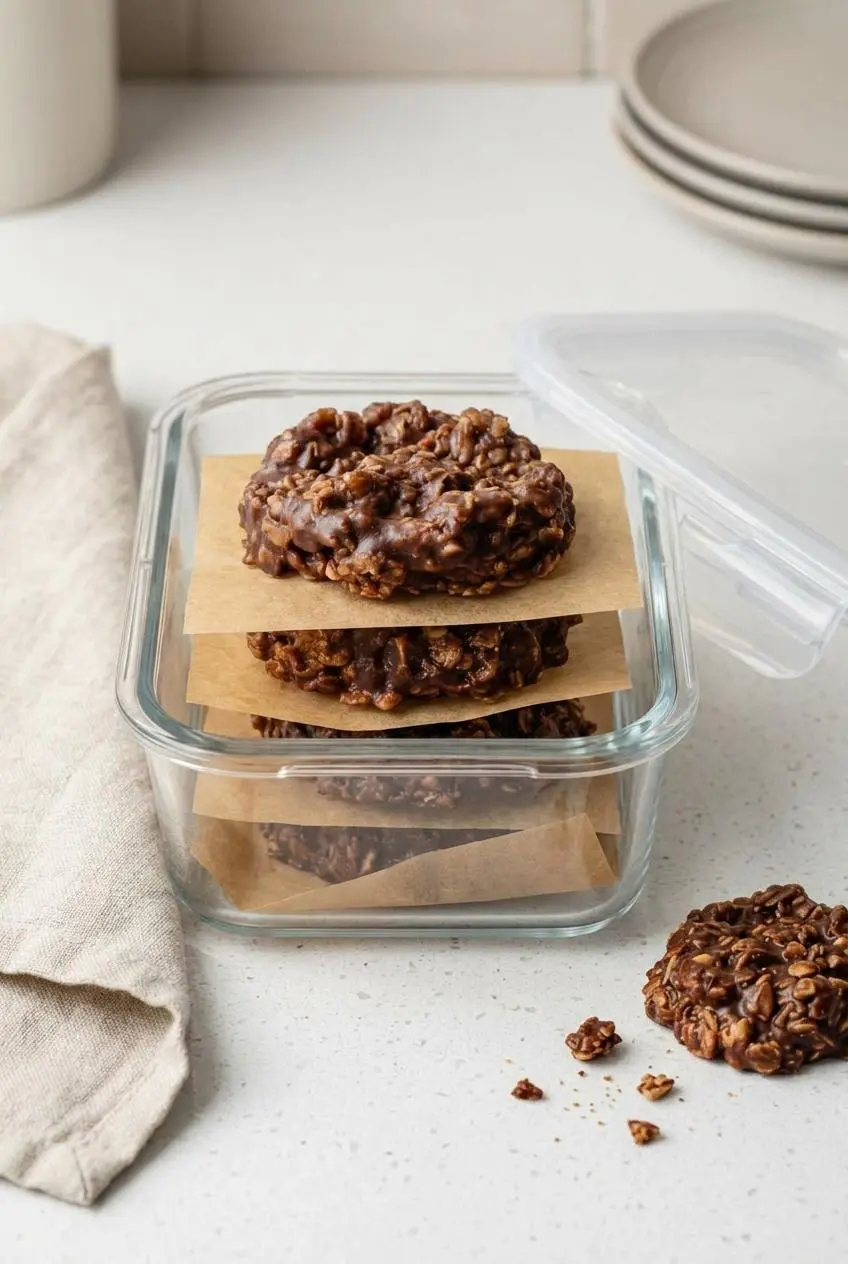
Chilling gives these cookies their firmest, fudgiest bite. Let them set completely on the lined baking sheets, then move them to an airtight container with parchment or wax paper between layers to prevent sticking.
Room Temperature Setting vs. Refrigerator Chilling
The cookies can firm at room temperature in a cool kitchen, but refrigeration gives a faster, cleaner set and helps preserve the dense chocolate texture. Refrigerate the scooped cookies for 30–60 minutes as directed, especially when the kitchen feels warm or humid.
Keep leftover cookies covered in the refrigerator for up to 1 week. For serving, let them sit briefly at room temperature if you prefer a softer chew, or enjoy them chilled when you want a firmer fudge-like bite.
Conclusion
These cookies deliver a rich chocolate-peanut butter chew with no oven heat and very little fuss. Focus on the full rolling boil, keep it to 60 seconds, and give the oats their five-minute rest.
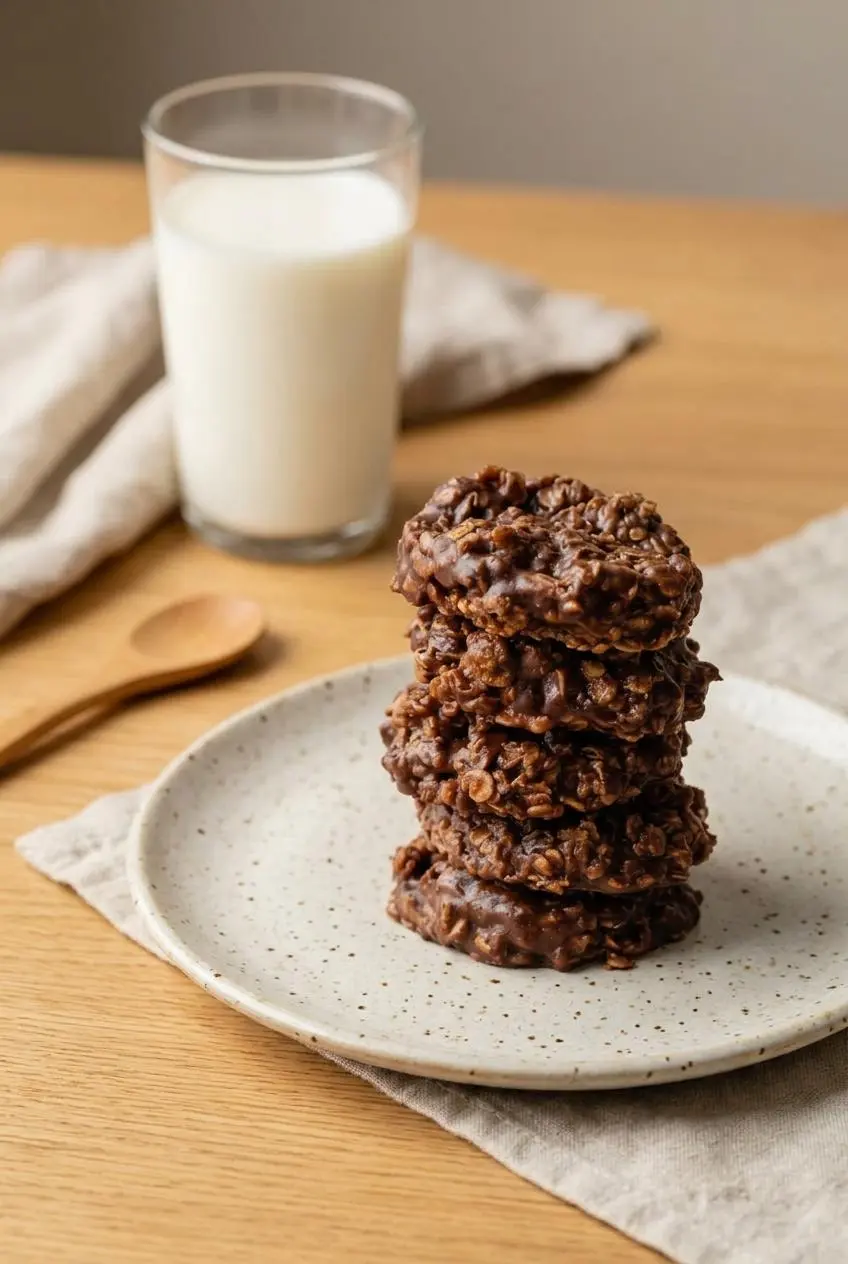
Once the cookies are firm and matte, serve them chilled with a cold glass of milk for an easy, satisfying treat.
Frequently Asked Questions
Why Are My Chocolate Peanut Butter No Bake Cookies Not Setting?
The sugar mixture may have been timed before it reached a true rolling boil. Wait for vigorous bubbles across the center of the pan, then boil for the full 60 seconds. High humidity and oily natural peanut butter can also slow setting. Chill the cookies until the surface loses its shine and the edges feel firm.
Why Did My Cookies Turn Out Dry and Crumbly?
Overboiling is the most likely cause. Boiling longer than 60 seconds removes too much moisture, leaving the oats without enough syrup to bind them. Too many oats can also create a dry batch, especially when cups are packed tightly. Weighing the oats helps, and a small amount of warm milk can loosen stiff batter before scooping.
Can I Use Natural Peanut Butter in No Bake Cookies?
Yes, provided it is stirred thoroughly until there is no separated oil in the jar. Natural peanut butter makes a slightly softer cookie than standard creamy peanut butter. Mix it fully into the warm chocolate syrup, then allow the oat mixture to rest until it thickens before portioning.
Should Chocolate Peanut Butter No Bake Cookies Be Kept in the Fridge?
Refrigeration gives the cookies their firmest, fudgiest texture and is especially useful in a warm kitchen. Keep leftovers covered in an airtight container. The method includes refrigerated storage for up to 1 week. Let a chilled cookie sit briefly before eating if you prefer a softer, chewier center.
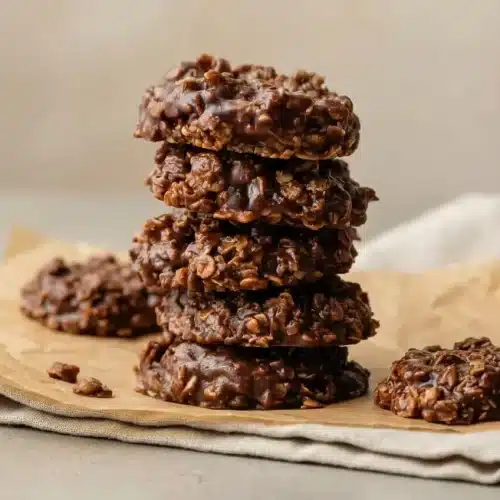
Chocolate Peanut Butter No Bake Cookies

Equipment
- Saucepan
- Whisk
- Silicone spatula
- Instant-read thermometer
- Baking Sheets
- Silicone Baking Mats or Parchment Paper
- 1-tablespoon Cookie Scoop
Ingredients
- 6 Tablespoons unsalted butter
- 1 1/2 cups granulated sugar
- 1/2 cup milk
- 1/4 cup unsweetened natural or Dutch-process cocoa powder
- 2/3 cup creamy peanut butter
- 1 Tablespoon pure vanilla extract (yes, a full Tablespoon!)
- 3 cups old-fashioned whole rolled oats or quick oats
- 1/8 teaspoon salt
Instructions
- Add the butter, sugar, milk, and cocoa powder to a medium 3-quart saucepan and heat over medium, whisking until the butter has melted. The mixture should look smooth, glossy, and deep brown before it begins bubbling.
- Let the mixture come to a full rolling boil, then stop whisking and boil it for 1 minute. Start the timer only when rapid bubbles break across the center of the pan, not when small bubbles cling to the edges; an instant-read thermometer should reach 225°F (107°C).
- Take the saucepan off the heat and promptly stir in the peanut butter and vanilla, followed by the oats and salt. The chocolate mixture should become thick and shiny, falling from the spatula in a heavy ribbon.
- Leave the mixture in the saucepan for 5 minutes. During this pause, the oats absorb moisture and the mixture gains enough resistance to hold a rounded scoop.
- Line two baking sheets with parchment paper or silicone baking mats while the oat mixture rests, leaving room in the refrigerator for both sheets. The lined surfaces prevent the warm cookies from sticking as they firm.
- Portion the mixture onto the prepared sheets with a 1-Tablespoon cookie scoop or a Tablespoon, flattening the tops lightly with the back of a spoon if desired. The scoops should sit in mounds rather than spreading into thin puddles.
- Refrigerate the cookies for 30-60 minutes, then remove them once they have set. They are ready when the surface looks matte and the edges feel firm enough to lift cleanly from the parchment.