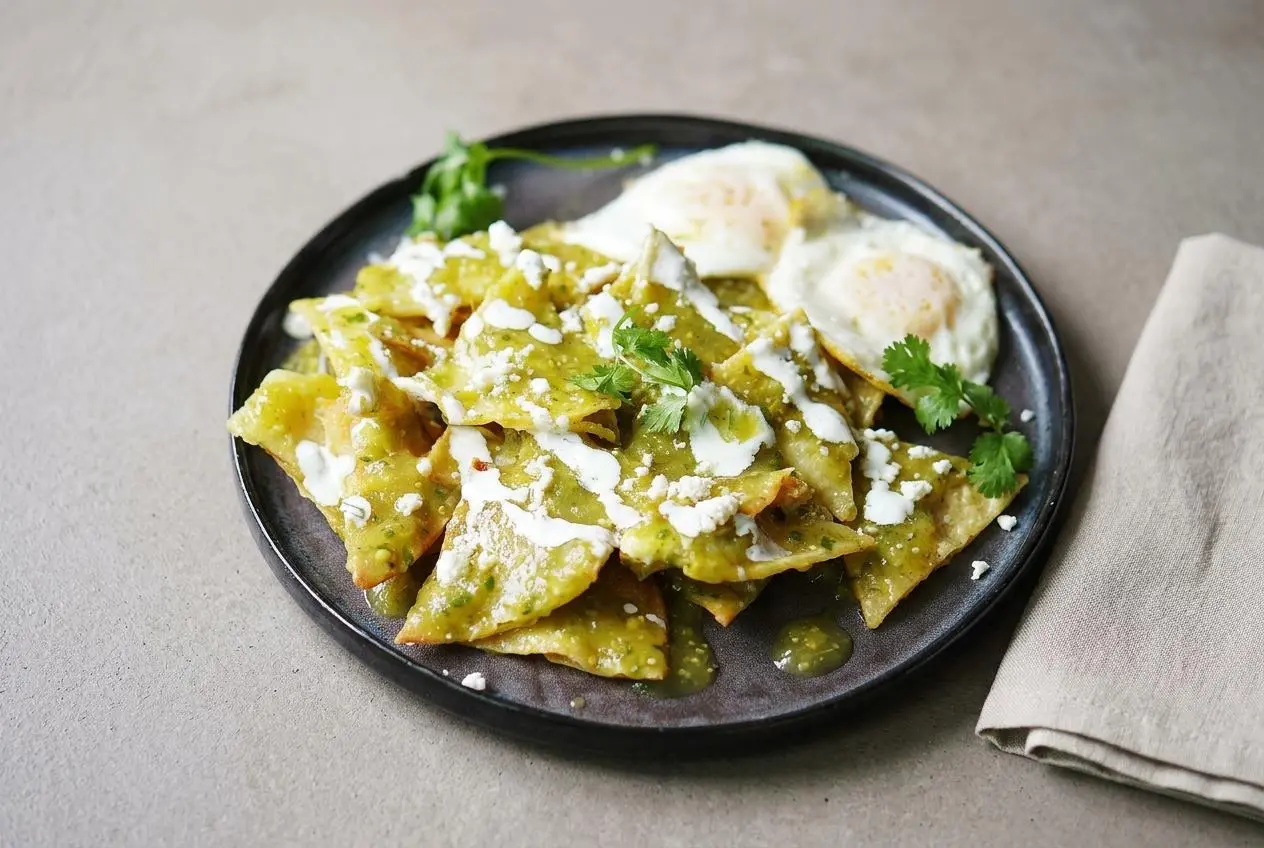
Chilaquiles verdes are a classic Mexican breakfast made with crisp tortilla chips, hot green salsa, cheese, and crema. You can keep them tender and saucy or make them extra crisp, depending on how you assemble them.
Chilaquiles verdes are one of those dishes that feel comforting the second they hit the table. Tangy salsa, warm chips, salty cheese, and a little crema do a lot of work without feeling fussy.
This version gives you the full path, from roasted salsa verde to homemade totopos, plus the texture tricks that make the difference between soggy and just right. It’s a very good breakfast.
Rinse peeled tomatillos under water before roasting them so the sticky coating doesn’t dull the salsa’s clean, bright flavor.
What Are Chilaquiles Verdes?
They’re fried or baked pieces of corn tortillas, called totopos, coated in salsa verde and served hot with toppings like queso fresco, cotija, crema, onion, avocado, or eggs. The green salsa gets its signature tang from tomatillos, and the final texture can land anywhere from lightly crisp to soft and casserole-like.
If you’re new to the dish, think of it as the best possible use for tortillas and salsa. It’s deeply comforting, quick to finish once the parts are ready, and flexible enough for breakfast, brunch, or a laid-back dinner.
Key Ingredients for Authentic Chilaquiles
Each ingredient here has a real job, from building tang and crunch to adding richness, salt, and creamy contrast once the hot salsa meets the chips.
- 12 corn tortillas – cut into triangles
- 3 Tablespoons avocado or vegetable oil – for baking the tortillas
- 2 cups homemade Tomatillo Salsa Verde or store-bought
- ⅓ cup queso fresco or cotija – crumbled
- 2 to 4 eggs – optional
- ½ cup Mexican crema or Cilantro Lime Ranch Crema
Corn tortillas matter here because flour tortillas won’t give you the same flavor or structure. Slightly stale or day-old corn tortillas are especially useful because they dry out a bit, which helps them bake or fry into sturdier chips with better crunch.
Tomatillo salsa verde brings the bright, tangy backbone of the dish. When the salsa is hot and lively, it coats the chips instead of sitting on them like a cold topping.
For cheese, queso fresco stays soft, mild, and a little creamy against the warm salsa. Cotija is drier, saltier, and more intense, so it gives a sharper finishing hit.
Mexican crema is thinner and less tangy than standard sour cream, so it drizzles easily and softens the acidity of the salsa without taking over the plate. If needed, sour cream works as a stand-in, though it tastes heavier and thicker.
I always reach for day-old tortillas here because they crisp more evenly and hold up better once the salsa goes on.
How to Make Chilaquiles Verdes (Step-by-Step)
This recipe is straightforward once you break it into three parts: make the salsa, crisp the tortillas, then assemble everything fast while the salsa is still hot.
Step 1: Make the Roasted Salsa Verde
For a from-scratch salsa verde, roast tomatillos, onion, garlic, and serrano or jalapeño until they soften and pick up a little char, then blend them with cilantro and salt until smooth or slightly textured. Roasting matters because it rounds out the sharpness of the tomatillos and gives the salsa a deeper, toastier flavor than a raw blend.
If the salsa looks too thick, loosen it with a splash of water until it pours easily but still clings to a spoon. If it looks thin, simmer it a bit longer before using it for the chilaquiles so it coats the chips instead of flooding them.
The pan should smell bright and savory once the salsa heats up, with that little sizzle followed by the tangy scent of tomatillos. If you make extra salsa, cool it and store it covered in the refrigerator, then use it while it still tastes fresh and lively.
Any extra roasted green salsa is also excellent in delicious Pozole Verde.
Step 2: Make the Homemade Tortilla Chips (Totopos)
Cut the corn tortillas into triangles, then either bake or fry them until crisp. Homemade totopos taste better, stay sturdier in the sauce, and give you more control over salt and texture.
Baking is easier and cleaner. Frying gives you the deepest crunch. Either way, don’t skip seasoning the chips lightly after cooking or the whole dish can taste flat.
Making your own chips might seem like an extra step, but the superior crunch is worth it. If you fry, avoid crowding the pan because the oil temperature drops fast and the chips can turn greasy instead of crisp.
| Method | Time | Oil Needed | Final Texture |
|---|---|---|---|
| Baked | About 12 to 15 min | Light coating | Crisp, a little lighter, great for everyday cooking |
| Fried | Quick batches on the stovetop | More oil | Deep crunch, richer flavor, best for maximum crispiness |
If you need a shortcut, store-bought tortilla chips can work. Choose thick, restaurant-style chips that are lightly salted and sturdy enough to stand up to warm salsa.
Step 3: Assemble the Chilaquiles
- Heat the oven to 350 °F.
The oven is ready when it is fully hot before the tortilla triangles go in, which helps them crisp instead of drying unevenly. - Brush the tortilla triangles with oil, arrange them in a single layer on a baking sheet, and season with kosher salt.
Keep space between the pieces so the edges can toast and the chips brown more evenly. - Bake the tortillas for about 12 to 15 minutes until they are crisp and lightly golden, then set them aside.
They are done when the centers feel dry and the edges look firm rather than pale and bendy. - While the chips bake, warm the salsa verde in a medium pan over medium heat until it reaches a steady simmer.
Small bubbles and a bright tomatillo aroma show the salsa is hot enough to coat the chips well. - Add the baked tortilla chips to the hot salsa and fold gently until the chips are evenly coated.
Work quickly so the chips get sauced all over without losing all of their texture. - Transfer the chilaquiles to plates right away.
The best balance of crisp edges and saucy centers happens immediately after mixing. - Finish with the crumbled queso fresco or cotija and drizzle with mexican crema or cilantro Lime Rancho Crema.
The cheese should soften slightly from the heat while the crema cools and smooths out the salsa’s tang. - Add fried eggs if using, and serve with refried beans on the side.
A runny yolk makes the dish richer, and beans turn it into a full meal.
The Secret to Texture: Crispy vs. Soft Chilaquiles
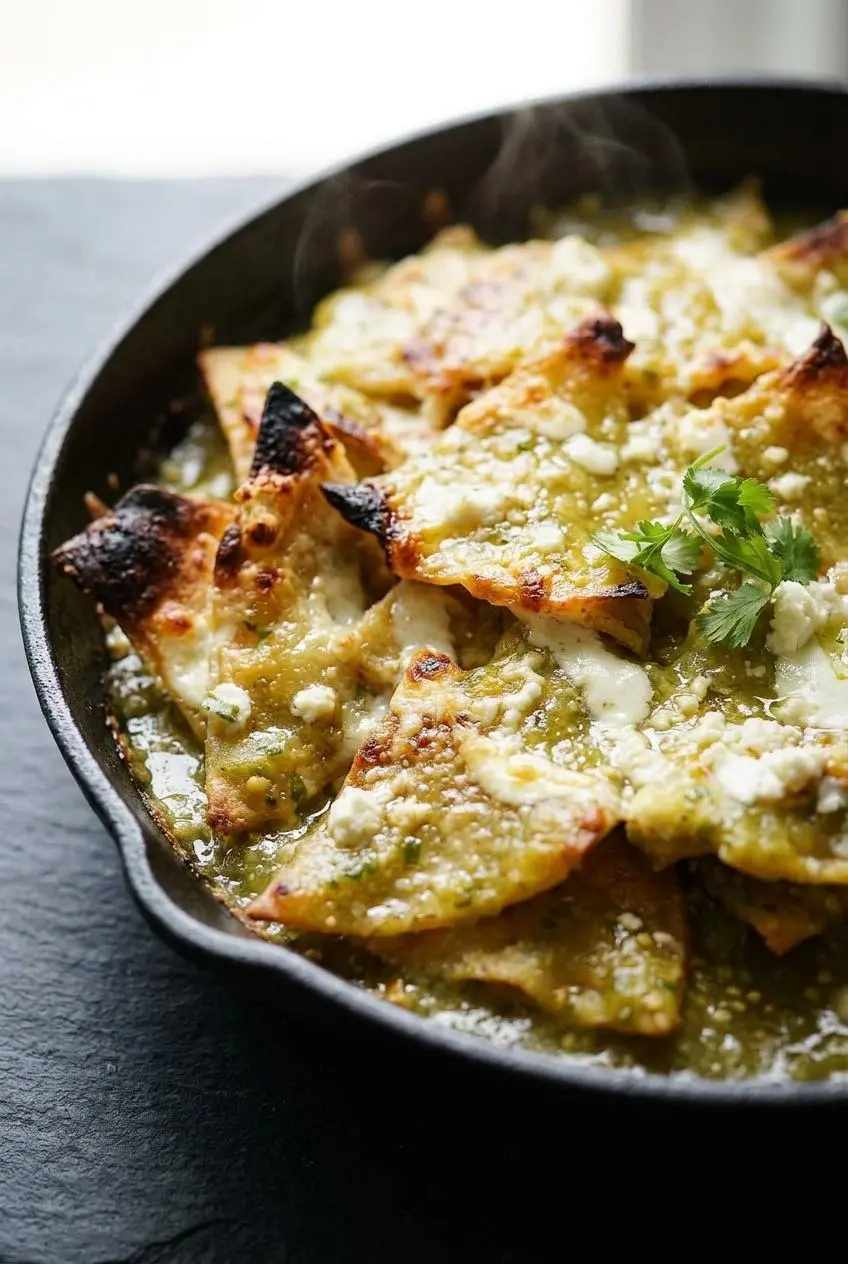
Both styles are traditional, and both are delicious. The real secret is deciding what you want before you combine the chips and salsa, because that one choice changes the whole plate.
For Soft, Tender Chilaquiles (Pan-Simmered Method)
This is the cozier version. Add the chips directly to simmering salsa in the pan and let them sit briefly as you fold them through. They soften, absorb flavor, and turn tender in the center while the edges stay a little textured.
If you like a casserole-like bite, this is the method to use. It’s also a good choice when you want the chips fully seasoned from edge to center.
For Crispy Chilaquiles (Layering Method)
For more crunch, put the chips in bowls first, spoon or pour the hot salsa over the top, then finish immediately with cheese, crema, and garnishes. This keeps the chips from soaking too long and gives you crisp bites alongside saucy ones.
This method is especially helpful if you’re serving a group, because you can keep the chips and salsa separate until the last minute. It’s the easiest way to avoid a soggy breakfast rush.
Pro-Tip: Broil for a Cheesy, Crispy Top
If you want a restaurant-style finish, assemble the sauced chips in an oven-safe skillet, scatter cheese over the top, and broil briefly until the cheese bubbles and some of the top chips crisp up again. Keep a close eye on it because that final minute moves fast.
Tips for the Best Chilaquiles
Most chilaquiles problems come down to chip strength, salsa thickness, or timing. Fix those three things, and the dish gets much easier to control.
| Problem | Likely Cause | Solution |
|---|---|---|
| My chilaquiles are soggy | Thin chips or too much time sitting in sauce | Use thicker chips and serve right after combining |
| My chips taste greasy | The pan was overcrowded during frying | Fry in smaller batches so the chips crisp instead of absorbing excess oil |
| My salsa is watery | The salsa was too loose before assembly | Simmer it a bit longer so it thickens enough to cling to the chips |
| My salsa tastes flat | The chips or salsa were underseasoned | Salt the chips lightly and taste the salsa while it is hot |
| The dish is lukewarm | Cold salsa was added to hot chips | Always heat the salsa to a simmer before assembly |
Day-old tortillas make better homemade chips because they release moisture more easily and crisp faster. If you fry instead of bake, look for the bubbling in the oil to slow down dramatically and the tortillas to turn light golden brown before pulling them out.
If you’re cooking for a crowd, keep the hot salsa in one pan and the chips on a tray, then assemble each serving as needed. That keeps the texture under control and saves you from one giant soft skillet.
Essential Toppings and Variations
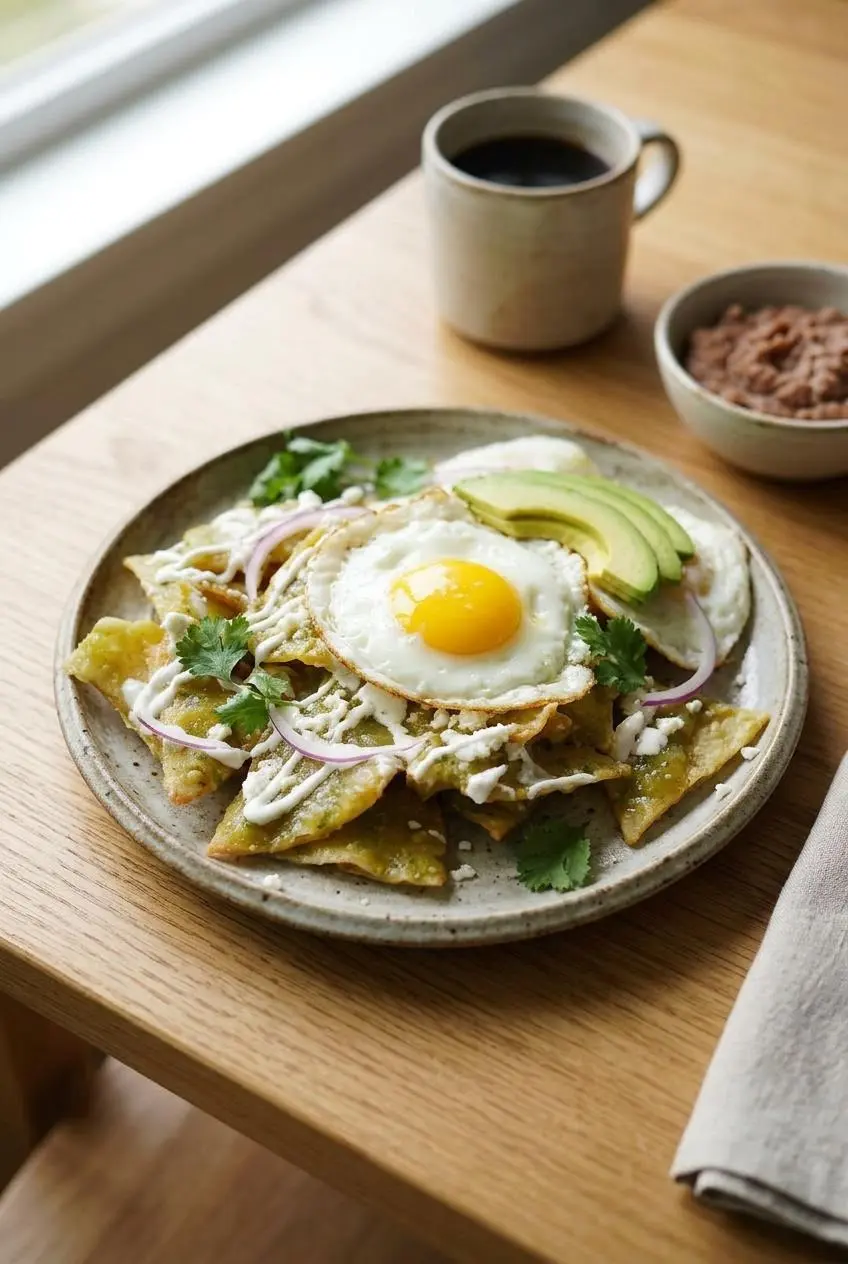
This is where you can build the plate you actually want. Keep the base recipe the same, then customize with toppings, protein, and serving extras.
Classic Toppings: A Guide to Cheeses and Crema
A good toppings bar makes chilaquiles feel generous without making the cooking harder. Set out crumbled queso fresco or cotija, mexican crema, thinly sliced red onion, chopped cilantro, avocado, and lime wedges so everyone can finish their own bowl.
| Topping | What It Adds | Best Effect |
|---|---|---|
| Queso fresco | Mild, soft, milky flavor | Balances spicy or tangy salsa |
| Cotija | Salty, firmer bite | Stronger savory finish |
| Mexican crema | Cool, silky richness | Softens acidity and heat |
| Red onion | Sharp freshness | Adds contrast and crunch |
| Cilantro | Bright herbal note | Lifts the whole plate |
| Avocado | Buttery texture | Mellows the salsa and adds richness |
Refried beans are a classic side, and if you want a bean-and-rice breakfast plate, a side of Gallo Pinto works beautifully too.
Variation: Add Protein (Chicken or Egg)
For chicken chilaquiles, fold shredded cooked chicken into the hot salsa and chips right at the end, or scatter it over the top before serving. Rotisserie chicken is a great shortcut because it’s already seasoned and easy to shred.
Egg is just as classic. A fried egg on top adds richness, and a runny yolk mixing into the salsa tastes especially good with the tangy tomatillos.
Variation: Chilaquiles Rojos
Chilaquiles rojos use the same method, but swap the green salsa for salsa roja. The red version usually leans deeper and a little smokier, while verdes stay brighter and more tangy from the tomatillos.
You can also make the dish spicier with a hotter salsa, or make it dairy-free with a plant-based crema and no cheese. Those changes are optional, but the base method still works.
How to Store and Reheat Leftovers
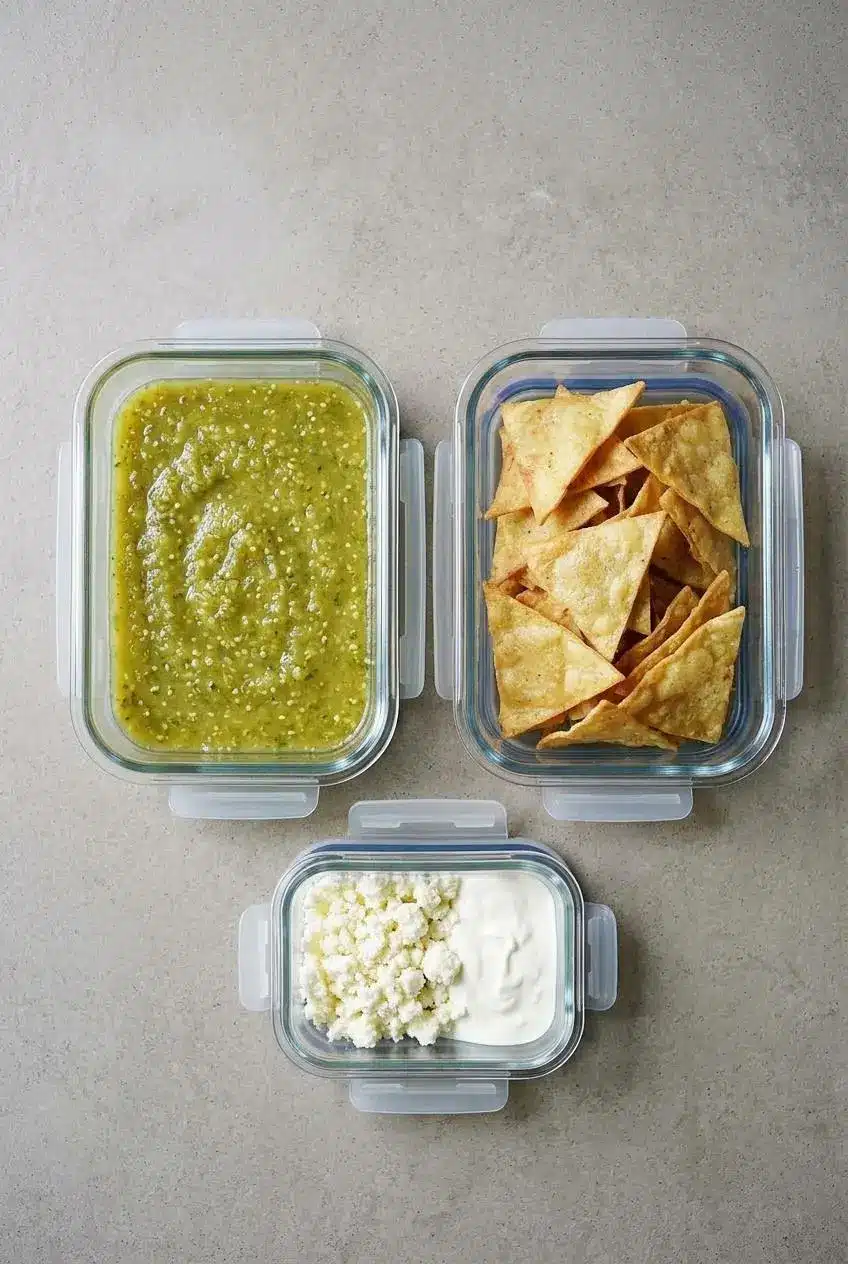
Assembled chilaquiles are best right away because the chips continue to soften as they sit. If you know you’ll have leftovers, store the chips and salsa separately rather than combining the whole batch at once.
Keep leftover salsa covered in the refrigerator and the chips in an airtight container at room temperature, away from humidity. To reheat, warm the salsa in a pan until hot, then assemble a fresh plate with the chips so you keep as much texture as possible.
If the chilaquiles have already been mixed, you can warm them gently in a skillet, but expect a much softer, more spoonable texture.
Conclusion
Once you know how to roast the salsa, crisp the tortillas, and choose your texture, chilaquiles verdes become an easy dish to make your own. Tangy, crunchy, saucy, and cheesy is a pretty great place to land.
Whether you like them tender from the pan or crisp from the bowl, you can make a seriously satisfying plate at home. Serve them hot and enjoy every last bite.
Frequently Asked Questions
Should chilaquiles be crispy or soggy?
It comes down to preference. Soft chilaquiles are simmered briefly in the salsa so they turn tender and absorb more flavor. Crispy chilaquiles are made by adding hot salsa right before serving. Both styles are classic, and neither one is wrong.
What’s the best way to keep chilaquiles from getting soggy?
Start with thick, sturdy tortilla chips, ideally homemade. Thin chips collapse fast once the salsa hits them. Make sure the salsa is hot before you combine it with the chips, and serve immediately. For maximum crunch, layer the chips in the bowl and spoon the salsa over them at the last moment.
What is the difference between chilaquiles and enchiladas?
Chilaquiles use broken tortilla chips or fried tortilla pieces mixed with salsa. The shape and texture stay loose, layered, and a little rustic. Enchiladas use whole tortillas that are filled, rolled, and covered in sauce. They’re a different format entirely, even if some ingredients overlap.
Can I use store-bought tortilla chips for chilaquiles?
Yes, and they can be a very good shortcut. Choose thick, restaurant-style chips that won’t disintegrate the second they hit the salsa. Avoid thin, delicate chips if you can. They turn mushy very quickly and make the final texture harder to control.
What is the difference between chilaquiles verdes and rojos?
The main difference is the salsa. Chilaquiles verdes use salsa verde made with tomatillos, which gives them a brighter, tangier flavor. Chilaquiles rojos use a red salsa, usually made from tomatoes and dried red chiles. The flavor tends to be deeper and sometimes smokier.
How do I store and reheat leftover chilaquiles?
The best move is to store the salsa and chips separately whenever possible. That protects the crunch and makes reheating much easier. If the chilaquiles are already mixed, reheat them gently in a skillet for a soft, casserole-like result. For the best texture, warm the salsa and assemble a fresh portion with crisp chips.
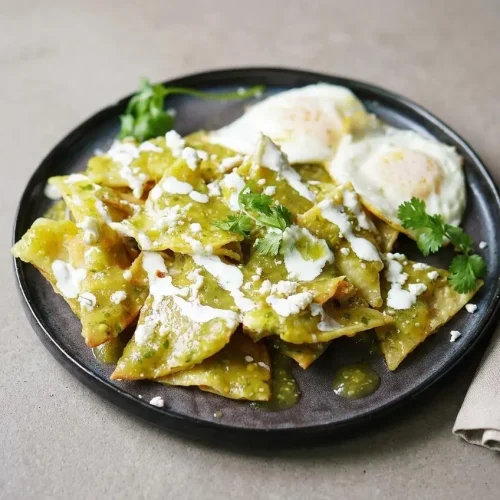
Chilaquiles Verdes

Equipment
- Baking Sheet
- Medium pan
Ingredients
- 12 corn tortillas cut into triangles
- 3 Tablespoons avocado or vegetable oil For baking the tortillas
- 2 cups homemade Tomatillo Salsa Verde or store-bought
- ⅓ cup queso fresco or cotija crumbled
- 2 to 4 eggs optional
- ½ cup mexican crema or cilantro Lime Ranch Crema
Instructions
- Heat the oven to 350 °F. The oven is ready when it is fully hot before the tortilla triangles go in, which helps them crisp instead of drying unevenly.
- Brush the tortilla triangles with oil, arrange them in a single layer on a baking sheet, and season with kosher salt. Keep space between the pieces so the edges can toast and the chips brown more evenly.
- Bake the tortillas for about 12 to 15 minutes until they are crisp and lightly golden, then set them aside. They are done when the centers feel dry and the edges look firm rather than pale and bendy.
- While the chips bake, warm the salsa verde in a medium pan over medium heat until it reaches a steady simmer. Small bubbles and a bright tomatillo aroma show the salsa is hot enough to coat the chips well.
- Add the baked tortilla chips to the hot salsa and fold gently until the chips are evenly coated. Work quickly so the chips get sauced all over without losing all of their texture.
- Transfer the chilaquiles to plates right away. The best balance of crisp edges and saucy centers happens immediately after mixing.
- Finish with the crumbled queso fresco or cotija and drizzle with mexican crema or cilantro Lime Rancho Crema. The cheese should soften slightly from the heat while the crema cools and smooths out the salsa’s tang.
- Add fried eggs if using, and serve with refried beans on the side. A runny yolk makes the dish richer, and beans turn it into a full meal.