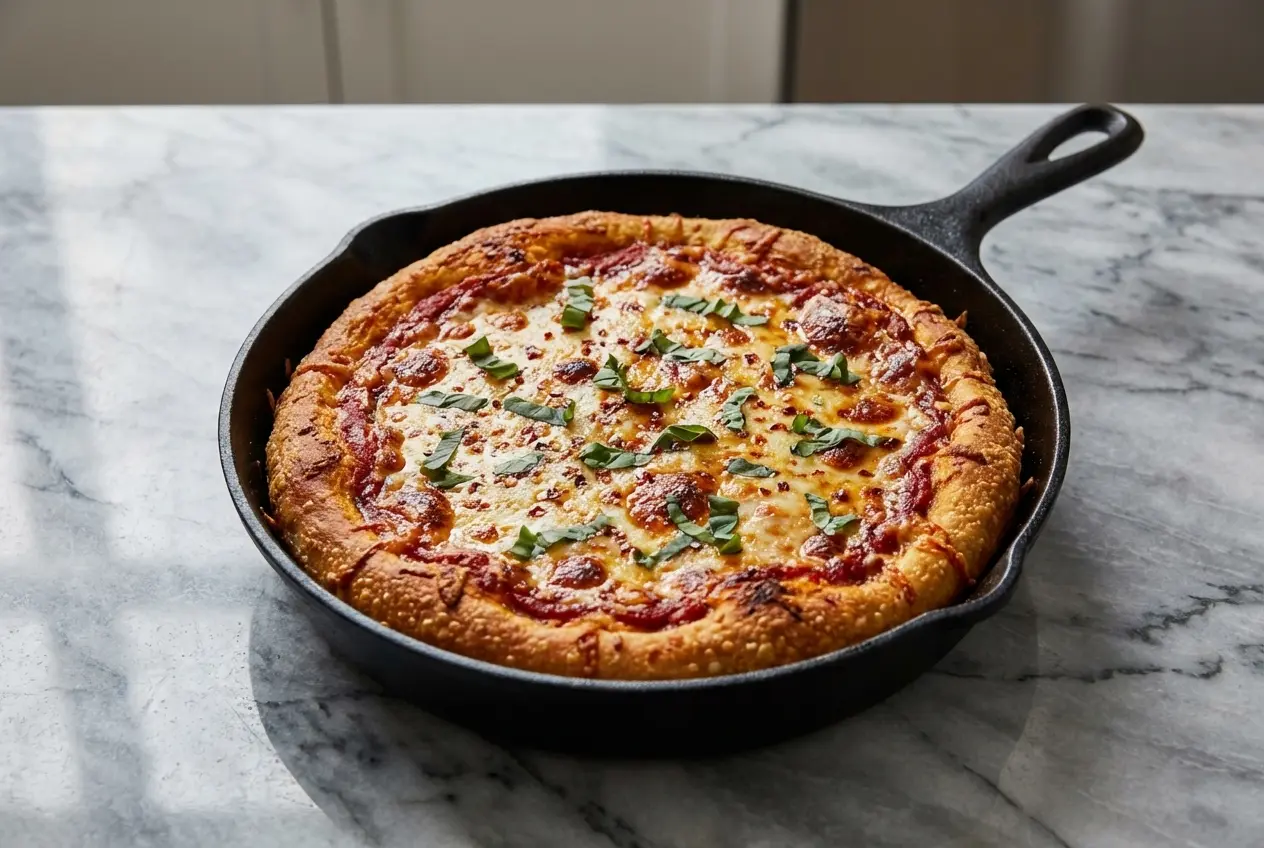
Nothing is more disappointing than pulling a homemade pizza from the oven and finding a pale, soft bottom when you were dreaming of that crackly first bite. In my kitchen, Cast Iron Skillet Pizza became the fix for that problem, but the real magic was not just the pan, it was a simple extra step that changed the crust completely.
You get the sizzle the moment the dough hits the hot skillet, the cheesy pull when you slice in, and that golden-brown, deep-dish style edge that tastes like it came from a great neighborhood pizzeria. This method is perfect for weeknights, pizza nights with friends, or anytime you want homemade pizza that feels a little special.
Why You’ll Love This Recipe
Shatteringly crisp crust: I love this method because the bottom of the pizza dough does not just bake, it practically fries in the hot skillet. That is what gives this cast iron skillet pizza its unforgettable crispy crust.
The secret twist: In my kitchen, searing Italian sausage or pepperoni first is the game-changer. Once the meat comes out, the rendered fat stays behind and becomes a deeply savory base that olive oil alone just cannot match.
Big flavor, simple effort: You are not making a complicated deep dish pizza here. You are using one smart move to add roasted, meaty depth and better browning without adding extra fuss.
Reliable results: Between the preheating skillet step and room temperature dough, this recipe stacks the deck in your favor. The dough hits a blazing-hot surface, sets fast, and stays crisp instead of turning soggy in the center.
Ingredients and Substitutions
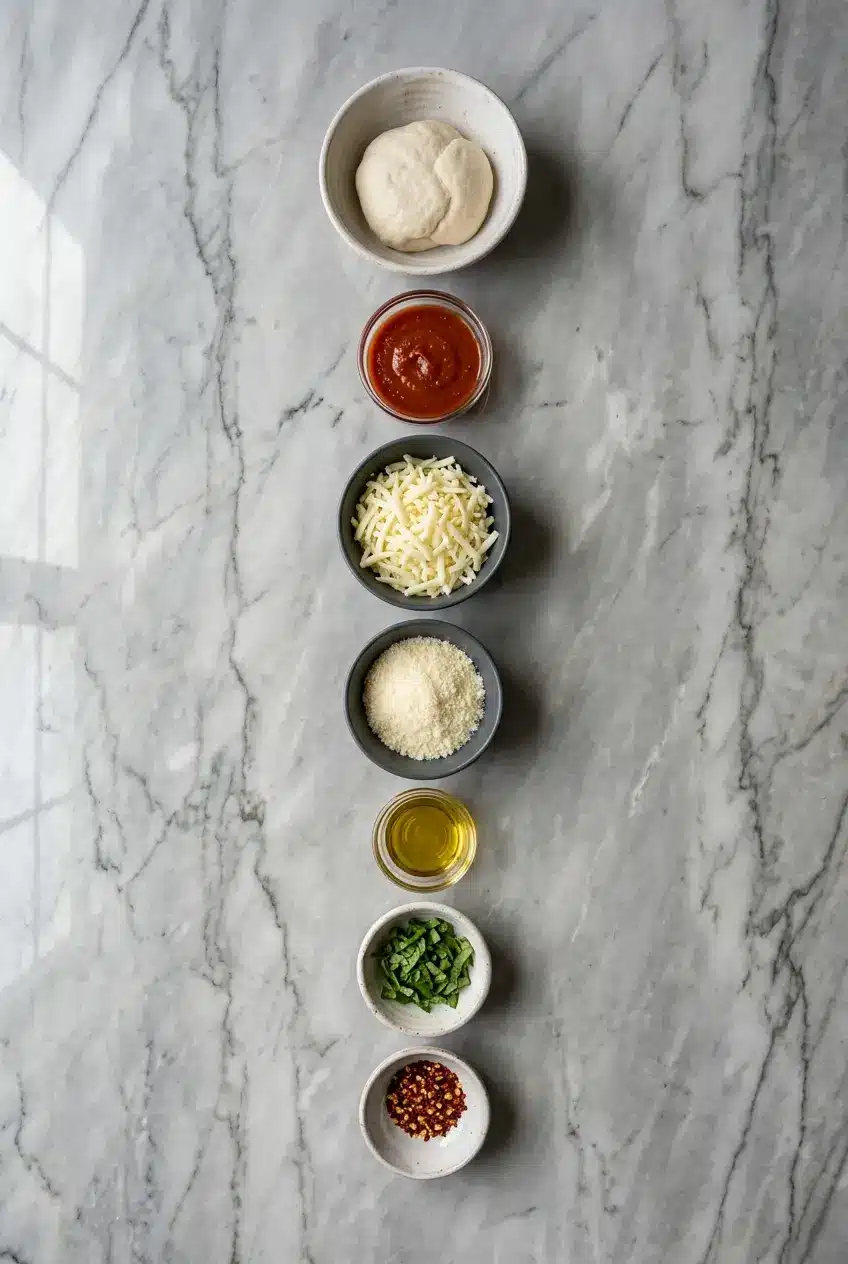
These ingredients keep things simple, but each one pulls its weight, from the stretchy mozzarella cheese to the sauce and finishing toppings that brighten every bite.
Ingredients
- 4 oz pizza dough
- 6 oz pizza sauce
- 3/4 cup mozzarella cheese
- 1/4 cup parmesan cheese
- 2 Tablespoons oil
Toppings:
- 1 Tablespoon fresh basil, chopped
- red pepper flakes
Ingredient Notes & Substitutions
Pizza Dough: Homemade dough is wonderful if you already have a favorite recipe, but a good store-bought ball is often the easiest path to success. I especially like dough from a local pizzeria, and I always let it sit out for 30 to 60 minutes so room temperature dough stretches easily instead of snapping back.
Pizza Sauce: A simple sauce works best here because the crust and cheese already bring so much character. I often use fire-roasted tomatoes or a clean, high-quality pizza sauce with no heavy seasoning, which keeps the flavor bright and prevents the pizza from feeling weighed down.
Cheese: Low-moisture mozzarella gives you the best melt without flooding the center, while parmesan cheese adds that salty, nutty edge that makes the top taste finished. If you want to branch out, provolone and asiago both melt beautifully and play nicely with the same flavor profile.
The Fat: The ingredient list uses oil, and that works perfectly well for the core method. For the signature twist, I often brown Italian sausage or pepperoni first and use that rendered fat in place of the oil, while a vegetarian version does best with a high-smoke-point choice like avocado oil.
Toppings: Fresh basil and red pepper flakes are classic because they wake up the rich, cheesy base right at the end. If you want more variation, roasted red peppers, mushrooms, arugula, or extra pepperoni all work well, as long as you avoid piling on too much moisture.
How to Make Cast Iron Skillet Pizza
Preheat the skillet and prepare the dough
- Set your oven to 500F and place the cast iron skillet inside while the oven heats. Letting the pan get thoroughly hot is what creates that crisp, golden bottom, so do not rush this part.
- While the skillet heats, shape the pizza dough into about a 10×10-inch circle, or adjust it to match the size of your pan. I like to do this before opening the oven so the dough and toppings are ready the second the skillet comes out.
Build the pizza in the hot pan
- Carefully remove the hot skillet from the oven and place it on a heatproof surface. Using a wad of paper towels or napkins, very carefully spread the oil across the hot pan so the surface is lightly coated and shimmering.
- Lay the shaped dough into the skillet and quickly nudge it toward the edges before the heat starts setting it in place. You should hear an immediate sizzle, which is exactly what you want.
- Spread a thin layer of pizza sauce over the dough, leaving a little space around the edge for the crust to puff naturally. Scatter the mozzarella cheese and parmesan cheese evenly over the top so every slice gets that bubbly, browned finish.
Bake and finish
Bake the pizza uncovered for 14 to 16 minutes, until the cheese is bubbling and browned and the crust is a rich golden brown. Slide the finished pizza onto a cutting board with a sturdy utensil, then top with fresh basil and red pepper flakes if you like.
If making more than one pizza
Repeat the process with additional dough for a second pizza, or use 2 pans at once if you have them. I have found the crust often gets even crispier as the skillet stays hotter through the next round.
The Secret to a Perfect Pan Pizza Crust
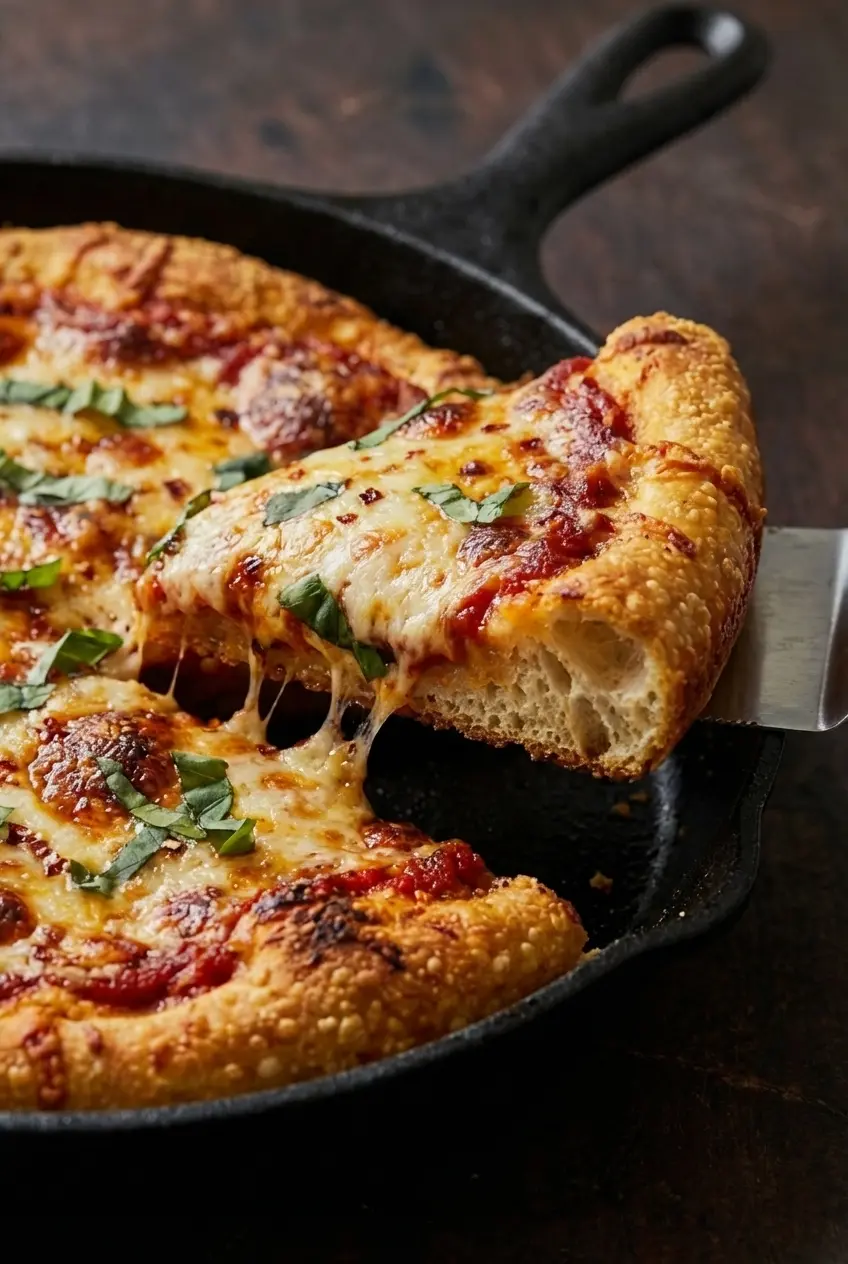
The best pan pizza crust comes from two things working together, fat and heat. When you brown sausage or pepperoni first, the rendered fat carries savory flavor from the browning process, and those roasted notes are tied to the Maillard reaction, which is why the crust tastes deeper and more complex than one made with plain oil alone.
That flavorful fat coats the pan and helps fry the underside of the dough as it bakes. The result is a crust that is crisp underneath, chewy inside, and deeply golden around the edges, exactly the texture I want from a great cast iron skillet pizza.
The second half of the secret is preheating skillet and dough management. A fully heated pan sears the pizza dough the instant it lands, which keeps steam from building underneath and turning the center soft.
This is also why a 500F oven matters so much. The intense heat gives you fast oven spring, bubbling cheese, and a crisp bottom before the sauce has time to soak through.
Choosing and Caring For Your Cast Iron Skillet
A 10 or 12-inch skillet is the sweet spot for most home cooks because it gives you enough surface area for a beautifully browned crust without making the pizza hard to handle. I reach for a traditional pan like a Lodge cast iron skillet because non-enameled cast iron radiates heat more intensely, which helps deliver that crisp, pizzeria-style base.
A well-seasoned skillet also earns its keep beyond pizza night. The same pan that turns out a crusty homemade pizza can go straight into baked comfort food, and it is just as useful for something rich and bubbling like Southern baked mac when you want another excuse to keep cast iron in regular rotation.
After baking, let the skillet cool until it is safe to handle but still slightly warm. Scrape away any stuck bits of cheese with a pan scraper or wooden tool rather than steel wool, which can rough up the seasoning.
Wash with hot water and a stiff brush, using only a small amount of soap if the pan really needs it. Dry it thoroughly over low heat or with a towel, then rub in the thinnest layer of oil so the surface stays smooth and ready for the next pizza.
Troubleshooting Common Skillet Pizza Problems
Soggy center: This usually comes down to too much sauce or a pan that was not hot enough. Keep the sauce in a thin layer and give the skillet a full 20 to 25 minute preheat so the crust starts cooking the second the dough touches it.
Burnt top, undercooked bottom: This is often a rack-position problem. Place the skillet on an upper-third rack, not the very top slot, so the cheese browns nicely while the bottom has time to cook through.
Dough sticking to the pan: A skillet that is not hot enough is usually the culprit, along with too little fat on the surface. Make sure the pan is fully preheated and that the bottom is well coated with oil, or with rendered sausage or pepperoni fat if you are using the flavor-infused method.
Dough shrinks back while shaping: Cold dough fights you every time. Let it sit on the counter for 30 to 60 minutes first, and if you want a deeper baking explanation for why Room Temperature Dough is a Must, it helps to understand how dough temperature affects elasticity and texture.
Using a standard 1-pound dough ball: That amount is more than this small recipe needs, so I usually divide it into two smaller pizzas. You can also make one larger skillet pizza in a bigger pan, but keep an eye on thickness and do not overload it with sauce.
Pro Tips & Troubleshooting
Pro Tips
- Room temperature dough is non-negotiable. Cold dough is tight and springy, while rested dough shapes easily and settles into the skillet without fighting back.
- Keep your rack in the upper third of the oven. That position helps the cheese melt and brown while the cast iron works on the crispy crust underneath.
- Have everything ready before you open the oven. Once the skillet comes out, you want to move fast so the pan stays screaming hot.
- Handle the skillet like it is live fire. At 500F, it stays dangerously hot for a long time, so I always use heavy oven mitts and keep a trivet waiting nearby.
Common Mistakes to Avoid
- Skipping the preheat. A warm pan is not enough, and a cold pan guarantees a softer, breadier crust.
- Using too much sauce. A heavy layer traps steam and can leave the middle limp instead of crisp.
- Choosing an enameled skillet for your first try. It can work, but traditional cast iron usually gives better browning and a more intense crust.
- Overloading the top with wet toppings. Too many moisture-heavy ingredients can weigh the pizza down and interfere with that deep golden finish.
Serving & Storage
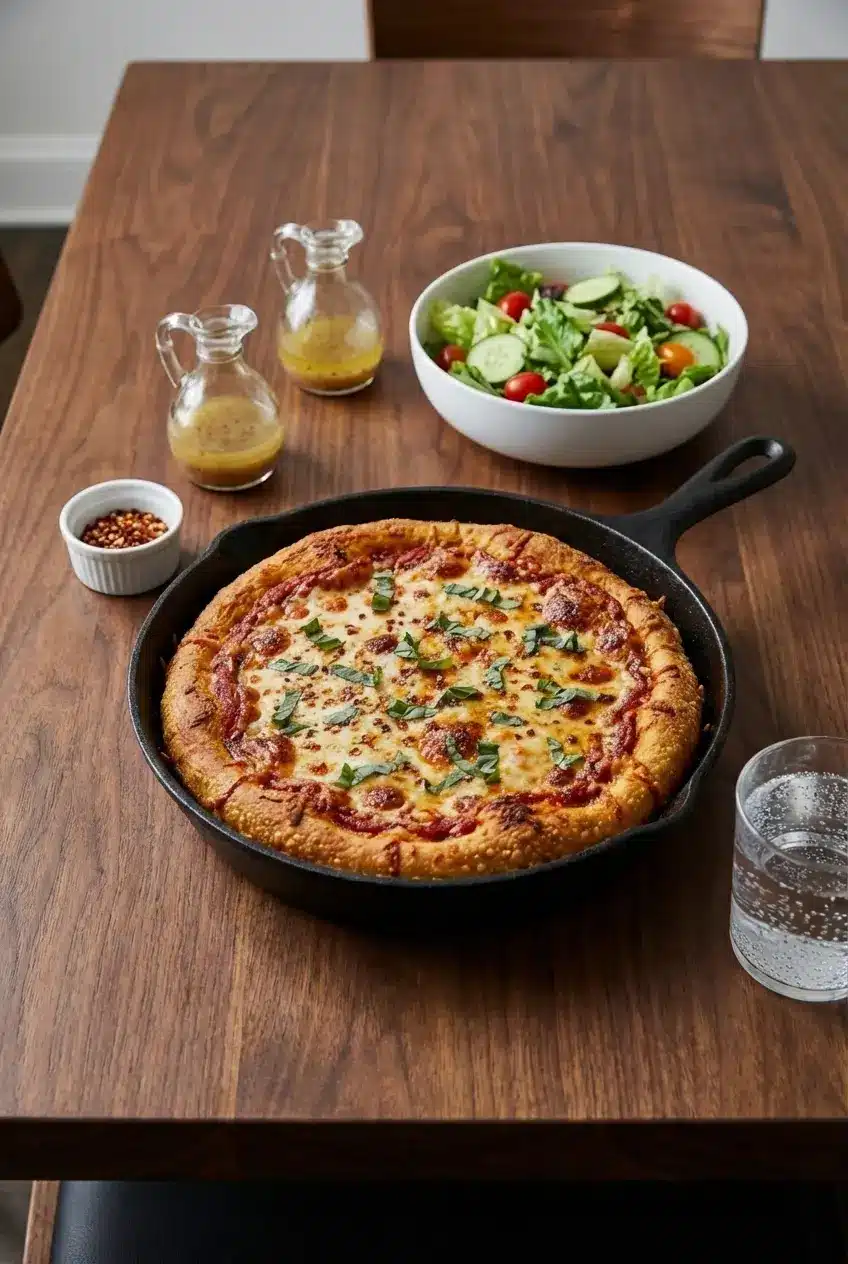
Serving Suggestions
Right after baking, I like to finish the pizza with fresh basil, a pinch of dried oregano, and red pepper flakes so the top smells bright and lively against the rich cheese. A simple green salad with a sharp vinaigrette is the classic partner because it cuts through the richness beautifully.
If you want to turn pizza night into more of a spread, a chilled side like our pesto pasta salad works especially well with the crispy, savory crust and gives the table a little color. For a starter, garlic parmesan skewers fit naturally with the same cheesy, herby flavor profile without competing with the main event.
Storing and Reheating Leftovers
Store leftover slices in an airtight container in the refrigerator once they have cooled. They are best within a couple of days, when the crust and cheese still hold their texture well.
For reheating, my favorite method is a dry cast iron skillet over medium-low heat for a few minutes. The bottom turns crisp again, the cheese softens back into that perfect melt, and the slice tastes much closer to fresh than it ever will from the microwave.
An air fryer also does a nice job if you want quick reheating with a crisp edge. I would avoid the microwave here, because it tends to soften the crust and undo the very thing that makes this pizza special.
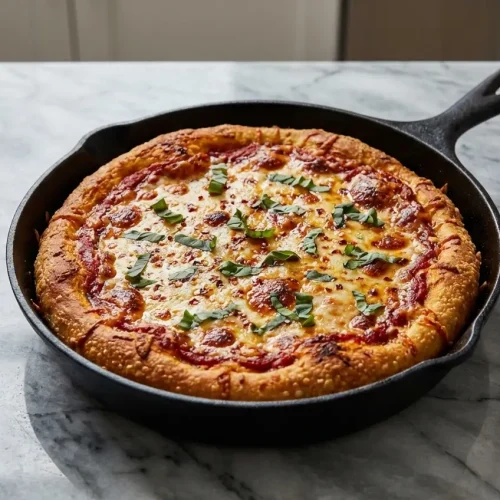
The Best Cast Iron Skillet Pizza

Equipment
- Cast iron skillet (10 or 12-inch)
- Cutting board
- Heavy oven mitts
Ingredients
- 4 oz pizza dough
- 6 oz pizza sauce
- 3/4 cup mozzarella cheese
- 1/4 cup parmesan cheese
- 2 Tablespoons oil
Toppings:
- 1 Tablespoon fresh basil, chopped
- red pepper flakes to taste
Instructions
Preheat the Skillet and Prepare the Dough
- Set your oven to 500°F (260°C) and place the cast iron skillet inside to preheat. Allow the skillet to get thoroughly hot for at least 20-25 minutes.
- While the skillet heats, allow your pizza dough to rest at room temperature for at least 30 minutes so it’s easy to shape. Once rested, shape the dough into a circle that matches the size of your skillet (around 10 inches).
Build the Pizza in the Hot Pan
- Using heavy oven mitts, carefully remove the hot skillet from the oven and place it on a heatproof surface. Add the oil to the pan and carefully swirl to coat the bottom.
- Immediately lay the shaped dough into the hot skillet. You should hear it sizzle. Quickly nudge the dough to the edges of the pan before it begins to set.
- Spread the pizza sauce evenly over the dough, leaving a small border for the crust. Sprinkle the mozzarella and parmesan cheese over the sauce.
Bake and Finish
- Return the skillet to the upper-third rack of the oven. Bake for 14-16 minutes, until the cheese is bubbly and golden brown and the crust is crisp.
- Carefully slide the finished pizza from the skillet onto a cutting board. Top with fresh chopped basil and red pepper flakes, if using. Let cool for a minute before slicing and serving.
Notes
Nutrition
Conclusion
The beauty of this Cast Iron Skillet Pizza is that one small technique changes everything. When the crust cooks in hot, flavorful fat instead of simply baking on a dry surface, the pizza comes out crispier, deeper in flavor, and much closer to true pizzeria quality.
If you have been chasing that golden, crackly homemade pizza crust, this is the method I would start with. Once you make it once, it is easy to riff on with your favorite cheeses and toppings and make it your own.
Frequently Asked Questions
What is the secret to a truly crispy cast iron pizza crust?
Can I use store-bought pizza dough? Which kind is best?
What oven temperature should I use and for how long do I preheat the skillet?
What are the best toppings for a skillet pizza?
How do I prevent the dough from sticking to the hot pan?
What’s the best way to clean my cast iron skillet after making pizza?