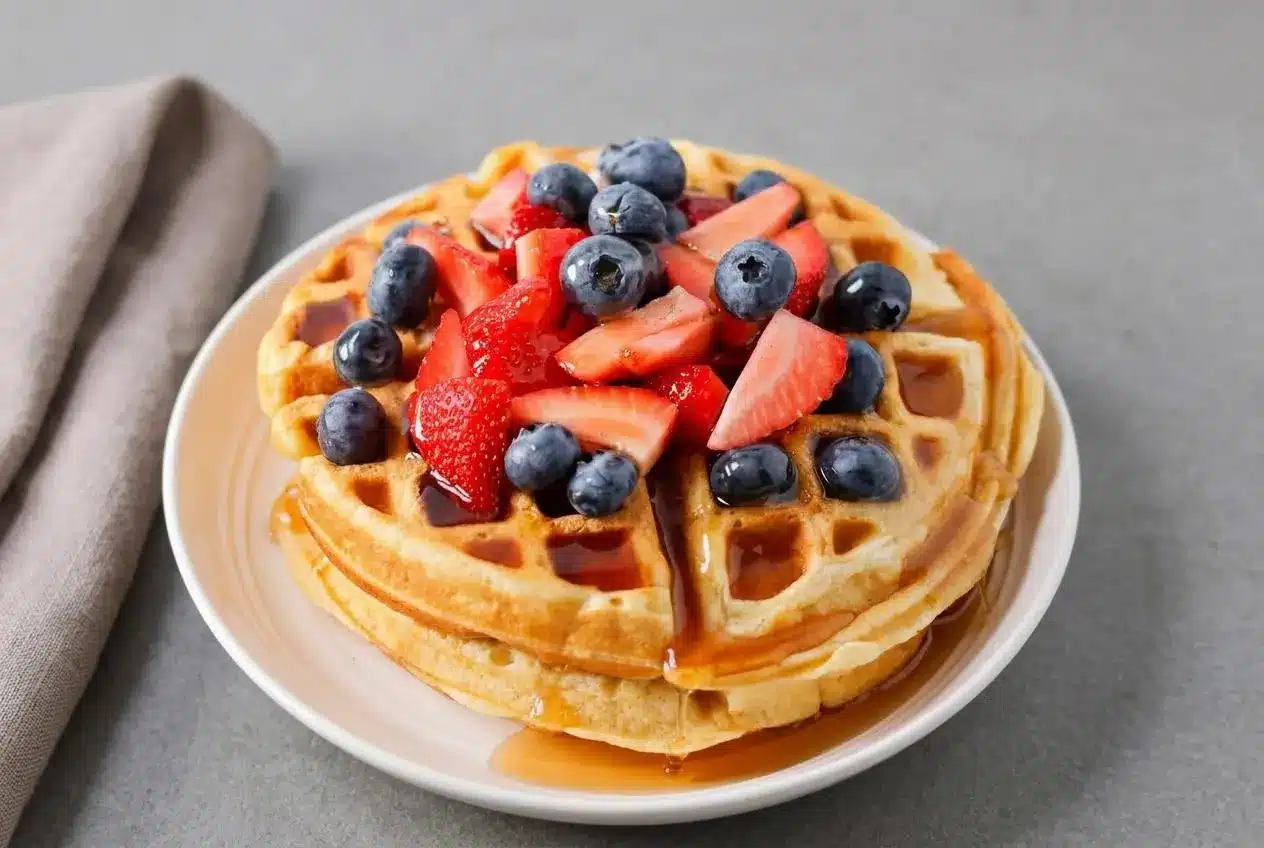
Make light, crisp waffles by mixing the batter gently, resting it for 10 minutes, and cooking it in a fully heated waffle iron until the steam nearly stops.
This buttermilk waffles recipe makes golden waffles with buttery ridges and a soft, airy middle. Warm buttermilk keeps the melted butter smoothly blended, while baking soda and baking powder create plenty of lift.
That buttery aroma hits the moment the batter meets the hot plates. The steam cue makes the timing much easier.
Preheat the waffle iron before mixing the batter so it is ready when the 10-minute rest ends.
Ingredients for Buttermilk Waffles
Every ingredient contributes to the finished waffle, from flour structure and buttermilk moisture to buttery richness, gentle sweetness, and the lift that creates a tender interior.
- 2 cups all-purpose flour
- 2 tablespoons sugar
- 2 teaspoons baking powder
- 1 teaspoon baking soda
- ½ teaspoon salt
- 2 cups buttermilk, (warm)
- ⅓ cup butter, (melted)
- 2 eggs
- 1 teaspoon vanilla extract
All-purpose flour builds the waffle’s structure, while the eggs help the batter set into crisp-edged squares that still yield gently under a fork. Salt sharpens the flavor, and vanilla rounds out the buttery aroma without making the waffles taste overly sweet.
Buttermilk is especially important here. Its acidity softens gluten development and reacts with baking soda to form carbon dioxide bubbles, which help create a fluffy interior. Baking powder adds a second source of lift, so the waffles rise well even with the rich butter in the batter.
Melted butter gives the crumb a rich, bakery-like flavor and tender texture. A neutral oil can make a waffle shell a little crisper, but butter brings the fuller flavor this batter is built around. Sugar encourages browning on the raised ridges, creating a golden crust rather than a dessert-sweet waffle.
I always warm the buttermilk slightly before whisking so the melted butter does not seize up into cold droplets.
If you have extra buttermilk after breakfast, the same balance of tang and lift works beautifully in fluffy buttermilk pancakes.
How to Make Buttermilk Waffles
Keep the mixing gentle and let the rested batter do its work. The goal is a thick batter with small lumps, followed by steady heat that sets the exterior quickly.
Mixing the Wet and Dry Ingredients
Use separate bowls at first. Distributing the leaveners through the flour before adding liquid prevents uneven pockets of baking soda and gives the batter a more consistent rise.
- Whisk the flour, sugar, baking powder, baking soda, and salt together in a medium bowl.
The dry mixture should look evenly blended, with no visible clumps of leavener. - In a second medium bowl, combine the warm buttermilk and melted butter, then stir in the eggs.
The mixture should look smooth and cohesive before it meets the flour. - Add the dry mixture to the wet mixture, whisk only until mostly combined, then fold in the vanilla.
Stop while small flour lumps remain, because a thick, slightly shaggy batter produces a more tender waffle. - Leave the batter undisturbed for 10 minutes.
Small bubbles should rise and pop across the surface as the flour hydrates and the leaveners begin working. - Heat and lightly grease the waffle iron, then pour about ⅓–½ cup of batter into the center, keeping it about ½ inch from the edge.
The batter should spread toward the perimeter without running over the sides. - Close the iron and cook until the escaping steam slows to almost nothing before opening it.
The waffle should be deeply golden with a firm exterior that gives slightly when pressed with a fork.
The Crucial Ten-Minute Batter Rest
The 10-minute pause is not idle time. Flour starches absorb moisture more evenly, gluten relaxes after mixing, and the buttermilk begins reacting with the baking soda. This gives the batter a more even texture and helps the ridges brown instead of turning tough.
Do not stir the batter aggressively after it rests. A gentle scoop is enough to redistribute it if it has settled. If it looks unusually thick because of a particularly dense cultured buttermilk, stir softly until it pours in a slow ribbon rather than trying to thin it with extra liquid.
Pouring and Cooking to Golden Perfection
Start each waffle from the center of the iron, then nudge the batter outward only if needed. Filling to roughly ½ inch from the edge leaves room for expansion and helps prevent overflow.
Steam is the most useful doneness signal. Early in cooking, moisture escapes quickly from the closed iron. As that steam dwindles, the waffle has released much of its internal moisture and the exterior has time to crisp. Avoid lifting the lid while the steam is still rushing out, since the waffle can tear before it has set.
The Role of Key Ingredients and Texture Science
The balance of acid, leaveners, fat, and sugar is what gives these waffles their contrast between crisp outside and tender center.
Buttermilk brings tang, moisture, and acidity. When it meets baking soda, the reaction creates bubbles that expand in the hot waffle iron. Baking powder supports that rise further, giving the batter enough lift to stay airy instead of compact.
Butter contributes flavor as well as tenderness. Its milk solids also encourage richer browning, while neutral oil tends to produce a slightly drier, crisper shell. Either fat can work in waffles, but melted butter gives this version its distinctive warm, rich crumb.
Sugar is modest but useful. It balances the buttermilk’s tang and helps the raised waffle ridges caramelize. Too much sugar can darken before the middle cooks through, so this measured amount keeps the color golden and the flavor balanced.
Essential Tips for Crispy and Fluffy Waffles
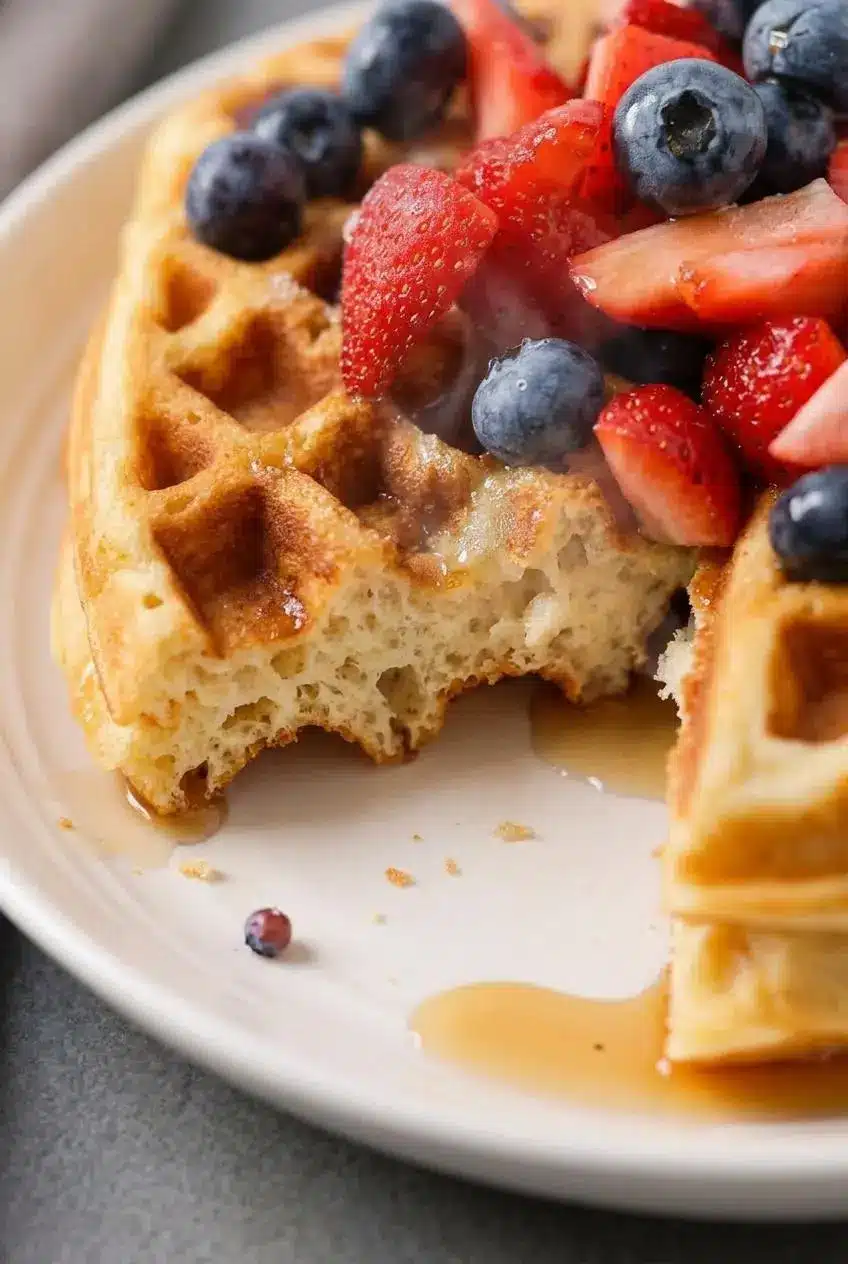
Crispness depends on getting the iron hot enough at the start and letting steam escape after cooking. A great waffle can soften quickly if it is trapped against a flat surface.
- Preheat thoroughly: Wait until the waffle iron signals that it is fully heated before greasing and adding batter. Hot plates set the outside quickly, which reduces sticking and encourages crisp ridges.
- Warm batches on a rack: Set an oven-safe wire rack over a baking sheet and hold finished waffles in a 200 °F oven. Arrange them in one layer so warm air can circulate underneath.
- Skip the plate stack: Stacking hot waffles traps steam between them. The bottoms soften first, then the rest of the crust follows.
- Serve promptly: A waffle is at its crispiest soon after it leaves the iron, when the ridges are dry and the center is still tender.
For a larger breakfast, transfer each finished waffle directly to the rack rather than waiting for the next one. The rack acts like a small drying space, keeping condensation from turning the underside limp.
Troubleshooting Common Waffle Problems
Most waffle problems come down to heat, mixing, or trapped moisture. Small adjustments make a noticeable difference in the next batch.
How to Prevent Waffles from Sticking
- The waffle tears when the lid opens: It likely needs more time to set. Wait until the strong stream of steam has slowed, then lift the lid gently rather than pulling it open quickly.
- The first waffle sticks badly: The iron may not be fully heated, or the plates may need a light coating of butter or oil. Grease right before the first batch once the iron is hot.
- Only parts of the waffle stick: Check that the batter reaches the center and spreads evenly. Very uneven filling can leave thin sections that dry out and cling to the plates.
Fixing Soggy or Rubbery Texture
- The waffles are pale and soft: The iron needs more preheating, or the waffles were removed while moisture was still steaming out. Let the steam settle before checking the color.
- The center is heavy or chewy: Overmixing developed too much gluten. Next time, stop whisking while the batter still has a few small lumps.
- The crust softens after cooking: Moisture is collecting underneath. Move the waffles to the wire rack in the warm oven instead of placing them on a plate.
- The waffles feel crisp at first but turn limp during a batch: Give them space. A single layer allows steam to escape, while a pile creates its own little sauna.
Delicious Flavor and Texture Variations
Keep the main batter as written, then make optional changes to part of it when you want a different flavor or texture. Add-ins work best when they do not overwhelm the batter’s ability to spread and cook evenly.
The Whipped Egg White Technique for Belgian-Style Lift
For an extra-light, Belgian-style texture, separate the eggs before mixing. Add the yolks to the buttermilk mixture, whip the whites in a clean bowl until stiff peaks form, then fold them gently into the rested batter just before cooking.
This method creates larger air pockets and a lighter bite, but it requires a delicate hand. Fold until the whites are mostly incorporated, leaving a few pale streaks rather than stirring until completely smooth.
Creative Sweet and Savory Add-Ins
- Cinnamon brown sugar: Add cinnamon and brown sugar to the dry mixture for a warm, toasted aroma. For a dedicated version, try these cinnamon brown sugar waffles.
- Savory cheddar and chive: Fold shredded sharp cheddar and minced fresh chives into a portion of finished batter for a savory waffle that pairs especially well with fried chicken.
- Subtle warm spice: A small pinch of nutmeg in the flour mixture emphasizes the butter and vanilla without taking over the batter.
- Blueberries or pecans: Scatter berries or toasted chopped pecans over the batter after pouring it into the iron, then close the lid carefully.
Storing and Reheating Waffles
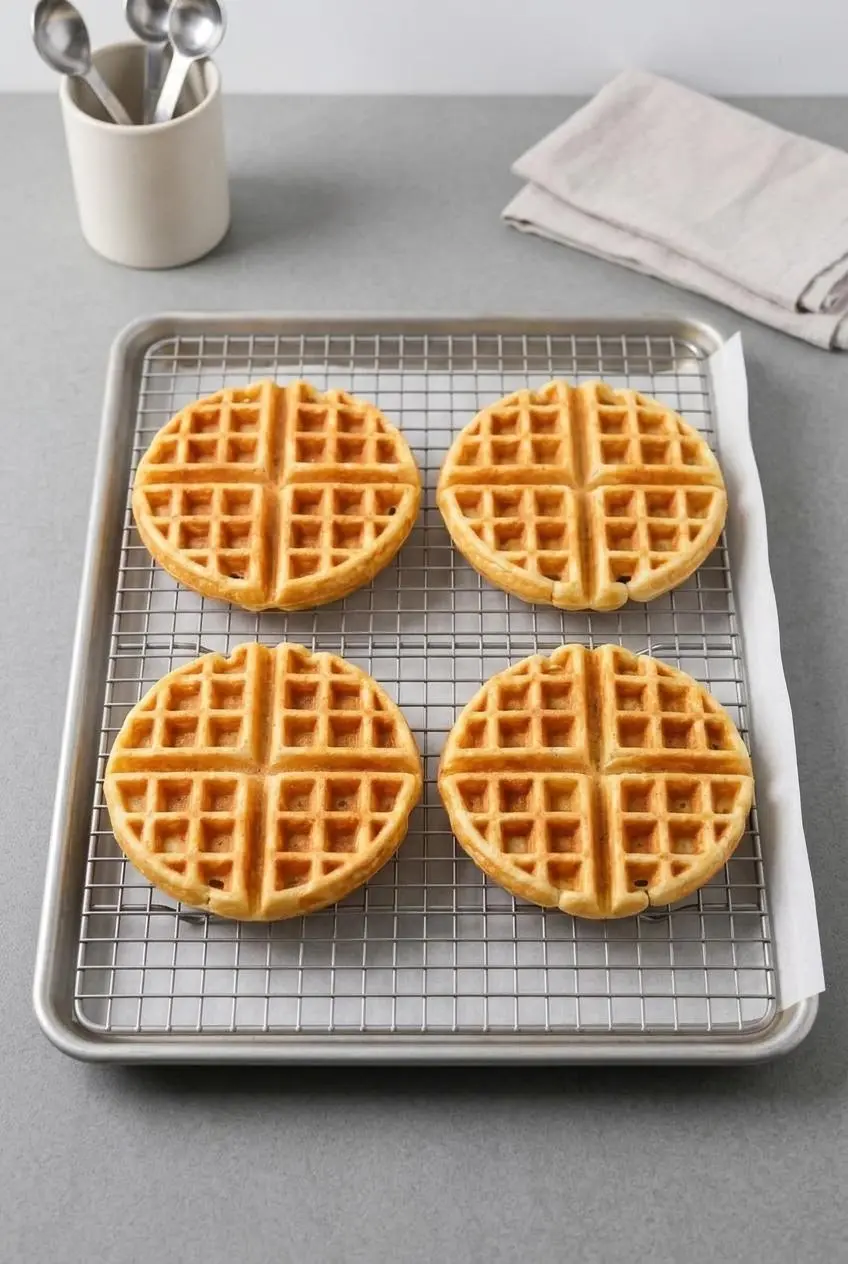
For the best texture later, cool cooked waffles on a wire rack first so trapped steam does not soften them. Once cool, keep them in an airtight container with parchment between layers and refrigerate them if they will not be served soon.
Reheat individual waffles in a toaster until hot and crisp again. An oven also works well for several waffles at once when they are placed in a single layer on a rack. Avoid the microwave when crispness matters, since it softens the crust rather than restoring it.
Mixed batter performs best when cooked soon after the 10-minute rest, while the baking soda and baking powder are actively producing lift. If you need to pause, keep the batter chilled and stir it gently before cooking, knowing the waffles may rise less dramatically.
Serving Suggestions for Every Occasion
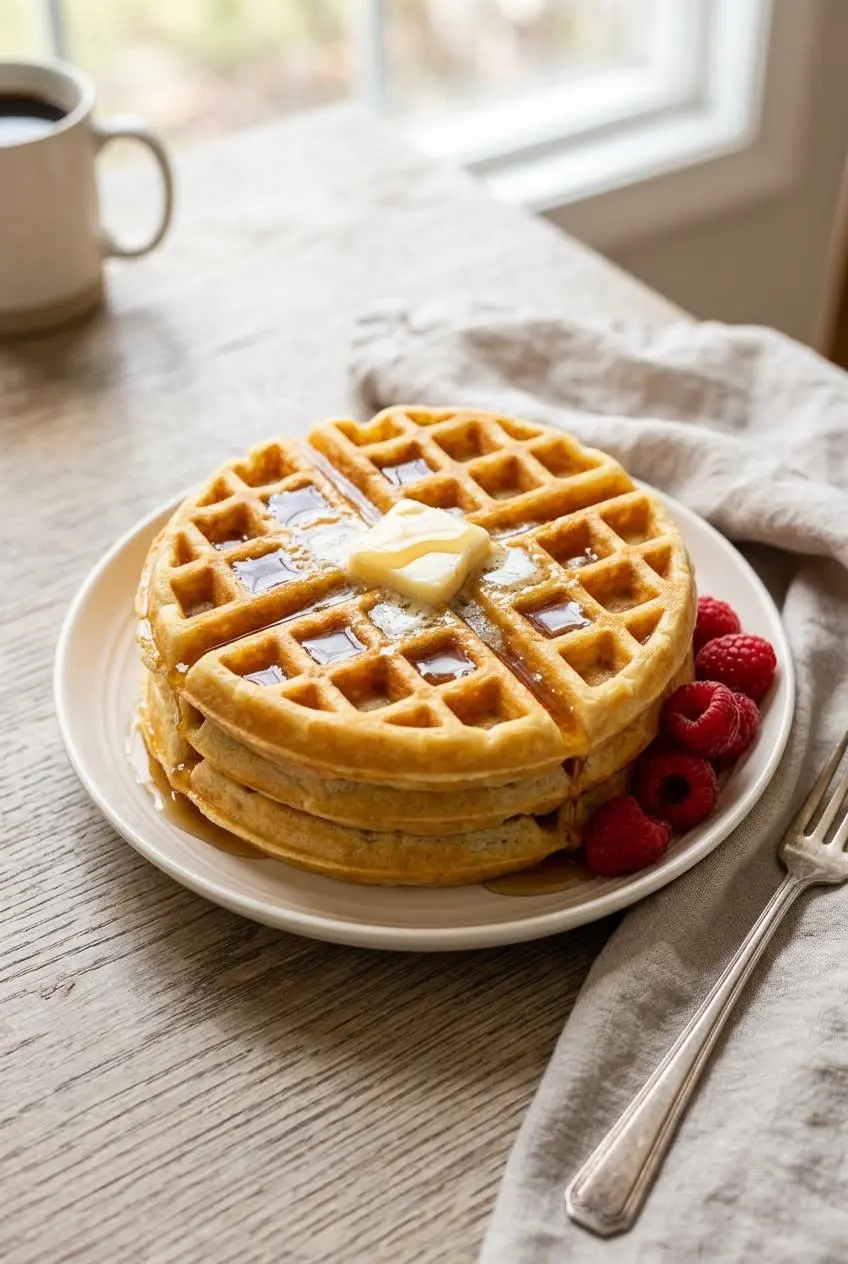
Serve the waffles hot, when the edges are still crisp and the centers are tender enough to absorb toppings without becoming soggy.
- Classic sweet: Add salted butter, warm maple syrup, and sliced strawberries or raspberries.
- Berry dessert: Spoon on lightly sweetened whipped cream, toasted almonds, and warm berry coulis.
- Southern-style brunch: Pair crisp waffles with buttermilk fried chicken, hot honey, and whipped honey butter.
For a change from maple syrup, a spoonful of rich buttermilk syrup complements the tangy waffle batter especially well. Put wet toppings on at the table so everyone keeps that first-bite crunch.
Conclusion
These waffles stay tender inside and crisp around the edges when you mix lightly, rest the batter for 10 minutes, and let the steam settle before opening the iron.
Set out the toppings you love, keep finished waffles on the warming rack, and enjoy them while the buttery ridges are at their best.
Frequently Asked Questions
What Makes Buttermilk Waffles Fluffy?
Buttermilk brings acidity, and baking soda reacts with that acid to create bubbles in the batter. Baking powder adds extra lift, while the 10-minute rest gives the flour time to hydrate. Together, those details create a soft, airy interior instead of a dense waffle.
How Do I Keep Waffles Crispy After Cooking?
Place cooked waffles in a single layer on a wire rack over a baking sheet in a 200 °F oven. Air can circulate underneath, which prevents condensation from softening the bottom. Do not stack hot waffles on a plate.
Can I Substitute Regular Milk With Lemon Juice for Buttermilk?
Yes. For this batter, stir 2 tablespoons of fresh lemon juice or white vinegar into 2 cups of milk and let it stand for 5 minutes before using it. The mixture will not be quite as thick as cultured buttermilk, but it provides the acidity needed for the baking soda.
How Do I Store and Reheat Homemade Buttermilk Waffles?
Cool the waffles on a wire rack, then place them in an airtight container with parchment between layers and keep them chilled. Reheat in a toaster or on a rack in the oven until hot and crisp. Skip the microwave if you want to preserve the crisp exterior.
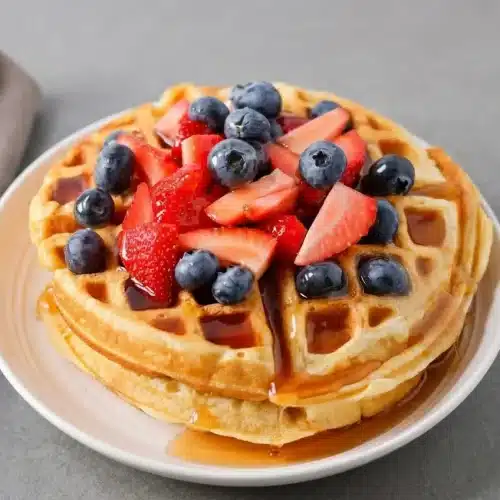
Buttermilk Waffles Recipe

Equipment
- Waffle iron
- Medium bowl
- Whisk
Ingredients
- 2 cups all-purpose flour
- 2 tablespoons sugar
- 2 teaspoons baking powder
- 1 teaspoon baking soda
- ½ teaspoon salt
- 2 cups buttermilk (warm)
- ⅓ cup butter (melted)
- 2 eggs
- 1 teaspoon vanilla extract
Instructions
- Whisk the flour, sugar, baking powder, baking soda, and salt together in a medium bowl. The dry mixture should look evenly blended, with no visible clumps of leavener.
- In a second medium bowl, combine the warm buttermilk and melted butter, then stir in the eggs. The mixture should look smooth and cohesive before it meets the flour.
- Add the dry mixture to the wet mixture, whisk only until mostly combined, then fold in the vanilla. Stop while small flour lumps remain, because a thick, slightly shaggy batter produces a more tender waffle.
- Leave the batter undisturbed for 10 minutes. Small bubbles should rise and pop across the surface as the flour hydrates and the leaveners begin working.
- Heat and lightly grease the waffle iron, then pour about ⅓–½ cup of batter into the center, keeping it about ½ inch from the edge. The batter should spread toward the perimeter without running over the sides.
- Close the iron and cook until the escaping steam slows to almost nothing before opening it. The waffle should be deeply golden with a firm exterior that gives slightly when pressed with a fork.