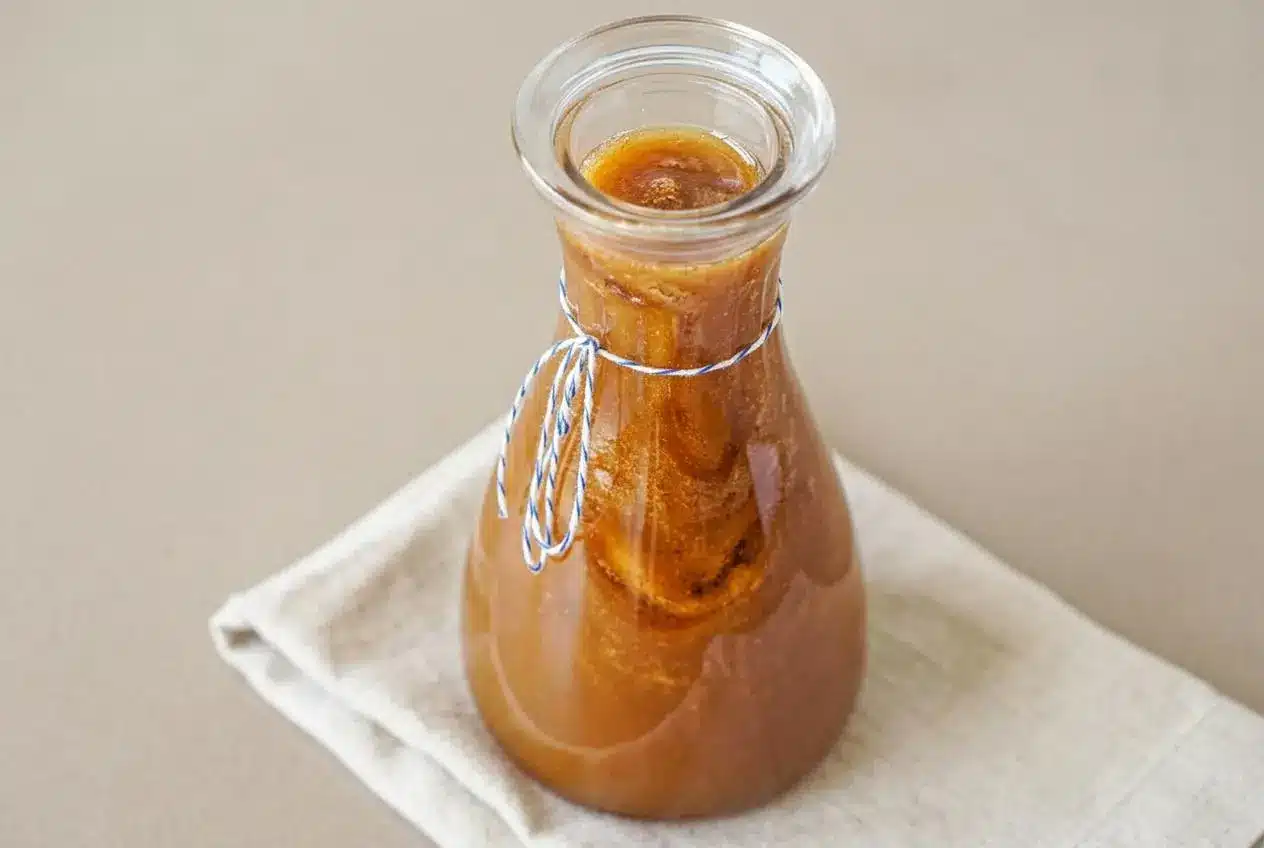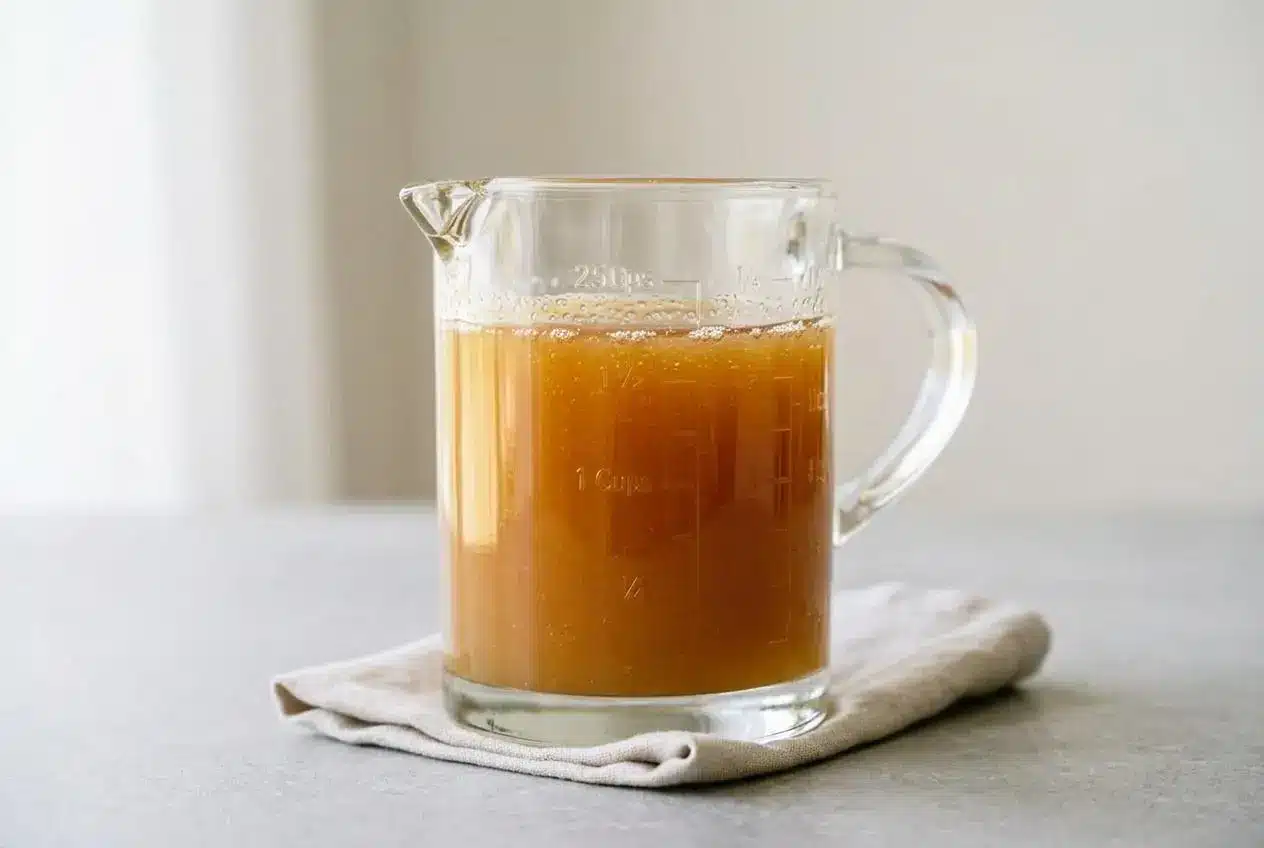
Buttermilk syrup is a warm, buttery caramel-style topping made by boiling buttermilk, sugar, and butter, then whisking in baking soda and vanilla off the heat for a light, velvety finish.
Warm and glossy, this syrup lands somewhere between caramel sauce and classic pancake syrup, with a gentle tang that keeps the sweetness from feeling heavy. Buttermilk syrup comes together fast and tastes especially good while still warm.
The best part is how much flavor you get from a very short stovetop cook, plus that deep sugar aroma that tells you the pan is right where it should be. The foam is the fun part.
Use a saucepan with plenty of headroom, because the hot mixture rises fast once the baking soda goes in.
Why You Will Love This Recipe
This syrup is creamy, buttery, and rich without feeling flat or one-note. The sugar cooks just enough to taste warm and caramel-like, while the buttermilk adds a little tang that keeps every spoonful balanced.
It is also quick. You can make it in about 12 minutes from start to finish, which is excellent news when pancakes are already on the table and everyone is hovering near the stove.
As it boils, the kitchen fills with a deep, toasty sugar smell that makes the whole thing feel a little more special than ordinary maple-style syrup. It pours thick, settles into every corner, and stays lovely and velvety when handled gently.
Understanding the Simple Ingredients
Each ingredient pulls its weight here, building sweetness, richness, tang, aroma, and the airy texture that makes this syrup feel smooth instead of heavy.
- 3/4 cup buttermilk
- 1 cup sugar
- 1/2 cup butter (unsalted)
- 1/2 teaspoon baking soda
- 1 teaspoon vanilla
Buttermilk brings the acidity that gives this syrup its signature tang and helps the baking soda do its job. Sugar creates the clean sweet base and develops that pale caramel flavor during the boil. Unsalted butter adds richness and helps the syrup feel full and silky instead of thin. Baking soda creates the dramatic foam and lighter texture. Vanilla rounds everything out with a soft warm finish.
The Role of Real Butter
Use real unsalted butter here. It gives the syrup better flavor, a smoother mouthfeel, and more stable texture as the mixture cooks and cools.
Margarine and low-fat spreads are a common reason this syrup separates. They usually contain more water and different fats, so the mixture is more likely to split into a greasy layer and a sugary layer. If you want that creamy, unified pour, stick with butter.
I reach for unsalted butter in this syrup because it lets me control the final balance better, especially if I want to finish with a tiny pinch of salt for a salted caramel edge.
Why Baking Soda Is Mandatory
Baking soda is not optional flair. It reacts with the acid in the buttermilk, which creates the sudden foam and gives the syrup a lighter, velvety texture instead of a dense sugary one.
That chemical reaction is why the mixture can climb surprisingly high in the pan, sometimes to around double its earlier height in a standard saucepan. A medium to large deep saucepan gives you safer room to whisk without a sticky boil-over.
Whisk the baking soda in only after the pan is off the heat. That keeps the reaction under control, helps prevent lumps, and protects the vanilla from cooking away. If you like a slightly salted caramel finish, whisk in a generous pinch of flaky sea salt right at the end.
How to Make Buttermilk Syrup
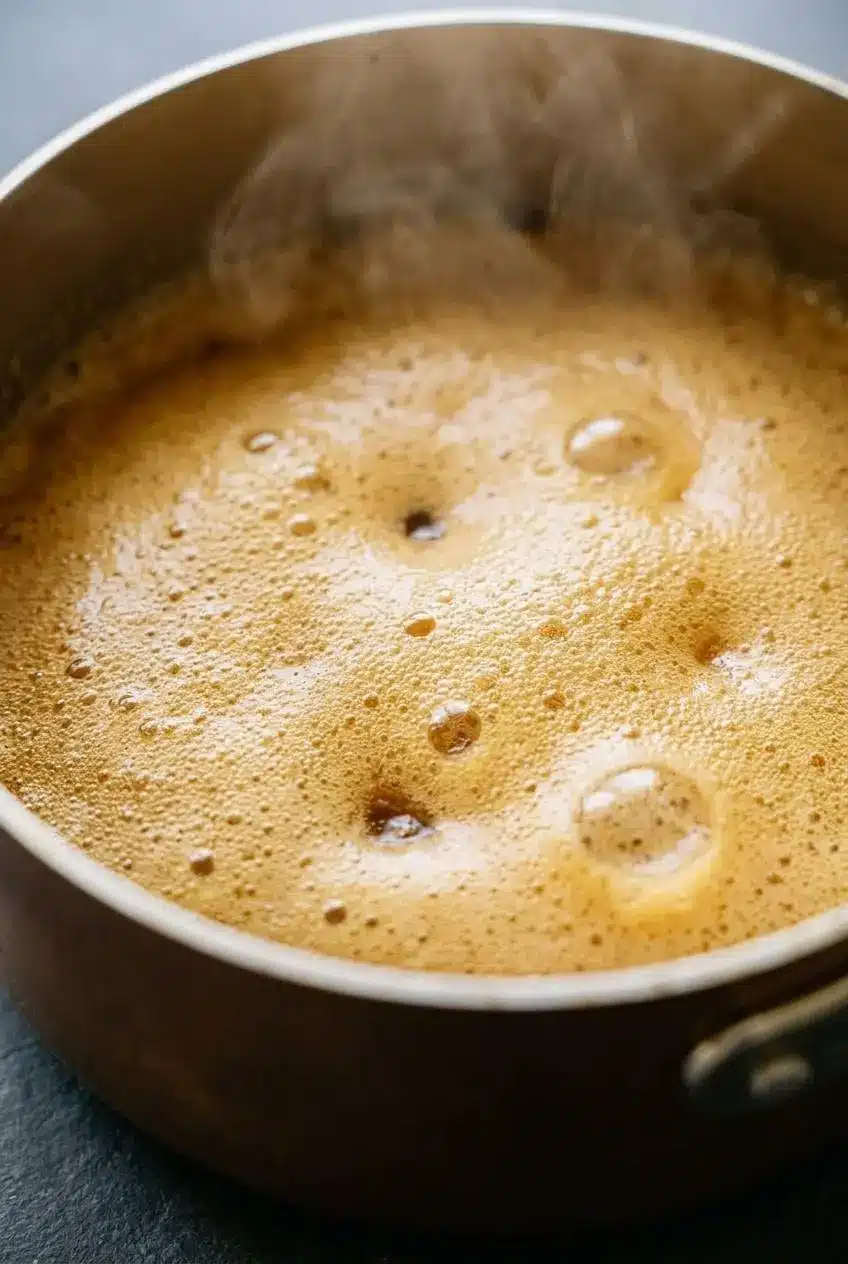
This method is quick, but it moves fast once the syrup reaches a full boil, so have the vanilla and baking soda measured before you turn on the burner.
- Place the butter, sugar, and buttermilk in a medium saucepan and set it over medium heat, stirring as the butter melts and the sugar dissolves.
The mixture will look pale and creamy at first, then start bubbling steadily as the aroma turns warmer and more caramel-like. - Bring the mixture to a full rolling boil and keep it boiling for exactly 1 minute.
Watch closely during this minute, because the bubbles become bigger and more active, and overcooking can push the syrup toward separation. - Take the saucepan off the heat, then whisk in the baking soda and vanilla right away.
The syrup will foam up quickly and turn lighter and airier, so keep whisking until it looks smooth and evenly blended. - Let the foam settle briefly in the pan before serving.
Residual heat keeps the syrup cooking a bit even off the burner, so it will thicken slightly as it calms down. - Serve the syrup warm.
It should pour in a smooth ribbon and taste buttery, sweet, and gently tangy.
The key sensory cue is the smell. Once the syrup shifts from plain melted sugar and dairy to a deeper warm sugar aroma, you are right in the sweet spot. Do not walk away during the boil. Hot sugar foam is fast and dramatic.
Avoiding Common Pitfalls and Separation
If homemade syrup ever turns greasy, grainy, or oddly flat, the fix is usually straightforward.
- Separated syrup: This usually happens from using margarine or boiling too long. Warm it gently over low heat and whisk steadily until it comes back together.
- Greasy surface: The fat has started to split from the sugar mixture. Take the heat down and whisk patiently rather than boiling it again.
- Grainy texture: Sugar crystals may have formed on the sides of the pan and fallen back in. Try to keep the sides of the saucepan clean while the syrup heats, and avoid aggressive stirring once it is at a full boil.
- Boil-over mess: The pan was too small or too full for the baking soda reaction. Next time, use a deeper saucepan with more headroom than you think you need.
- Flat flavor: A tiny pinch of flaky salt after cooking can sharpen the buttery caramel notes and balance the sweetness.
Do not toss separated syrup right away. Gentle reheating and a good whisk often save it, especially if the split happened during cooling rather than during the initial boil.
Easy Emergency Substitutes
If you do not have buttermilk in the fridge, you can still make this work. Regular milk needs acid added first, or the syrup will miss the tang and the baking soda reaction that gives it the right texture.
The Lemon Juice Method
Add lemon juice to regular milk and let it stand until it looks slightly thickened and lightly curdled. That gives you an acidified milk that behaves much closer to buttermilk in the pan.
This option keeps the syrup bright and tangy. It is a good choice when you want the finished flavor to stay clean and light rather than extra rich.
The White Vinegar Method
White vinegar in regular milk works the same way and is especially handy when you want acidity without a citrus note. Let the milk sit briefly so the acid can do its job before using it.
Between the two, vinegar is the more neutral backup. If all you have is plain milk, do not skip the acid step.
To Corn Syrup or Not
Some syrup recipes include corn syrup for extra gloss and a little insurance against crystallization. This version does not need it to work well, which is nice if you want a cleaner butter sugar buttermilk flavor.
If you enjoy shiny, ultra-smooth breakfast syrups, corn syrup can help with texture in other styles of syrup, but it is not required here. For a different flavor direction, cinnamon pancake syrup is a fun option when you want warm spice instead of tangy caramel notes.
You can also vary this recipe without changing the main method. A salted caramel twist works beautifully with a pinch of flaky salt at the end. For a deeper molasses-like flavor, brown sugar can be used instead of white sugar, though the syrup will taste darker and less cleanly buttery. Coconut extract or warm spices like cinnamon and nutmeg are also easy optional changes.
How to Store and Reheat
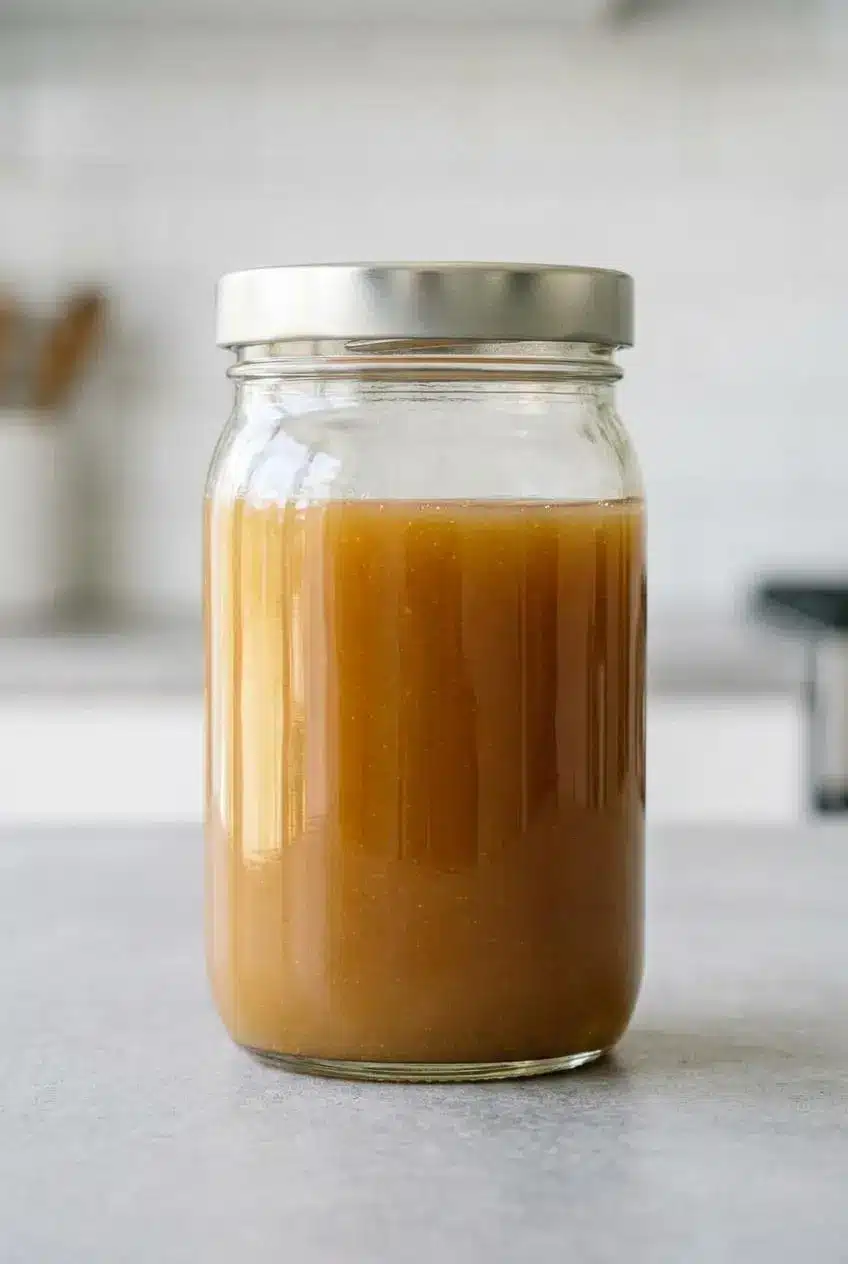
Because this syrup contains dairy, leftovers should be cooled and kept chilled. For warm dairy foods, quick cooling and refrigeration matter for quality and safer handling, and dairy foods should not be left at room temperature for more than two hours and should be kept at 40 °F or below.
Texture matters too. Cover the syrup well so it does not pick up fridge odors, and reheat only as much as you plan to use if you want the smoothest result.
Storing in Glass Jars
Let the syrup cool down a bit before pouring it into a clean airtight glass jar. Avoid sealing it while it is still furiously hot, and wipe the rim so sugar does not dry there and form crystals later.
Once chilled, the syrup will thicken. That is normal. If it sits long enough to firm up, gentle reheating brings it back to a pourable texture.
Microwave and Stovetop Reheating
Use low, gentle heat. In the microwave, warm the syrup in short 15-second intervals and whisk between each round until smooth. On the stovetop, heat it over low and whisk constantly so the butter blends back in instead of separating.
Do not boil leftovers again. You only want to loosen the syrup until it pours easily and looks glossy.
Creative Ways to Serve
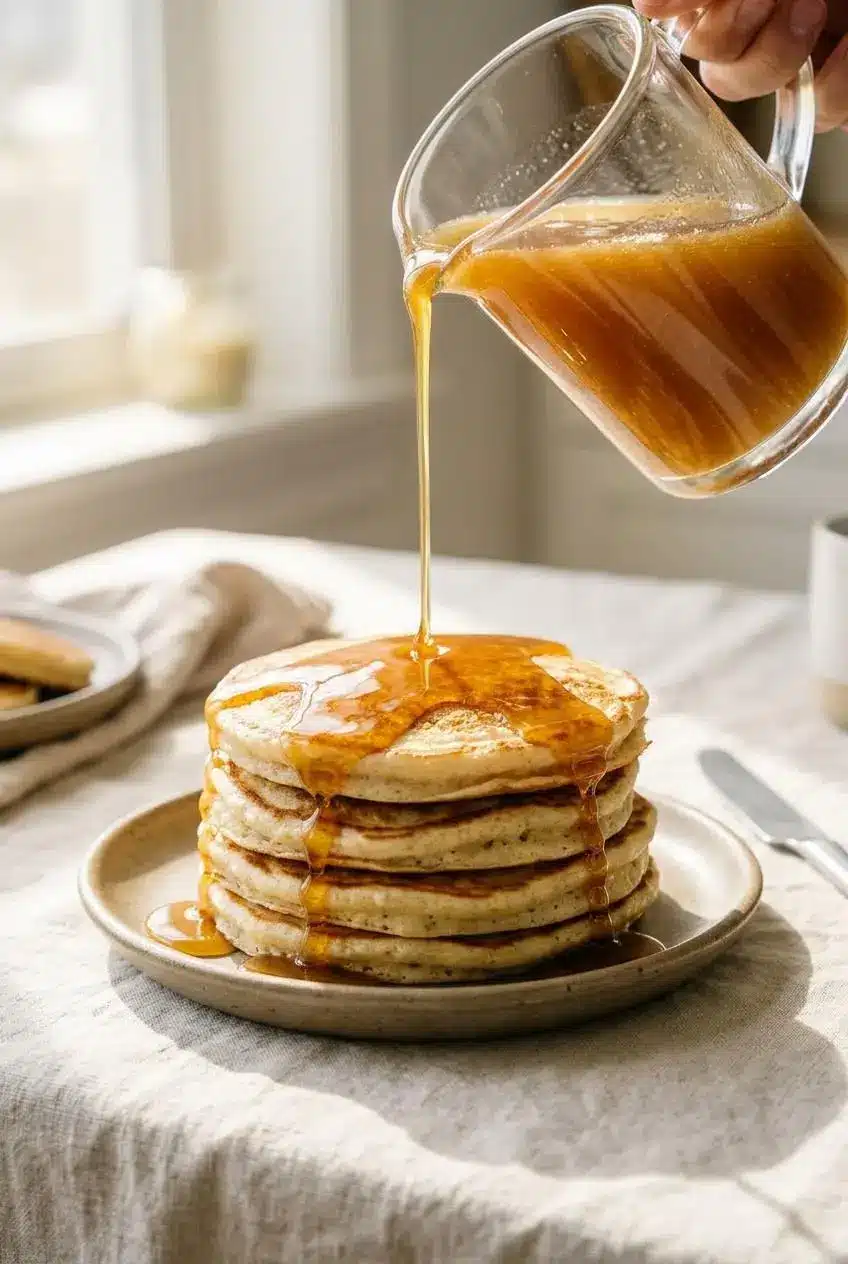
This syrup obviously loves pancakes and waffles, but it is great in a few less expected places too.
- Pour it over a stack of buttermilk pancakes for the classic pairing.
- Drizzle it over Belgian waffles or crispy French toast sticks where it can settle into all the edges.
- Spoon it over warm apple crisp or peach cobbler for a buttery caramel finish.
- Serve a little over vanilla ice cream for a fast dessert that tastes far fancier than the effort involved.
- Add fresh berries or a small dollop of sour cream on the side if you want something cool and tangy to balance the sweetness.
Conclusion
This syrup earns its keep by being fast, deeply flavorful, and very forgiving when you know the two big rules: use real butter and use a pan with room for the foam.
Keep the boil to one minute, whisk in the baking soda off the heat, and serve it warm for that silky caramel-like pour. Breakfast gets better fast with this one.
Frequently Asked Questions
Can I Use Regular Milk Instead of Buttermilk?
No, not by itself. Regular milk does not have the acidity this syrup needs. You need to add lemon juice or white vinegar first to mimic buttermilk. That acid is what helps the baking soda foam properly and creates the right texture.
Why Does My Buttermilk Syrup Separate?
The two most common causes are the fat used and the boil time. Margarine or low-fat spreads often split because they contain more water and less stable fat. Boiling the syrup too long can also push it toward separation. To fix it, reheat gently over low heat and whisk until smooth.
Does Buttermilk Syrup Need to Be Refrigerated?
Yes. It contains dairy, so leftovers should be covered and refrigerated. Cool it before storing, then keep it chilled between uses. If the texture or smell seems off later, it is better to discard it.
How Do I Reheat Leftover Syrup Without Ruining the Texture?
Warm it slowly and stop before it boils. Microwave in 15-second bursts, whisking between each one. Or warm it on the stove over low heat while whisking constantly. Gentle heat helps the butter stay blended so the syrup turns smooth again.
Buttermilk Syrup

Equipment
- Saucepan (Medium)
Ingredients
- 3/4 cup buttermilk
- 1 cup sugar
- 1/2 cup butter (unsalted)
- 1/2 teaspoon baking soda
- 1 teaspoon vanilla
Instructions
- Place the butter, sugar, and buttermilk in a medium saucepan and set it over medium heat, stirring as the butter melts and the sugar dissolves. The mixture will look pale and creamy at first, then start bubbling steadily as the aroma turns warmer and more caramel-like.
- Bring the mixture to a full rolling boil and keep it boiling for exactly 1 minute. Watch closely during this minute, because the bubbles become bigger and more active, and overcooking can push the syrup toward separation.
- Take the saucepan off the heat, then whisk in the baking soda and vanilla right away. The syrup will foam up quickly and turn lighter and airier, so keep whisking until it looks smooth and evenly blended.
- Let the foam settle briefly in the pan before serving. Residual heat keeps the syrup cooking a bit even off the burner, so it will thicken slightly as it calms down.
- Serve the syrup warm. It should pour in a smooth ribbon and taste buttery, sweet, and gently tangy.