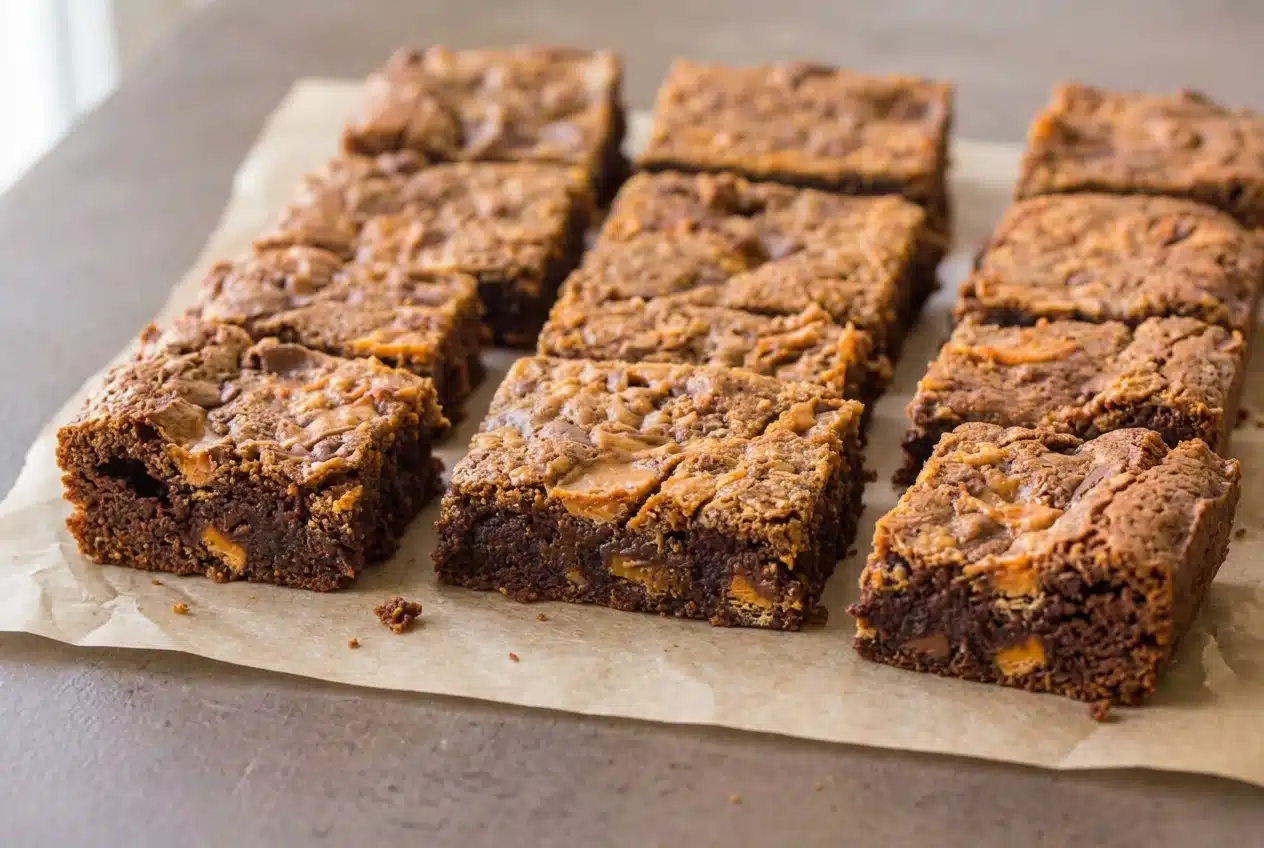
Butterfinger brownies combine a fudgy chocolate and peanut butter batter with chopped candy bars inside and on top. Melted unsweetened chocolate gives them depth, while the candy adds sweet, crisp contrast. Complete cooling and thorough chilling help you cut tidy squares.
These butterfinger brownies get their peanut flavor from both creamy peanut butter and chopped candy bars. That means the chocolate center tastes nutty throughout, with recognizable candy pieces scattered across the surface.
The scratch batter comes together with a spatula or mixer, and the finishing technique makes a real difference when you slice it. Give the brownies time to firm up before reaching for a knife. The clean edges are worth the wait.
Set out both cutting boards before you begin so you’re ready to remove the liner and turn the chilled slab upright.
Key Ingredients
Chocolate provides depth, brown sugar adds sweetness and moisture, and butter and peanut butter contribute richness. Eggs and flour give the brownies structure, vanilla rounds out the aroma, and chopped Butterfinger bars bring the contrasting candy crunch.
- 4 ounces unsweetened chocolate
- 2 cups packed light brown sugar
- ½ cup (1 stick) butter, (melted)
- ½ cup creamy peanut butter
- 4 large eggs
- 2 teaspoons vanilla extract
- 1 cup all purpose flour
- 16.65-ounce (or 10.4-ounces total) Butterfinger candy bars, (chopped)
Chocolate, Brown Sugar, and Peanut Butter Base
Unsweetened chocolate supplies concentrated chocolate flavor without adding more sugar alongside the brown sugar and candy. Choose unsweetened chocolate for this batter rather than treating sweetened chocolate or cocoa powder as interchangeable.
Packed light brown sugar contributes moisture and a gentle molasses flavor. Melted butter enriches the mixture, while creamy peanut butter carries peanut flavor through the brownie itself. The flour and eggs provide enough structure to hold the candy-studded squares together when properly baked and chilled.
Butterfinger Candy Bars vs. Baking Bits
Chopped Butterfinger candy bars are the choice for this recipe. Chopping lets you keep recognizable chunks rather than reducing everything to fine crumbs, particularly for the reserved topping.
Butterfinger Baking Bits are another product you may encounter, but don’t assume they match chopped bars in piece size or baking behavior. The measurements above are for candy bars; no baking-bits conversion is included here.
I’d keep some distinct candy chunks for the surface rather than crushing the whole batch into powder; that contrast is part of the appeal.
How to Make Butterfinger Brownies Step by Step
Keep the chocolate smooth, incorporate the flour without excessive mixing, and leave time for cooling and chilling. The measured ingredients above and the method below give you the details for the scratch version.
- Heat the oven to 325°F and fit a 9×13-inch baking pan with foil or parchment, then coat the liner with nonstick spray.
Cover the bottom and sides so the brownie slab can release without leaving its edges behind. - Microwave the unsweetened chocolate in a glass bowl in 30-second intervals, stirring between each interval, then let it cool slightly.
Stop heating once stirring produces a smooth, glossy mixture, and let it lose its hot edge before combining it with the eggs. - Blend the brown sugar, melted butter, and peanut butter in a large bowl with a rubber spatula or electric mixer, then incorporate the eggs and vanilla.
The mixture should look evenly combined before the chocolate goes in. - Work in the slightly cooled chocolate, followed by the flour, then fold in the chopped candy while setting aside about ¾ cup for topping.
Finish with a thick, uniform batter without visible flour streaks or unnecessary extra mixing. - Distribute the batter evenly across the lined pan and scatter the reserved candy over it.
Keep the surface level so the center and corners have a similar batter depth. - Bake for 25 to 35 minutes, removing the pan when a toothpick tested in the center comes out clean, then allow the brownies to cool completely.
Check closely within the baking window rather than extending the bake in search of a dry, firm center. - Refrigerate the completely cooled brownies until thoroughly chilled, covering them with plastic wrap if chilling overnight.
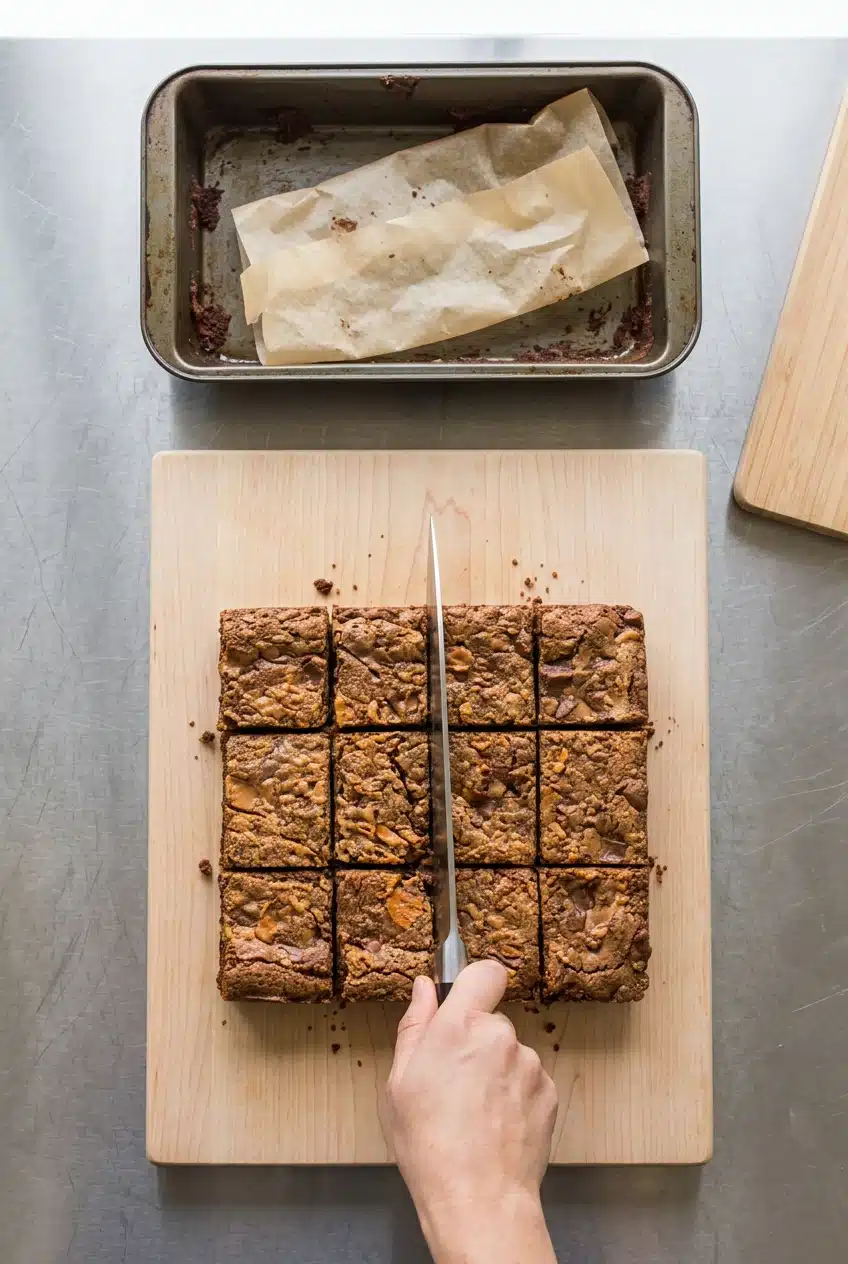
The slab should feel firm before you attempt to turn it out. - Invert the chilled slab onto a cutting board, gently remove the liner, then use a second board to turn it right-side up and slice with a large, sharp knife.
Remove the foil or parchment completely before cutting so no pieces cling to the bottoms of the squares.
Expert Tips and Common Mistakes to Avoid
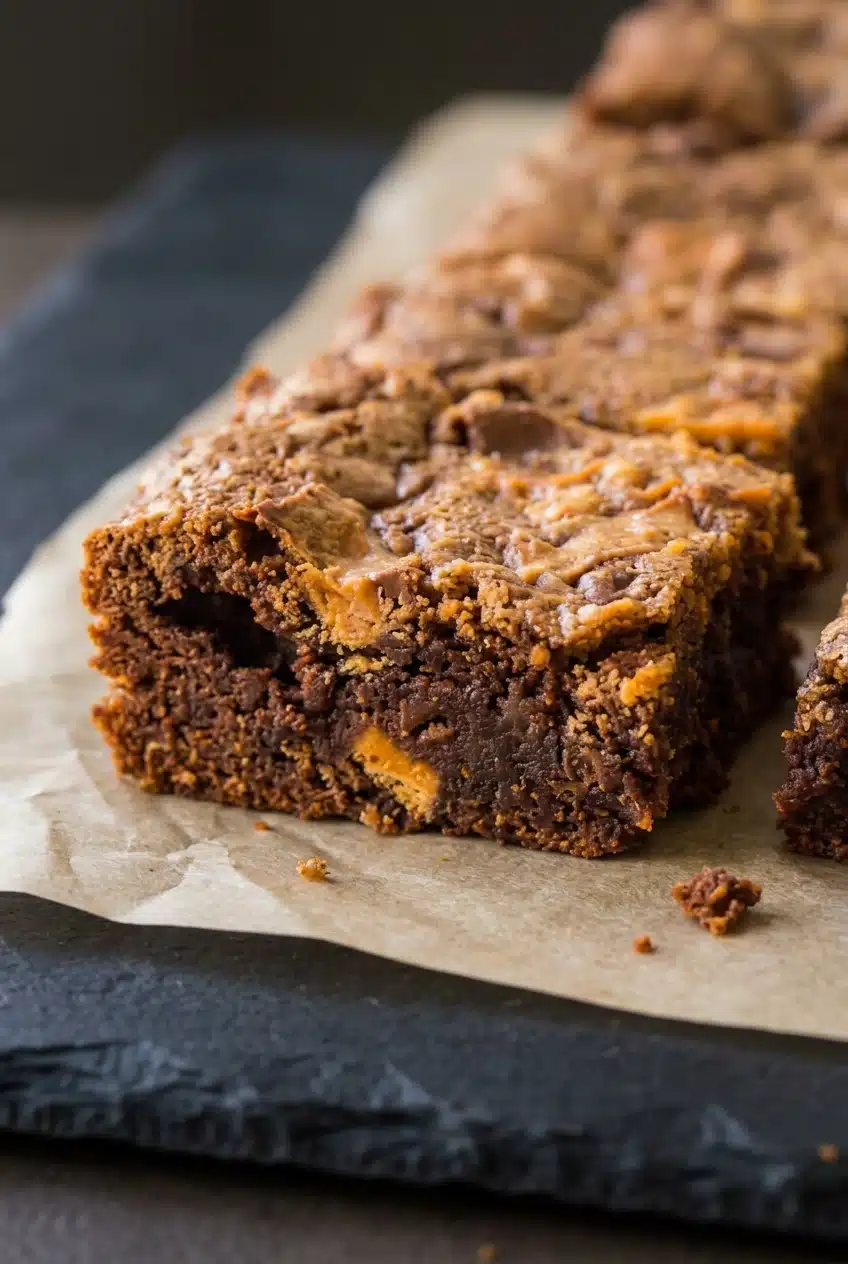
The most useful checks happen before the chocolate meets the eggs, after the flour goes in, and before you cut the finished slab.
How to Keep Candy Pieces Crunchy
- Candy disappears into the center: Mixing every piece into the batter hides the topping contrast, so set aside the portion specified in the method.
- Topping becomes mostly crumbs: Overcrushing leaves little recognizable texture, so keep distinct chunks for the surface.
- You want a more pronounced candy finish: As an optional extra, chill additional chopped candy and gently press it onto the warm surface after baking; this differs from the topping baked into the brownies and doesn’t guarantee lasting crunch.
Doneness Cues and Clean Slicing
- Chocolate forms little eggy lumps: Chocolate that’s still hot can cook parts of the egg mixture, so let it cool slightly before combining.
- Brownies turn out tougher than expected: Excessive mixing after adding flour can work against a fudgy texture, so stop when the batter looks uniform.
- The middle still coats the toothpick: Wet batter means the center hasn’t reached the specified endpoint; continue checking until the toothpick comes out clean.
- Squares smear or break apart: Warm brownies lack the firmness needed for neat cutting, so finish the complete cooling and chilling stages before removing the liner and slicing.
Popular Butterfinger Brownie Variations
These are optional flavor directions, separate from the measured scratch recipe. Swirls, frosting, and different chocolate mixtures can change the result, so use a recipe designed for the variation rather than assuming the same formula applies.
Boxed Brownie Mix Shortcut
A boxed chocolate brownie mix offers convenience when you don’t want to measure a scratch batter. It’s a different starting point, though: the chocolate flavor, sweetness, and texture depend on the mix you choose. Keep its directions separate from the scratch method above.
Peanut Butter Swirl or Frosting Layer
- Peanut butter swirl: An optional marbled finish emphasizes the peanut flavor within the chocolate.
- Peanut butter glaze: A drizzle offers a lighter finishing accent than a full frosting layer.
- Peanut butter cream cheese frosting: This adds a tangy, creamy contrast to the sweet candy topping.
For another peanut-focused dessert, try chewy peanut butter brownies.
Dark Chocolate Butterfinger Brownies
A darker chocolate direction brings more bitterness against the sweet candy. The scratch version already uses unsweetened chocolate, so it has a strong chocolate foundation; switching chocolate products calls for a formula that accounts for their different sugar and fat content.
Butterfinger Cheesecake Swirl
A cheesecake-style variation pairs tangy, creamy ribbons with chocolate and candy. It’s a more layered dessert than these fudgy squares, and it needs its own filling formula and baking directions rather than an improvised addition to this batter.
Chilling and Keeping the Brownies Covered
The refrigeration step here firms the brownies for cutting; it isn’t a stated shelf-life recommendation. Let the pan cool completely before chilling, and follow the covering instruction in the method when extending that chill.
For serving plans, allow space in the refrigerator for the pan and leave the slab intact until it’s firm enough to handle. Keep the brownies covered when holding them. If you choose a frosting or cheesecake variation, follow that specific recipe’s storage directions rather than applying the plain brownie instructions to it.
Serving Ideas and Pairings
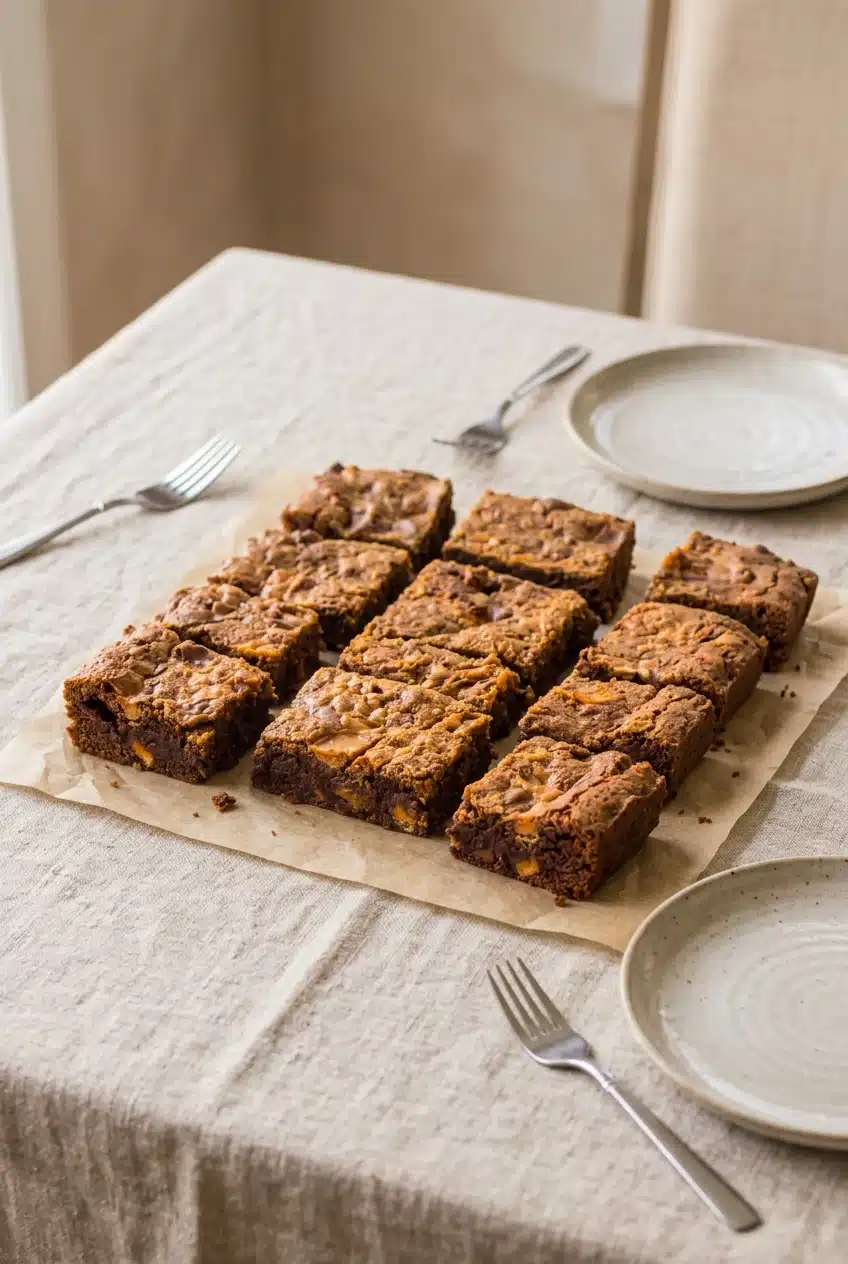
Choose the finish to suit the occasion, from a plated sundae to neatly arranged dessert squares.
- Brownie sundaes: Pair a square with vanilla ice cream and an optional sprinkle of chopped candy.
- Gathering platters: Cut smaller squares for a dessert assortment, alongside copycat cosmic brownies for another candy-topped option.
- Peanut butter finish: Add an optional light peanut butter drizzle for a nutty accent without a full frosting layer.
Final Thoughts
Rich chocolate, creamy peanut butter, and crisp candy pieces give these brownies their contrast. Gentle mixing and careful baking help the center stay fudgy, while the reserved topping keeps the candy noticeable.
Use the ingredient list and method above for measurements and timing, and the yield to plan your portions. Give the slab a thorough chill before slicing, and those tidy squares will be much easier to share.
Frequently Asked Questions
Can You Make Butterfinger Brownies With a Boxed Brownie Mix?
Yes, a boxed chocolate brownie mix is an alternative starting point for a candy-bar variation. Use directions written for your chosen mix rather than combining its formula with the scratch ingredients above.
How Do You Keep Butterfinger Pieces Crunchy in Brownies?
Reserve the specified candy topping instead of mixing every piece into the batter. The optional chilled, post-bake candy finish described above offers another texture contrast, without guaranteeing lasting crunch.
How Should You Store Butterfinger Brownies?
Keep them covered, and follow the complete cooling and refrigeration steps before cutting. For a frosting or cheesecake variation, use that recipe’s storage directions; the chilling step here doesn’t establish a shelf life.
Can You Use Peanut Butter or Frosting on Top of Butterfinger Brownies?
Yes, an optional peanut butter drizzle or frosting suits the chocolate and candy flavors. Peanut butter cream cheese frosting is a tangier option, while a glaze gives a lighter finish.
How Many Calories Are in One Butterfinger Brownie?
The estimated calories per serving appear with the recipe details above. Your portion size and any optional frosting, drizzle, or extra candy will affect the total.
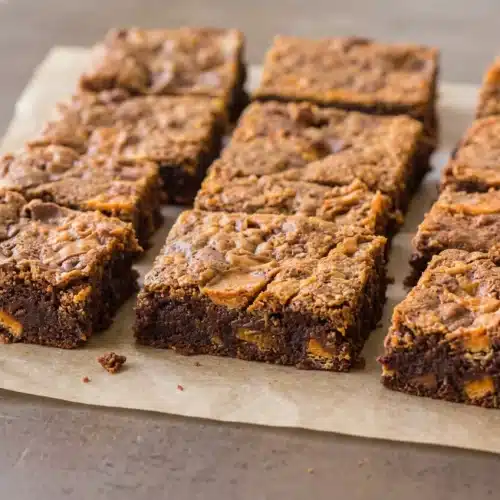
Butterfinger Brownies

Equipment
- 9×13 inch baking pan
- Glass bowl
- large bowl
- Rubber spatula
- Cutting Boards
- Large sharp knife
Ingredients
- 4 ounces unsweetened chocolate
- 2 cups packed light brown sugar
- ½ cup butter (1 stick), (melted)
- ½ cup creamy peanut butter
- 4 large eggs
- 2 teaspoons vanilla extract
- 1 cup all purpose flour
- 16 .65-ounce (or 10.4-ounces total) Butterfinger candy bars (chopped)
Instructions
- Heat the oven to 325°F and fit a 9×13-inch baking pan with foil or parchment, then coat the liner with nonstick spray. Cover the bottom and sides so the brownie slab can release without leaving its edges behind.
- Microwave the unsweetened chocolate in a glass bowl in 30-second intervals, stirring between each interval, then let it cool slightly. Stop heating once stirring produces a smooth, glossy mixture, and let it lose its hot edge before combining it with the eggs.
- Blend the brown sugar, melted butter, and peanut butter in a large bowl with a rubber spatula or electric mixer, then incorporate the eggs and vanilla. The mixture should look evenly combined before the chocolate goes in.
- Work in the slightly cooled chocolate, followed by the flour, then fold in the chopped candy while setting aside about ¾ cup for topping. Finish with a thick, uniform batter without visible flour streaks or unnecessary extra mixing.
- Distribute the batter evenly across the lined pan and scatter the reserved candy over it. Keep the surface level so the center and corners have a similar batter depth.
- Bake for 25 to 35 minutes, removing the pan when a toothpick tested in the center comes out clean, then allow the brownies to cool completely. Check closely within the baking window rather than extending the bake in search of a dry, firm center.
- Refrigerate the completely cooled brownies until thoroughly chilled, covering them with plastic wrap if chilling overnight. The slab should feel firm before you attempt to turn it out.
- Invert the chilled slab onto a cutting board, gently remove the liner, then use a second board to turn it right-side up and slice with a large, sharp knife. Remove the foil or parchment completely before cutting so no pieces cling to the bottoms of the squares.