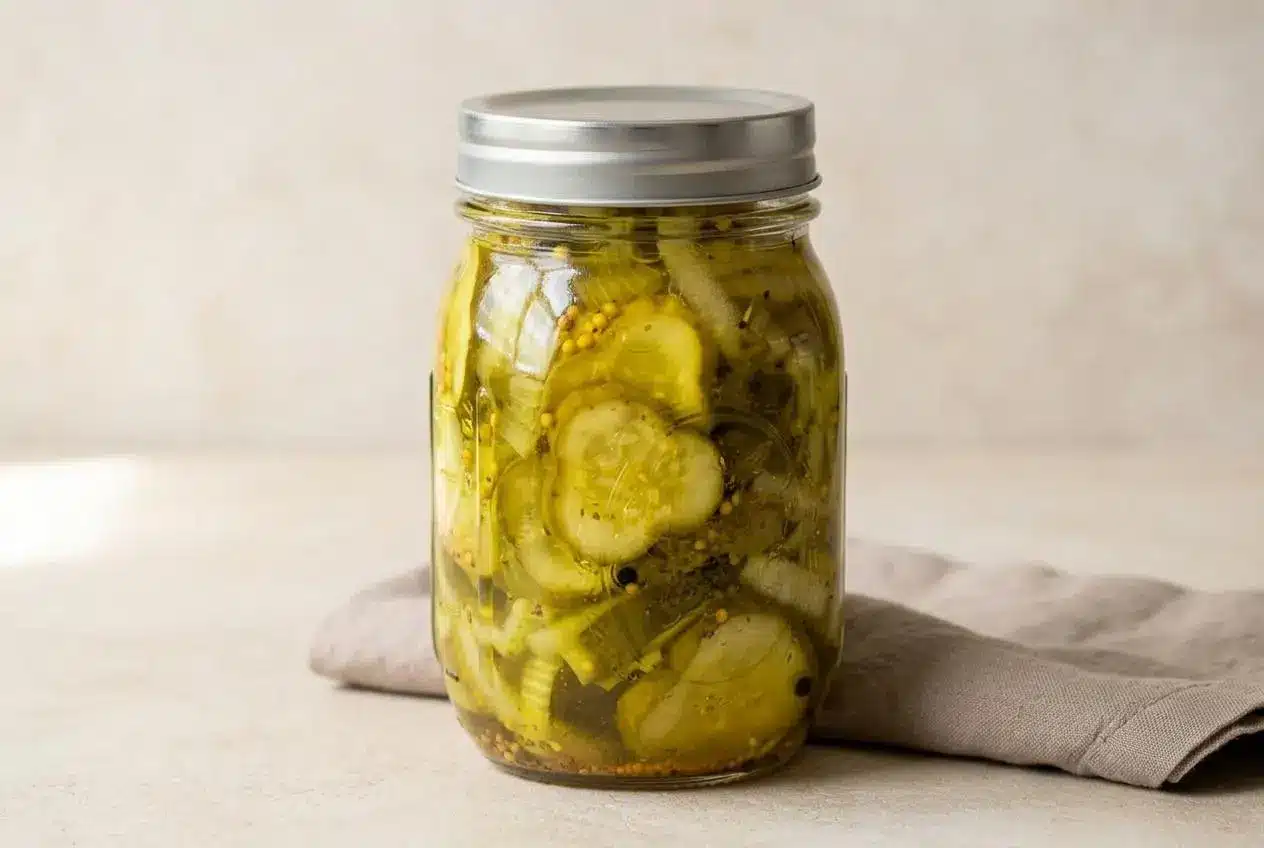
Bread and Butter Pickles are sweet, tangy, and crunchy sliced pickles made with pickling cucumbers, onions, and a spiced vinegar brine with mustard seed, celery seed, and turmeric.
These classic pickles turn a pile of summer cucumbers into bright golden slices with a sweet sharp snap. The onion softens into the brine, the spices bloom, and the whole kitchen smells warm and vinegary in the best way.
If you like pickles that stay crisp and actually taste balanced, this method gives you both a proper water bath version and a fast refrigerator option. The ice soak is the trick worth paying attention to.
Sort the cucumbers before you slice so the rounds stay close in size and heat evenly in the brine.
Crucial Ingredients for Maximum Crunch
Good bread and butter pickles start before the pot goes on the stove. The right cucumbers, salt, vinegar, and spices affect flavor, color, and how crisp the finished slices stay in the jar.
Yellow mustard seed brings that familiar sweet pickle aroma, celery seed adds a savory edge that keeps the sugar from tasting flat, turmeric gives the pickles their warm golden color, and black peppercorn adds a little bite in the background. Onions matter too, because they mellow into the brine and give each jar that classic sweet onion tang.
Choosing the Right Cucumber Variety
Use firm, unwaxed pickling cucumbers whenever you can. They have denser flesh, thinner skins, and fewer watery seeds, so they hold their shape better during soaking, heating, and processing.
Persian cucumbers can work if they are very fresh and unwaxed, especially for smaller, extra-crisp slices. Standard waxed supermarket cucumbers are a poor fit here. The wax slows down brine absorption, and the softer interior can leave you with pickles that taste good but lose their snap.
When you trim the cucumbers, cut off both ends and be especially sure to remove the blossom end. That end carries enzymes that encourage softening, which is the opposite of what you want in a crunchy pickle jar.
The Vinegar and Salt Standards
For this recipe, stick with commercial vinegar labeled 5% acidity, whether you choose apple cider vinegar or white vinegar. Apple cider vinegar gives a warmer color and a rounder flavor, while white vinegar keeps the brine brighter and sharper.
Pickling salt is the better choice here because it dissolves cleanly and helps keep the brine clear. Regular table salt can cloud the liquid and darken the pickles, which is frustrating after all the slicing and packing.
Ingredients
Each ingredient does a specific job here, from keeping the brine bright and aromatic to helping the slices stay crisp, golden, and balanced.
- 3 pounds pickling cucumbers
- 1 pound onions
- 1/4 cup canning or pickling salt
- 2 quarts crushed ice or ice cubes and water
- 1 cup sugar
- 1 tablespoon yellow mustard seed
- 1 teaspoon celery seed
- 1 teaspoon ground turmeric
- 1/2 teaspoon black peppercorn
- 3 cups apple cider vinegar (5% acidity (or white vinegar))
The cucumbers provide the crunch, while onions soften the sharpness of the brine and add sweetness of their own. Sugar rounds out the vinegar, turmeric builds the signature color, and the spice trio gives these pickles their old-fashioned flavor instead of a one-note sweet taste.
I like to pull out any cucumbers with soft spots before slicing, because one tired cucumber can drag down the texture of the whole batch.
The Science Behind Crisp Pickles
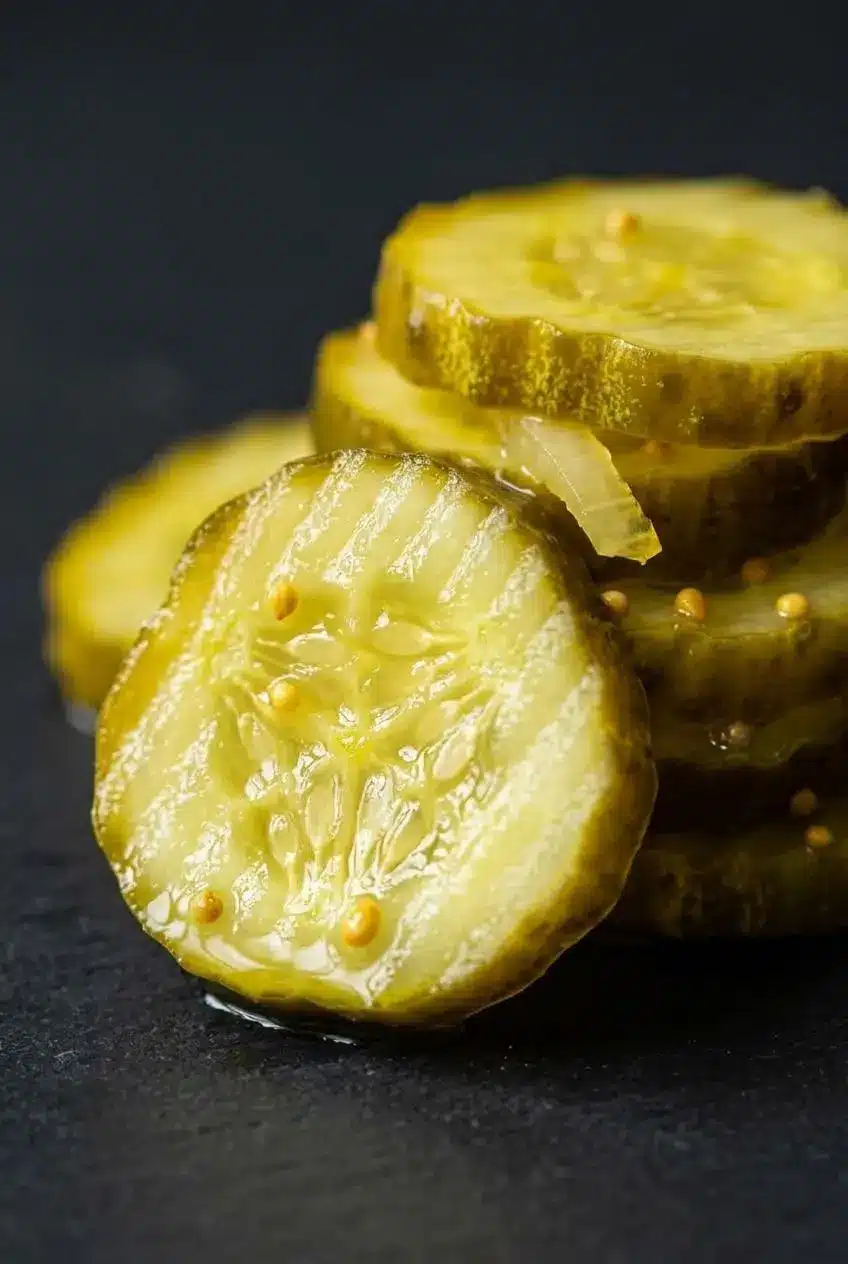
If you have ever made pickles that tasted right but felt limp, the texture usually comes down to moisture and enzymes. This recipe handles both.
The 3-hour soak in salted ice water helps draw out excess moisture while keeping the cucumber slices cold and firm. That gives the cells a tighter structure, so the rounds stand up better when they hit the hot brine. Skipping this step is one of the fastest ways to end up with softer pickles.
Removing the blossom end matters for the same reason. It contains natural enzymes that encourage softening during processing. Once those ends are trimmed away, you start with a better shot at a crisp jar.
Heat control also matters. A hard boil for too long can push the texture from crisp to cooked. If you want an extra-firm, commercial-style bite, some canners use calcium hydroxide as a firming method, but that is optional and separate from the base recipe.
How to Make Bread and Butter Pickles
This method keeps the official process intact while giving you a few cues to watch for along the way. You are aiming for hot jars, a fragrant brine, tight packing, and clean seals.
Step-by-Step Water Bath Canning
Prepare Cucumbers and Canning Equipment
- Wash the cucumbers, slice them into 1/4-inch rounds, discard the ends, peel the onions, and slice them thin before combining both in a large bowl.
The slices should look even and fresh, which helps them soak and heat at the same pace. - Scatter the canning salt over the cucumber and onion mixture, cover with the crushed ice or ice cubes and water, and let it stand for 3 hours.
The bowl should stay very cold, and this soak helps the cucumbers stay firm instead of turning watery later. - Clean the jars, lids, screw bands, and canning tools in hot soapy water, rinse well, and leave them to air dry.
Starting with clean equipment keeps the process smoother when it is time to fill hot jars. - Set the rack in the water bath canner, place the jars inside, cover them with water, and hold them at a simmer of 180 °F for 10 minutes so they stay hot.
Warm jars are less likely to be shocked by the hot brine and are ready when the pickles come off the stove.
Cook and Can the Pickles
- Combine the sugar, yellow mustard seed, celery seed, ground turmeric, black peppercorn, and vinegar in a large pot and bring the mixture just to a boil.
As soon as it heats, the steam turns sweet and spicy, and the turmeric starts tinting the brine a rich gold. - Drain and rinse the cucumber and onion slices under fresh water, add them to the pot, and bring everything back to a boil before lowering the heat to keep the mixture warm.
The cucumbers should look glossy and bright, not dull or overcooked. - Using a canning funnel and ladle, pack the hot cucumbers and onions into the hot jars, then cover them with hot brine while leaving 1/2 inch headspace.
Pack firmly enough to account for shrinkage during processing, but do not crush the slices. - Slide a bubble popper through each jar, release trapped air, make sure the vegetables stay under the brine, and correct the headspace if needed.
The liquid level should settle evenly, with no big air pockets hiding between the slices. - Wipe each jar rim well, center a lid on top, and screw on the band until it is fingertip tight before returning the jar to the canner.
A clean rim gives the lid its best chance to seal properly once the jars cool. - Check that the water stands 2 inches above the jar tops, cover the canner, bring it to a vigorous boil, and process the pints for 10 minutes, adding time if you are at higher elevation.
The boil should stay steady the whole time, with the jars fully covered by water. - Turn off the heat, remove the cover, let the jars settle for 5 minutes, then lift them out and set them upright on a towel for 12 to 24 hours without moving them.
As they cool, you may hear the clear ping of sealing lids, which is always a satisfying sound.
Cool and Store Jars
- Press the center of each cooled lid to check the seal, remove the bands, wash the jars, label them, and store them in a cool dark place before waiting 4 to 5 weeks to open them.
The flavor deepens during that rest, and the sweet tang tastes much more rounded once the spices have settled in.
Low-Temperature Pasteurization
This is an optional canning method for people who want to protect as much crunch as possible. Instead of processing at a full rolling boil, hold the jars in water between 180 °F and 185 °F for 30 minutes.
The key is control. The water must stay in that narrow temperature range the whole time. If it drops too low, the process is not doing its job. If it climbs too high, you lose the texture benefit. This approach takes more attention than standard water bath canning, but it can help preserve a firmer bite.
For elevation, processing time needs to increase as altitude rises. A practical guide is 10 minutes up to 1,000 feet, 15 minutes from 1,001 to 3,000 feet, 20 minutes from 3,001 to 6,000 feet, and 25 minutes above 6,000 feet up to 10,000 feet. High altitude changes how water behaves during canning, so adjusting the process matters for a better margin of safety. For broader background on why altitude affects home canning, see high altitude cooking and canning adjustments.
The Quick Refrigerator Alternative
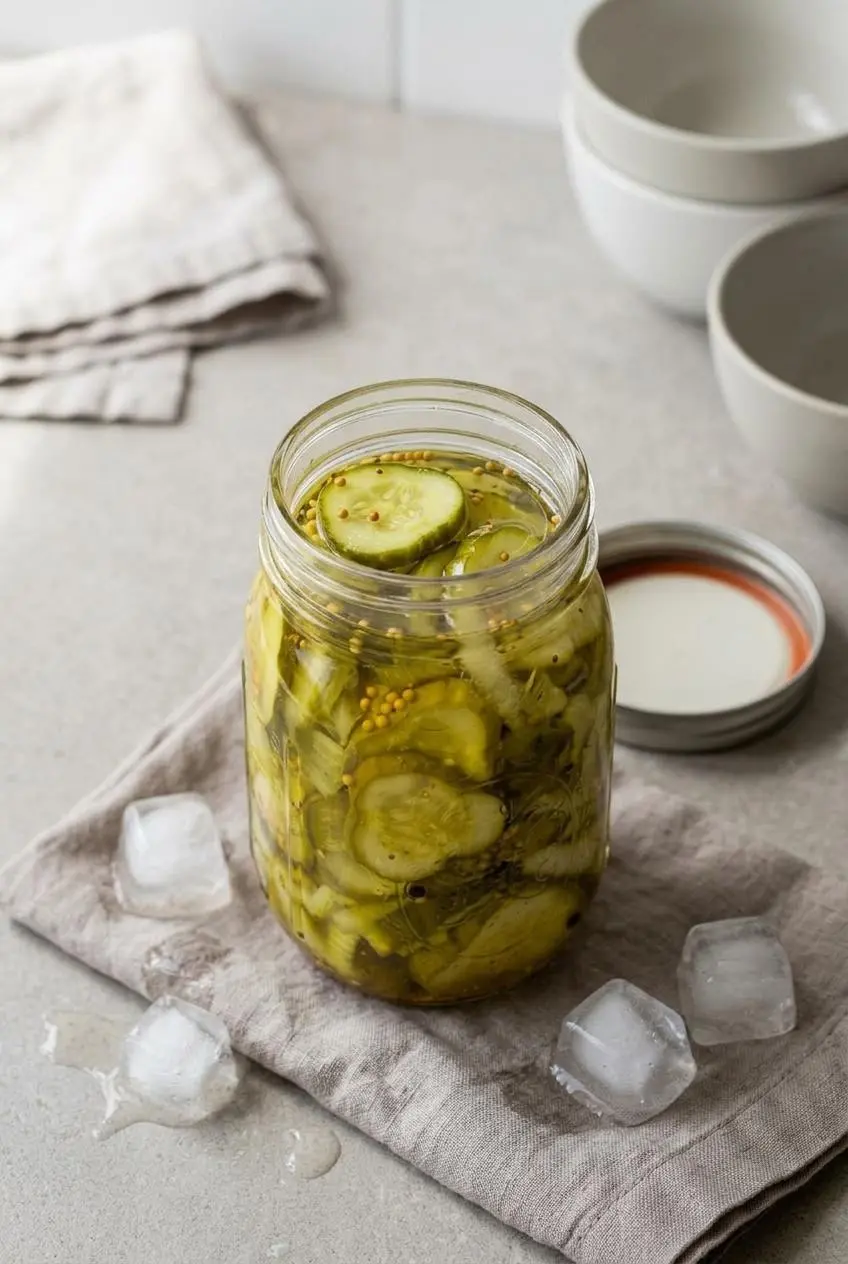
If you want the flavor without the canning setup, you can make a refrigerator version with the same ingredients and same basic soak and brine. The difference is simple: skip the water bath step, transfer the hot cucumbers and brine into clean jars or containers, cool them, and keep them chilled.
The texture is usually even crisper at first because the slices are not fully processed in boiling water. The tradeoff is that these are not shelf-stable, so they belong in the refrigerator, not the pantry.
This option is great when you want a fast batch for sandwiches, burger night, or a weekend cookout. The flavor stays a little brighter and fresher, while the canned version tastes more settled and classic.
Common Pickling Mistakes and How to Avoid Them
Most pickle problems come down to texture, packing, or sealing. A few small adjustments can save a batch before it turns disappointing.
- If you run short on brine while packing, quickly make more using a 1:1 ratio of vinegar to sugar and heat it until dissolved. This keeps the sweet-tangy balance close enough to finish the batch without leaving jars half covered.
- If the pickles turn soft, the usual causes are skipping the ice soak, leaving the blossom ends on, using waxed cucumbers, or overheating the jars. Keep the soak cold, trim carefully, and avoid pushing the process longer than needed.
- If the brine looks cloudy, table salt is often the culprit. Use canning or pickling salt next time for a cleaner jar.
- If a lid never seals, the center may still flex or pop when pressed. Refrigerate that jar right away instead of storing it with the sealed jars.
- If you do not hear a ping during cooling, do not panic immediately. Some jars seal quietly, so the real test comes after cooling when the lid center stays down and firm.
- If the jar rims were not wiped well, syrupy brine can interfere with the seal. A clean rim before lidding is one of those tiny steps that does a lot of heavy lifting.
Optional Recipe Variations
These ideas keep the main recipe intact while giving you a different garden-season direction.
- Zucchini and Yellow Squash Variation: Replace the cucumber with slender zucchini or yellow squash slices for a softer but still bright sweet pickle. If your garden is overflowing after that, chocolate zucchini bread is another very good use for the extras.
- Sweet and Spicy Twist: Add a slice of fresh jalapeño and a pinch of toasted mustard seeds to each jar if you want a little heat behind the sweetness. Keep it optional so the classic flavor still leads.
Best Ways to Serve Sweet Pickles
Bread and butter pickles shine when a meal needs acidity, crunch, and a little sweetness to wake everything up.
- Pile them onto grilled cheeseburgers or pulled pork sandwiches where the sweet brine cuts through rich meat beautifully.
- Chop them into Southern potato salad or tuna salad for a punchy, old-school deli flavor.
- Set them next to fried chicken, barbecue ribs, or a basket of warm honey butter cornbread for a classic cookout plate.
- Serve them straight from the jar with sharp cheddar, sliced ham, or a simple lunch sandwich when you want something bright and crunchy on the side.
Conclusion
These pickles earn their place because the flavor lands right in the middle of sweet, tangy, and warmly spiced, while the texture stays crisp enough to really crunch.
Give the jars the full 4 to 5 weeks to settle before opening, and the difference is worth it. Patience is a real ingredient here.
Frequently Asked Questions
Can I use regular table salt instead of pickling salt?
No. Pickling salt is the better choice for clean, clear brine. Table salt often contains anti-caking agents that can make the liquid cloudy. The iodine in table salt can also darken the pickles.
How long do I need to wait before eating the pickles?
Wait 4 to 5 weeks after processing. That resting time lets the sugar, vinegar, onion, and spices mellow together. If you open them too early, the flavor will taste sharper and less finished.
What should I do if a jar fails to seal?
Move that jar to the refrigerator right away. Do not store it on the shelf with the sealed jars. Use those refrigerated pickles within one month.
Can I use a sugar substitute for canning?
A full swap is not the best choice for this traditional style. Some sugar substitutes can change the texture, balance, and mouthfeel of the finished pickles. If you want to experiment, keep it to a refrigerator batch rather than your canned jars.
What is the difference between bread and butter and dill pickles?
Bread and butter pickles are sweet, tangy, and spiced with celery seed and turmeric. Dill pickles lean sour, savory, and more strongly herbal. If you like a sweeter sandwich pickle, bread and butter is usually the better pick.
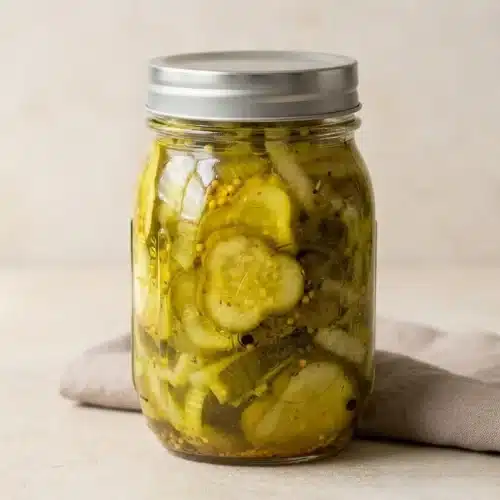
Bread and Butter Pickles

Equipment
- Water bath canner
- Canning rack
- 5 pint canning jars
- Lids and bands
- Jar lifter
- Canning ladle
- Canning funnel
- Bubble popper
- Large sauce pot
- large bowl
Ingredients
- 3 pounds pickling cucumbers
- 1 pound onions
- 1/4 cup canning or pickling salt
- 2 quarts crushed ice or ice cubes and water
- 1 cup sugar
- 1 tablespoon yellow mustard seed
- 1 teaspoon celery seed
- 1 teaspoon ground turmeric
- 1/2 teaspoon black peppercorn
- 3 cups apple cider vinegar (5% acidity (or white vinegar))
Instructions
Prepare Cucumbers and Canning Equipment
- Wash the cucumbers, slice them into 1/4-inch rounds, discard the ends, peel the onions, and slice them thin before combining both in a large bowl.
- Scatter the canning salt over the cucumber and onion mixture, cover with the crushed ice or ice cubes and water, and let it stand for 3 hours.
- Clean the jars, lids, screw bands, and canning tools in hot soapy water, rinse well, and leave them to air dry.
- Set the rack in the water bath canner, place the jars inside, cover them with water, and hold them at a simmer of 180 °F for 10 minutes so they stay hot.
Cook and Can the Pickles
- Combine the sugar, yellow mustard seed, celery seed, ground turmeric, black peppercorn, and vinegar in a large pot and bring the mixture just to a boil.
- Drain and rinse the cucumber and onion slices under fresh water, add them to the pot, and bring everything back to a boil before lowering the heat to keep the mixture warm.
- Using a canning funnel and ladle, pack the hot cucumbers and onions into the hot jars, then cover them with hot brine while leaving 1/2 inch headspace.
- Slide a bubble popper through each jar, release trapped air, make sure the vegetables stay under the brine, and correct the headspace if needed.
- Wipe each jar rim well, center a lid on top, and screw on the band until it is fingertip tight before returning the jar to the canner.
- Check that the water stands 2 inches above the jar tops, cover the canner, bring it to a vigorous boil, and process the pints for 10 minutes, adding time if you are at higher elevation. high altitude cooking and canning adjustments apply.
- Turn off the heat, remove the cover, let the jars settle for 5 minutes, then lift them out and set them upright on a towel for 12 to 24 hours without moving them.
Cool and Store Jars
- Press the center of each cooled lid to check the seal, remove the bands, wash the jars, label them, and store them in a cool dark place before waiting 4 to 5 weeks to open them.