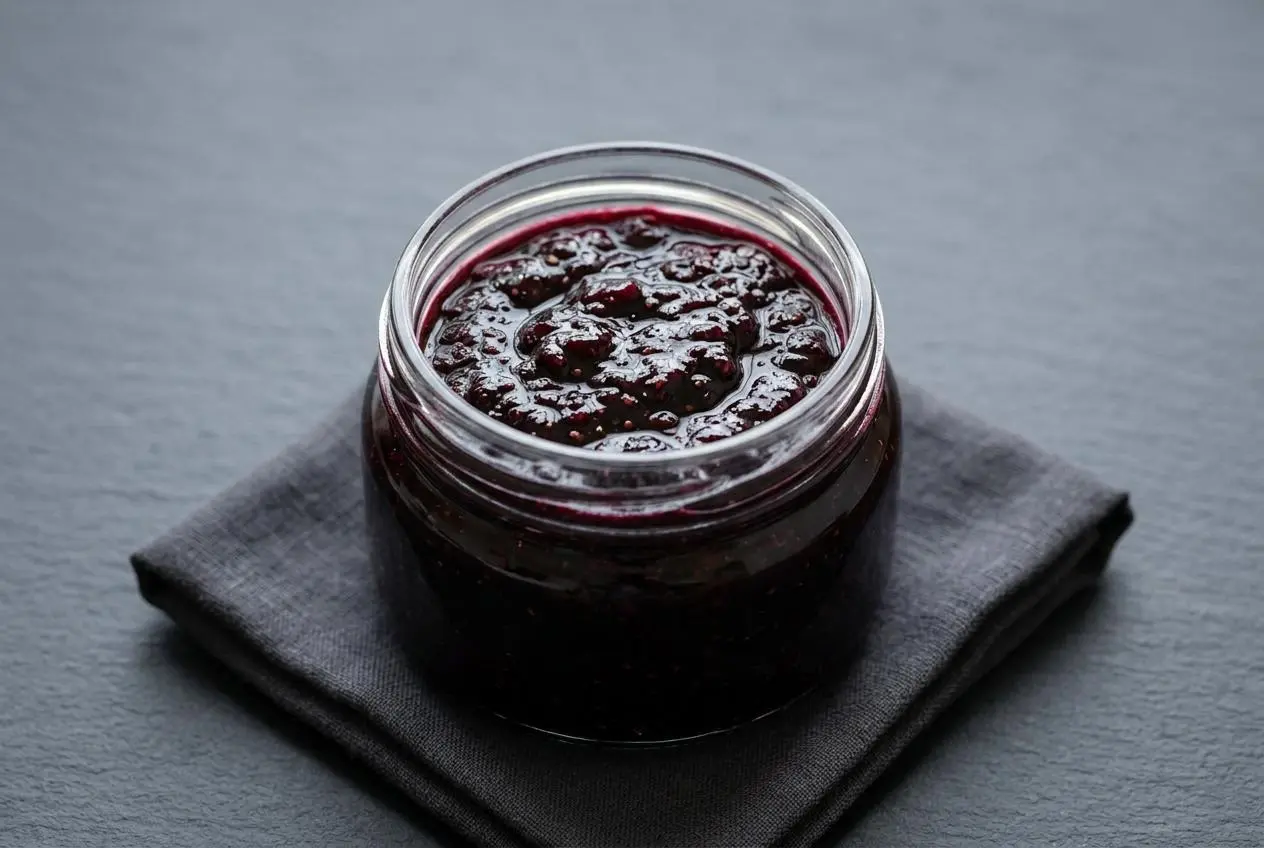
Cook mashed blackberries with sugar and lemon juice until the mixture reaches gel stage, then ladle into hot jars and process in a water bath for a rich, sweet tart jam that sets beautifully.
A good blackberry jam turns deep purple, glossy, and thick, with that warm berry aroma filling the whole kitchen. This blackberry jam recipe keeps the ingredient list classic and the method clear.
You can make it the old fashioned way without added pectin, strain it for a smoother seedless version, or can it for the pantry. The key moment is when the foam settles and the jam starts to sheet from the spoon.
Use a deep pot and a long spoon, because blackberry jam bubbles up fast and needs steady stirring to keep the bottom from scorching.
Why This Blackberry Jam Recipe Beats Store-Bought
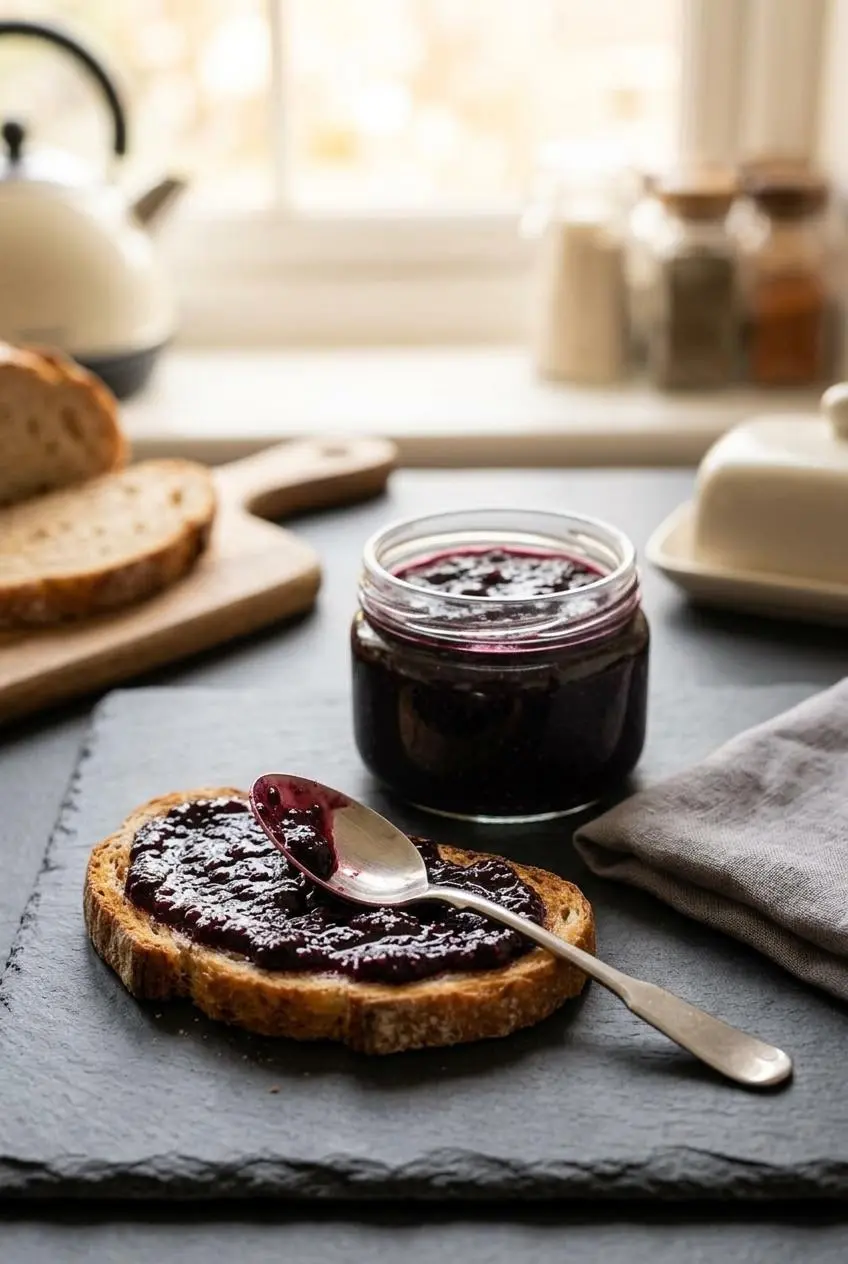
Homemade jam gives you a fuller blackberry flavor, a brighter sweet tart balance, and a texture you can control. Instead of a generic sugary spread, you get real fruit character and that dark jewel tone that only shows up after the berries reduce properly.
It is also easier to tailor to your taste. Leave the seeds in for a rustic texture, strain them out for a smoother finish, or add a subtle spice note if you want something a little more special.
Ingredients
Each ingredient has a real job here, from helping the jam set to balancing sweetness and sharpening the berry flavor.
- 6 cups mashed blackberries
- 4 cups granulated sugar
- 2 tablespoons lemon juice
I always like to wash the fresh berries in cold water and pick out any small stems before mashing.
Blackberries bring the body, color, and natural pectin. Sugar sweetens the fruit, helps the mixture thicken as it boils, and gives the finished jam that glossy, spreadable texture. Lemon juice brightens the flavor and helps the natural pectin do its work.
If you are using freshly picked wild berries, take a little extra time to sort out leaves, stems, and any tiny bits of debris. For cleaner handling, wash the berries under running water with clean hands and utensils, following safe produce washing and handling practices.
How to Make Homemade Blackberry Jam
- Get the canning setup ready by washing and sterilizing 5 to 6 half-pint jars, then keep the jars hot while the lids rest in hot but not boiling water.
Having everything warm and ready makes filling easier and helps the jam stay hot from pot to jar. - Rinse and sort the blackberries, discard any stems or debris, and mash them with a potato masher in a large bowl or directly in the jam pot.
Plan on about 2 cups whole berries to make 1 cup mashed fruit, and crush well so large chunks do not slow the set. - Put the mashed berries in a large deep jam pot and stir in the sugar and lemon juice until evenly combined.
Mixing before heating starts dissolving the sugar and gives the fruit a more even boil. - Set the pot over medium-high heat and bring the mixture to a steady boil, stirring often as it heats.
Blackberry jam foams heavily, so stay close once it starts bubbling and scrape the bottom of the pot to prevent scorching. - Boil the jam, stirring constantly, until it thickens and reaches gel stage, usually in 20 to 30 minutes.
Watch for the color to turn a glossy deep purple, the aroma to grow warmer and more intense, and the foam to begin subsiding as the jam nears readiness. - Take the pot off the heat and skim off any foam left on the surface if you want a clearer finish.
The jam should look shiny and thick rather than loose and frothy. - Ladle the hot jam into the prepared jars, leaving 1/4 inch headspace, then wipe the rims clean and apply the lids and bands to fingertip tight.
Clean rims and even headspace help the jars seal properly during processing. - Lower the jars into the boiling water bath so they are covered by 1 to 2 inches of water, then process for 10 minutes, or 15 minutes above 6,000 feet.
The water should return to a full boil around the jars while they process. - Lift the jars out and let them cool undisturbed for 12 to 24 hours before checking the seals, labeling, and storing.
As they cool, the lids should pull down and the jam will continue to settle into its final texture.
Understanding Blackberry Jam: Pectin vs. No-Pectin Methods
If you have wondered whether blackberries really need boxed pectin, the short answer is no. Blackberries naturally contain both acid and pectin, so they can set into jam with sugar, lemon juice, and enough boiling time.
The main difference is how the finished jam feels and how quickly it comes together. No-pectin jam usually cooks longer and often has a softer, more old-fashioned spread. Pectin-based jam sets faster and more predictably, often with a firmer result.
The Traditional No-Pectin Method
This version leans on fruit, sugar, heat, and patience. As the blackberries boil, water cooks off, the fruit concentrates, and the natural pectin starts to build structure with help from the sugar and lemon juice.
The payoff is flavor. A no-pectin batch tastes deeply of blackberry, with a fuller cooked-fruit note and a texture that feels more natural than bouncy. It does need attention, though. Do not double the batch if you want a reliable set, because a larger volume can keep the mixture from reducing evenly.
Foam is part of the process here. If it gets especially wild, a tiny sliver of unsalted butter can calm the surface without changing the flavor in any noticeable way.
Using Store-Bought Pectin for a Fast Set
If you want a quicker, more predictable shortcut, dry boxed pectin is the usual choice. It reduces the cooking time and gives you a firmer set, which can be helpful if your berries are very ripe and juicy.
When using commercial pectin, follow the package directions for the exact fruit to sugar ratio. That ratio matters because the pectin is designed to work with a specific balance of sugar and liquid. Change it too much and the jam may turn loose, overly stiff, or uneven in texture.
This option is great for beginners who want a more consistent result, while the no-pectin version is ideal when you want the purest berry flavor. Both can make excellent jam.
How to Make Seedless Blackberry Jam
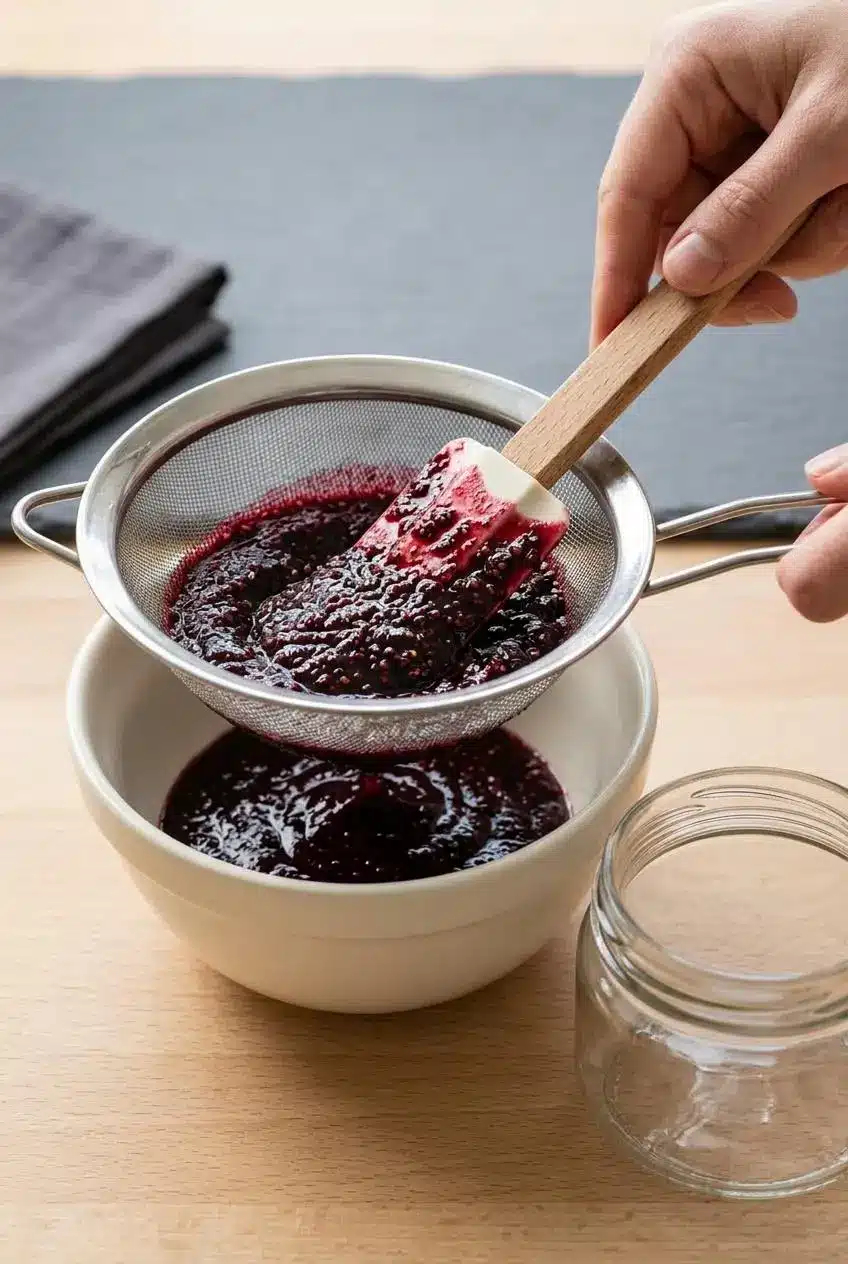
If you love blackberry flavor but not the crunch of the seeds, you can make a smooth version without changing the spirit of the recipe. Seedless jam still uses the berry pulp, so it stays jammy and rich rather than turning into a clear jelly.
The easiest method is a food mill fitted with a fine blade. Run the mashed berries through it before cooking, and the machine will separate most of the seeds from the pulp. This usually gives you the best balance between smooth texture and good yield.
No food mill? A fine wire mesh sieve works too. Spoon the mashed berries into the sieve and press with the back of a ladle until the pulp passes through. It takes more time, but it works well for small batches.
A jelly bag can help if you want a very smooth result, but it removes more pulp and moves the texture closer to jelly than jam. That is why a food mill or sieve is usually the better choice here.
Expect to lose some volume during straining because the seeds hold onto pulp. The exact amount can vary with the berries, but it is normal to end up with less puree than you started with. Also, resist the urge to puree the seeds. That tends to make the mixture gritty and can bring in a slightly bitter taste.
Testing for the Perfect Gel Stage
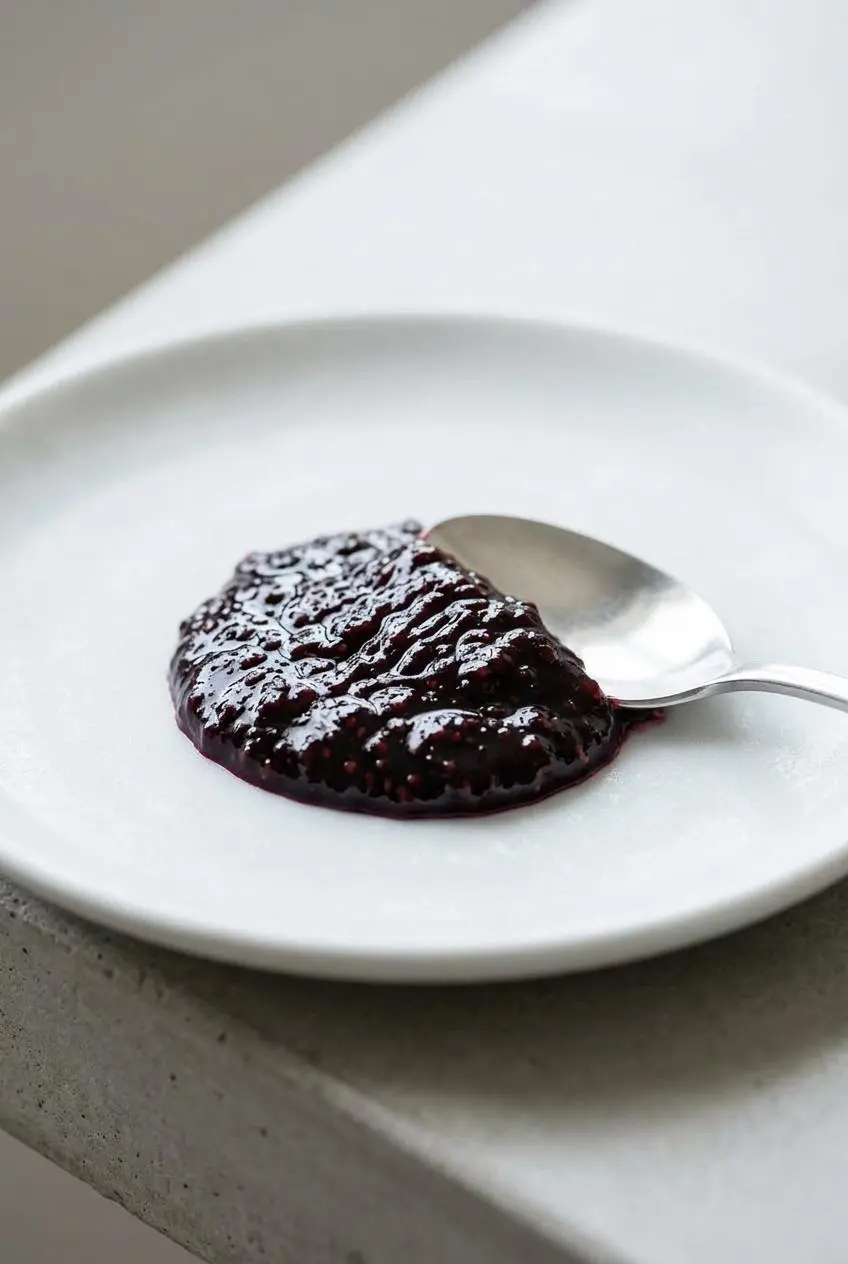
This is the part that makes or breaks the texture. Cooking time helps, but it should never be your only guide because stovetops, pots, and berry moisture all vary.
The cold plate test is the easiest for most home cooks. Chill a small plate in the freezer before you start cooking. When the jam looks thicker, drop a little onto the cold plate, wait a moment, then push it with your finger. If the surface wrinkles and the jam mounds slightly instead of flowing flat, it has reached gel stage.
The spoon test is another good check. Dip a cold metal spoon into the jam and lift it out. At first the liquid will fall in separate drips. When it is ready, the drops start to run together and fall in a sheet from the edge of the spoon.
If you like using a thermometer, aim for 220 °F at sea level. At higher elevations, the target drops slightly, so the visual tests are often the most dependable way to confirm the set.
Watch the pot closely near the end. The bubbling looks thicker, the foam begins to settle down, and the color shifts into a glossy deep purple. Stop too early and the jam stays runny. Cook too long and it can turn sticky and rubbery instead of softly spreadable.
Step-by-Step Water Bath Canning Guide
If you want shelf-stable jars, the filling and processing details matter just as much as the jam itself. This is also where old open-kettle shortcuts should stay in the past.
Start with clean jars, lids, bands, and tools. Keep the jars hot before filling so they are ready for the hot jam. Once the jam goes in, leave 1/4 inch headspace at the top of each jar. That small space gives the contents room to process and helps the jars seal well.
After filling, wipe the rims with a clean damp cloth, set on the lids, and tighten the bands just to fingertip tight. Too loose can interfere with sealing, and too tight can prevent air from venting during processing.
Process the jars in a boiling water bath with 1 to 2 inches of water covering the lids. For this recipe, process for 10 minutes, or 15 minutes above 6,000 feet. Do not invert the jars, do not try oven canning, and do not skip the water bath if you want pantry storage.
Once processed, lift the jars out and leave them alone while they cool for 12 to 24 hours. That resting period matters. The seal forms as the jars cool, so moving them too soon can interfere with the final seal.
Gourmet Flavor Pairings and Low-Sugar Options
This jam is excellent plain, but blackberries pair beautifully with warm spice, citrus, and soft herbal notes. Small changes can make the flavor feel more layered without taking over the fruit.
For serving, try it swirled into hot oatmeal, spooned over Greek yogurt, spread on warm buttermilk biscuits, or brushed onto roasted pork or grilled chicken for a glossy sweet tart finish.
Low-Sugar and Honey Variations
If you want to reduce the sugar, do it as a separate variation rather than adjusting the main recipe at random. The standard no-pectin version depends on a strong balance of fruit, sugar, and acid, so cutting sugar too much can leave you with a looser jam.
For a lower-sugar approach, use a specialty pectin made for reduced sugar batches, such as Pomona’s Pectin, and follow its directions closely. That style of pectin is designed to set with less sugar and can also work with sweeteners like honey or maple syrup.
Honey gives a softer floral note. Maple syrup adds a darker, deeper sweetness. Both can be lovely with blackberries, but they change the flavor and the set, so they are best treated as optional variations rather than small swaps in the base recipe.
Spiced and Botanical Infusions
A pinch of ground cardamom, cinnamon, or fresh grated ginger can pull out the darker earthy side of blackberries. Keep the seasoning subtle so the fruit still leads.
For an herbal version, steep a fresh sage or thyme sprig in the hot jam, then remove it before jarring. Sage brings a savory edge, while thyme stays lighter and woodsy. If that flavor combination sounds good to you, blackberry sage iced tea makes a nice companion for the same fruit and herb pairing.
Troubleshooting: How to Fix Runny Jam
Runny jam is usually fixable, and the cause is often pretty straightforward. Most of the time, the batch simply needed more cooking.
- If the jam stays syrupy, it was likely undercooked. Pour it back into the pot, add a splash of lemon juice, bring it back to a boil, and cook until it passes the cold plate test.
- If the batch was doubled or tripled, the mixture may not have reduced evenly. Smaller batches set more reliably because the liquid cooks off faster and more consistently.
- If the berries were not mashed well enough, large chunks can hold extra moisture and slow the set. Crush the fruit thoroughly before cooking.
- If frozen berries were used, they may need a little longer on the stove because they release extra juice as they thaw and cook.
- If the jam turns too thick or sticky, it likely cooked past the ideal gel point. Next time, start testing earlier, especially once the foam drops and the mixture looks glossy.
Conclusion
Making blackberry jam at home gives you richer fruit flavor, better texture, and a jar that actually tastes like blackberries. Whether you keep it rustic or strain it smooth, the method is straightforward once you know what gel stage looks like.
Keep stirring, watch the foam, and trust the cold plate test more than the clock. If you want a small twist, cardamom is a very good place to start.
Frequently Asked Questions
Can I Use Frozen Blackberries to Make Jam?
Yes. Frozen blackberries work well for jam. Let them thaw fully first, and pour all the juices into the pot with the fruit. Because frozen berries release extra liquid, the jam may need a little more cooking time to reach gel stage.
How Do I Fix Runny Blackberry Jam?
Pour the jam back into the pot and bring it to a full boil again. Add a splash of lemon juice, then cook until it passes the cold plate test or sheets from a spoon. Undercooking is the most common cause, especially with no-pectin jam.
Is Lemon Juice Absolutely Necessary for Blackberry Jam?
Yes, it plays an important role in both flavor and texture. It cuts the sweetness, brightens the berries, and helps the natural pectin set the jam more firmly. If you are canning, bottled lemon juice is often preferred for more consistent acidity.
How Long Does Homemade Blackberry Jam Last?
Properly water-bath canned jam lasts for up to 18 months when stored in a cool, dark place. Once opened, keep it in the refrigerator and use it within 3 to 4 weeks. If you make a refrigerator version without canning, store it chilled and use it within that same shorter window.
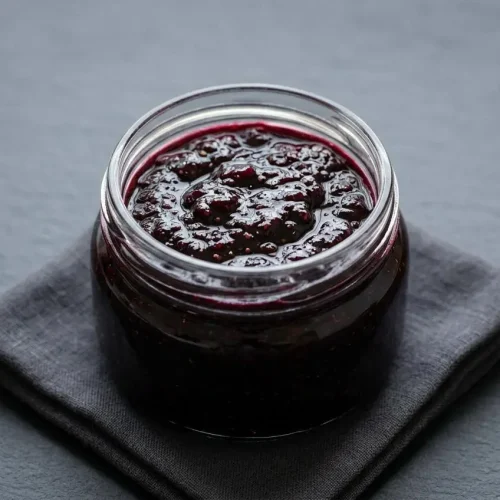
Blackberry Jam Recipe

Equipment
- Water bath canner
- Potato masher
- Jam Pot
- Jars with lids and bands
Ingredients
- 6 cups mashed blackberries
- 4 cups granulated sugar
- 2 tablespoons lemon juice
Instructions
- Get the canning setup ready by washing and sterilizing 5 to 6 half-pint jars, then keep the jars hot while the lids rest in hot but not boiling water. Having everything warm and ready makes filling easier and helps the jam stay hot from pot to jar.
- Rinse and sort the blackberries, discard any stems or debris, and mash them with a potato masher in a large bowl or directly in the jam pot. Plan on about 2 cups whole berries to make 1 cup mashed fruit, and crush well so large chunks do not slow the set.
- Put the mashed berries in a large deep jam pot and stir in the sugar and lemon juice until evenly combined. Mixing before heating starts dissolving the sugar and gives the fruit a more even boil.
- Set the pot over medium-high heat and bring the mixture to a steady boil, stirring often as it heats. Blackberry jam foams heavily, so stay close once it starts bubbling and scrape the bottom of the pot to prevent scorching.
- Boil the jam, stirring constantly, until it thickens and reaches gel stage, usually in 20 to 30 minutes. Watch for the color to turn a glossy deep purple, the aroma to grow warmer and more intense, and the foam to begin subsiding as the jam nears readiness.
- Take the pot off the heat and skim off any foam left on the surface if you want a clearer finish. The jam should look shiny and thick rather than loose and frothy.
- Ladle the hot jam into the prepared jars, leaving 1/4 inch headspace, then wipe the rims clean and apply the lids and bands to fingertip tight. Clean rims and even headspace help the jars seal properly during processing.
- Lower the jars into the boiling water bath so they are covered by 1 to 2 inches of water, then process for 10 minutes, or 15 minutes above 6,000 feet. The water should return to a full boil around the jars while they process.
- Lift the jars out and let them cool undisturbed for 12 to 24 hours before checking the seals, labeling, and storing. As they cool, the lids should pull down and the jam will continue to settle into its final texture.