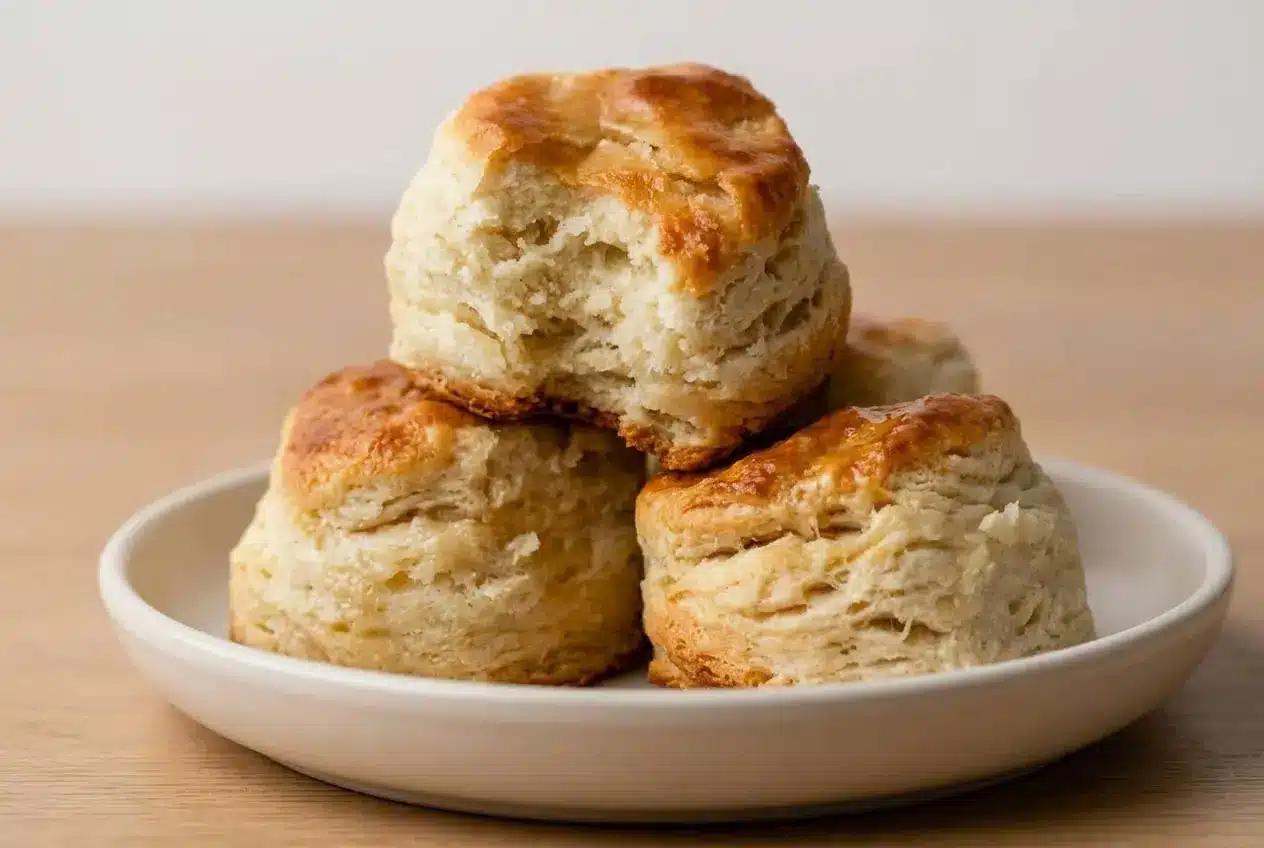
This biscuit recipe makes tall, flaky, buttery biscuits with cold butter, buttermilk, and a simple folding method that builds layers. Keep the butter very cold, handle the dough lightly, and cut straight down for the best rise.
If you want classic homemade biscuits with crisp edges, soft centers, and real flaky pull-apart layers, this biscuit recipe delivers. It uses all-purpose flour, cold butter, buttermilk, and a little honey for a tender, balanced crumb.
What makes these stand out is the method. You get the full why behind each step, plus help for flat, tough, or dry biscuits. The folding trick is worth it.
Keep extra flour next to your work surface because the dough starts shaggy, then turns sticky as you bring it together.
Why This Is the Best Biscuit Recipe
This recipe works because it leans on the three things biscuits need most: very cold butter, enough lift from baking powder and baking soda, and a folding method that creates visible layers. You end up with biscuits that bake up tall instead of spreading wide.
Buttermilk adds tenderness and a gentle tang, while the honey rounds out the flavor without making the biscuits sweet. The directions also stay practical. You’ll know what the dough should look like, when to stop mixing, and how to avoid sealing the edges with the cutter.
Key Ingredients for Perfect Biscuits
Each ingredient pulls its weight here, from structure and lift to tenderness, color, and that buttery aroma that makes warm biscuits hard to resist.
- 2 and 1/2 cups (313g) all-purpose flour (spooned & leveled), plus more as needed for hands and work surface
- 1 Tablespoon baking powder
- 1/2 teaspoon baking soda
- 1 teaspoon salt
- 1/2 cup (8 Tbsp; 113g) unsalted butter, cubed and very cold
- 1 cup + 2 Tablespoons (270ml/g) cold buttermilk, divided
- 2 teaspoons (14g) honey
Optional Topping
- 2 Tablespoons (28g) butter, melted
- 1 Tablespoon (21g) honey
Flour gives the biscuits their shape, baking powder and baking soda create lift, and salt keeps the flavor from falling flat. Cold butter forms steam pockets for flakiness, while buttermilk tenderizes the dough and adds tang. Honey softens the edges of the flavor and helps the biscuits brown nicely.
I like to freeze the butter for about 15 minutes before mixing so the pieces stay firm long enough to build better layers.
Flour: The Foundation of Your Biscuit
All-purpose flour is a solid choice here and gives dependable structure. The gram measurement is especially useful if you bake often, since biscuits can turn dense fast when flour gets packed too firmly into the cup.
If you want the most tender crumb, a lower-protein flour such as White Lily is a great option. Less protein means less gluten development, so the finished biscuits stay softer and more delicate. Bread flour is usually too strong for this style and can make the texture tougher. Cake flour is softer, but on its own it can be too delicate and change the structure.
If you’re using self-rising flour, treat it as a substitute rather than a direct swap. It already contains leavening and salt, so the rest of the formula needs adjusting, which is covered again in the FAQ.
Fat: The Secret to Flakiness (Butter vs. Shortening)
Cold butter is the engine behind flaky biscuits. As those small pieces of butter hit a hot oven, they release steam and push apart the dough into layers. That only works if the butter stays cold until baking, which is why visible little pieces in the dough are a very good sign.
Shortening can make biscuits extra tender and lofty, but it won’t bring the same rich flavor as butter. Some bakers like a blend for the best of both worlds.
| Fat | Flavor | Texture | Rise |
|---|---|---|---|
| Butter | Rich, classic, deeply buttery | Very flaky with crisp edges | Excellent when kept very cold |
| Shortening | More neutral | Very tender, slightly less layered | Often tall and even |
| Butter and shortening blend | Balanced | Tender with good flake | Strong, reliable rise |
A pastry blender works well for cutting butter into the flour, but a box grater is a handy shortcut if the butter is extra cold. Grated butter spreads quickly through the dough without much handling, which is helpful on warm kitchen days.
Liquid: Why Buttermilk Is Best (and What to Do Without It)
Buttermilk brings more than moisture. Its acidity softens the dough and reacts with the baking soda for extra lift, so the biscuits bake up taller and more tender with a faint tang that keeps the flavor lively.
If you don’t have buttermilk, you can still make the recipe. Stir a splash of lemon juice or white vinegar into regular milk and let it stand briefly before using. It won’t be exactly the same, but it gets you much closer than plain milk alone. Plain milk can work in a pinch, though the biscuits usually taste less tangy and may not rise quite as high.
How to Make Tall, Flaky Biscuits (Step-by-Step)
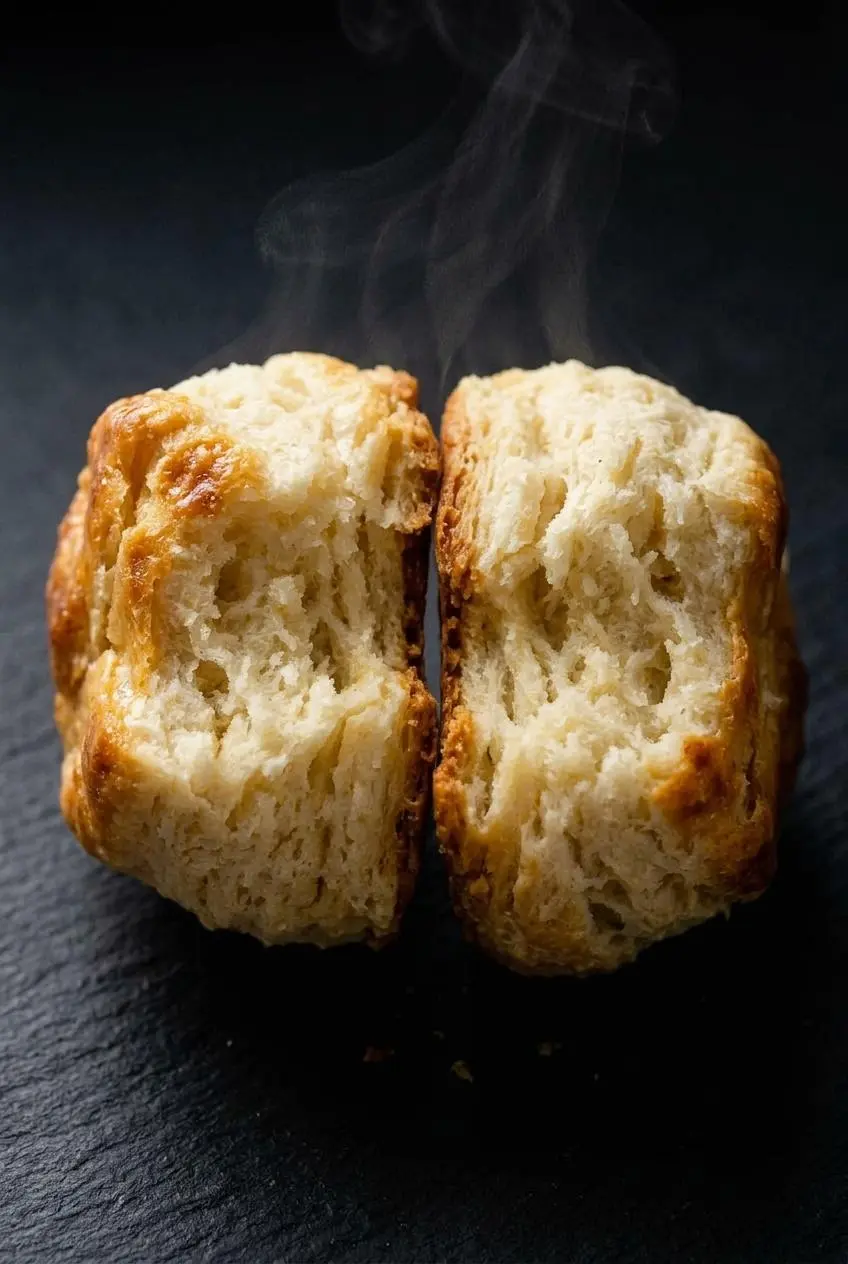
The goal is to keep the butter cold and build layers without overworking the dough. Expect it to look rough before it looks right.
The Folding Technique for Maximum Flakiness
The folding step is biscuit lamination in a very simple form. After the dough comes together, pat it into a rectangle, fold it in thirds like a letter, turn it, and repeat. Doing this 3 to 4 times stacks thin layers of dough and butter across each other, which is what gives baked biscuits that distinct pull-apart texture.
Don’t chase a perfectly smooth dough here. A shaggy, uneven rectangle is normal. In fact, slightly messy dough is often better than overworked dough.
- Heat the oven to 425°F (218°C).
The hot oven helps the cold butter create steam quickly, which encourages a taller rise. - Whisk the flour, baking powder, baking soda, and salt in a large bowl, or pulse them together in a large food processor, then cut in the cold butter with a pastry cutter or by pulsing several times.
Stop when the mixture looks crumbly and you can still spot small butter pieces throughout. - If you used a food processor, transfer the mixture to a large bowl, then make a well and add 1 cup (240ml/g) buttermilk with the honey.
Fold gently with a large spoon or spatula until the dough starts clumping and still looks shaggy with a few dry and wet patches. - Turn the dough and loose crumbs onto a floured surface, then bring it together with well-floured hands and pat it into a 3/4-inch-thick rectangle.
The dough will feel sticky as it comes together, so dust your hands and the surface as needed without kneading heavily. - Fold one side of the rectangle into the center, fold the other side over it, turn the dough 90 degrees, and flatten it again to 3/4 inch thick.
This first letter fold starts building the layers that make the biscuits flaky instead of cakey. - Repeat the fold and turn, flattening the dough back into a 3/4-inch-thick rectangle each time, until you have folded it a total of three times and finished with a final 3/4-inch-thick rectangle.
By the last fold, the dough should look more organized but still show buttery streaks and soft edges. - Cut the dough into 2.5- or 3-inch circles with a biscuit cutter, pressing straight down, then re-roll the scraps until all the dough is used.
Avoid twisting the cutter, because sealed edges make it harder for the biscuits to rise fully. - Set the biscuits in a 10-inch cast iron skillet or close together on a parchment paper-lined baking sheet so they are touching, then brush the tops with the remaining buttermilk.
Placing them close together helps them support one another as they rise. - Bake for 18 to 20 minutes.
They are ready when the tops are golden brown and the biscuits look tall and set. - Whisk the melted butter and honey together if using the topping, then brush it over the warm biscuits and serve.
The finish adds shine, extra buttery flavor, and a soft sweet note on top.
Biscuit Troubleshooting: A Quick Fix Guide
Even good biscuit dough can go sideways fast, so a quick scan helps more than guessing. Most problems come down to temperature, mixing, or how the dough was handled.
| Problem | Likely Cause | Solution |
|---|---|---|
| Flat biscuits | Butter got too warm, dough was not folded enough, or the cutter was twisted | Use very cold butter, repeat the letter folds, and press the cutter straight down without twisting |
| Hard or tough biscuits | Dough was mixed or kneaded too much, which built too much gluten | Stop mixing once the dough is shaggy, and bring it together gently with floured hands |
| Dry biscuits | Too much flour was worked in, or the dough was handled too aggressively | Flour the surface lightly, use only enough extra flour to manage stickiness, and avoid pressing the dough repeatedly |
| Burnt bottoms | The pan ran hot or the biscuits baked too low in the oven | Use parchment on a baking sheet when possible, and check the bottoms near the end of baking |
| Biscuits not fluffy | Old leavening or overworked dough | Use fresh baking powder and keep the dough rough rather than smooth |
| Dense layers | Butter was blended in too finely | Leave visible pea-sized bits of butter so the oven can turn them into steam pockets |
Recipe Variations to Try
Once you’ve made the main version, these optional changes are easy ways to steer the biscuits in a different direction without changing the core method.
Easy Drop Biscuits (No Rolling Required)
For a faster version, add a little more buttermilk so the dough is softer and scoopable, then portion it directly onto the baking sheet with a large spoon or scoop. You’ll skip rolling, folding, and cutting, so the shape is more rustic and the layers are less defined, but the biscuits are still tender and very satisfying.
Savory Cheddar Herb Biscuits
To make a savory version, add about 1 cup of shredded sharp cheddar cheese and 2 tablespoons of chopped fresh herbs such as chives, dill, rosemary, or thyme to the dry ingredients before the butter goes in. The cheese adds richness, while the herbs sharpen the aroma and make these especially good next to eggs, soup, or chili.
If you’re in the mood for a sweet spin instead, Apple Pie Biscuits take the same comfort-food idea in a dessert direction.
Making Biscuits in the Air Fryer
You can air fry the cut biscuits if you’d rather not heat the full oven. Arrange them in the basket with a little room for air to move, then cook at 350°F and start checking around 8 minutes. Most batches finish in 8 to 10 minutes, but air fryers vary, so look for puffed centers and golden tops rather than relying only on the clock.
How to Serve Homemade Biscuits
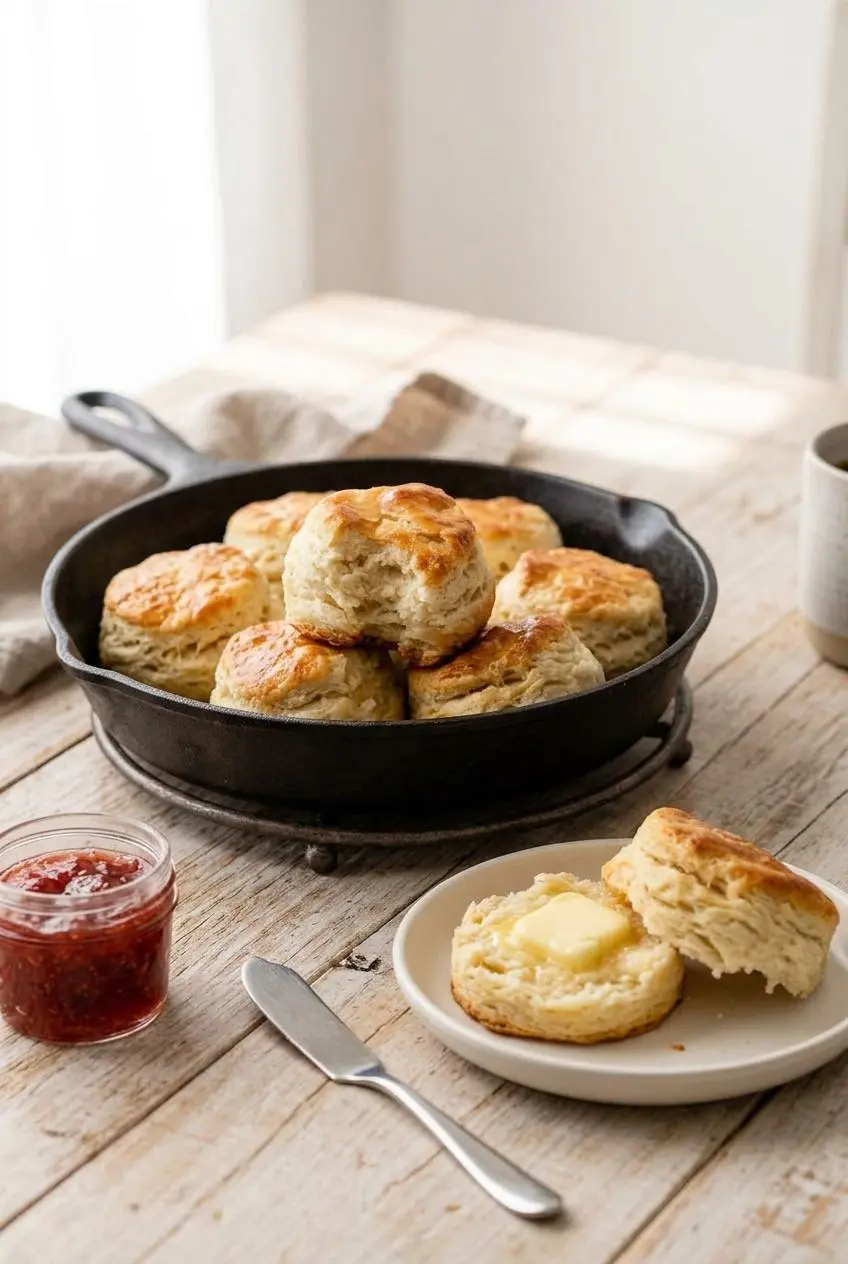
These biscuits are most tempting while still warm, when the layers separate with almost no effort. A little butter, jam, honey, or apple butter is the classic move, but they can do a lot more than sit beside breakfast eggs.
Split them for sausage gravy, or turn that same comfort-food pairing into Biscuits and Gravy Pizza. They also make great breakfast sandwiches with egg, cheese, and bacon or sausage.
At dinner, serve them with soup, stew, or chili for dunking, or use them anywhere you’d want a tender baked topping. They fit especially well with Chicken Pot Pie.
Storage and Reheating Instructions
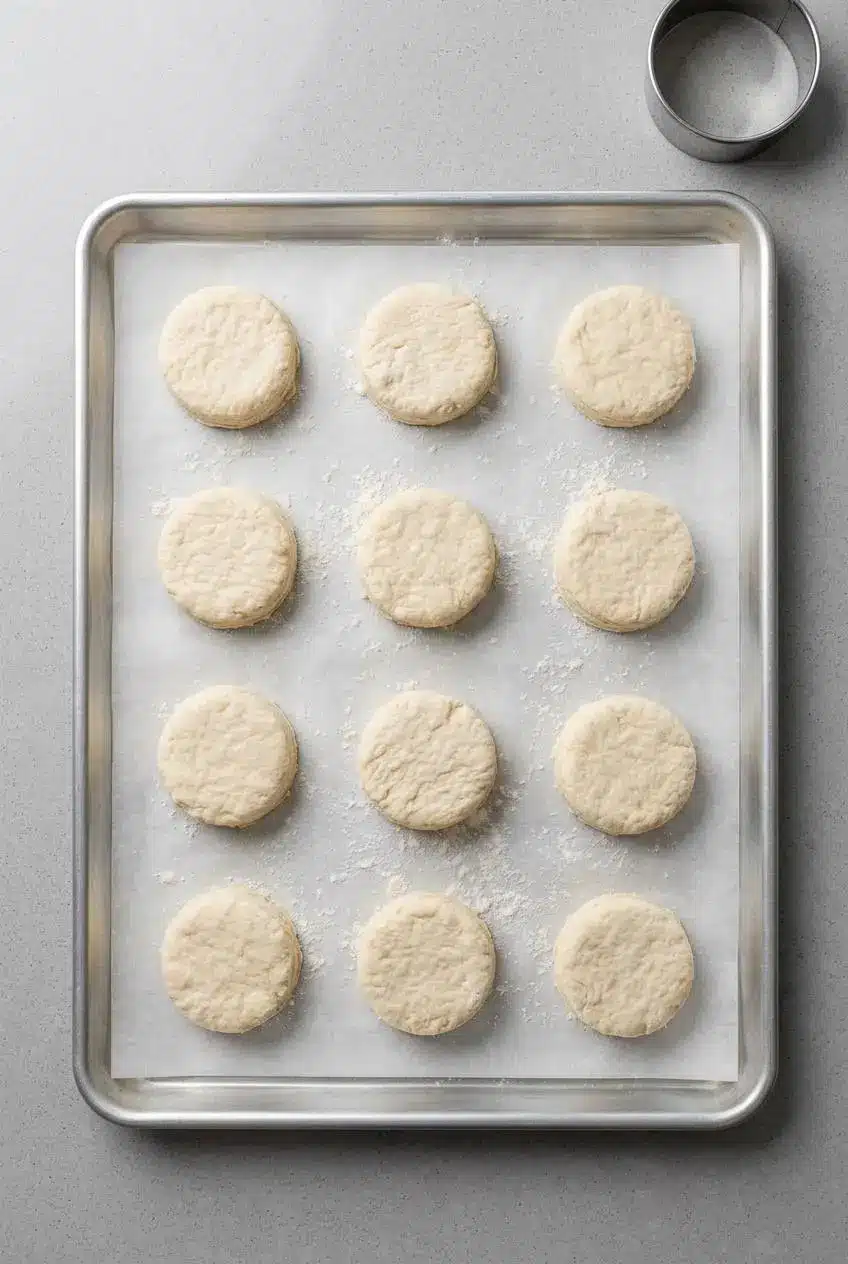
Biscuits keep their texture best when you protect them from air and reheat them gently rather than microwaving them until they go chewy.
- Let the biscuits cool completely before storing so trapped steam doesn’t soften the crust.
- Keep baked biscuits tightly covered at room temperature for short-term use, or refrigerate them if your kitchen runs warm.
- If you want to prep ahead, mix and cut the dough shortly before baking so the butter stays cold and the layers stay distinct.
- Reheat in a warm oven until heated through to refresh the outside and keep the centers tender.
- An air fryer also works well for reheating and can bring back a lightly crisp edge without drying the biscuit out.
Conclusion
Great biscuits come down to a few smart choices: cold butter, gentle handling, and those repeated folds that create real layers. Once you see the dough and know the texture cues, the process gets much easier.
Make them warm, split one open, and watch the steam roll out. That first flaky pull is the payoff.
Frequently Asked Questions (FAQ)
What is the secret to making biscuits rise high?
Use very cold butter so it releases steam in the oven instead of melting into the dough early. Mix only until the dough comes together, because overworking makes biscuits dense. Fold the dough several times to create layered structure and better lift. Bake the biscuits close together so they support each other as they rise.
Can I use self-rising flour for this biscuit recipe?
Yes, but you need to adjust the formula. Self-rising flour already includes leavening and salt, so omit the baking powder, baking soda, and salt from this recipe. Check the flour package if you want the closest match for strength and seasoning.
What’s the best way to cut in butter for biscuits?
A pastry blender is the classic tool and gives good control. Two knives or your fingertips also work if you move quickly. For an easy method with great distribution, grate frozen butter on a box grater straight into the flour. A food processor works too, but pulse carefully so the butter stays in small pieces instead of disappearing into the flour.
Is it better to use a cast iron skillet or a baking sheet?
Both are good choices. A cast iron skillet can give you a slightly crisper bottom and very even heat, while a parchment-lined baking sheet is easy and reliable. Whichever you use, keep the biscuits close together so they rise up instead of spreading out.
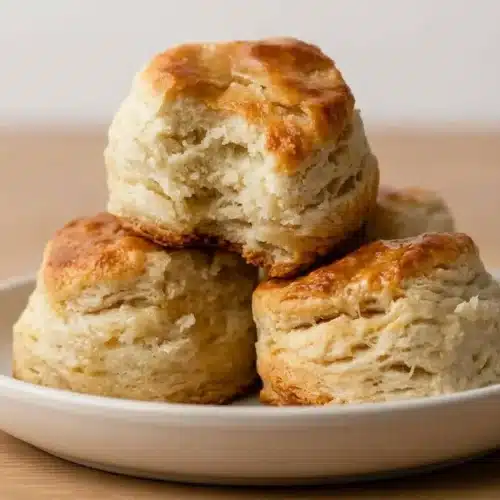
Biscuit Recipe

Equipment
- Pastry Cutter or Food Processor
- 2.5- or 3-inch Biscuit Cutter
- 10-inch Cast-Iron Skillet
- Baking Sheet
- Parchment Paper
- Pastry brush
Ingredients
- 2 1/2 cups (313g) all-purpose flour (spooned & leveled), plus more as needed for hands and work surface
- 1 Tablespoon baking powder
- 1/2 teaspoon baking soda
- 1 teaspoon salt
- 1/2 cup (8 Tbsp; 113g) unsalted butter, cubed and very cold
- 1 cup + 2 Tablespoons (270ml/g) cold buttermilk, divided
- 2 teaspoons (14g) honey
Optional Topping
- 2 Tablespoons (28g) butter, melted
- 1 Tablespoon (21g) honey
Instructions
- Heat the oven to 425°F (218°C). The hot oven helps the cold butter create steam quickly, which encourages a taller rise.
- Whisk the flour, baking powder, baking soda, and salt in a large bowl, or pulse them together in a large food processor, then cut in the cold butter with a pastry cutter or by pulsing several times. Stop when the mixture looks crumbly and you can still spot small butter pieces throughout.
- If you used a food processor, transfer the mixture to a large bowl, then make a well and add 1 cup (240ml/g) buttermilk with the honey. Fold gently with a large spoon or spatula until the dough starts clumping and still looks shaggy with a few dry and wet patches.
- Turn the dough and loose crumbs onto a floured surface, then bring it together with well-floured hands and pat it into a 3/4-inch-thick rectangle. The dough will feel sticky as it comes together, so dust your hands and the surface as needed without kneading heavily.
- Fold one side of the rectangle into the center, fold the other side over it, turn the dough 90 degrees, and flatten it again to 3/4 inch thick. This first letter fold starts building the layers that make the biscuits flaky instead of cakey.
- Repeat the fold and turn, flattening the dough back into a 3/4-inch-thick rectangle each time, until you have folded it a total of three times and finished with a final 3/4-inch-thick rectangle. By the last fold, the dough should look more organized but still show buttery streaks and soft edges.
- Cut the dough into 2.5- or 3-inch circles with a biscuit cutter, pressing straight down, then re-roll the scraps until all the dough is used. Avoid twisting the cutter, because sealed edges make it harder for the biscuits to rise fully.
- Set the biscuits in a 10-inch cast iron skillet or close together on a parchment paper-lined baking sheet so they are touching, then brush the tops with the remaining buttermilk. Placing them close together helps them support one another as they rise.
- Bake for 18 to 20 minutes. They are ready when the tops are golden brown and the biscuits look tall and set.
- Whisk the melted butter and honey together if using the topping, then brush it over the warm biscuits and serve. The finish adds shine, extra buttery flavor, and a soft sweet note on top.