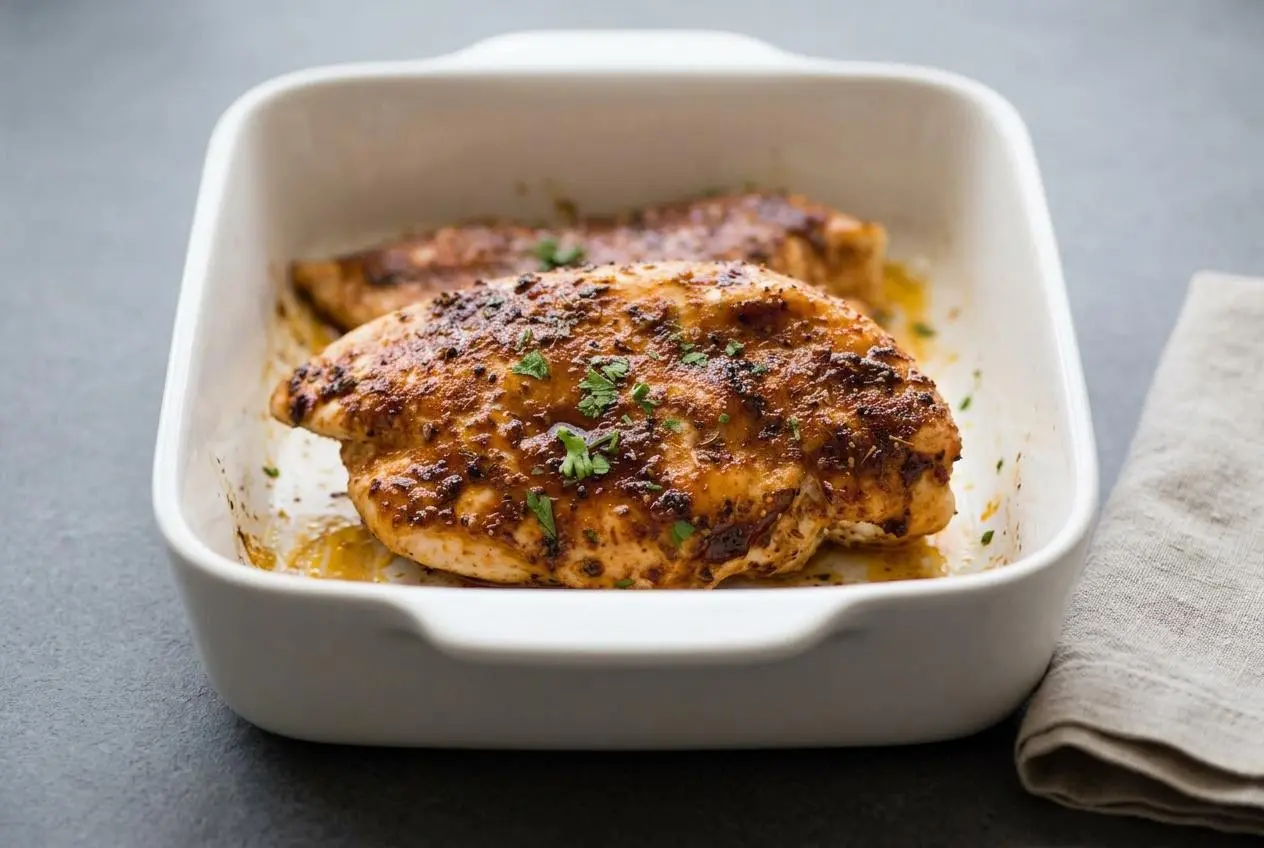
For juicy baked chicken breast, pound the meat to an even 0.6-inch thickness, coat it with oil and seasoning, then roast at 425°F for 18 minutes until it reaches 165°F. Rest it for 3 to 5 minutes before slicing.
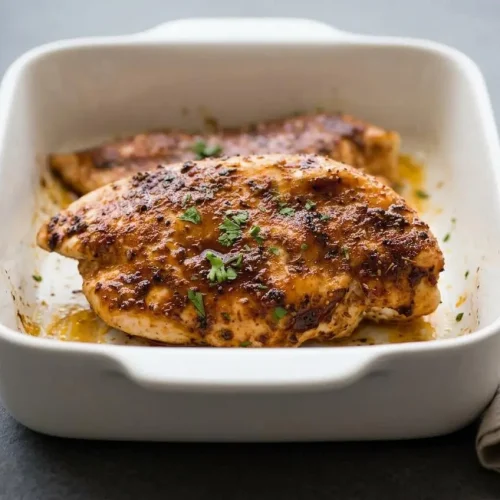
This baked chicken breast has savory golden edges, a light caramelized crust, and tender slices that work for weeknight dinners, salads, and meal prep. High heat cooks the chicken quickly, while the oil and brown sugar help the seasoning cling and brown.
Dry, rubbery chicken usually comes from uneven thickness or cooking by the clock alone. A thermometer and a brief rest make all the difference. Toasted paprika and garlic are your cue to start checking.
Set the chicken on the counter while the oven heats so it loses some of its refrigerator chill and cooks more evenly.
Key Ingredients and Seasoning Science
Each ingredient supports the final texture and flavor: chicken provides the tender center, oil encourages browning, brown sugar builds color, and spices bring savory aroma and balance.
Chicken
- 4 chicken breasts, 150 – 180g / 5 – 6 oz each
- 2 tsp olive oil
Seasoning
- 1 1/2 tbsp brown sugar
- 1 tsp paprika
- 1 tsp dried oregano or thyme, or other herb of choice
- 1/4 tsp garlic powder
- 1/2 tsp each salt and pepper
Garnish, Optional
- Finely chopped parsley
Olive oil coats the chicken and helps conduct oven heat across the surface, which encourages an even golden finish. Brown sugar caramelizes quickly at high heat, making a savory crust that keeps the outside from tasting dry. Paprika adds warm color, garlic powder brings depth, and oregano or thyme gives the rub a rounded herbal finish.
The salt seasons the chicken throughout its surface, while black pepper adds a gentle bite. Parsley is optional, but its fresh flavor is especially welcome against the sweet-savory browned edges.
I use regular paprika here because it gives the chicken a warm golden color without overpowering the herbs or turning the rub smoky.
How to Bake the Chicken Breast Step by Step
Even thickness, full seasoning coverage, and a hot oven are the three parts that keep this chicken tender. Keep the baking sheet lined so the sugary seasoning does not stick and scorch against the pan.
- Heat the oven to 425°F/220°C, or 200°C for a fan oven.
Let the oven fully preheat so the chicken starts roasting immediately instead of slowly drying out. - Place each chicken breast between parchment or plastic wrap and gently pound the thickest area to 1.5cm / 0.6″.
The thick end should closely match the tapered end so the whole breast reaches doneness together. - Stir all of the seasoning ingredients together in a small bowl.
Break up any brown sugar clumps so the rub coats the chicken evenly. - Cover a baking sheet with foil, then top it with baking parchment paper and place the chicken smooth-side down.
Drizzle about 1 tsp oil over the chicken, rub it in, and scatter seasoning over the surface. - Turn the chicken over and coat the second side with the remaining 1 tsp oil and seasoning.
Press the rub lightly onto bare spots so both sides develop golden spice edges. - Roast for 18 minutes, checking the thickest center with a meat thermometer.
The chicken is ready when the surface is golden and the center reaches 165°F/75°C. - Move the chicken from the baking sheet directly to serving plates.
Getting it off the hot pan prevents the underside from continuing to cook too aggressively. - Rest the chicken for 3 – 5 minutes, then add finely chopped parsley if desired.
The meat should feel lightly firm and release less juice when sliced after resting.
Pounding for Uniform Thickness
Chicken breasts naturally have a thick rounded end and a thin tapered tip. Without leveling them, the thin end can become dry before the center finishes cooking. Use a meat mallet, rolling pin, or the heel of your hand, working with gentle taps rather than hard blows.
Focus on the thickest half of each breast. You do not need to flatten the chicken completely. The goal is a consistent 0.6-inch thickness that gives the oven one clear cooking target.
Seasoning Paste Application
Rubbing olive oil on both sides before adding the seasoning creates a thin paste as the spices meet the oil. That coating helps paprika, garlic, herbs, salt, pepper, and brown sugar stay in place rather than falling onto the parchment.
It also protects the dry spices from direct heat. The result is a fragrant, caramelized surface instead of bitter scorched garlic powder. Cover as much of the chicken as possible, especially along the edges where browning is most noticeable.
Baking and the Critical 5-Minute Rest
Bake the chicken uncovered. At 425°F, the surface browns quickly while the interior has less time to lose moisture. The kitchen should smell of warm herbs, toasted paprika, and garlic near the end of the bake.
Move the chicken to plates as soon as it leaves the oven, then wait 3 to 5 minutes before cutting. Resting lets the hot juices settle through the meat, so more of them stay in the slice instead of running across the plate.
Baking Times and Temperature Guide
Time is a useful starting point, but breast thickness matters more than the number printed on the package. Use the thermometer in the deepest center, keeping the probe away from the baking sheet, for the most dependable result.
Baking at 425°F vs 400°F vs 350°F
- 425°F: This is the best match for the official 5 to 6 oz chicken breasts. Expect about 16 to 20 minutes, with faster browning and a more caramelized spice crust.
- 400°F: Medium chicken breasts usually need about 20 to 25 minutes. It gives a gentler finish, though the exterior will be less deeply browned.
- 350°F: Chicken often needs about 30 to 35 minutes at this lower heat. The longer exposure can leave lean breast meat pale, dry, or slightly rubbery.
- 450°F: This temperature can work for evenly flattened breasts, but the brown sugar rub can darken too fast. Watch the surface closely and rely on the thermometer.
High heat works well because it sets the seasoned exterior promptly and shortens the time the lean interior spends in the oven. For poultry, the thickest part should reach a minimum internal temperature of 165°F (74°C) when checked with a food thermometer.
If you prefer a countertop method on especially hot days, air fryer chicken breast offers another fast, high-heat option for boneless skinless chicken breasts.
Cooking Times by Breast Thickness and Weight
- 5 to 6 oz breasts: Bake at 425°F for 16 to 18 minutes. These are the size used here, and 18 minutes is the expected finish point once flattened.
- 7 to 8 oz breasts: Bake at 425°F for about 18 to 22 minutes. Check early if they have been pounded evenly.
- 10 to 12 oz breasts: Bake at 425°F for about 22 to 26 minutes. Butterfly large breasts horizontally before pounding so the center and edges cook at the same pace.
For a more tender result, pull the chicken from the oven only when the thermometer confirms doneness, then give it the full resting time. Pressing the meat or cutting into it early releases the moisture you worked to preserve.
Troubleshooting and Chef Tips for Juicy Meat
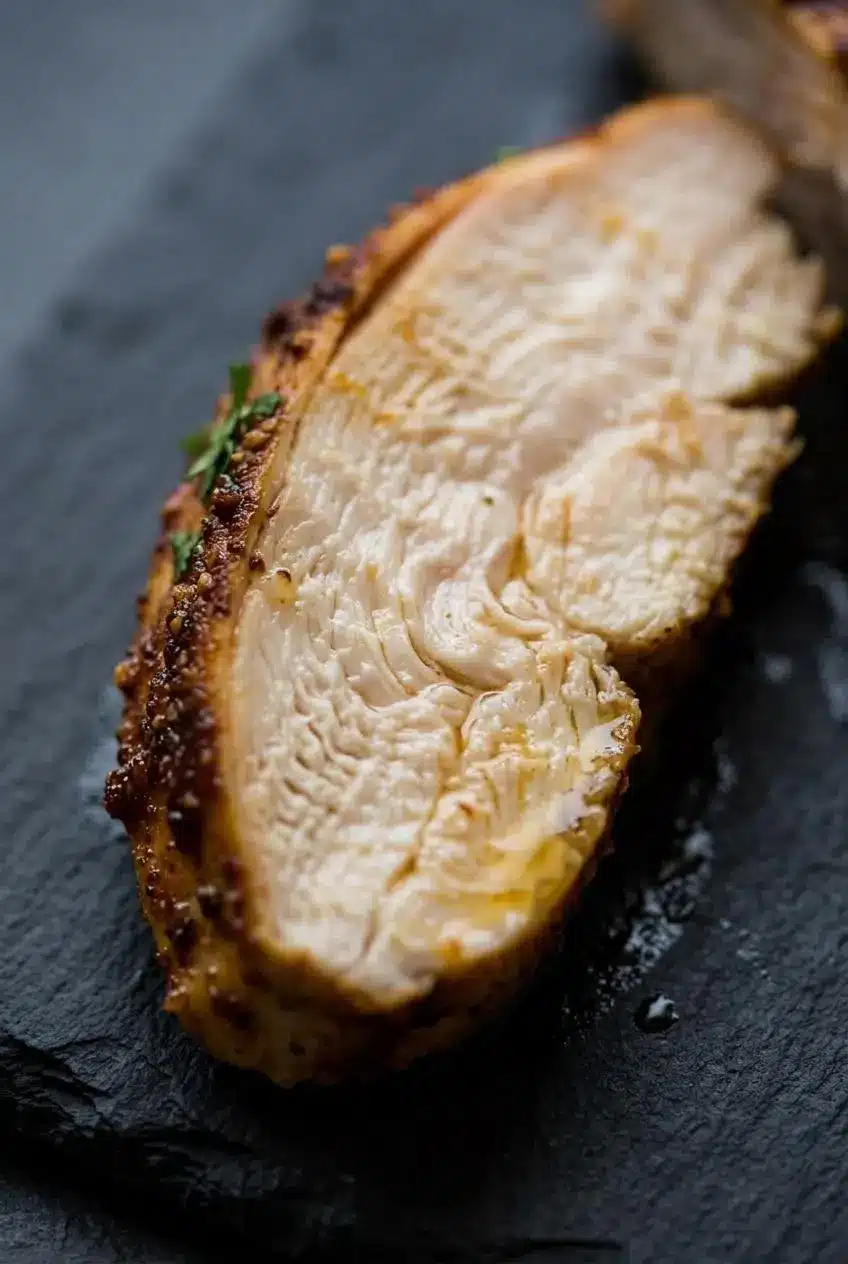
Most baked chicken breast problems have a clear cause, and they are usually easy to prevent on the next batch.
- The chicken is dry: It likely cooked past doneness or was unevenly thick. Pound the thick end, check early, and remove the chicken as soon as the center reaches the proper temperature.
- The texture is rubbery: Low oven heat can keep chicken in the oven too long. Roast at 425°F for a quicker cook, and avoid leaving finished chicken on the hot sheet pan.
- The seasoning is pale: The oven may not have fully preheated, or the chicken surface was too wet. Pat excess moisture away before applying the oil and rub.
- The spice crust burns: Brown sugar darkens quickly. Use the center rack and avoid 450°F unless the chicken is thin and you are watching closely.
- The chicken tastes bland: Make sure the oil and seasoning cover both sides, including the edges. A patchy rub leads to patchy flavor.
- The breast is huge: Butterfly it through the side first, then pound the pieces to an even thickness. This is more reliable than waiting for an extra-thick center to catch up.
For extra-lean chicken, an optional brief saltwater soak before drying and seasoning can help the meat hold onto moisture. Skip that step if the package indicates the chicken has already been enhanced or pre-brined, since adding more salt can make the finished meat overly salty.
Once rested, slice across the grain for shorter, more tender bites. If you want a naturally more forgiving cut for another dinner, try baked chicken thighs, which have more fat than breast meat.
Flavor Variations and Serving Ideas
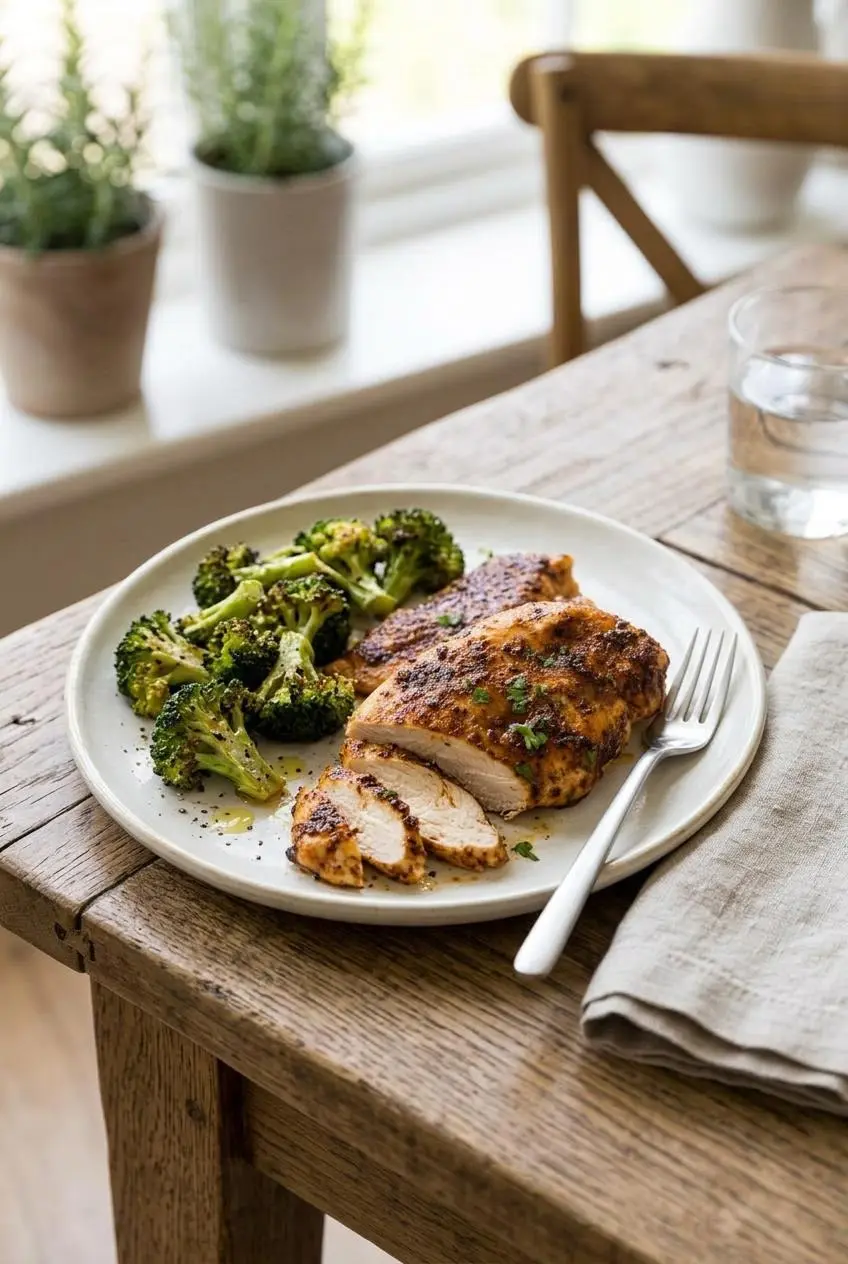
Keep the main seasoning as written when you want its caramelized herb crust, or use these optional flavor directions for a different meal. These swaps belong outside the main method, so the baking approach stays the same.
Easy Seasoning Rub Swaps
- Taco and fajita: Replace the herb-forward profile with chili powder, cumin, and smoked paprika for warm, earthy chicken that can be sliced or shredded into chicken taco bowls.
- Italian herb and garlic butter: Use dried oregano, basil, and garlic for a pasta-friendly finish. Brush with melted garlic butter near the end only if you want a richer, glossy surface.
- Sweet and savory garlic glaze: Stir Dijon mustard and maple syrup together, then brush it over the chicken during the final 3 minutes. The late addition helps the sweet glaze brown without scorching.
For any sugar-based glaze, keep the chicken uncovered and watch for deep golden edges rather than dark brown spots. The seasoning should smell toasted and savory, never acrid.
Best Weeknight Side Dish Pairings
- Serve the chicken with garlic butter rice and roasted broccoli for a warm, familiar dinner.
- Slice it over a crisp Caesar salad when you want a lighter plate with plenty of crunch.
- Add herb-seasoned chicken to quinoa with cucumber, tomatoes, and a lemony dressing for Greek chicken bowls.
- Cool leftover slices completely before using them in wraps, chicken salad, or grain bowls so they stay neat and easy to portion.
Storage and Reheating Guide
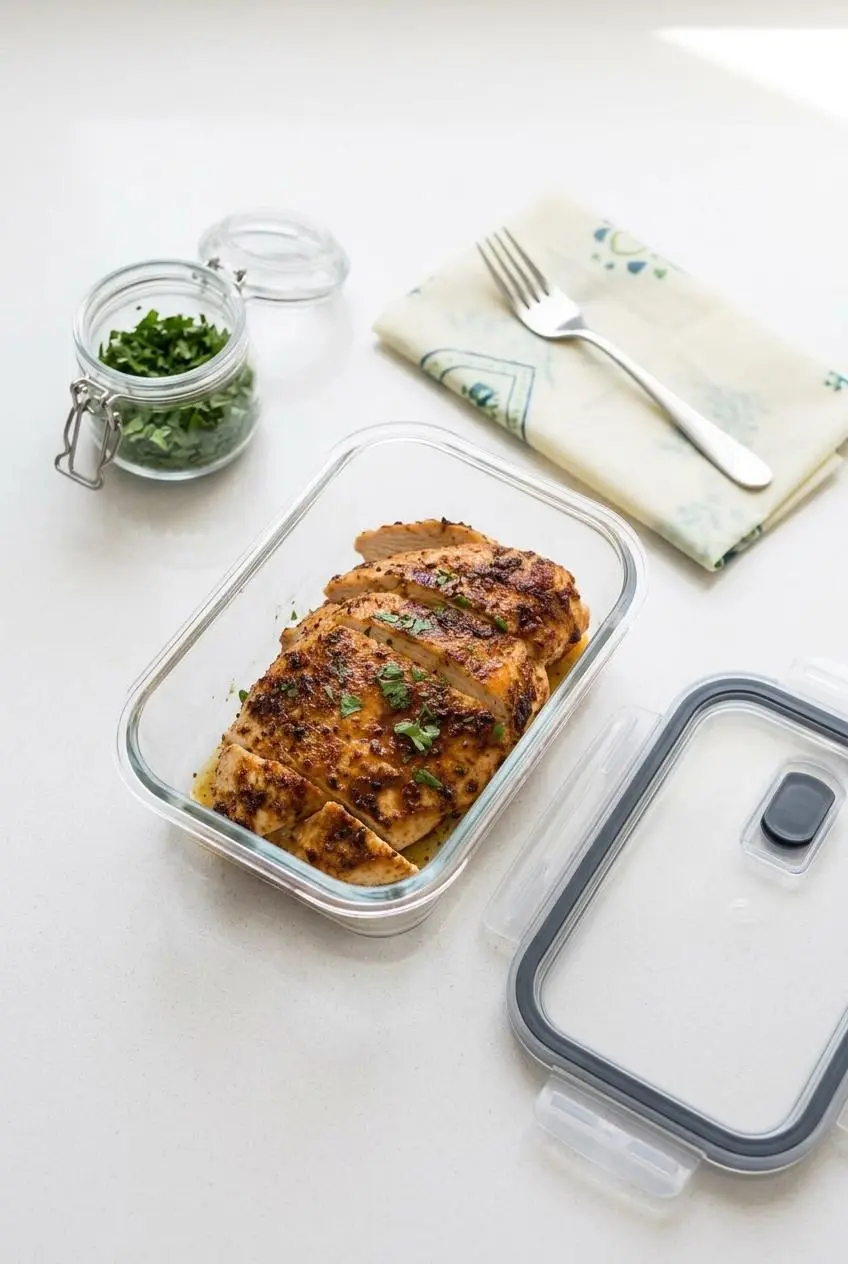
Cool cooked chicken before transferring it to a well-sealed container, then keep it chilled. For better texture, store larger pieces whole and slice only what you plan to use, since cut chicken dries out faster around the edges.
To reheat, place the chicken in a covered baking dish with a small splash of water or broth and warm it gently until heated through. A microwave also works well at reduced power in short bursts. Covering the chicken and reheating only the portion you need helps protect its moisture.
For meal prep, keep salads, crunchy vegetables, and dressings separate from the chicken until serving. Cold sliced chicken is especially useful in wraps and grain bowls because it stays tender without a second round of heating.
Conclusion
A hot oven, even thickness, and a well-rubbed coating turn chicken breast into a tender, savory main with golden caramelized edges. The 18-minute bake makes it practical for busy nights without sacrificing texture.
Use the thermometer, give the chicken its short rest, and slice only when the juices have settled. That small pause delivers the kind of tender chicken worth repeating.
Frequently Asked Questions
How Long Do You Bake Chicken Breasts at 400 Degrees?
Medium 6 to 8 oz chicken breasts generally take 20 to 25 minutes at 400°F. Thickness still matters more than weight alone, so start checking toward the early end of that range. Use a thermometer in the thickest center and cook until it reaches 165°F before resting.
Is It Better to Bake Chicken Breast at 350 or 400 or 425?
For this method, 425°F is the best choice because it cooks flattened chicken quickly and creates a golden spice crust. At 400°F, chicken takes longer but can still stay tender with careful thermometer checks. At 350°F, lean chicken breast spends much longer in the oven, which makes dryness more likely.
How Do You Know When Baked Chicken Breast Is Fully Cooked?
Insert an instant-read thermometer into the thickest center of the breast, not against the pan or near the thin edge. The chicken is fully cooked when it reaches 165°F (74°C). Golden edges and clear juices can be useful signs, but the thermometer is the dependable check.
Should Chicken Breasts Be Covered or Uncovered in the Oven?
Bake chicken breasts uncovered at high heat for the best browning and caramelized seasoning. Covering the pan traps steam, which can soften the spice crust and prevent good color. If desired, tent the chicken loosely with foil while it rests after baking, but do not cover it tightly.
Baked Chicken Breast

Equipment
- Baking Sheet
- Meat mallet or rolling pin
- Parchment Paper
- Meat Thermometer
Ingredients
Chicken
- 4 chicken breasts 150, 180g / 5, 6 oz each
- 2 tsp olive oil
Seasoning
- 1 1/2 tbsp brown sugar
- 1 tsp paprika
- 1 tsp dried oregano or thyme or other herb of choice
- 1/4 tsp garlic powder
- 1/2 tsp each salt and pepper
Garnish, Optional
- Finely chopped parsley
Instructions
- Heat the oven to 425°F/220°C, or 200°C for a fan oven. Let the oven fully preheat so the chicken starts roasting immediately instead of slowly drying out.
- Place each chicken breast between parchment or plastic wrap and gently pound the thickest area to 1.5cm / 0.6″. The thick end should closely match the tapered end so the whole breast reaches doneness together.
- Stir all of the seasoning ingredients together in a small bowl. Break up any brown sugar clumps so the rub coats the chicken evenly.
- Cover a baking sheet with foil, then top it with baking parchment paper and place the chicken smooth-side down. Drizzle about 1 tsp oil over the chicken, rub it in, and scatter seasoning over the surface.
- Turn the chicken over and coat the second side with the remaining 1 tsp oil and seasoning. Press the rub lightly onto bare spots so both sides develop golden spice edges.
- Roast for 18 minutes, checking the thickest center with a meat thermometer. The chicken is ready when the surface is golden and the center reaches 165°F/75°C.
- Move the chicken from the baking sheet directly to serving plates. Getting it off the hot pan prevents the underside from continuing to cook too aggressively.
- Rest the chicken for 3, 5 minutes, then add finely chopped parsley if desired. The meat should feel lightly firm and release less juice when sliced after resting.