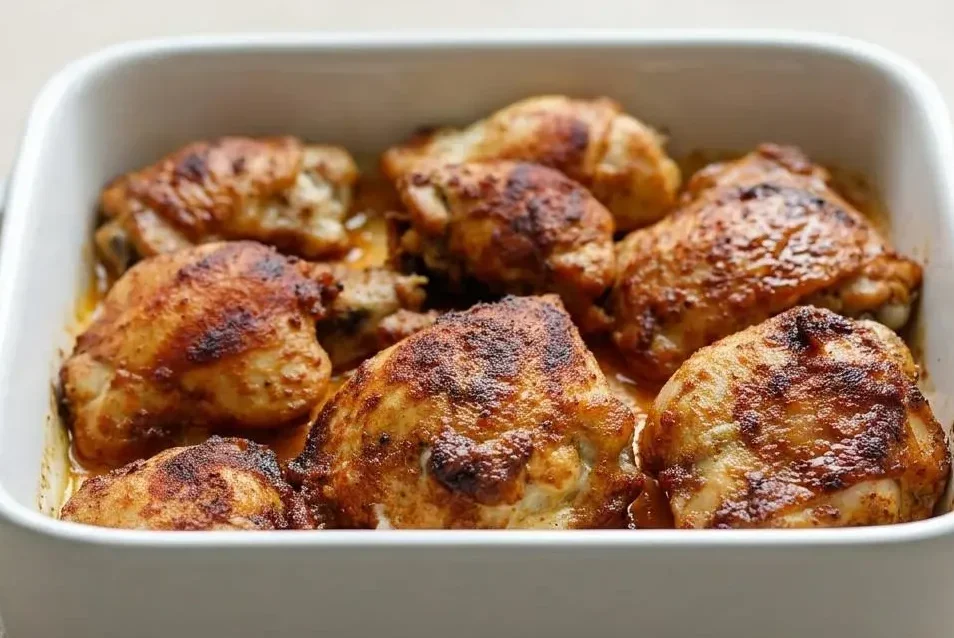
Bake boneless chicken thighs at 400°F for about 30 minutes for juicy meat and good browning. Pat them dry, roast them uncovered, and check doneness with a meat thermometer for the best texture.
Baked Boneless Chicken Thighs are a fast, dependable dinner when you want deep flavor, tender meat, and a caramelized crust without much fuss.
This method works because it uses high heat, a bold spice rub, and a few smart details that keep the chicken from steaming. The broiler trick at the end is especially worth knowing.
Pat the thighs very dry before seasoning so the spices cling well and the surface roasts instead of turning pale.
Why This Is the Best Way to Bake Chicken Thighs
If you want juicy chicken with real color, high heat does the heavy lifting. Baking at 400°F cooks the thighs fairly quickly, so the outside browns before the inside has time to dry out. Lower oven temperatures can work, but they usually give you softer edges and less of that savory roasted finish.
Drying the chicken matters more than it seems. Moisture on the surface turns to steam in the oven, and steam is the enemy of browning. A quick pass with paper towels helps the thighs roast properly and develop a richer color.
It also helps to leave some of the natural fat in place. There is no need to trim every bit of it away. As the thighs cook, that fat renders and bastes the meat, which keeps the texture tender and adds flavor to the pan juices.
A meat thermometer is the part that removes the guesswork. Chicken should reach 165°F minimum internal temperature for chicken, but thighs usually taste even better a little higher because dark meat softens as more connective tissue breaks down.
One more helpful detail is to bake the chicken uncovered. Covering the pan traps moisture, which makes the top surface softer and paler instead of deeply browned and lightly crisp around the edges.
Ingredients You’ll Need
Each ingredient has a job here, from building a savory crust to adding color, warmth, moisture, and a little heat in the finish.
- 2 pounds boneless skinless chicken thighs
- 2 tablespoons olive oil
- 1 teaspoon Diamond Crystal kosher salt or ½ teaspoon of any other salt
- ¼ teaspoon black pepper
- 1 teaspoon garlic powder
- 1 teaspoon onion powder
- 1 teaspoon smoked paprika
- ½ teaspoon ground cumin
- ¼ teaspoon cayenne pepper
Olive oil helps the seasoning cling to the meat and encourages browning. Smoked paprika adds the deep reddish color and a subtle smoky note, while cumin gives the rub a warm, earthy backbone that keeps it from tasting flat.
The garlic powder, onion powder, and cayenne round everything out. They build savory depth and a gentle kick without overpowering the chicken.
I like to stir the oil and spices into a thick, fragrant paste before rubbing it over the chicken because it coats every fold and corner more evenly.
How to Bake Boneless Chicken Thighs
- Heat the oven to 400°F, then pat the chicken thighs thoroughly dry and place them in a large bowl.
The drier surface helps the meat roast properly and gives you better color in the oven. - Add the olive oil, salt, pepper, garlic powder, onion powder, smoked paprika, cumin, and cayenne, then rub the mixture over every piece.
The seasoning should form an even coating rather than sit in dry patches. - Set the thighs in a single layer in a rimmed baking dish, such as a 9 x 13-inch dish, and spread any leftover seasoned oil from the bowl over the tops.
Leave space around the pieces so hot air can circulate and the edges can brown. - Bake uncovered for about 30 minutes without flipping, checking the largest thigh with an instant-read thermometer near the end.
The chicken is ready when the juices run clear and the center reaches at least 165°F. - For extra color, slide the pan under the broiler briefly if you want a darker top, then turn the thighs through the pan juices before serving.
The edges should look lightly crisp and the top should smell roasty and savory.
As the chicken roasts, you should hear a gentle sizzle from the pan. That sound usually means the surface is roasting well instead of steaming.
Tips for Perfect Results Every Time
The Importance of High Heat
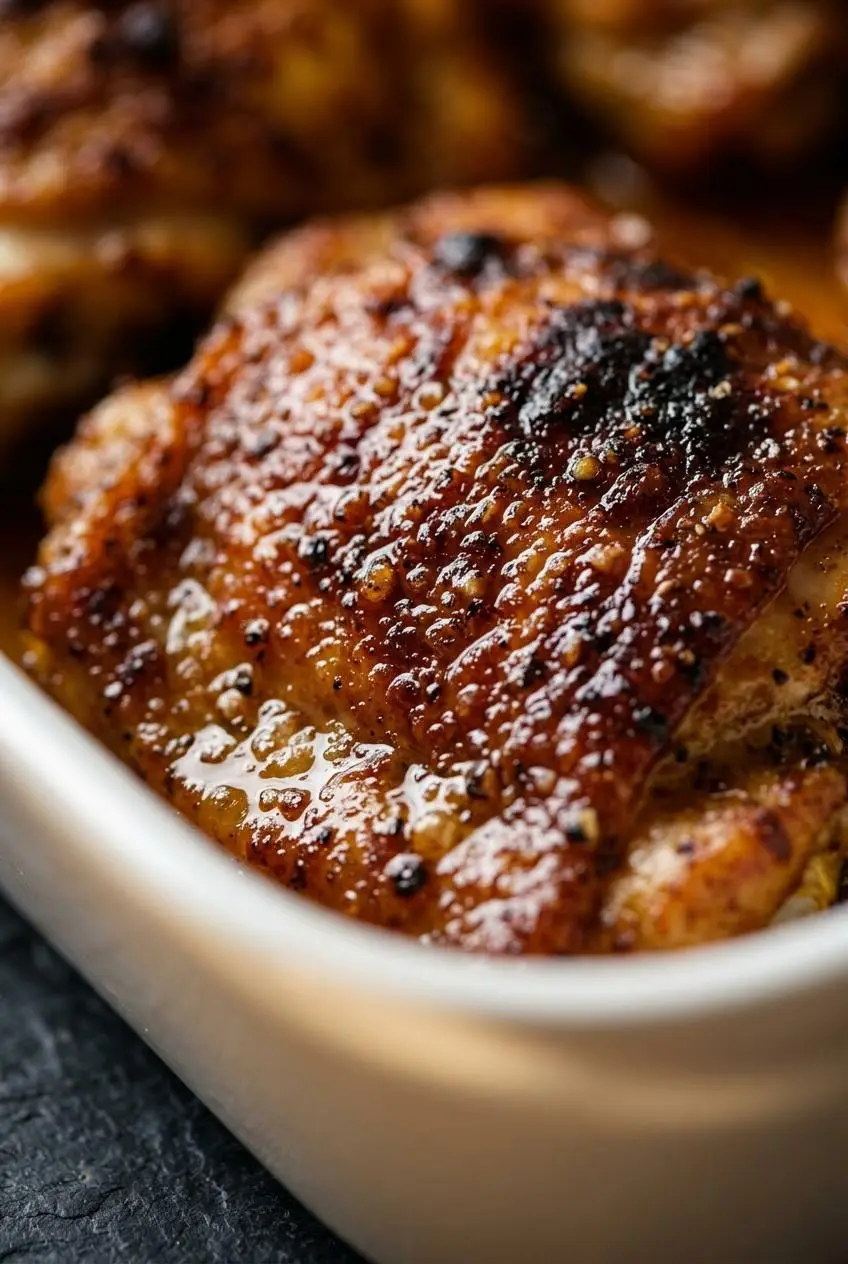
For boneless skinless thighs, 400°F is the sweet spot. It is hot enough to brown the outside and render some fat, but not so aggressive that the meat dries out before the center is done. If you like this kind of quick, high-heat cooking, Air Fryer Chicken Thighs use the same basic idea in a different appliance.
Can you bake them at 350°F? Yes, but the results are usually lighter in color and less roasty. If your goal is juicy chicken with a browned crust, 400°F or 425°F is the better range.
Don’t Crowd the Pan
Give each thigh some breathing room. When the pieces are packed tightly together, they release moisture into the pan faster than it can evaporate, and the chicken starts to steam. That is when you end up with pale tops and watery juices.
If your pan looks too full, use a second pan instead of forcing everything into one. A roomy sheet pan gives the best browning, while a baking dish works well if you keep the pieces in one layer.
To Flip or Not to Flip?
No flipping needed. Boneless thighs are thin enough to cook evenly on one side, and leaving them alone helps the top surface brown more deeply.
Moving them around too early can interrupt browning and tear the seasoning coating. Let the oven do the work, then coat the cooked thighs in the pan juices right at the end.
Using a Meat Thermometer Is Non-Negotiable
Time gets you close, but temperature tells you the truth. Check the thickest thigh near the end of cooking and pull the pan once the chicken reaches the safe minimum.
For the juiciest texture, many cooks prefer thighs closer to 175°F to 180°F. Dark meat stays tender in that range, and the connective tissue softens more fully, so the bite feels richer and less chewy.
The Broiler Finish: A Secret to a Perfect Crust
If the chicken is cooked through but you want more color, use the broiler for a minute or two at the end. This works best when the edges have already started to crisp and pull away from the pan.
Watch closely. Broilers move fast, and the line between deeply caramelized and too dark is annoyingly short.
Let It Rest
Once the chicken comes out of the oven, let it sit briefly before slicing or serving. That pause gives the juices time to settle back into the meat instead of spilling out onto the plate.
A good cue is the pan itself. When the juices have settled slightly and the thighs look relaxed rather than aggressively sizzling, they are ready to serve.
| Problem | Likely Cause | Fix |
|---|---|---|
| Pale chicken | Surface was wet or the oven was too cool | Pat the thighs dry, bake uncovered, and use 400°F or higher |
| Watery pan | Pan was crowded | Use a larger pan or split the batch so moisture can evaporate |
| Dry texture | Chicken cooked too long without checking temperature | Start checking the thickest piece before the full cook time ends |
| Weak flavor | Seasoning was uneven | Rub the oil and spices over every piece, including folds and creases |
Oven Temperature and Timing Guide
These times are useful starting points, but the chicken is done by temperature, not the clock. Thickness, pan choice, and your oven all affect the finish.
| Oven Temp | Approx. Cook Time | Resulting Texture | Best For |
|---|---|---|---|
| 375°F | 30 to 35 minutes | Very juicy, lighter browning | When you want a gentler roast and softer edges |
| 400°F | 25 to 30 minutes | Juicy with good browning | Best all-around balance for most weeknight dinners |
| 425°F | 20 to 25 minutes | More browning, faster cook | When you want darker edges and quicker roasting |
If you are choosing between 350°F and 400°F, go with 400°F for better color and a more roasted texture. No matter which oven temperature you choose, use the internal temperature as the final check.
Pan choice changes the result too. A rimmed sheet pan gives the most airflow and usually the best browning, a 9 x 13-inch baking dish catches more juices, and cast iron gives strong bottom heat with nicely crisp edges.
Flavor Variations and Custom Spice Rubs
The base rub is savory and smoky, but it is easy to steer it in a different direction without changing the core method.
Smoky and Sweet Rub
For more caramelization, add a little balsamic vinegar and brown sugar to the seasoning mixture. The sugar encourages deeper browning, while the vinegar adds a tangy note that keeps the flavor from feeling heavy. If that sweet-tangy profile is your thing, tangy Balsamic Chicken is a great next move.
Simple Italian Herb Rub
Swap the smoked paprika, cumin, and cayenne for Italian seasoning if you want something more herby and familiar. The chicken comes out savory and aromatic, with a profile that fits pasta, roasted vegetables, or a simple salad.
Spicy Cajun-Inspired Rub
Increase the cayenne and add a little oregano and thyme for a bolder, spicier version. This variation has more heat and works especially well sliced into rice bowls or wraps. If you want to go even bigger on bold seasoning, spicy Jerk Chicken is another excellent option.
A Guide to Storing and Reheating
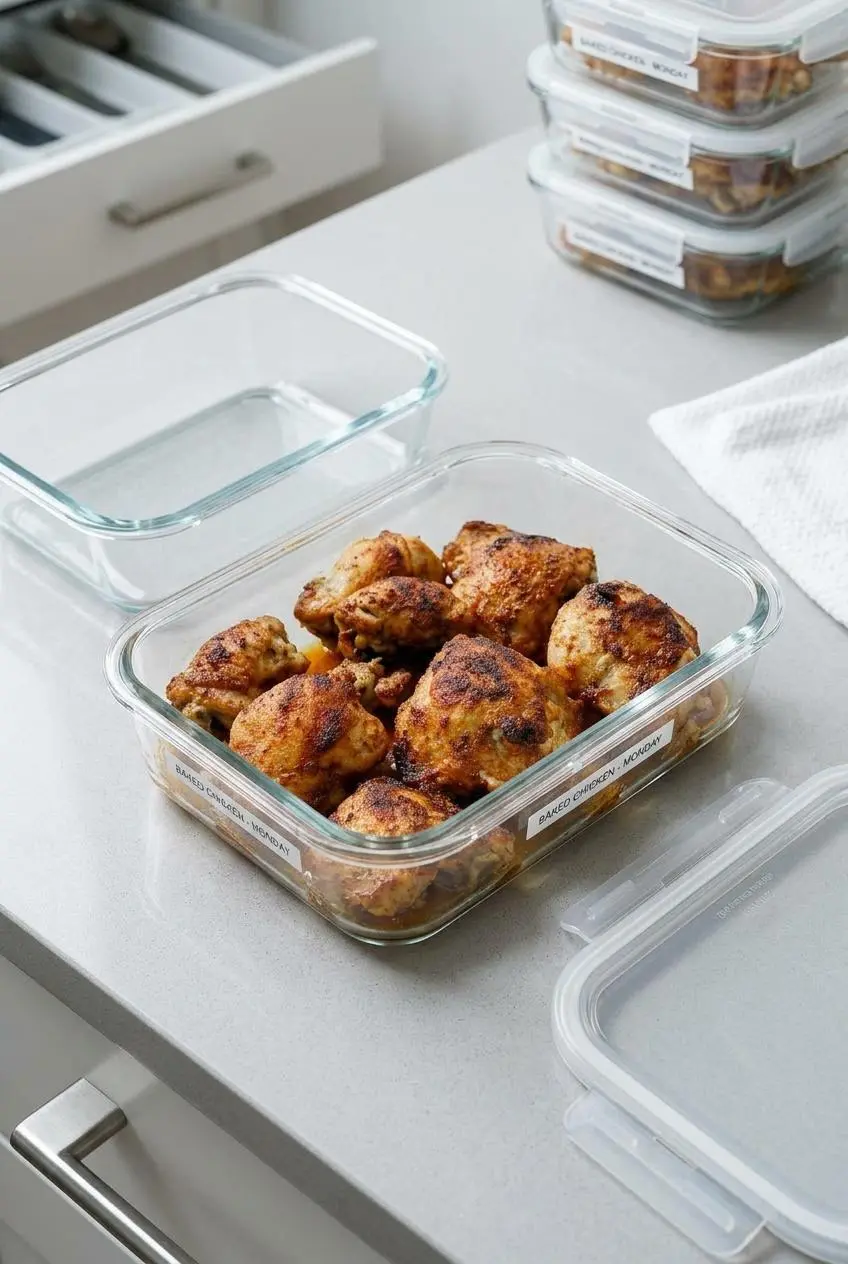
Leftovers are great here because chicken thighs hold onto moisture better than chicken breast. Cool the chicken, transfer it to a covered container, and keep it chilled until you are ready to eat it again.
If you are meal prepping, store the thighs whole when possible instead of slicing them right away. Larger pieces lose less moisture, so they reheat better and stay more tender.
For reheating, the oven is the best choice when you want to preserve texture. Place the chicken in a baking dish, add a spoonful of the pan juices if you saved them, cover loosely, and warm until heated through.
An air fryer also works well for smaller portions and brings back some of the browned exterior. The microwave is the fastest option, but use short bursts and stop as soon as the chicken is hot so it does not turn tough.
If you want to prep ahead, season the chicken shortly before it goes into the oven rather than leaving it sitting in the rub for a long stretch. That keeps the texture cleaner and the surface better for browning.
Creative Ways to Serve Baked Chicken Thighs
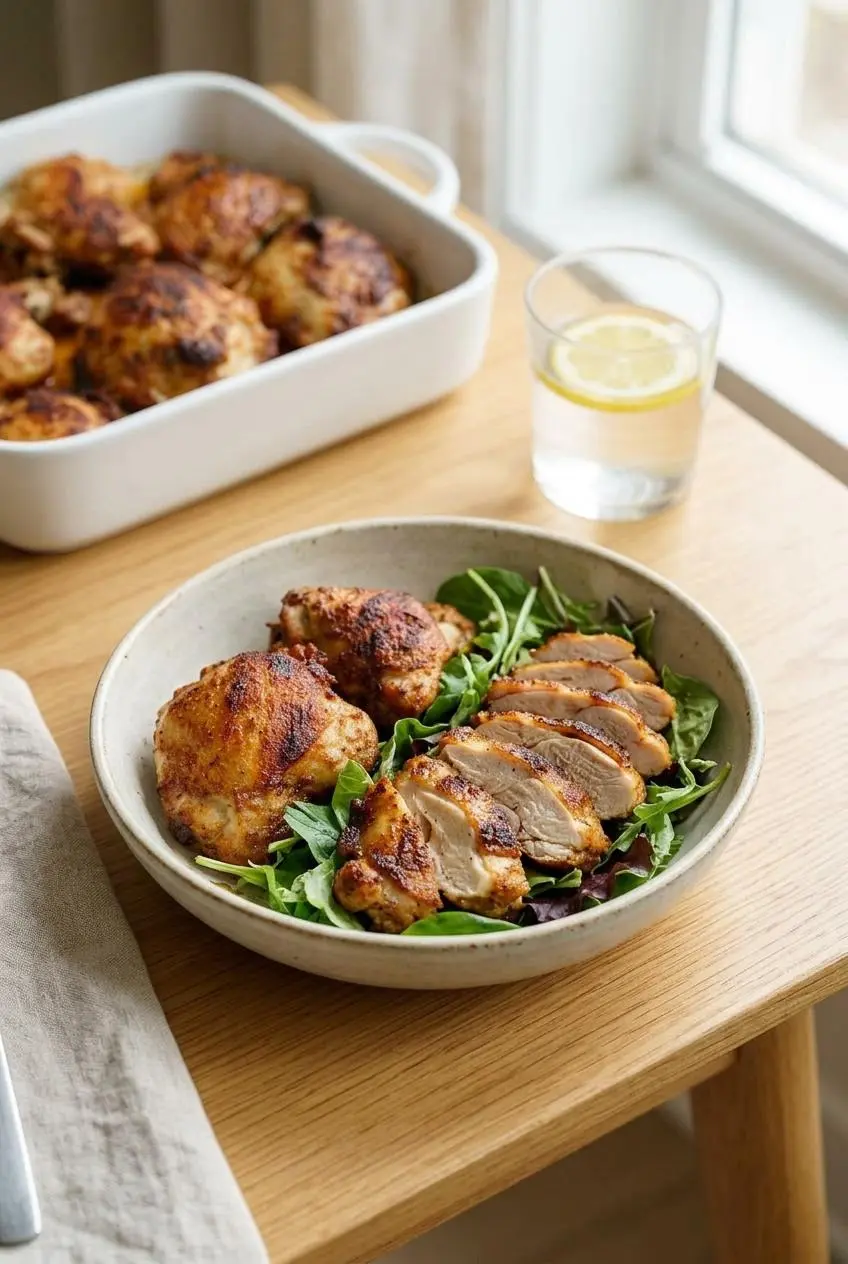
- Slice the chicken over a green salad or grain bowl for an easy lunch.
- Chop it for wraps or use it as a filling for chicken tacos.
- Pull it into pieces and mix it into pasta, soups, or rice dishes once you know how to shred chicken neatly.
- Serve the thighs whole with roasted vegetables, potatoes, rice, or warm bread.
They also work well in lunch boxes because the dark meat stays tender even after chilling and reheating. That makes this recipe especially handy for weeknight cooking that stretches into tomorrow’s lunch.
Conclusion
This is a dependable way to make chicken thighs that stay juicy inside and brown well on top. High heat, a dry surface, and a thermometer are the three details that matter most.
Once you get the feel for this method, it becomes an easy dinner you can shift in all kinds of directions. Keep the pan uncrowded, and the oven will do the rest.
Frequently Asked Questions (FAQ)
What is the best temperature to bake boneless chicken thighs for juicy results?
400°F is the best all-around choice for juicy meat and good browning. 425°F also works well if you want a slightly faster cook time and darker edges. 375°F gives a gentler result, but the chicken usually browns less.
How do I make sure my baked chicken thighs are brown, not pale?
Pat the chicken completely dry before adding oil and spices. Bake at 400°F or higher and keep the pan uncrowded. Roast the chicken uncovered so moisture can escape. Use the broiler briefly at the end if you want extra color.
Do I need to flip chicken thighs when baking?
No. Boneless skinless thighs cook evenly without flipping. Leaving them undisturbed helps the top develop better browning. Turn them in the pan juices only after baking, right before serving.
What internal temperature should boneless chicken thighs be?
They should reach at least 165°F in the thickest part. For an even more tender bite, thighs are often best closer to 175°F. Use an instant-read thermometer instead of relying on time alone.
Can I use chicken breasts with this recipe?
Yes, but they cook differently because they are leaner. Start checking them earlier since they usually finish faster. Pull them as soon as they reach 165°F so they stay as juicy as possible.
What’s the best pan to use for baking chicken thighs?
A rimmed sheet pan usually gives the best browning because air circulates well around the chicken. A 9 x 13-inch baking dish works nicely and catches flavorful juices. A cast-iron skillet also works well and can give you darker, crisper edges.
Baked Boneless Chicken Thighs

Equipment
- large bowl
- Rimmed baking dish (9×13-inch)
- Instant-read thermometer
Ingredients
- 2 pounds boneless skinless chicken thighs
- 2 tablespoons olive oil
- 1 teaspoon Diamond Crystal kosher salt or ½ teaspoon of any other salt
- ¼ teaspoon black pepper
- 1 teaspoon garlic powder
- 1 teaspoon onion powder
- 1 teaspoon smoked paprika
- ½ teaspoon ground cumin
- ¼ teaspoon cayenne pepper
Instructions
- Heat the oven to 400°F, then pat the chicken thighs thoroughly dry and place them in a large bowl. The drier surface helps the meat roast properly and gives you better color in the oven.
- Add the olive oil, salt, pepper, garlic powder, onion powder, smoked paprika, cumin, and cayenne, then rub the mixture over every piece. The seasoning should form an even coating rather than sit in dry patches.
- Set the thighs in a single layer in a rimmed baking dish, such as a 9 x 13-inch dish, and spread any leftover seasoned oil from the bowl over the tops. Leave space around the pieces so hot air can circulate and the edges can brown.
- Bake uncovered for about 30 minutes without flipping, checking the largest thigh with an instant-read thermometer near the end. The chicken is ready when the juices run clear and the center reaches at least 165°F.
- For extra color, slide the pan under the broiler briefly if you want a darker top, then turn the thighs through the pan juices before serving. The edges should look lightly crisp and the top should smell roasty and savory.