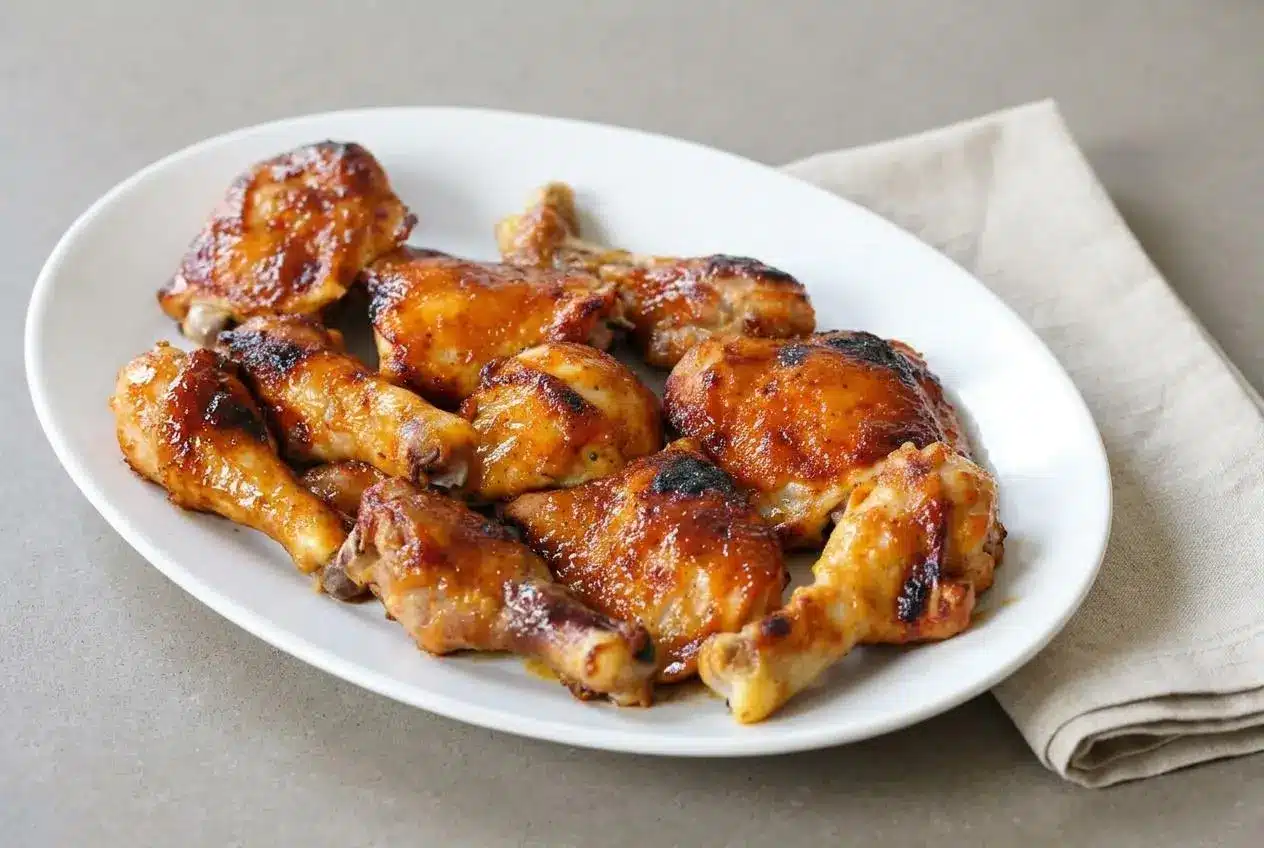
Bake the chicken first at 400°F, then raise the heat to 425°F and baste with BBQ sauce in layers. That timing gives you juicy meat, crisped skin, and a sticky glaze that caramelizes instead of burning.
Baked BBQ Chicken is the weeknight answer to that classic cookout flavor when you want the oven to do the work. The method is straightforward, but the order matters.
You start the chicken plain, add sauce later, and finish with a few glossy layers for that sweet, savory, charred edge. The broiler at the end is the little trick that makes it feel special.
If you can, line the pan with foil for easier cleanup and keep a brush nearby so basting stays quick.
Why This Recipe Is the Best
This method solves the two biggest oven BBQ chicken problems: burnt sauce and dry meat. Starting at 400°F gives the chicken time to cook and render some fat, then the higher 425°F heat helps each layer of sauce set into a sticky glaze instead of sliding off. Because the sauce goes on later, its sugars have less time to scorch, and the chicken stays juicy underneath.
Key Ingredients for Perfect Baked BBQ Chicken
Each ingredient pulls its weight here, building moisture, flavor, browning, and that glossy barbecue finish that makes the chicken so satisfying.
- 8-10 chicken thighs and/or drumsticks (bone-in, skin on)
- 2 cups of your favorite bbq sauce
- 2 tablespoons extra-virgin olive oil (or canola oil)
Bone-in, skin-on chicken works especially well because the bones help the meat stay juicy and the skin gives you a surface that can crisp and catch the sauce. Thighs and drumsticks are also forgiving, which makes this a smart choice for home cooks who want reliable results.
Your BBQ sauce does most of the flavor work, so pick one you actually like straight from the bottle. Sweeter sauces caramelize faster, smoky sauces give more cookout flavor, and a tangier sauce balances the richness of the chicken nicely.
The oil helps the skin brown and crisp before the sauce ever goes on. Salt and pepper are part of the method even though they are not listed in the ingredient lines, and they create that first layer of seasoning under the glaze.
I usually grab a BBQ sauce with some smokiness and a little tang, because the chicken already brings enough richness on its own.
Your 5-Minute BBQ Sauce Upgrade
If your store-bought sauce tastes flat, stir in a few pantry add-ins before basting. A little smoked paprika adds depth, apple cider vinegar sharpens the flavor, and a touch of liquid smoke or brown sugar can nudge the sauce toward smoky or sweeter depending on what you want. Keep this optional, but it’s a fast way to make the glaze taste more rounded and a bit more homemade.
How to Make The Best Baked BBQ Chicken
- Heat the oven to 400°F.
Starting in a fully preheated oven helps the chicken begin cooking evenly right away. - Rub the chicken all over with olive oil and season it with salt and pepper.
The oil helps the skin brown and crisp while the seasoning gives the meat flavor before the sauce goes on. - Arrange the chicken skin side down on a rimmed baking sheet and bake for 25 minutes.
This first stretch cooks the chicken without risking burnt sauce and helps render some fat from the skin. - Take the pan out and increase the oven to 425°F, then close the door while the temperature comes back up.
Keeping the heat steady makes the next rounds of basting work better and helps the glaze set faster. - Brush barbecue sauce over the exposed side, gently flip each piece with a spatula, sauce the second side, and return the pan to the oven for 7 minutes.
The first layer should look shiny rather than thick, and the skin should stay intact as you turn the pieces. - Pull the chicken out again, brush on more sauce over the top, and bake for another 7 minutes.
You’ll start to see the glaze darken slightly and turn more glossy as it clings to the chicken. - Brush on the final layer of sauce and bake for 7 more minutes, for 46 minutes total cooking time, then check the internal temperature with a meat thermometer.
The chicken should reach at least 165°F in the thickest part, and thighs or drumsticks are especially juicy when they land closer to 180 to 190°F. - Move the rack up and broil for 3 to 5 minutes if you want more color and char.
Watch closely here, because the sauce can go from sticky to too dark pretty fast. - Let the chicken rest for about 5 minutes before serving.
The juices settle back into the meat, so each bite stays moist instead of running out onto the plate.
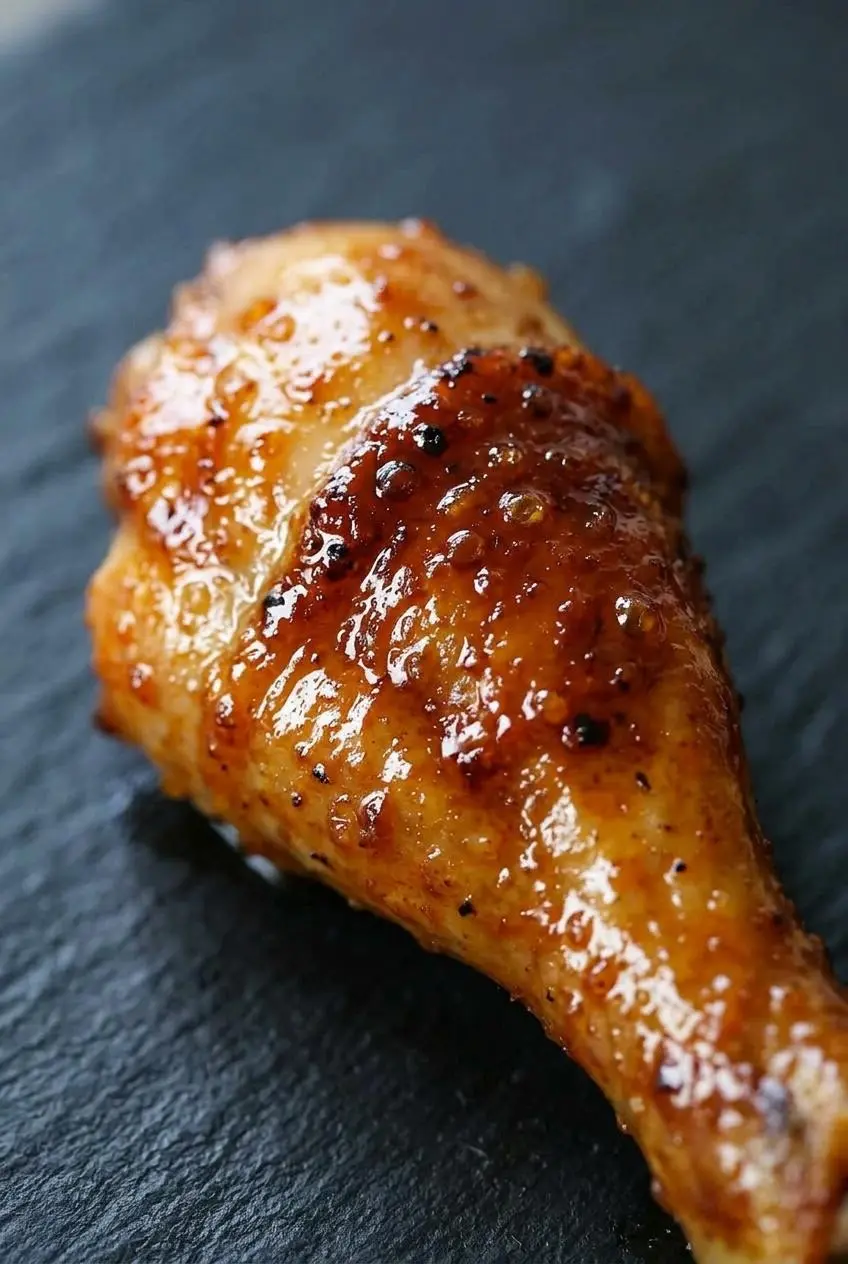
The chicken will smell sweet, smoky, and savory by the last round of basting, and you’ll hear a gentle sizzle as the sauce catches heat. That’s exactly what you want. Each layer should look thicker and shinier than the one before, with the final glaze almost lacquered.
Expert Tips for Success
These are the details that make the difference between good BBQ chicken and the kind that disappears fast. They also prevent the most common oven mistakes.
The Secret to Extra-Crispy Skin
Pat the chicken very dry before you add oil. Moisture on the skin turns into steam in the oven, and steam is the enemy of crispness.
If you want even better airflow, set the chicken on a wire rack placed inside the baking sheet. That lifts the pieces out of rendered fat and lets hot air move underneath, which helps the skin firm up instead of sitting in juices.
Also, don’t crowd the pan. Leave space between the pieces so the heat can circulate and the chicken roasts instead of steams.
Don’t Skip the Meat Thermometer
A meat thermometer takes the guesswork out of this recipe. Poultry should reach 165°F in the thickest part for safe doneness, as outlined on the USDA page for cooking all poultry to a minimum internal temperature of 165°F.
That said, dark meat usually tastes better a bit higher than that. For thighs and drumsticks, 180 to 190°F gives you a more tender texture because the connective tissue has more time to soften. For breasts, pull them as soon as they hit the safe temperature so they don’t dry out.
Troubleshooting Common BBQ Chicken Problems
| Problem | Likely Cause | How to Fix It |
|---|---|---|
| Soggy skin | The chicken was wet going into the oven or sat in too much liquid. | Pat it dry very well, use a wire rack if possible, and avoid crowding the pan. |
| Burnt sauce | The sauce went on too early or the broiler ran too long. | Bake the chicken first without sauce, then baste during the final stages and watch the broiler closely. |
| Dry chicken | The chicken overcooked, especially if using leaner cuts. | Use a meat thermometer and remove the chicken once it reaches the right internal temperature for the cut. |
| Watery sauce | The chicken released moisture and the glaze never had a chance to set. | Start with very dry chicken, preheat the oven fully, and lift the chicken on a rack so it doesn’t sit in its juices. |
Variations and Customizations
Once you know the base method, it’s easy to adapt for different cuts or flavor moods. Keep these changes optional and use them to fit what’s in your fridge or what sounds good for dinner.
Cooking Times for Every Cut of Chicken
| Chicken Cut | Bone-in/Skin-on or Boneless | Recommended Cook Time | Target Internal Temp |
|---|---|---|---|
| Thighs | Bone-in, skin-on | About 46 minutes plus optional broiling | At least 165°F, ideally 180 to 190°F for dark meat |
| Breasts | Boneless or bone-in | Usually less time than thighs, so start checking earlier | 165°F |
| Legs | Bone-in, skin-on | Similar to thighs, about 46 minutes plus optional broiling | At least 165°F, ideally 180 to 190°F |
| Wings | Bone-in, skin-on | Usually faster than larger pieces, so check them earlier | At least 165°F |
If you want to swap in boneless thighs, Baked boneless chicken thighs are a useful reference because they cook differently from bone-in pieces. Breasts and wings both need closer attention, since breasts can dry out and wings can over-darken quickly once the sauce starts caramelizing.
Cheesy Baked BBQ Chicken
For a loaded version, follow the main recipe and add shredded cheddar or mozzarella during the last 5 to 7 minutes of baking. Top with thinly sliced red onion and pickled jalapeños, then bake until the cheese melts and bubbles. It’s messy in the best way.
Spicy or Sweet Glaze Options
| Option | What to Add | Flavor Result |
|---|---|---|
| Spicy | Hot sauce or a pinch of cayenne | More heat and a sharper finish |
| Sweet | Honey or peach preserves | Richer glaze with extra caramelized sweetness |
| Deeper savory flavor | A dry spice rub before baking | More layered seasoning under the sauce |
If fruity barbecue flavors are your thing, sweet peach chicken is a great next stop. Just keep any sauce tweak in the bowl, not in the official ingredient list for this version.
What to Serve With BBQ Chicken
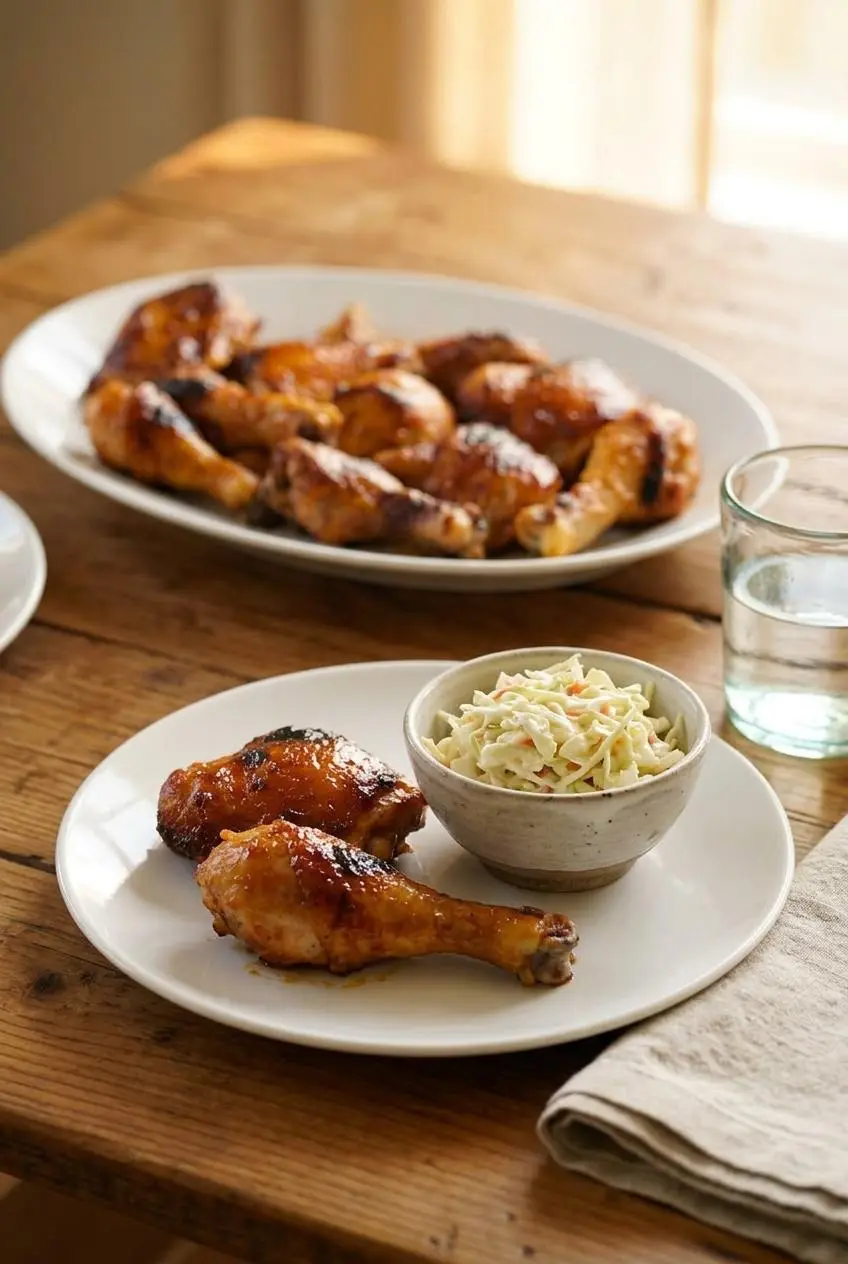
BBQ chicken is rich, sticky, and bold, so the best sides either cool it down or lean into comfort-food territory.
- Creamy classics: coleslaw, potato salad, macaroni and cheese
- Cookout favorites: cornbread, corn on the cob, roasted potatoes, sweet potato fries
- Lighter sides: a green salad, roasted broccoli, green beans, or other simple roasted vegetables
If you’re serving this for a casual family dinner, pick one creamy side and one fresh or green side. That balance keeps the plate from feeling too heavy and makes the barbecue glaze stand out more.
Storage, Freezing, and Reheating
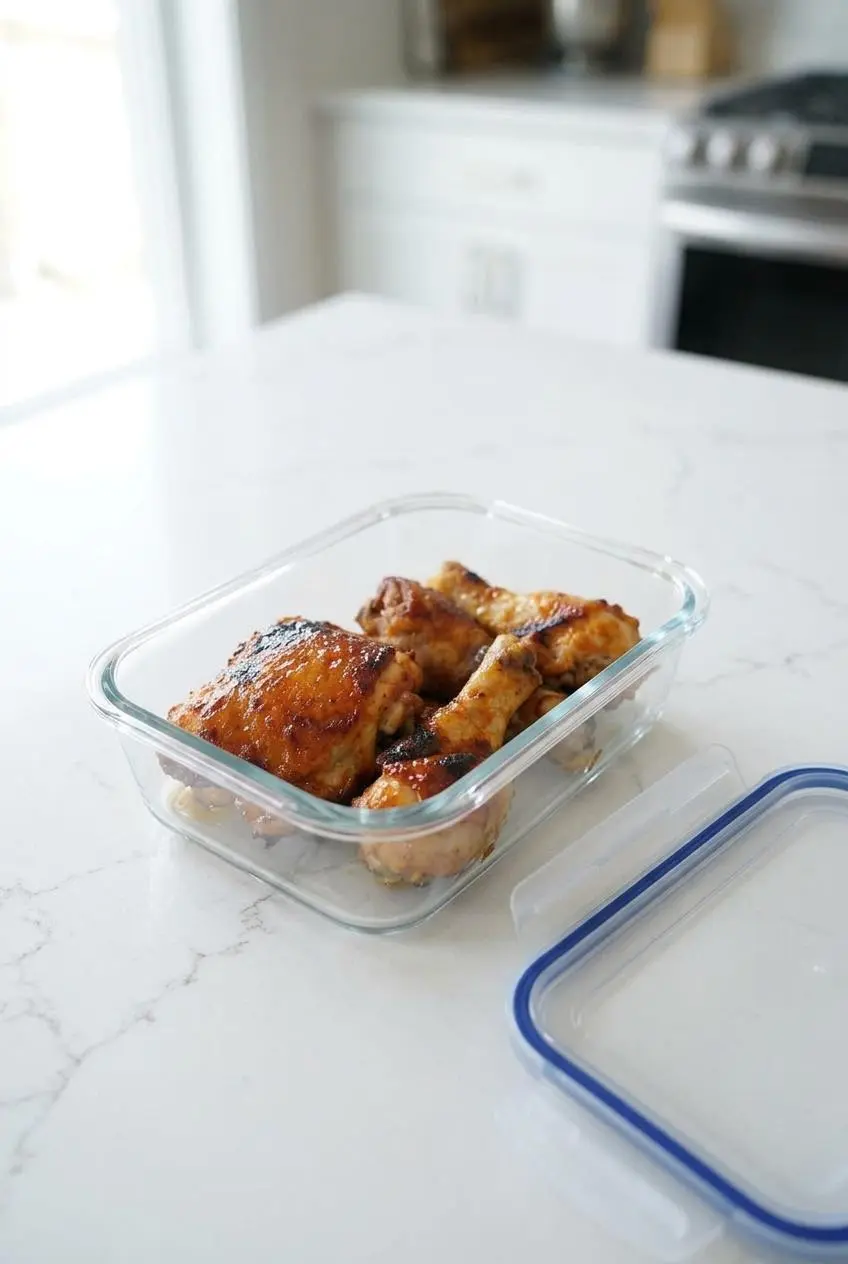
Leftovers hold up well, especially if you reheat them in a way that protects the glaze and skin.
Store cooled chicken in an airtight container in the refrigerator for 3 to 4 days, which matches the FoodSafety.gov cold food storage chart for cooked meat or poultry. For best texture, keep any extra sauce in a separate container if you have it.
You can freeze cooked chicken if you want to save leftovers longer. Wrap the pieces well or use a freezer-safe airtight container to protect them from drying out, then thaw them in the refrigerator before reheating.
The oven is the best way to reheat this chicken because it helps the skin and glaze perk back up. Set the pieces on a baking sheet and warm them until heated through. The microwave works when you need speed, but the skin will soften and the sauce can get a little looser.
If you want to turn leftovers into something new, shredding the meat is a smart first move. From there, delicious BBQ chicken tacos make an easy next-day meal.
Conclusion
This is the kind of oven chicken recipe that earns a regular spot in the dinner rotation because it hits that sticky, juicy, charred BBQ craving without needing a grill.
If you remember one thing, make it this: add the sauce late and build it in layers. That’s how you get the glossy glaze everyone reaches for first.
Frequently Asked Questions (FAQ)
How do I make baked BBQ chicken without it getting dry?
Use bone-in, skin-on pieces when you can, because they stay juicy more easily than lean cuts. Check the internal temperature instead of relying on looks alone. That matters even more if you swap in breasts. Let the chicken rest briefly before serving so the juices stay in the meat instead of running out onto the plate.
Can I make this recipe with frozen chicken?
It’s better not to for this recipe. Frozen chicken releases extra water as it cooks, which works against crisp skin and thick glaze. For the best texture and more even cooking, thaw the chicken fully in the refrigerator first.
My BBQ sauce always gets watery in the oven. How do I fix that?
Most of the time, the chicken is releasing moisture faster than the sauce can set. Pat the chicken very dry before baking, preheat the oven fully, and use a wire rack if you have one so the pieces don’t sit in liquid. Also wait to add the sauce until later in cooking. That gives it a better chance to cling and turn glossy.
What are the best side dishes to serve with baked BBQ chicken?
Classic choices include coleslaw, potato salad, mac and cheese, cornbread, and corn on the cob. If you want a lighter plate, go with a green salad or roasted vegetables like broccoli or green beans. A mix of one creamy side and one fresh side usually works best.
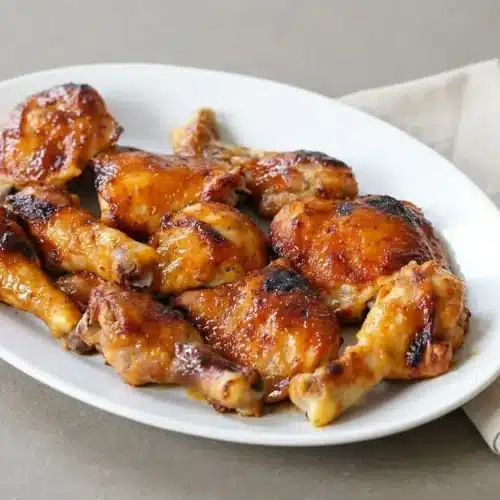
Baked BBQ Chicken

Equipment
- Rimmed baking sheet
- Meat Thermometer
- Basting Brush
Ingredients
- 8-10 chicken thighs and/or drumsticks (bone-in, skin on)
- 2 cups of your favorite bbq sauce
- 2 tablespoons extra-virgin olive oil (or canola oil)
Instructions
- Heat the oven to 400°F. Starting in a fully preheated oven helps the chicken begin cooking evenly right away.
- Rub the chicken all over with olive oil and season it with salt and pepper. The oil helps the skin brown and crisp while the seasoning gives the meat flavor before the sauce goes on.
- Arrange the chicken skin side down on a rimmed baking sheet and bake for 25 minutes. This first stretch cooks the chicken without risking burnt sauce and helps render some fat from the skin.
- Take the pan out and increase the oven to 425°F, then close the door while the temperature comes back up. Keeping the heat steady makes the next rounds of basting work better and helps the glaze set faster.
- Brush barbecue sauce over the exposed side, gently flip each piece with a spatula, sauce the second side, and return the pan to the oven for 7 minutes. The first layer should look shiny rather than thick, and the skin should stay intact as you turn the pieces.
- Pull the chicken out again, brush on more sauce over the top, and bake for another 7 minutes. You’ll start to see the glaze darken slightly and turn more glossy as it clings to the chicken.
- Brush on the final layer of sauce and bake for 7 more minutes, for 46 minutes total cooking time, then check the internal temperature with a meat thermometer. The chicken should reach at least 165°F in the thickest part, and thighs or drumsticks are especially juicy when they land closer to 180 to 190°F.
- Move the rack up and broil for 3 to 5 minutes if you want more color and char. Watch closely here, because the sauce can go from sticky to too dark pretty fast.
- Let the chicken rest for about 5 minutes before serving. The juices settle back into the meat, so each bite stays moist instead of running out onto the plate.