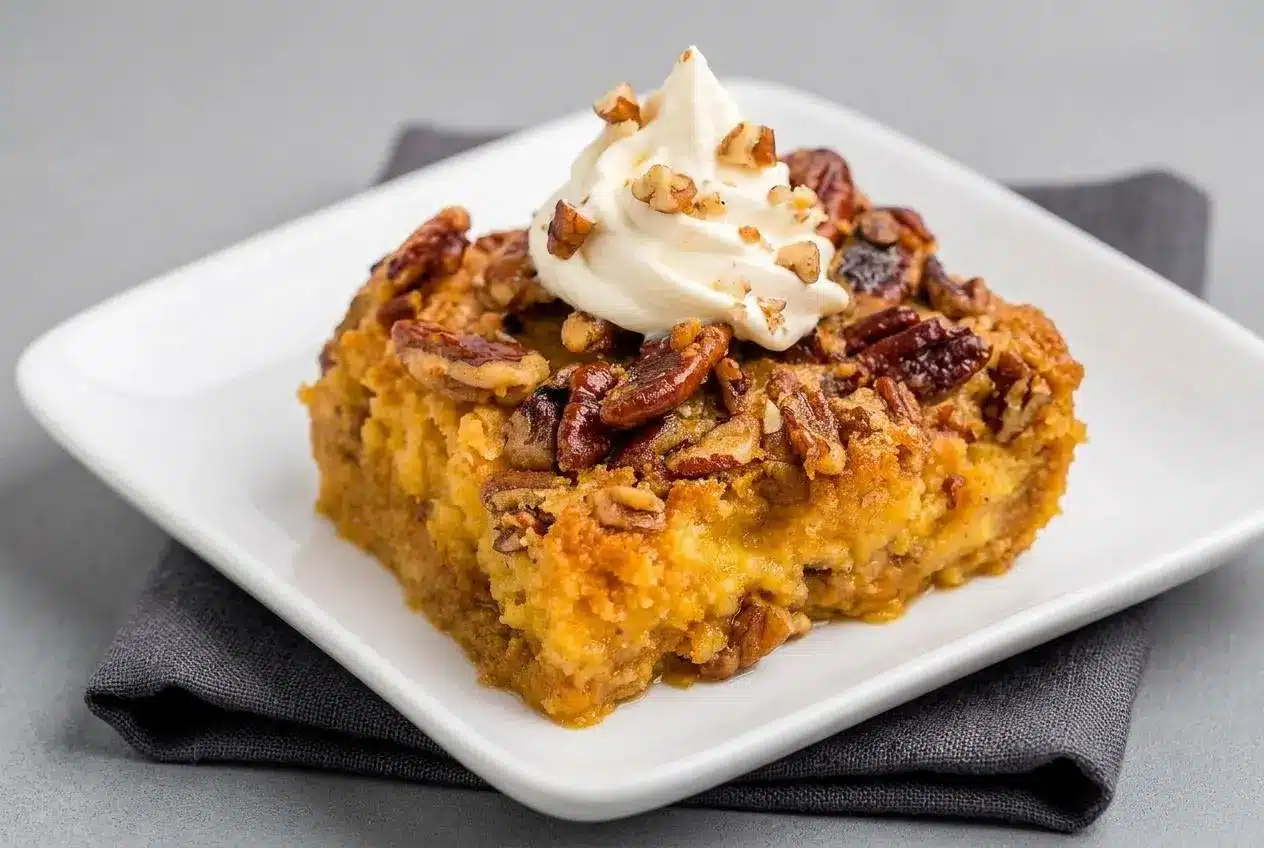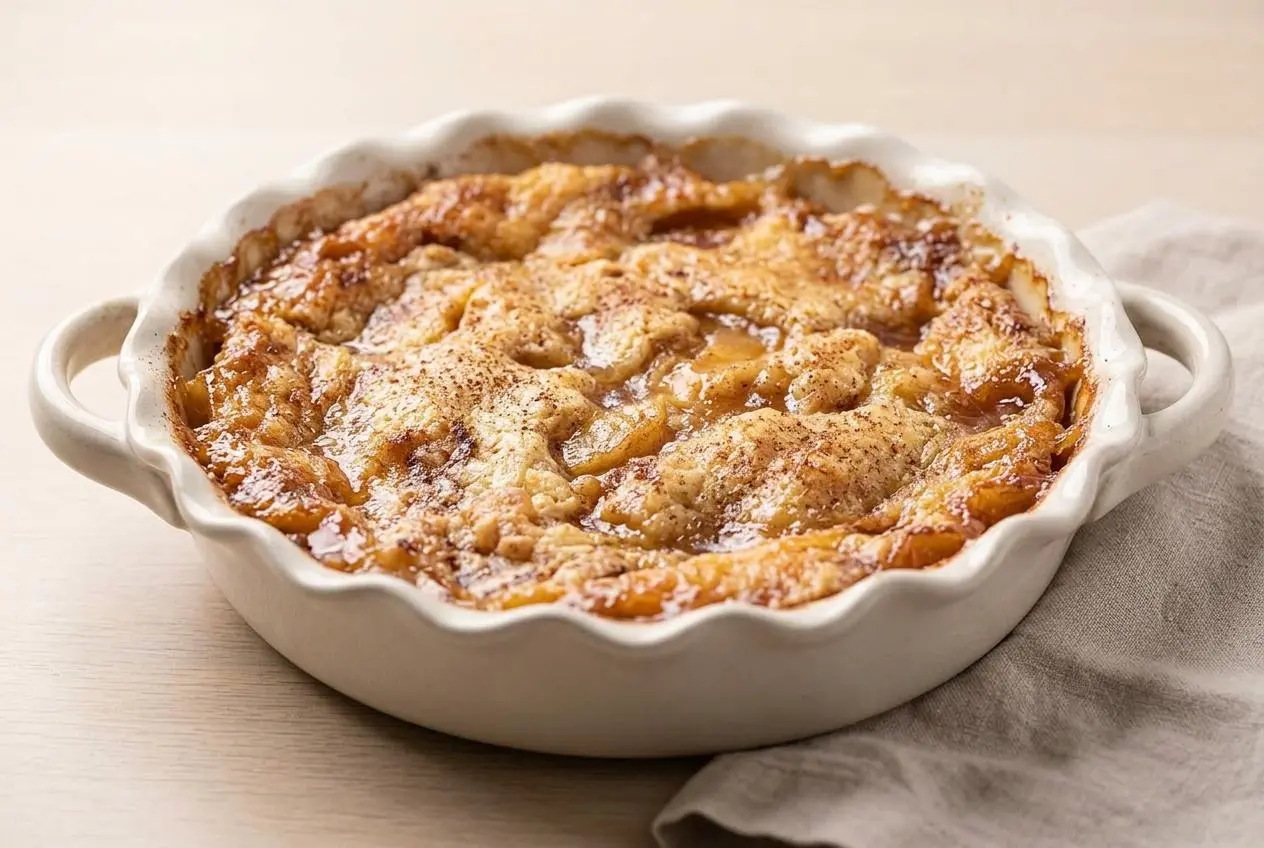
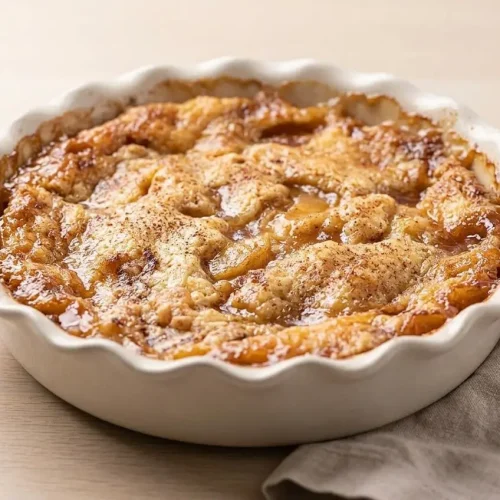
Apple Cinnamon Dump Cake is a 4 ingredient dessert made by layering apple pie filling, dry cake mix, cinnamon, and butter in a baking dish without stirring.
Apple Cinnamon Dump Cake is all about contrast: soft spiced apples underneath and a buttery, cobbler-like topping on top. It’s the kind of dessert that feels right at home on a weeknight or a holiday table.
What makes it work is the layering. Leave everything unstirred, watch for bubbling edges, and you get that golden finish instead of a mushy cake. The butter trick matters here.
Slice the butter thinly while it’s still cold so you can cover the cake mix more evenly.
Essential Ingredients for Apple Cinnamon Dump Cake
Each ingredient pulls its weight here, from juicy apple flavor to a crisp golden top and the warm cinnamon aroma that makes the whole pan smell like fall.
- 2 Cans Apple Pie Filling
- 1 Box Yellow Cake Mix (or spice cake mix)
- 2 teaspoons Ground Cinnamon
- 12 Tablespoons Butter
The apple pie filling creates the soft, saucy fruit layer and gives the cake enough moisture to bake properly. Choose a filling with tender apple slices and a balanced sweetness, since that flavor sets the tone for the whole dessert.
The cake mix does something clever here. Instead of becoming a standard fluffy cake batter, it mixes with the butter during baking and forms a rustic topping that lands somewhere between cobbler crust and crisp topping. If you want a little more spice without changing the method, spice cake mix works beautifully.
Ground cinnamon reinforces the warm apple flavor and adds that classic bakery smell as the pan bakes. Two teaspoons is enough to make the dessert smell cozy without overpowering the fruit.
Butter is what turns the dry mix into a golden crust. Unsalted butter gives you a sweeter, cleaner apple flavor, while salted butter adds a little contrast and can make the topping taste more rounded. Either works, but it helps to know that salted butter will push the sweet-savory balance slightly more toward buttery richness.
If you enjoy old-school fruit desserts and want a broader sense of how the layering method works, a classic dump cake follows the same easy logic.
I like to keep the butter cold right up until slicing because neat, thin pieces are much easier to spread across the top without leaving bare patches.
How to Make Apple Cinnamon Dump Cake
- Heat the oven to 375 degrees and grease a 9×13 pan.
The pan should be fully coated so the fruit layer doesn’t catch at the corners as it bakes. - Spread the apple pie filling evenly in the prepared pan.
A level fruit layer helps the topping bake at the same pace from edge to center. - Scatter the dry cake mix over the apples, then sprinkle the cinnamon across the top and leave the layers alone.
Do not stir, because keeping the fruit and dry mix separate is what creates the cobbler-like crust. - Cut the butter into thin slices and place them all over the surface of the dry mix.
Try to cover as much of the top as possible so the butter can melt through the mix instead of leaving powdery spots. - Bake for 45 to 50 minutes.
It’s ready when the top looks golden brown, the edges are bubbling, and the kitchen smells strongly of sweet cinnamon apples. - Let the cake cool for 10 minutes before serving.
The filling settles a bit as it rests, which makes scooping easier and keeps the layers from sliding apart.
The center can be the only tricky part. If you gently press the top with a spoon, it should feel set with a little spring rather than dry and dusty. Around the pan edges, you’ll hear a steady bubbling sound, which is a great sign that the fruit layer is hot and active underneath the crust.
A metal pan often gives you slightly deeper browning, while glass can take a little longer to show color in the center. Either way, trust the visual cues more than the clock once you hit the 45 minute mark.
Melted Butter vs. Sliced Butter: Which Is Best?
Both methods work, but they give you slightly different results.
Sliced butter is the more traditional approach for this recipe because it creates little pockets where the topping bakes up especially rich and crisp. It also sticks closest to the original four ingredient method. The downside is coverage. If the slices are thick or spaced too far apart, dry flour patches can remain on top.
Melted butter tends to coat the cake mix more evenly, so it can help reduce dry spots. The topping usually bakes more uniformly, though the texture can be a bit less craggy than the sliced-butter version.
If you use sliced butter, make the slices thin and distribute them wall to wall, including the corners. If you use melted butter, pour slowly and aim for full coverage rather than dumping it in one place. Both methods still rely on one rule: don’t stir the layers together.
For this particular cake, sliced butter gives the nicest classic finish, while melted butter is the easier route if dry patches have frustrated you before.
The Secret to Preventing Dry Spots
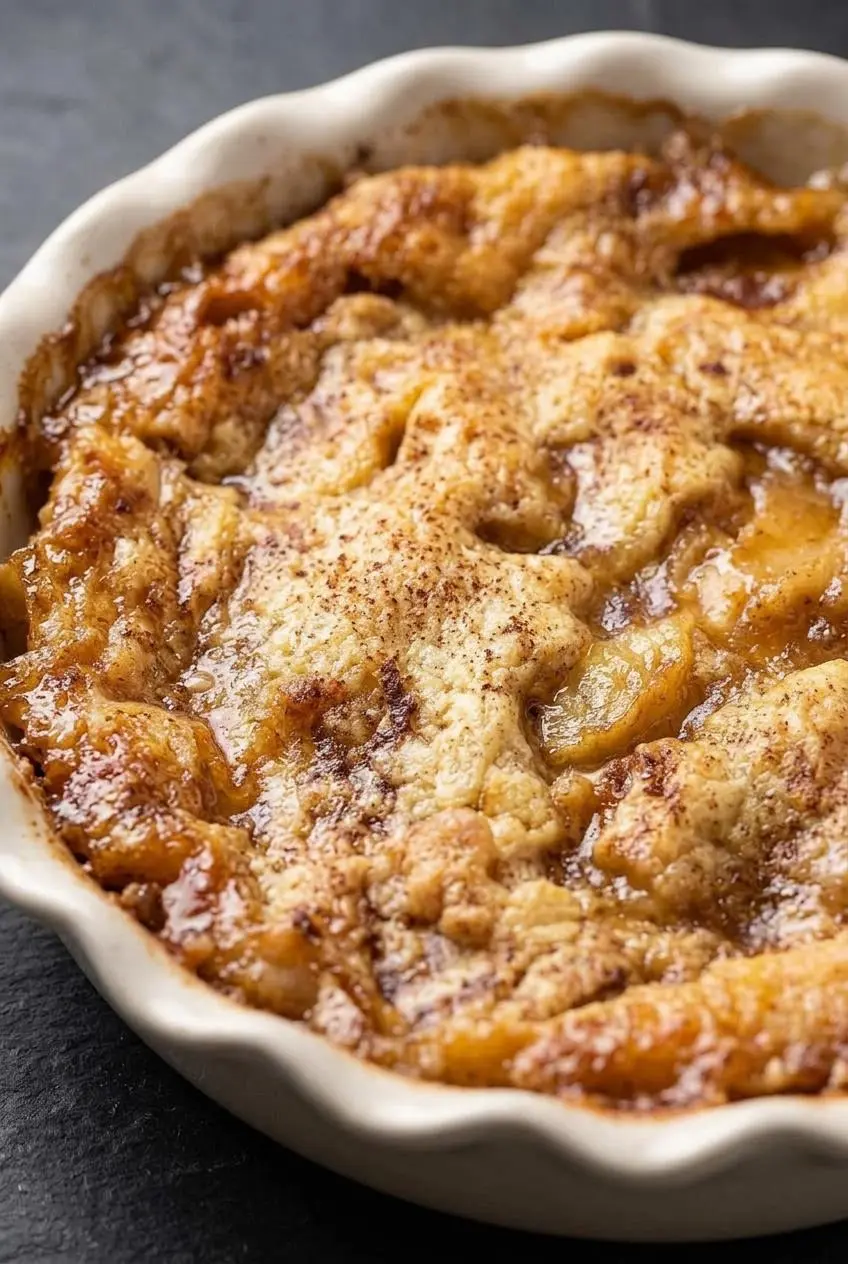
Dry spots happen when part of the cake mix never gets enough butter. The good news is that this is easy to fix once you know what to look for.
- If the top still looks pale and powdery partway through baking, use a fork to gently swirl those dry patches into nearby melted butter. Light movement is enough. Don’t dig down into the fruit layer.
- If a spot looks stubbornly dry, lay a few extra thin butter slices over that area and return the pan to the oven. Small patches usually catch up quickly.
- If you start with very cold, thick butter pieces, they may not melt fast enough to coat the surface. Thin slices work better because they spread their fat more evenly across the cake mix.
- If you prefer a more even top from the start, melted butter usually beats butter pads for full coverage. Sliced butter still wins for a slightly more textured crust.
- If the top is browning well at the edges but the center still looks dusty, focus your fix in the middle. That’s often the last area to absorb enough butter.
The key is to correct the problem gently. You’re not mixing the dump cake. You’re just helping the butter meet the dry mix so the topping can finish baking into a golden crust instead of staying floury.
How to Use Fresh Apples Instead of Canned Filling
You can absolutely make this with fresh apples if you want a less syrupy fruit layer and a more homemade feel. The only thing fresh apples need is a little help with moisture and seasoning so they bake down like pie filling.
Best Apple Varieties to Use
A mix of sweet and tart apples gives the best flavor and texture. Honeycrisp holds its shape nicely and stays juicy, Granny Smith brings tartness that keeps the dessert from tasting flat, and Jonagold gives a softer, mellow apple flavor with good baking structure.
If you use only very soft apples, the filling can turn mushy before the topping fully browns. If you use only very tart apples, the fruit layer can taste a bit sharp unless the sugar is well balanced.
Preparing the Fresh Fruit Layer
To replace the canned filling, toss 6 cups of peeled, diced apples with 1/3 cup sugar, 1.5 teaspoons pumpkin pie spice, and a pinch of salt. Spread that mixture in the greased pan, then continue with the cake mix, cinnamon, and butter exactly as written.
Raw apples release their juices as they bake, so the texture will be a little looser at first and then settle as the pan cools. You may need the longer end of the baking range so the apples soften and the top fully browns.
If the apples are cut too large, the center may stay firmer than you want by the time the crust is done. A small dice helps them soften more evenly without changing the simple dump cake method.
If you like baking with orchard fruit, an apple crisp coffee cake is another cozy way to use fresh apples and warm spice.
Cozy Variations to Try
These are optional extras, so keep the base recipe exactly the same and add them only if the mood strikes.
Caramel Pecan Crunch Variation
During the last 15 minutes of baking, add toasted pecans, a sprinkle of brown sugar, a little cardamom, and a pinch of flaky sea salt over the top. This gives you a crunchier finish and a deeper caramel vibe without changing the fruit layer underneath.
Gluten-Free Apple Dump Cake
Use a gluten-free yellow cake mix in place of the regular cake mix and keep the rest of the method the same. Check that the mix bakes up evenly across the top, since some gluten-free blends need especially thorough butter coverage to avoid dry pockets.
If autumn desserts are your thing, apple cider cake is another warm spiced option worth bookmarking.
Serving Suggestions
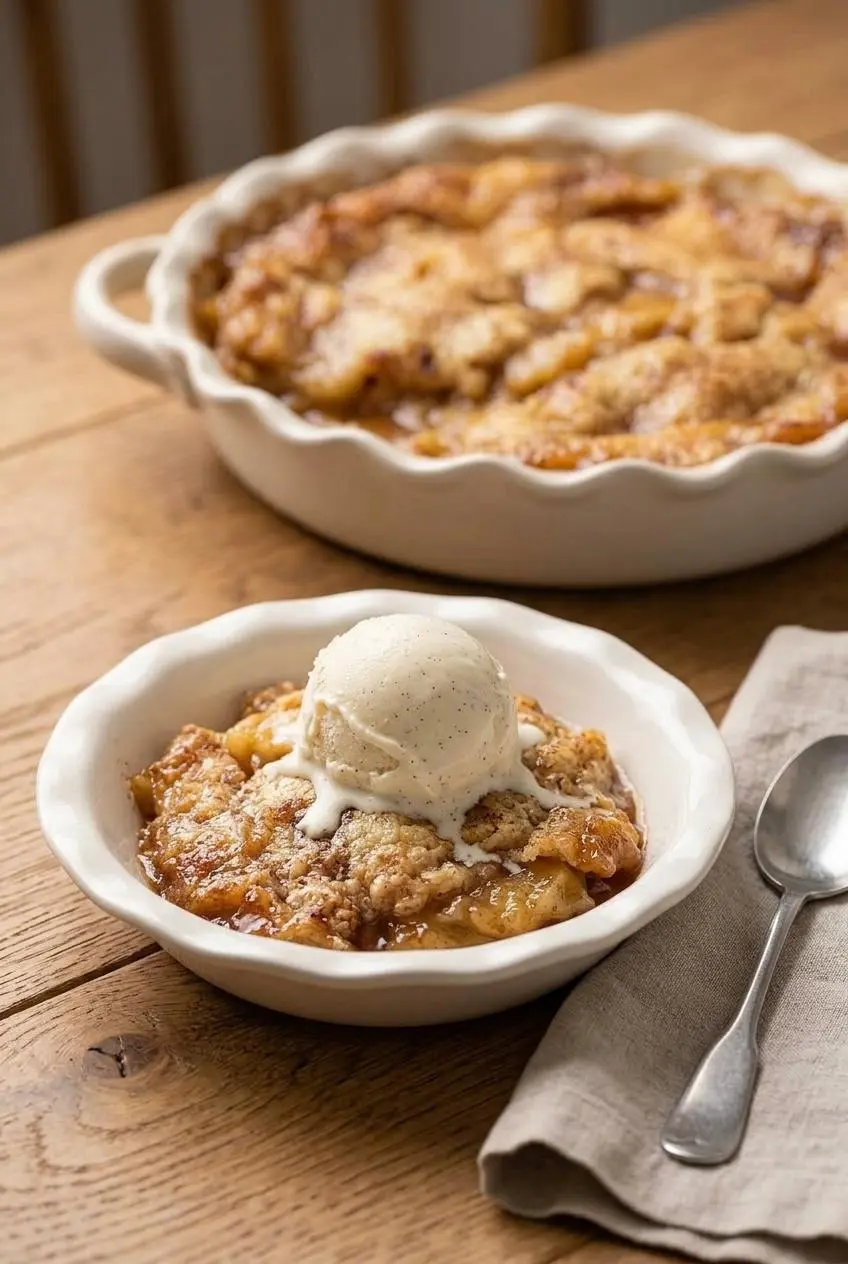
Serve this warm if you want the best contrast between soft apples and the crispest top. A big scoop of vanilla bean ice cream is the classic move, especially when it starts melting into the cinnamony fruit.
Fresh whipped cream works well if you want something lighter, and warm salted caramel sauce makes the whole dessert feel a little more holiday-ready. This is also a nice pick for family dinners, potlucks, and Thanksgiving dessert tables because it scoops easily and holds its flavor even after it cools a bit.
Storage and Reheating Guidelines
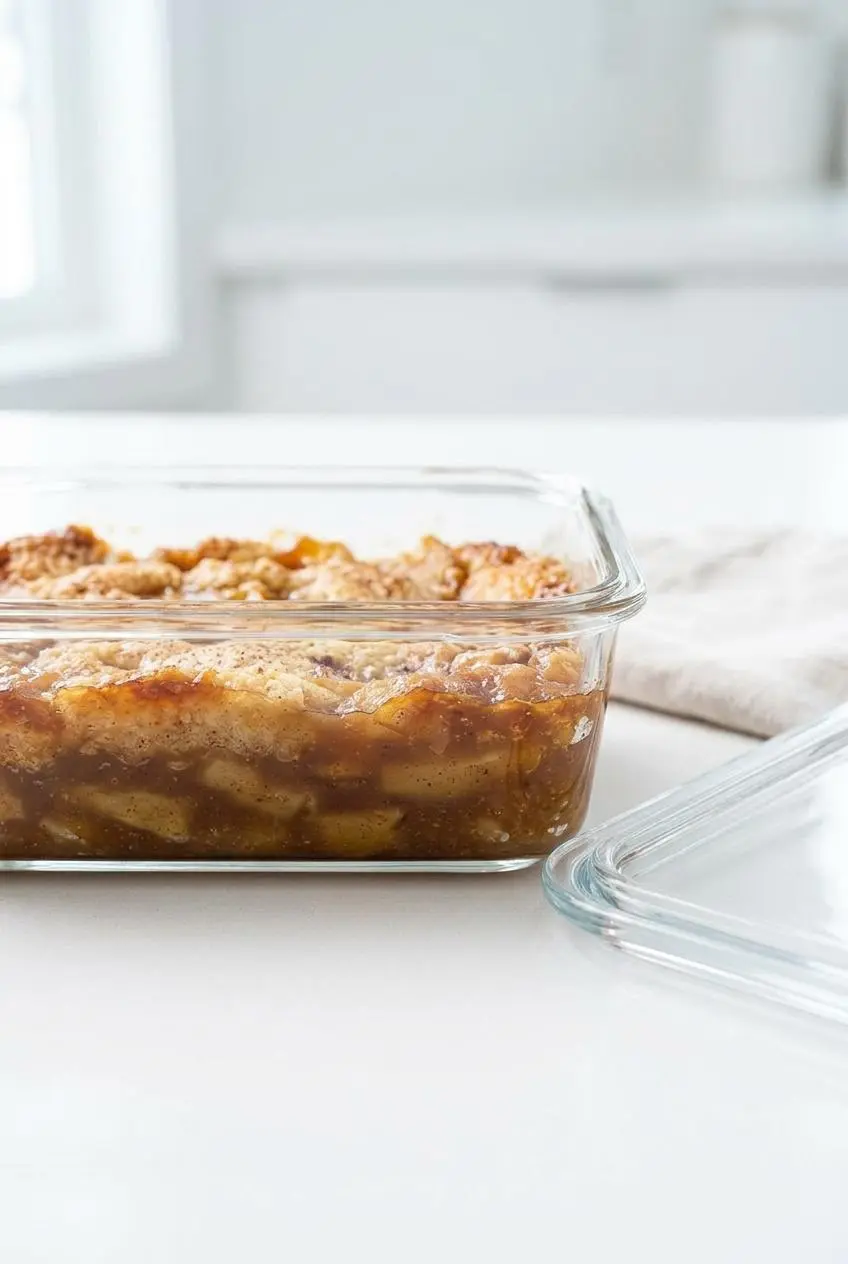
Let the cake cool before covering it so steam doesn’t soften the top too quickly. Because this dessert contains butter and fruit filling, keep leftovers chilled, and store them in a refrigerator kept at or below 40°F for perishable foods.
Refrigerating Leftovers
Transfer leftovers to a covered container or cover the baking dish tightly and refrigerate. The topping will soften some as it sits, but the flavor stays lovely and the apples often taste even more spiced the next day.
Keeping the Texture as Nice as Possible
For the best texture, reheat portions in a 325 degree oven for 10 to 15 minutes until warmed through and lightly crisp on top. If you’re in a hurry, the microwave works for a quick warm-up, but the topping will be softer.
Conclusion
This dessert earns its spot by being low effort and deeply comforting. As long as you keep the layers separate, spread the butter well, and bake until the top is golden and the edges bubble, it turns out beautifully.
If you remember one thing, let it be this: don’t stir, and don’t ignore dry patches if you see them. A small fork fix can save the whole pan.
Frequently Asked Questions
Why Is My Dump Cake Still Powdery on Top?
Powdery spots mean the butter did not cover the cake mix evenly. Use a fork to gently swirl the dry mix into nearby melted butter without stirring the whole pan. If needed, add a few extra thin slices of butter right over the dry areas and keep baking until the top turns golden.
Can I Use Fresh Apples Instead of Canned Pie Filling?
Yes. Fresh apples work well when you season them first so they release enough moisture. Toss 6 cups of peeled, diced apples with 1/3 cup sugar, 1.5 teaspoons pumpkin pie spice, and a pinch of salt before spreading them in the pan. You may need the longer end of the baking time so the apples soften fully.
Why Do They Call It a Dump Cake?
It gets the name from the method. You dump the ingredients into the baking dish in layers instead of mixing them into a batter. That no-stir approach is what creates the distinct fruit base and buttery topping.
What Is the Best Way to Reheat Leftovers?
The oven gives you the best texture. Warm a portion at 325 degrees for 10 to 15 minutes to bring back some crispness on top. If speed matters more than texture, use the microwave for a brief warm-up.
Apple Cinnamon Dump Cake

Equipment
- 9×13 pan
Ingredients
- 2 Cans Apple Pie Filling
- 1 Box Yellow Cake Mix or spice cake mix
- 2 teaspoons Ground Cinnamon
- 12 Tablespoons Butter
Instructions
- Heat the oven to 375 degrees and grease a 9×13 pan. The pan should be fully coated so the fruit layer doesn’t catch at the corners as it bakes.
- Spread the apple pie filling evenly in the prepared pan. A level fruit layer helps the topping bake at the same pace from edge to center.
- Scatter the dry cake mix over the apples, then sprinkle the cinnamon across the top and leave the layers alone. Do not stir, because keeping the fruit and dry mix separate is what creates the cobbler-like crust.
- Cut the butter into thin slices and place them all over the surface of the dry mix. Try to cover as much of the top as possible so the butter can melt through the mix instead of leaving powdery spots.
- Bake for 45 to 50 minutes. It’s ready when the top looks golden brown, the edges are bubbling, and the kitchen smells strongly of sweet cinnamon apples.
- Let the cake cool for 10 minutes before serving. The filling settles a bit as it rests, which makes scooping easier and keeps the layers from sliding apart.