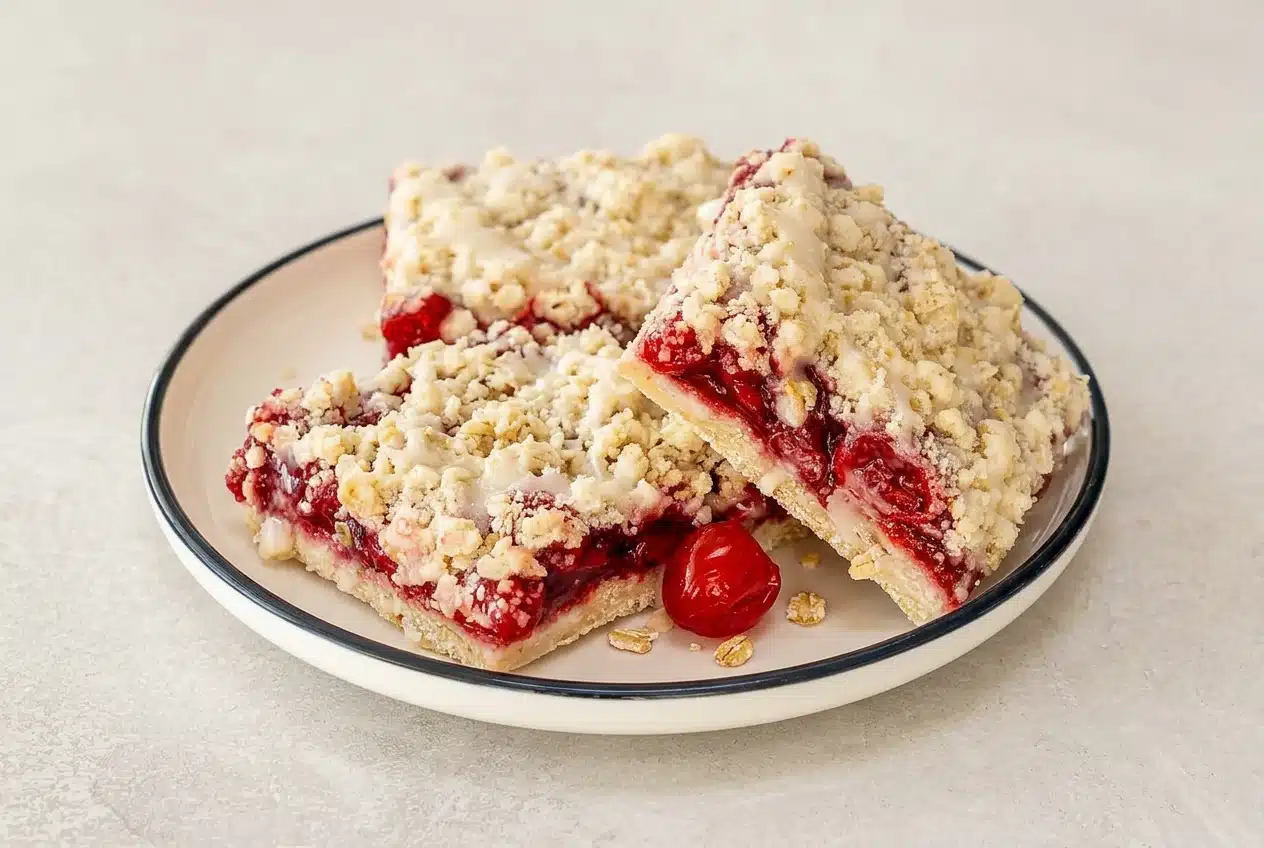
Make cherry pie bars by pressing a buttery oat mixture into a baking dish, par-baking it, then adding cherry pie filling and reserved crumble. Bake until golden and bubbling, cool completely, and finish with vanilla glaze for neatly sliced squares.
These cherry pie bars give you a pressed crust, a jammy fruit center, and a crumbly topping without rolling pastry. The same oat mixture forms the bottom and top, so you get contrasting textures from one bowl.
Canned filling keeps assembly convenient, while cold butter gives the crumble distinct, buttery pockets. They’re an inviting choice for sharing, provided you leave room in your schedule for cooling. That’s the trick to tidy squares.
Leave parchment hanging over the sides of the dish so you have something sturdy to grip when lifting the cooled bars.
Essential Ingredients
Flour builds structure, oats add chew, and cold butter creates rich crumbs. Sugar and salt balance the crust, cherry filling supplies the jammy center, and powdered sugar, milk, and vanilla form a sweet, aromatic finish.
- 1½ cups all-purpose flour
- 1 cup rolled oats
- ½ cup granulated sugar
- ½ teaspoon salt
- 1 cup unsalted butter (cold and cubed, 2 sticks)
- 42 ounces cherry pie filling (2 (21-ounce) cans)
- 1 cup powdered sugar
- 2 tablespoons milk
- ½ teaspoon vanilla extract
Flour and oats: All-purpose flour helps the pressed bottom hold together. Old-fashioned rolled oats give the topping noticeable texture; quick oats work but make finer crumbs. Avoid instant oats, which soften too much for this crumble.
Cold butter: Keep the cubes cold so they break into small pieces throughout the dry mixture rather than blending into a smooth paste. Those pieces help create the crumbly texture.
Filling and glaze: Canned cherry pie filling already has a thickened consistency. Powdered sugar makes a smooth glaze, milk loosens it, and vanilla rounds out its sweetness. A non-dairy milk is an optional glaze alternative, though its flavor may come through.
I’d choose rolled oats here when a distinct, craggy crumble is the goal.
How to Make Cherry Pie Bars Step by Step
This recipe makes 12 bars, with 20 minutes of preparation and 45 minutes of baking. Use the color and texture cues alongside the baking times, and allow the bars to cool completely before cutting.
- Set the oven to 350°F (175°C) and prepare a 9×13-inch baking dish with grease or parchment paper.
If using parchment, leave enough extending above the sides to lift the finished slab. - Stir the flour, oats, granulated sugar, and salt together in a large bowl, work in the cold butter with a pastry blender or your fingertips, then firmly pack about two-thirds of the crumbs across the prepared bottom.
The loose mixture should look like coarse, buttery sand with small clumps, while the pressed layer should look even and compact. - Give the bottom crust its first bake for 15 minutes, watching for the first hint of gold.
Light coloring around the edges signals that the foundation has begun to set before the fruit goes on. - Cover the hot crust with an even layer of cherry pie filling, then scatter the reserved oat crumbs across it.
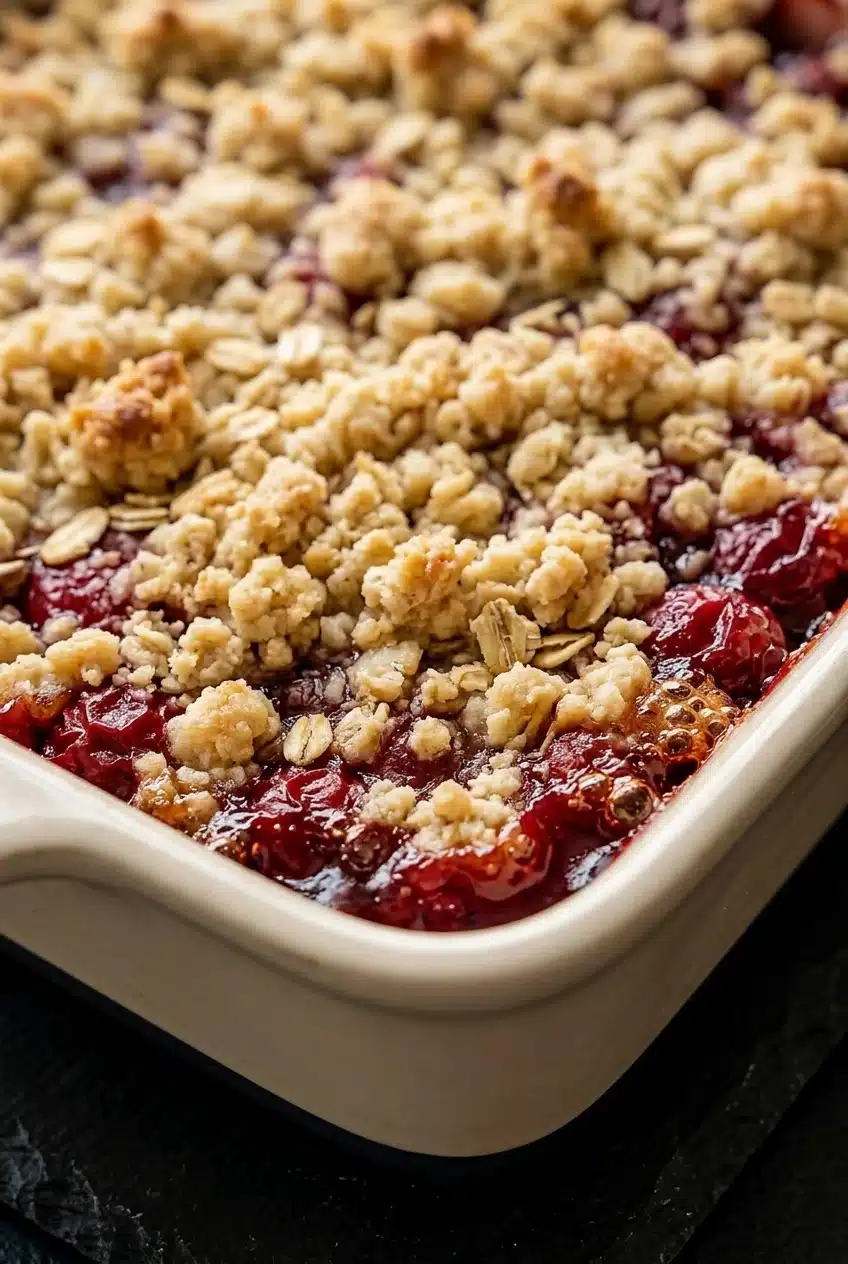
Distribute the topping across the dish while leaving some cherry filling visible between the clumps. - Bake the assembled bars for another 30 minutes, checking for a lightly browned crumble and bubbling fruit.
Look for cherry bubbles breaking around the edges as well as color on the topping rather than judging by browning alone. - Whisk the powdered sugar, milk or water, and vanilla in a small bowl while the bars cool, then drizzle the glaze over them once cool.
The icing should look smooth and leave visible ribbons instead of disappearing into warm pastry. - Let the slab finish cooling completely in its dish on a wire rack, then lift it by the parchment edges, if using, and cut into squares.
The center should no longer feel warm, and the cherry layer should hold its shape as the knife passes through.
Expert Tips and Troubleshooting for Clean Slices
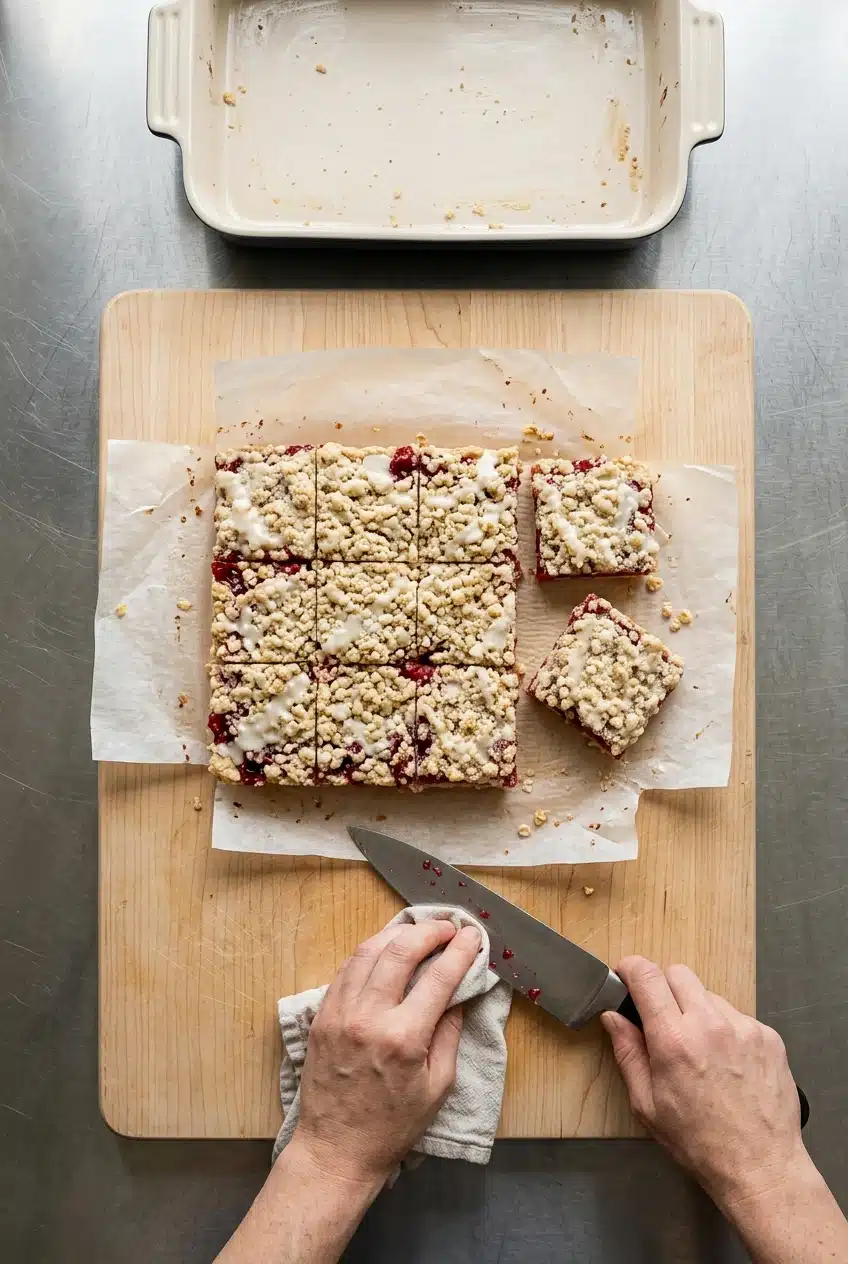
Most messy-bar problems trace back to crust structure, excess warmth, or a sticky knife blade.
- Soggy bottom: Skipping the crust’s first bake leaves it less prepared for the moist filling. Complete that stage and look for the initial golden edge before adding cherries.
- Loose, fragile crust: A lightly scattered bottom layer won’t hold together as well. Press it firmly and evenly, paying attention to the corners.
- Paste-like crumble: Butter that has softened too much blends into the flour instead of forming distinct crumbs. Start cold and stop working the mixture once coarse clumps form.
- Top browning too quickly: If the crumble colors before the filling bubbles, consider a loose foil tent to shield it while you watch the filling.
- Glaze disappearing: Warm bars melt the drizzle. Check the center, not just the edges, before glazing.
- Glaze too thick or thin: Adjust with powdered sugar for more body or milk for a looser drizzle, keeping any adjustment gradual so it doesn’t overshoot.
For clean edges, lift the completely cooled slab onto a cutting board using the parchment overhang. Use a sharp knife and wipe the blade between cuts. Removing cherry residue prevents red streaks and sticky crumbs from dragging across the next square.
Popular Cherry Pie Bar Variations
These optional directions change the flavor or texture. Keep them separate from the measured oat-crumble version above.
Fresh or Frozen Cherry Homemade Filling Swap
A homemade filling made with fresh or frozen cherries, sugar, and cornstarch offers more control over sweetness and tartness. Moisture and thickness matter: plain cherries don’t have the same consistency as canned pie filling. Choose a dedicated homemade filling recipe rather than treating raw fruit as a direct replacement.
Oat-Free Shortbread Crust Variation
A flour-based shortbread crust and topping give the bars a smoother, more tender, cookie-like bite. Oat crumble has more chew and a rougher surface. An oat-free version needs its own balanced proportions, so don’t assume that removing the oats will leave the structure unchanged.
Almond-Infused Glaze or Brightness Boost
- Optional almond extract: An almond-scented glaze gives the cherries a bakery-style flavor, but its intensity can easily overshadow vanilla.
- Optional lemon juice: A citrus accent can make a sweet cherry filling taste brighter and more tart.
Alternative Fruit Fillings and Cake-Style Comparison
- Blueberry pie filling: An optional direction for a darker, berry-forward fruit layer.
- Apple pie filling: A different fruit profile with a chunkier bite than cherries.
- Pie-dough lattice: A flaky pastry direction, closer to classic cherry pie than a sandy oat crumble.
- Cake-style bars: A softer, more springy alternative that needs a different batter rather than a change to this crumb mixture.
Storage and Party-Prep Tips
Plan your baking around complete cooling rather than trying to slice the bars just before leaving for an event. Have a flat container ready so the squares don’t need to lean against one another.
Once the bars have cooled, keep them in an airtight container to limit drying. A single layer also protects the crumble and keeps the glaze from rubbing onto neighboring pieces.
For storage, refrigerating the milk-glazed bars is a cautious choice. Don’t assume that room-temperature guidance for an unglazed fruit dessert also applies to this version, and keep the container chilled during transport when practical.
Serving Ideas for Cherry Bars
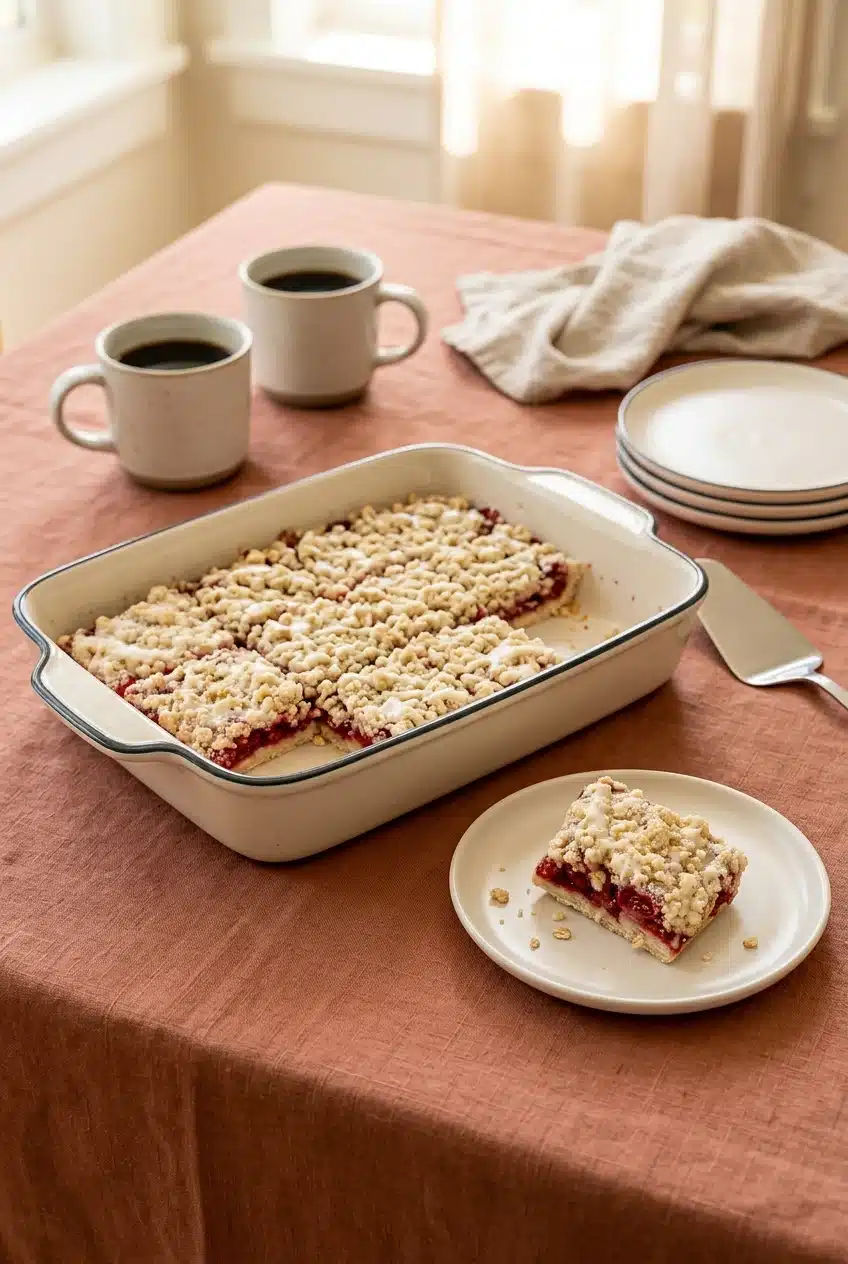
The sturdy squares fit potlucks, picnic dessert spreads, brunch, and holiday trays without requiring individual plating.
- For a dessert tray: Arrange the bars in a single layer so the glaze and crumble stay intact.
- For a plated dessert: Offer vanilla ice cream alongside a square for a creamy contrast to the cherry filling.
- For brunch or a coffee break: Pair with coffee or tea, which complement the sweet glaze and buttery crust.
For a mixed dessert platter, key lime pie bars offer a citrus contrast to the cherry squares.
Wrapping Up Your Bars
Buttery oat crumbs, jammy cherries, and vanilla glaze give these bars the appeal of pie in a shareable square. Cold butter and a par-baked crust help build that contrast.
Give the cooling stage the same attention as the baking. Once the center is fully cool, a clean knife makes the final step much more satisfying.
Frequently Asked Questions
Can I Use Fresh or Frozen Cherries Instead of Canned Cherry Pie Filling?
Yes, as part of a properly thickened homemade cherry filling rather than a direct raw-fruit swap. Fresh and frozen cherries vary in moisture, so use a dedicated filling recipe with balanced sugar and thickener.
Can I Make Cherry Pie Bars Without Oats?
Yes, an oat-free shortbread version is another option, with a smoother, cookie-like texture. Use proportions designed for shortbread rather than simply leaving the oats out of this mixture.
Do Cherry Pie Bars Need to Be Refrigerated?
For these milk-glazed bars, refrigerating leftovers in an airtight container is a cautious choice. Don’t assume that advice for unglazed fruit desserts applies unchanged to the finished bars.
How Do I Cut Cherry Pie Bars Cleanly Without Smearing the Filling?
Cool the slab completely before lifting it from the dish with the parchment overhang. Use a sharp knife and wipe away cherry filling and crumbs between cuts.
How Should I Keep Bars for Later?
Let them cool completely before placing them in an airtight container. Keep the glazed bars chilled and arranged so the topping won’t get crushed.
Why Did My Vanilla Glaze Melt Into the Bars?
The bars were likely still warm, which loosened the powdered-sugar glaze. Wait until the center has cooled completely before drizzling, even if the edges already feel cool.
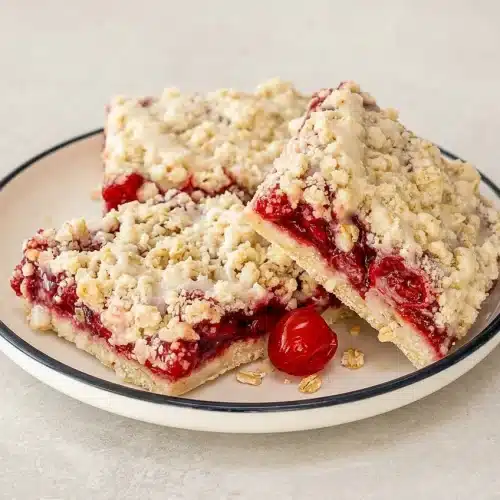
Cherry Pie Bars

Equipment
- 9×13-inch baking dish
- large bowl
- Pastry blender
- Small bowl
- Wire rack
Ingredients
- 1½ cups all-purpose flour
- 1 cup rolled oats
- ½ cup granulated sugar
- ½ teaspoon salt
- 1 cup unsalted butter cold and cubed, 2 sticks
- 42 ounces cherry pie filling 2 (21-ounce) cans
- 1 cup powdered sugar
- 2 tablespoons milk
- ½ teaspoon vanilla extract
Instructions
- Set the oven to 350°F (175°C) and prepare a 9×13-inch baking dish with grease or parchment paper. If using parchment, leave enough extending above the sides to lift the finished slab.
- Stir the flour, oats, granulated sugar, and salt together in a large bowl, work in the cold butter with a pastry blender or your fingertips, then firmly pack about two-thirds of the crumbs across the prepared bottom. The loose mixture should look like coarse, buttery sand with small clumps, while the pressed layer should look even and compact.
- Give the bottom crust its first bake for 15 minutes, watching for the first hint of gold. Light coloring around the edges signals that the foundation has begun to set before the fruit goes on.
- Cover the hot crust with an even layer of cherry pie filling, then scatter the reserved oat crumbs across it. Distribute the topping across the dish while leaving some cherry filling visible between the clumps.
- Bake the assembled bars for another 30 minutes, checking for a lightly browned crumble and bubbling fruit. Look for cherry bubbles breaking around the edges as well as color on the topping rather than judging by browning alone.
- Whisk the powdered sugar, milk or water, and vanilla in a small bowl while the bars cool, then drizzle the glaze over them once cool. The icing should look smooth and leave visible ribbons instead of disappearing into warm pastry.
- Let the slab finish cooling completely in its dish on a wire rack, then lift it by the parchment edges, if using, and cut into squares. The center should no longer feel warm, and the cherry layer should hold its shape as the knife passes through.