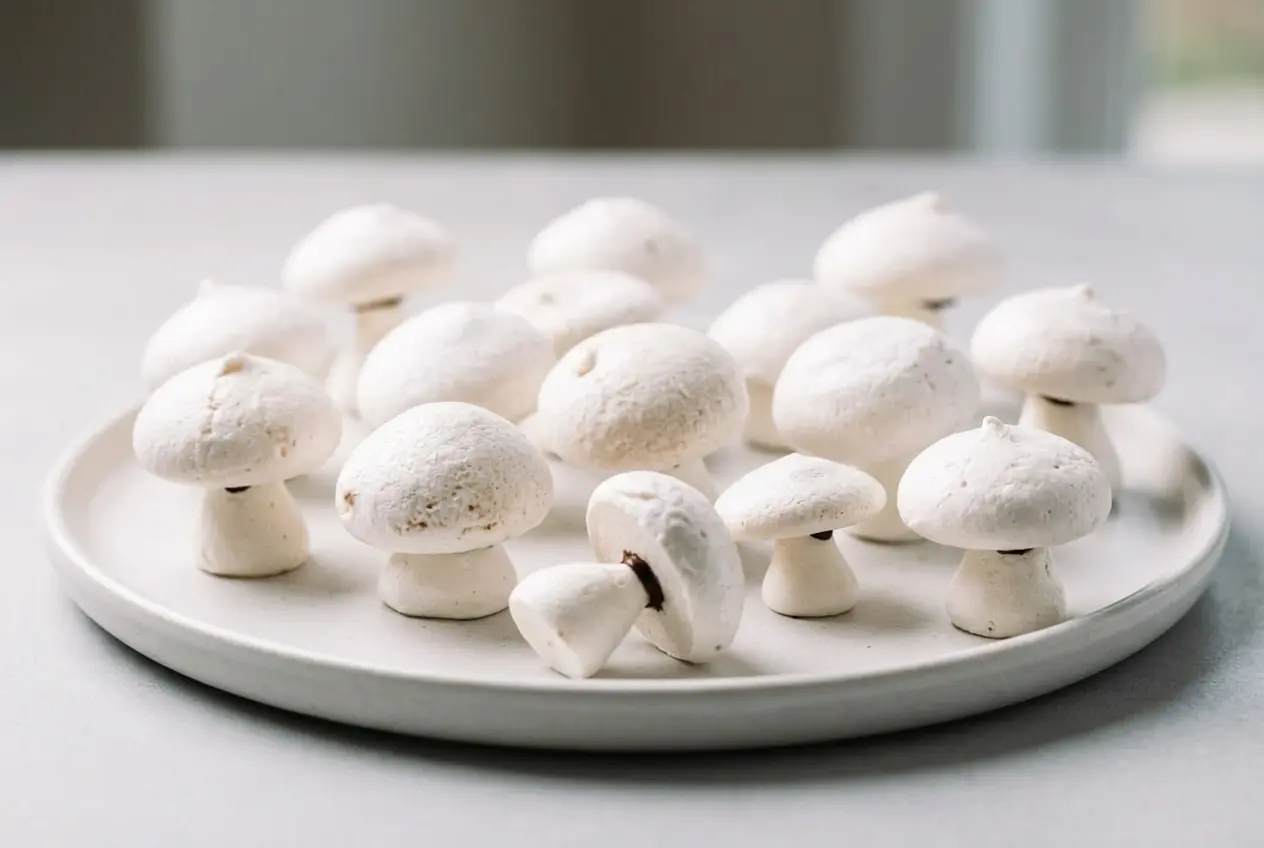
Meringue mushrooms are crisp, airy sweets made by whipping egg whites and sugar, piping separate caps and stems, and baking them at low heat. Cocoa adds woodland shading, while melted chocolate joins the pieces into edible decorations for Yule logs and holiday platters.
These meringue mushrooms turn sweet egg-white foam into tiny forest treats, complete with rounded caps and chocolate-filled joints. Each bite feels light and crisp, with a little richness from the chocolate.
The shapes don’t need to match perfectly. A mix of broad caps and slender stems gives a holiday dessert its woodland character. The charm is in the uneven edges.
Use parchment paper, not wax paper, so the baked pieces release cleanly.
Ingredients and Essential Equipment
Egg whites provide airy structure, sugar supports the sweet meringue, salt balances flavor, and cream of tartar helps stabilize the foam. Semi-sweet chocolate adds richness and holds the caps and stems together.
- 2 large egg whites (room temp (if you forgot, put them in warm water for 15 min))
- 1/2 cup granulated sugar
- 1/8 tsp salt
- 1/8 tsp cream of tartar
- 1/4 cup semi-sweet chocolate chips (melted)
- A large cookie sheet
- Parchment Paper
- Wilton 2A tip with a piping bag (or use a big ziploc bag and a 3/8″ round hole cut in the corner, it just won’t be as easy to pipe.)
Start with room-temperature whites. If the eggs are cold, warm the intact eggs as directed above before separating them; don’t add water to the measured whites.
Use granulated sugar as listed and pay attention to the finished foam rather than choosing sugar by its label alone. Cream of tartar supports the shape during whipping, but omitting it doesn’t automatically explain every hollow or collapsed cookie.
You’ll also need a mixer with a whisk attachment and a small paring knife for assembly. The round piping tip gives more control than a snipped bag, particularly for upright stems.
Cocoa powder appears in the finishing method rather than the measured ingredient list. Its light dusting supplies the earthy color, so it belongs on the surface rather than in the whipped mixture.
I prefer an uneven cocoa smudge to a uniform coating here; it makes the caps look more like woodland mushrooms.
How to Make Meringue Mushrooms Step-by-Step
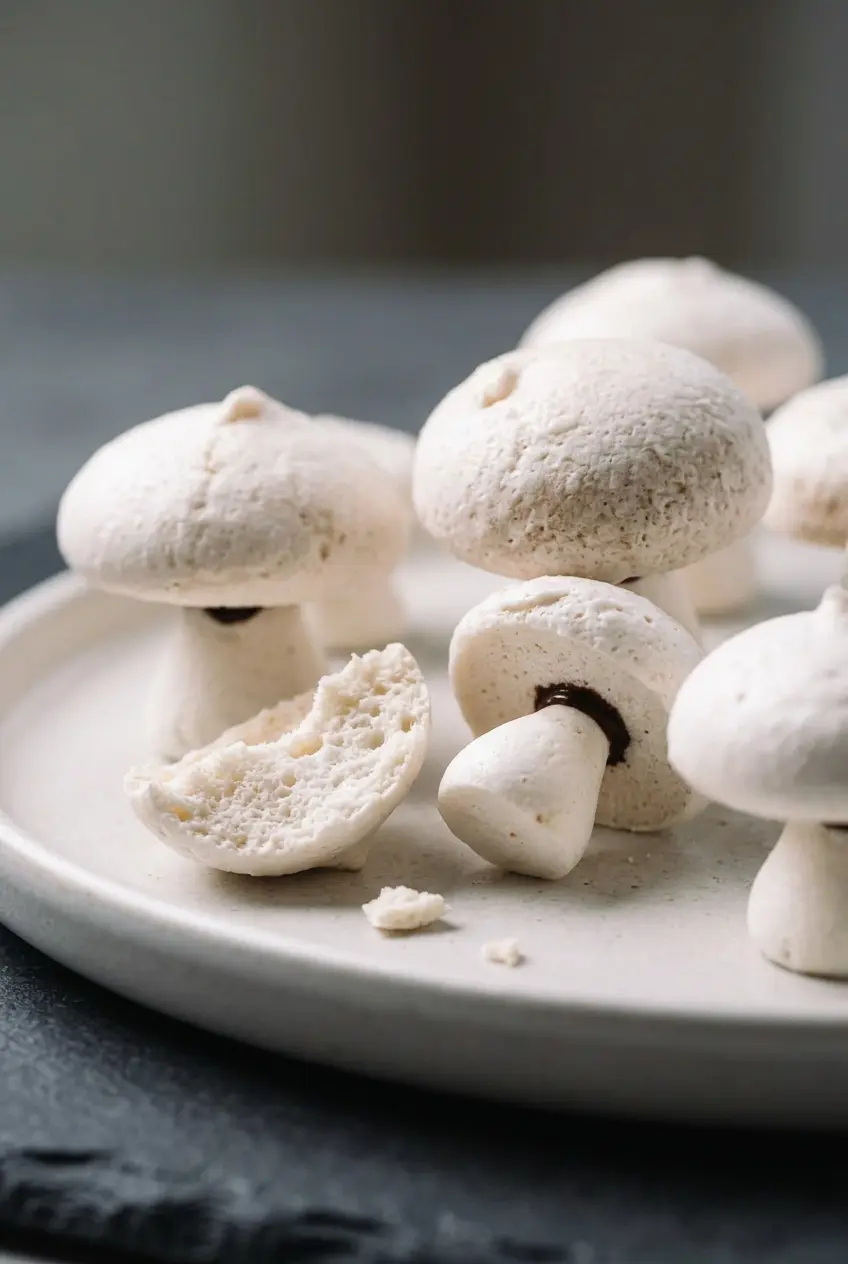
Plan for 45 minutes of prep and 90 minutes of baking, for a listed total of 2 hours 15 minutes. The yield is 30 to 35 cookies, with 30 servings.
Prep: Preheat Oven to 200° F. Line a large baking sheet with parchment paper (not wax paper).
- Whisk the 2 egg whites, 1/2 cup sugar, 1/8 tsp salt, and 1/8 tsp cream of tartar together on high speed for about 7 minutes, continuing until the mixture holds its shape.
Look for a shiny foam that leaves ribbons behind the whisk and forms fairly stiff peaks. - Fill a piping bag fitted with a 3/8-inch round tip, then pipe the caps about 1 inch apart with bases approximately 1 1/2 inches across, sweeping the tip sideways to finish each top.
A rounded dome is the goal, and a wet fingertip can gently flatten any remaining point. - Pipe the stems with bases approximately 3/4 inch across, making them narrower and taller than the caps.
Each stem should taper upward to a pointed tip. - Bake the pieces at 200°F for 1 hour 30 minutes, checking that they release readily from the parchment.
The outside should feel crisp, although the center may still have a slightly soft, marshmallow-like texture. - Lift the parchment and cookies off the hot baking sheet and let them reach room temperature on the paper.
The meringues will firm throughout as they cool completely. - Lightly dust the cooled caps and stems with cocoa, optionally rubbing it with your fingertips, then use a small paring knife to make a recess in the center of each cap’s underside.
Keep each opening just large enough to receive a stem tip, with only a light cocoa shading on the surface. - Melt the chocolate chips, spoon the chocolate into a zip-top bag, snip a tiny opening in one corner, and squeeze chocolate into each cap recess before inserting a stem.
Rest the mushrooms upside down on their caps until the chocolate becomes firm and holds the stems in place. - Move the assembled mushrooms gently into an airtight container and keep them at room temperature rather than refrigerating them.
The chocolate joints should be fully set before you handle the finished cookies.
Whipping Stiff, Glossy Meringue Peaks
The finished foam should hold a distinct peak rather than immediately flowing back into the bowl. Glossy ribbons and fairly stiff peaks matter more than the clock alone.
Piping Smooth Caps and Tapered Stems
Give the caps width and the stems height. Keeping those shapes distinct creates a recognizable mushroom even when the pieces vary slightly in size.
Low-Heat Drying and Cooling
Easy release from the parchment is the useful baking cue. Don’t judge the final interior texture while the cookies are still warm, because cooling completes their firming.
Cocoa Dusting and Chocolate Assembly
A small recess gives the stem tip a place to sit. Keeping the mushrooms upside down while the chocolate sets also keeps the caps from pulling the still-soft joints sideways.
Expert Tips and Troubleshooting Common Meringue Mistakes
Check the foam, baked texture, and chocolate joint separately when something goes wrong.
The Clean Bowl and Sugar Dissolution Rules
- Whites won’t hold their shape: Grease or egg yolk can interfere with whipping, so use a clean bowl and whisk and keep yolks out of the whites.
- The foam feels gritty: Undissolved sugar may be the cause; a tiny smear between clean fingertips can reveal grit, but that check doesn’t replace the glossy-peak cue.
- The mixture looks shiny but slumps: Shine alone isn’t enough; continue toward the stated fairly stiff peaks before piping.
The same attention to clean equipment is useful when whipping the topping for a classic lemon meringue pie, although its finished texture is different.
Carved Recesses and Chocolate Gill Styling
Use the carved recess for attachment in this recipe. Dark chocolate undersides offer an optional gill-like appearance, but that decorative finish is separate from the stem joint. If a stem leans during assembly, keep the mushroom resting on its cap until the chocolate sets.
How to Prevent Cracking and Humidity Softening
- Pieces break when lifted: Sticking or handling while warm may contribute; use easy parchment release and complete cooling as your checkpoints.
- The center seems chewy: A warm center can still be soft; assess the texture after the meringues reach room temperature.
- Finished cookies lose their crispness: Moisture exposure may contribute; close the airtight container promptly and follow the storage directions below.
Creative Variations: Red Toadstools and Woodland Styles
These optional color and flavor directions change the character of the mushrooms without becoming part of the measured recipe above.
Red Toadstool Meringue Mushrooms
Red caps with white spots create a storybook toadstool look. Red gel food coloring is the color option for this style, while white stems keep the mushrooms recognizable.
Dark Chocolate Gill-Painted Mushrooms
Optional dark chocolate undersides suggest mushroom gills and add a deeper chocolate flavor. The contrast looks especially striking beneath pale, cocoa-shaded caps.
Toasted Bolete & Spiced Chocolate Mushrooms
A golden, toasted-bolete appearance offers a warmer woodland palette. For a separate flavor variation, cinnamon and cayenne give the assembly chocolate a gently spiced direction rather than changing the meringue itself.
How to Decorate a Yule Log (Bûche de Noël) and Holiday Desserts
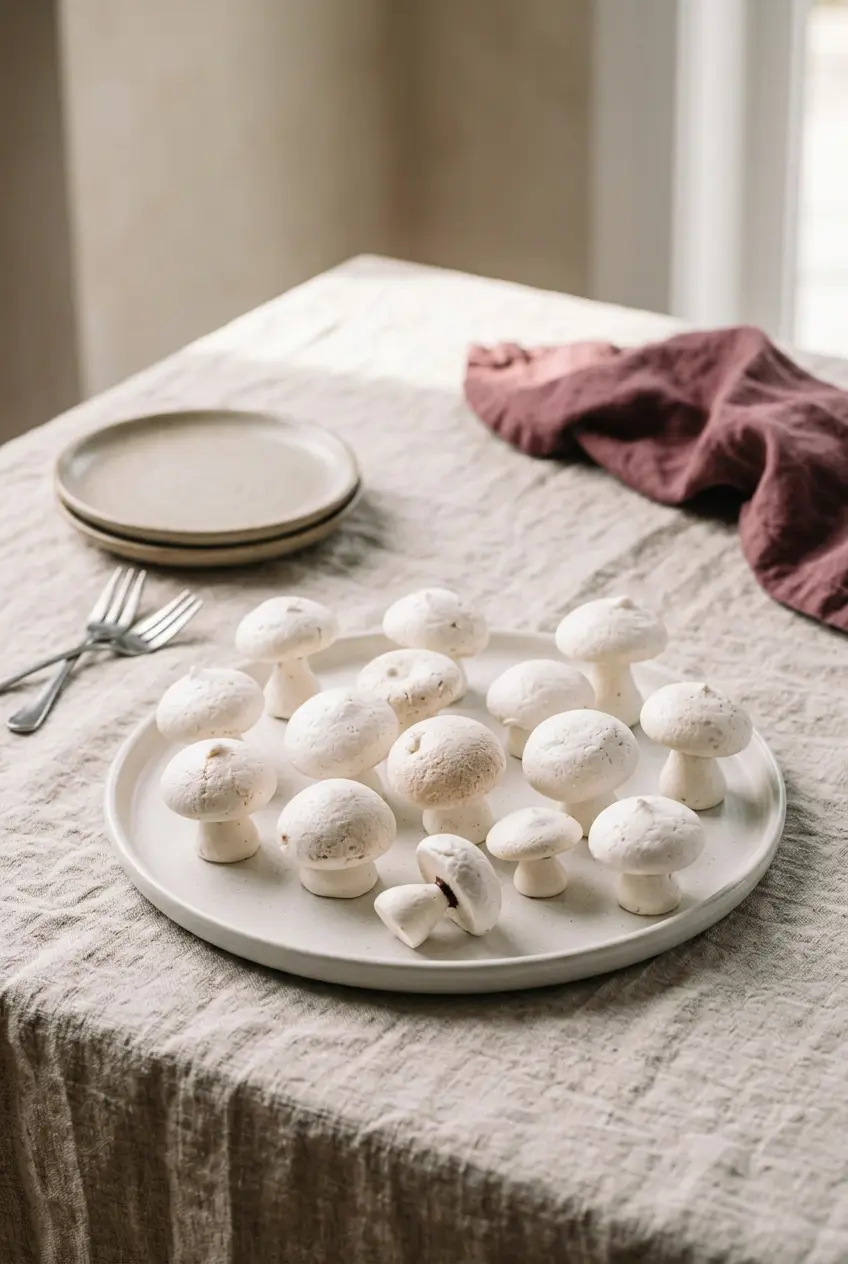
Group mushrooms of different sizes rather than spacing identical ones evenly across a dessert.
- Yule logs: Nestle a cluster beside or on a Bûche de Noël, with optional rosemary and sugared berries for a forest-floor effect.
- Cookie platters: Leave room around the mushrooms so their caps and stems remain visible among flatter cookies.
- Celebration cakes: Use scattered clusters for a woodland birthday or autumn cake.
A rolled meringue roulade also suits this style of decoration. Keep the mushrooms separate while organizing the dessert, then add them when you’re ready to present it.
Make-Ahead and Room-Temperature Storage
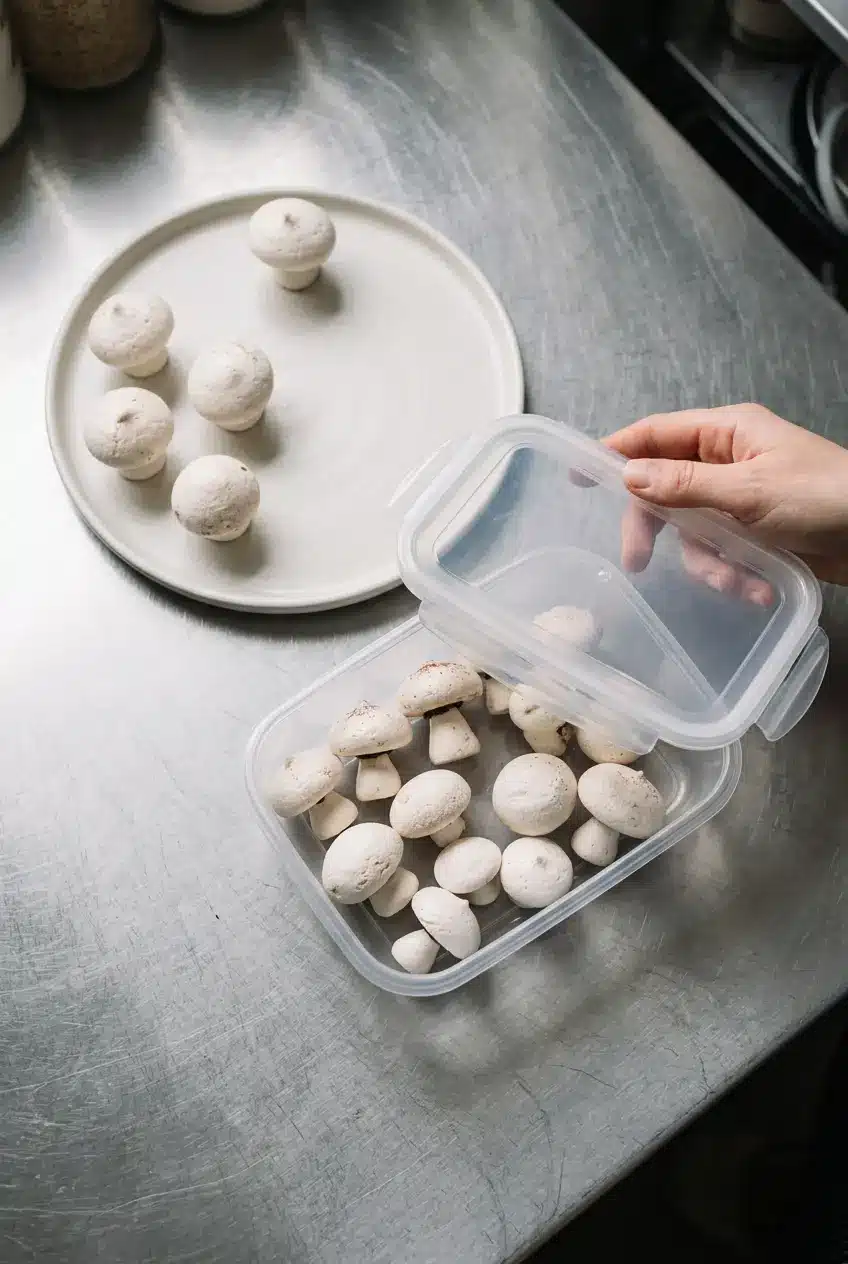
Finish cooling and let the chocolate joints set before packing the mushrooms. Keep them in an airtight container at room temperature, not in the refrigerator.
Sugar-rich foods can absorb environmental moisture, and humidity and the container’s moisture barrier affect storage stability. That makes a well-closing container more useful than a blanket promise about how long every batch will stay crisp.
For make-ahead organization, complete the mushrooms before arranging the dessert platter or decorating the cake. Keep the container closed until you need them; no fixed shelf-life guarantee applies to every kitchen.
Final Thoughts on Homemade Woodland Treats
Rounded caps, tapered stems, and irregular cocoa shading give these treats their woodland charm. Slight differences in shape look right at home.
Watch for clean parchment release, allow complete cooling, and keep the finished mushrooms covered until decorating time. A little rustic character belongs on the dessert table.
Frequently Asked Questions
How Far in Advance Can I Make Meringue Mushrooms?
You can finish them before decorating your dessert, allowing the cookies to cool and the chocolate to set completely. Keep them airtight at room temperature; there isn’t a verified advance-preparation window for every kitchen.
How Long Will Meringue Mushrooms Keep?
A universal shelf life isn’t established here, so don’t rely on a fixed number of days. Protect their texture with the airtight, room-temperature storage described above.
Can I Make Meringue Mushrooms Without Cream of Tartar?
Keep the cream of tartar for this recipe because it helps stabilize the whipped whites. No substitute quantity or omission method is established for this version.
How Do I Pipe Meringue Mushrooms Without a Piping Tip?
Use the listed large zip-top bag with a 3/8-inch round opening cut in one corner. It gives less control than a round pastry tip, so expect more variation in the shapes.
Why Are My Meringue Mushrooms Sticky or Chewy?
Check whether they cooled completely, since warm centers can still feel soft. Moisture exposure can also affect crispness; keep finished mushrooms in their closed container.
Should You Refrigerate Meringue Mushrooms?
No, keep these cookies at room temperature in an airtight container. Store them separately from any cake or filling that needs refrigeration.
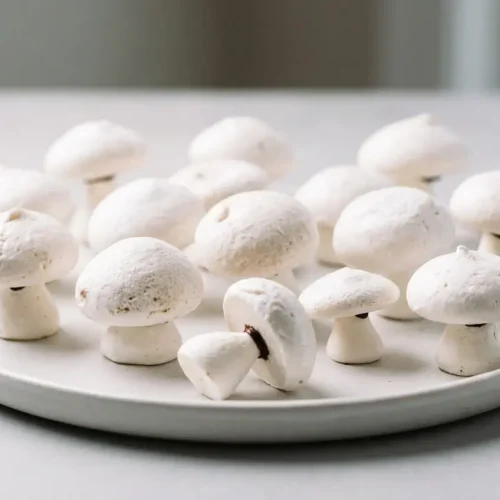
Meringue Mushrooms

Equipment
- A large cookie sheet
- Parchment Paper
- Wilton 2A tip with a piping bag
- Mixer with a whisk attachment
- Small paring knife
Ingredients
- 2 large egg whites (room temp (if you forgot, put them in warm water for 15 min))
- 1/2 cup granulated sugar
- 1/8 tsp salt
- 1/8 tsp cream of tartar
- 1/4 cup semi-sweet chocolate chips (melted)
- A large cookie sheet
- Parchment Paper
- Wilton 2A tip with a piping bag (or use a big ziploc bag and a 3/8″ round hole cut in the corner, it just won’t be as easy to pipe.)
Instructions
Prep: Preheat Oven to 200° F. Line a large baking sheet with parchment paper (not wax paper).
- Whisk the 2 egg whites, 1/2 cup sugar, 1/8 tsp salt, and 1/8 tsp cream of tartar together on high speed for about 7 minutes, continuing until the mixture holds its shape. Look for a shiny foam that leaves ribbons behind the whisk and forms fairly stiff peaks.
- Fill a piping bag fitted with a 3/8-inch round tip, then pipe the caps about 1 inch apart with bases approximately 1 1/2 inches across, sweeping the tip sideways to finish each top. A rounded dome is the goal, and a wet fingertip can gently flatten any remaining point.
- Pipe the stems with bases approximately 3/4 inch across, making them narrower and taller than the caps. Each stem should taper upward to a pointed tip.
- Bake the pieces at 200°F for 1 hour 30 minutes, checking that they release readily from the parchment. The outside should feel crisp, although the center may still have a slightly soft, marshmallow-like texture.
- Lift the parchment and cookies off the hot baking sheet and let them reach room temperature on the paper. The meringues will firm throughout as they cool completely.
- Lightly dust the cooled caps and stems with cocoa, optionally rubbing it with your fingertips, then use a small paring knife to make a recess in the center of each cap’s underside. Keep each opening just large enough to receive a stem tip, with only a light cocoa shading on the surface.
- Melt the chocolate chips, spoon the chocolate into a zip-top bag, snip a tiny opening in one corner, and squeeze chocolate into each cap recess before inserting a stem. Rest the mushrooms upside down on their caps until the chocolate becomes firm and holds the stems in place.
- Move the assembled mushrooms gently into an airtight container and keep them at room temperature rather than refrigerating them. The chocolate joints should be fully set before you handle the finished cookies.