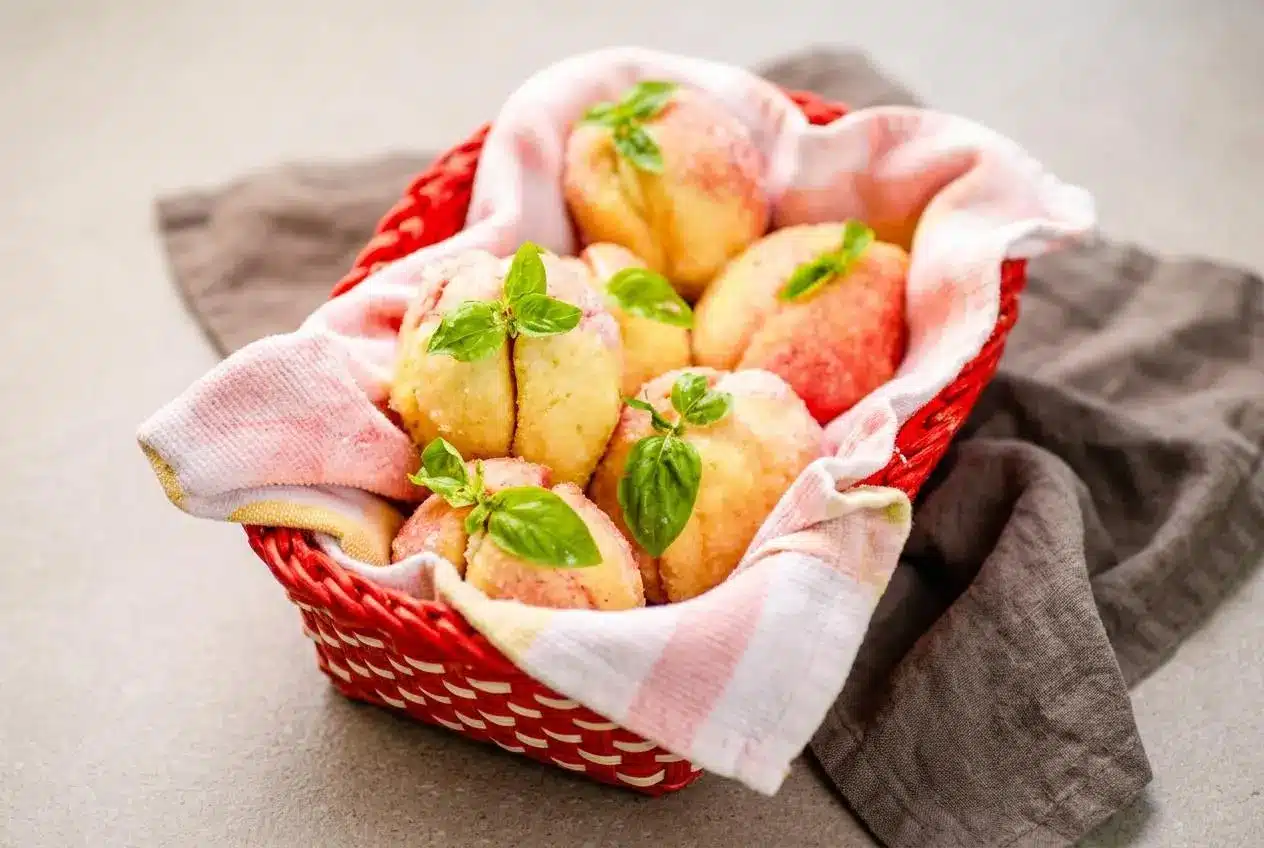
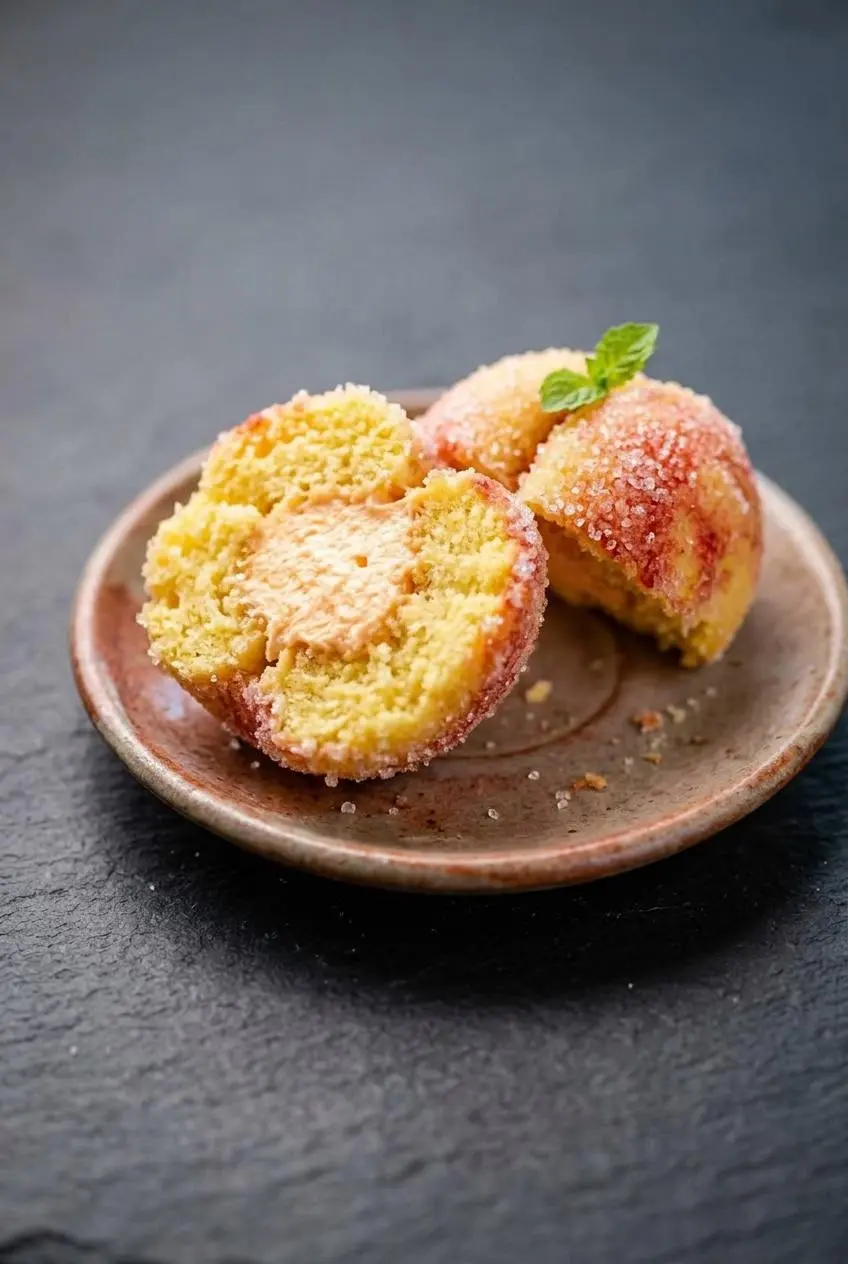
Italian peach cookies, called pesche dolci, are soft, cake-like sandwich cookies shaped like peaches. Hollowed cookie halves hold creamy peach frosting, while red and yellow peach nectar and a sugar coating give them their rosy, sparkling finish.
These italian peach cookies bring bakery-window charm to a homemade dessert tray. Beneath that sugar-sparkled surface, you get a tender cookie shell, peach preserves buttercream, and fruit flavor from the nectar brushed over the outside.
The assembly takes a little care, but each stage has a clear cue to follow. Smooth dough balls, pale baked tops, and warm carving help keep the shells intact. Then a refrigerator rest softens everything into a pastry-like bite. The warm carving makes the difference.
Set your sharp paring knife beside the cooling area before baking so you can hollow the cookies while their centers are still pliable.
Key Ingredients and Their Roles
Flour and eggs give the shells structure, butter and milk keep the crumb tender, and the peach ingredients build fruit flavor throughout. Vanilla and salt balance the filling, while colored nectar and granulated sugar create the peach-like finish.
For the Cookies
- 4 Cups Flour
- 1 Tablespoon Baking Powder
- ¼ Teaspoon Salt
- ¾ Cup Granulated Sugar
- ⅔ Cup Whole Milk
- 1 Stick Unsalted Butter (8 Tablespoons, Melted)
- ¼ Cup Peach Nectar or Juice
- 3 Tablespoons Peach Schnapps
- 3 Eggs
For the Frosting
- ¼ Cup Unsalted Butter
- ½ Teaspoon Vanilla
- 1 Pinch Salt
- 1 Cup Powdered Sugar
- 2 Tablespoons Peach Preserves
For Decorating
- ⅔ Cup Peach Nectar or Juice (Divided)
- ¼ Teaspoon Vanilla
- Red and Yellow Food Coloring
- 1 ½ Cups White Sugar
- Mint or Basil Leaves (For Garnish, If Desired)
Melted butter distributes richness throughout the dough without a separate creaming stage. Whole milk supplies moisture, while eggs help the rounded shells hold together around the hollowed centers. Baking powder gives the cookies their cakey lift. The goal is a tender dome with enough structure to handle filling and decorating.
Peach flavor appears in three places: nectar or juice adds fruit flavor to the dough and coating, schnapps reinforces it in the shells, and preserves bring concentrated sweetness to the buttercream. Nectar and juice are both listed options, so use whichever you have chosen consistently through the recipe.
For an alcohol-free adaptation, replace the peach schnapps with an equal amount of extra peach nectar or juice. Keep that substitution separate from the ingredient list above. It preserves the peach theme without requiring a different decorating method.
The filling butter serves a different purpose from the melted butter in the dough. It needs to whip into a fluffy frosting that stays in the cavities rather than running out. Powdered sugar gives that filling body, and the preserves add both flavor and moisture. The outer white sugar remains granular, creating the sparkling coating instead of a smooth glaze.
I recommend spooning flour into the measuring cup and leveling it off rather than scooping from the bag; packed flour can make these domes dry and harder to carve.
How to Make the Italian Peach Cookies Step by Step
This recipe yields 24 cookies. Allow about 30 minutes for preparation and 15 minutes for baking, plus complete cooling and the separate 8-hour refrigerator rest. The listed 45-minute preparation and baking time does not include chilling.
Bake and Carve the Warm Cookie Shells
The dough should feel sticky, not dry like a firm cutout-cookie dough. Nonstick spray on your palms helps you roll it without working extra flour into the mixture. Keep the portions consistent so the finished sandwich cookies fit together neatly.
For the Cookies
- Prepare a parchment-lined cookie sheet and heat the oven to 350°F.
The parchment should lie flat beneath the dough portions. - Stir the sugar, milk, melted butter, peach schnapps, peach nectar, baking powder, salt, and eggs together in a large mixing bowl.
Aim for an evenly blended mixture without visible streaks of egg. - Add the flour in stages, stopping the stirring as soon as it disappears into the dough.
The finished dough will be soft and sticky rather than stiff. - Coat your palms with nonstick cooking spray, shape 1-tablespoon scoops into smooth balls, and bake them on the prepared sheet for 14 to 15 minutes.
Look for lightly golden undersides and pale tops that have just set. - After 2 to 3 minutes of cooling, cut a 1-inch hollow into each flat underside with a sharp paring knife, then let the shells cool completely.
The warm crumb should cut more readily than a fully cooled center, with cookie left around the cavity to support the filling.
Carve with small, controlled cuts rather than levering out the center in one piece. Keep the hollow on the flat underside and avoid cutting through the rounded top. Reserve the removed crumbs if you want to use the optional filling variation below.
Whip the Peach Buttercream and Sandwich
Let the shells cool fully before adding buttercream; warm cookies can soften the filling. Match similar-sized halves before filling so you won’t need to squeeze or rearrange them afterward.
For the Frosting
- Beat the butter with vanilla and salt, work in the powdered sugar gradually, and fold the peach preserves through the frosting.
The buttercream should look fluffy and hold a soft mound rather than flow. - Fill each cavity lightly, coat the flat surfaces with a thin layer of buttercream, and join the cookie halves in pairs.
The edges should meet neatly without a thick ring of filling squeezing out.
The filling inside the hollow supplies the creamy center, while the thin layer across the flat surface helps the halves stick together. More frosting isn’t necessarily better here. An overfilled cavity can force the halves apart during painting.
Paint With Colored Nectar, Roll in Sugar, and Chill
Brushing gives you control over both moisture and color. Use the red nectar for the blush and yellow for the contrasting side, keeping the coating light enough that the cookie remains easy to handle.
Assembly
- Blend the decorating nectar with vanilla, split it equally between two bowls, tint one red and the other yellow, and put the sugar in a separate bowl.
The two liquids should show distinct colors before you begin brushing. - Brush opposite sides of each assembled cookie with red and yellow nectar, roll it in sugar, and refrigerate under plastic wrap for 8 hours or overnight.
The sugar should cling as visible crystals, and the chilled shells will soften as the moisture moves into the crumb. - Add a mint or basil leaf just before serving, if desired.
A fresh green leaf completes the peach-like appearance without becoming a required garnish.
Don’t soak the cookies. A light coating provides the color and moisture they need without saturating the hollow shells. If a cookie looks dripping wet, let the excess absorb briefly before sugaring it.
Expert Tips and Troubleshooting
Most assembly problems come from dry dough, pressure during carving, or too much decorating liquid. These fixes address the cause rather than trying to disguise a broken shell afterward.
- The dough sticks to everything. Coat your palms with nonstick spray and work with one measured portion at a time. Avoid repeatedly dusting the dough with flour, which can change the texture.
- The domes split along a line. A folded or rough dough ball can leave a seam. Gently work each portion between your coated palms until the surface becomes smooth, then roll it into a sphere without prolonged kneading.
- The shells crack while carving. Cold crumb resists cutting, and a spoon can push outward against the walls. Carve while the cookies are warm, using the knife to make small cuts instead of prying against the edge.
- The cookies seem dry. Packed flour or baking beyond the doneness cue can contribute to dryness. Spoon and level the flour, and check the bottoms rather than waiting for the tops to brown.
- The colors look too intense. Test each tinted nectar on a corner of a paper towel before touching the cookies. Adjust gradually; a lighter yellow and a restrained red blush look more natural than deeply saturated colors.
- The sugar turns into a wet crust. Excess nectar dissolves the crystals. Brush lightly, allow surface puddles to absorb, and roll while the exterior is damp enough to catch sugar but no longer dripping.
- The halves slide apart. Too much filling can prevent the edges from meeting. Use a modest amount inside each cavity and a thin connecting layer across the flat surfaces.
Handle the assembled cookies gently during decorating. Support the whole cookie in your hand rather than pinching one half, especially before the refrigerator rest has helped the filling settle.
Traditional Variations and Filling Options
You can change the filling or omit the schnapps without changing the peach-shaped presentation. Treat these as optional adaptations, not additions to the main method.
Alcohol-Free Peach Nectar Option
Replace the peach schnapps with an equal amount of peach nectar or peach juice. The nectar-and-vanilla decorating liquid already contains no alcohol, so you can keep that stage unchanged. For a family celebration, this is the most direct way to retain fruit flavor throughout the cookie.
Buttercream vs. Pastry Cream vs. Sicilian Crumb Filling
For a low-waste variation, finely crush the carved-out cookie centers and fold some into the peach buttercream. Add them gradually so the filling stays creamy and spreadable. The crumbs give it more body, but they aren’t required.
- Peach preserves buttercream: This is the filling used here, with a rich, fluffy texture and concentrated peach flavor. The optional cookie crumbs make it denser.
- Vanilla pastry cream: A thick, cooled custard gives pesche dolci con crema a softer, spoonable center. Use a pastry cream intended for filling pastries rather than a thin dessert sauce.
- Sicilian-style jam, nut, and crumb paste: Combine reserved cookie crumbs with peach jam and finely ground walnuts, pecans, or almonds for a more substantial filling. Homemade peach jam works well for this style when it has a thick, spreadable consistency.
Pittsburgh Wedding Tables and Croatian Breskvice
Peach-shaped cookies make a striking addition to Pittsburgh wedding cookie tables, where a variety of homemade cookies creates the celebration spread. Their fruit-like appearance stands out among flatter cookies.
Croatian peach cookies, called breskvice, share the paired-shell shape and colored sugar finish. Fillings vary, with walnut, jam, and cookie-crumb combinations offering a useful comparison to the buttercream version here. Don’t assume the doughs or preparation times are interchangeable.
Make-Ahead and Storage Guide
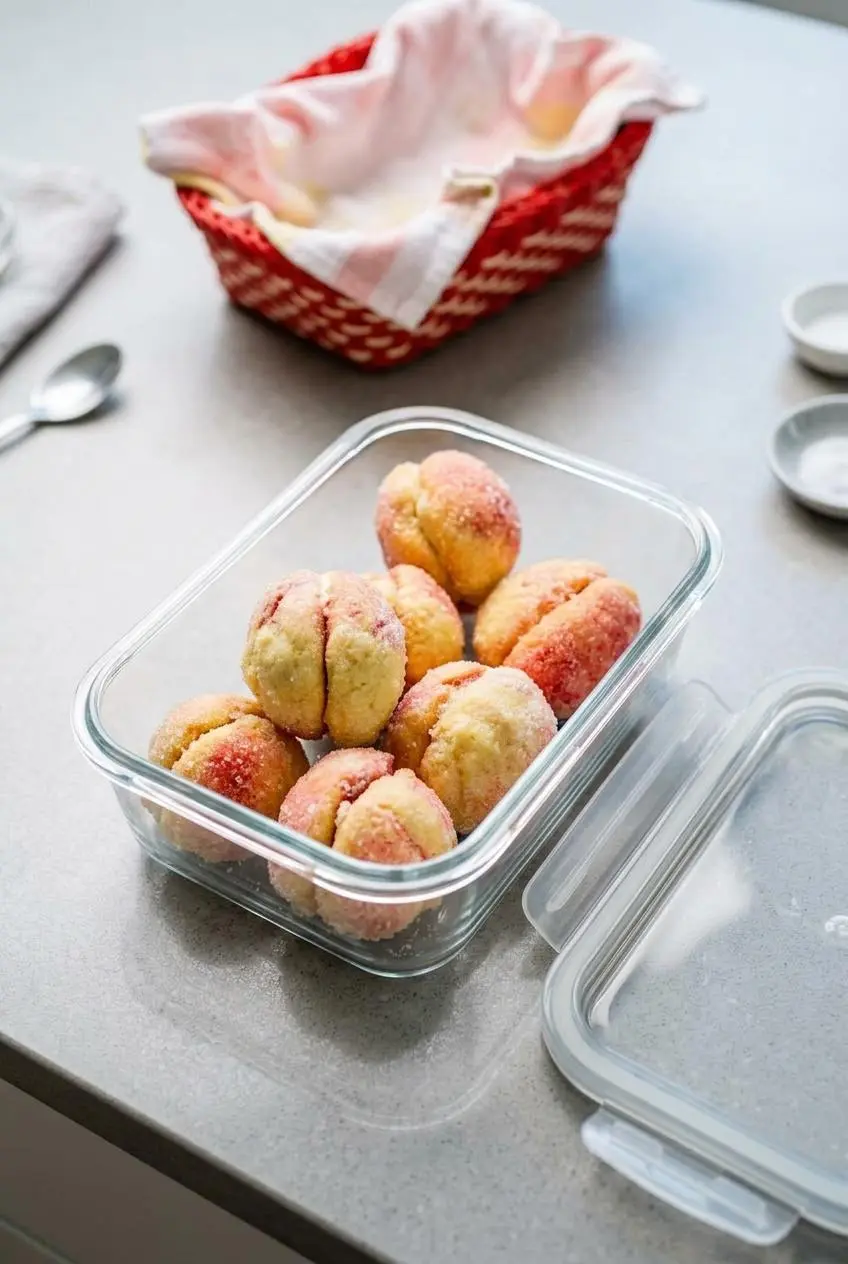
Plan backward from serving time so the finished cookies can complete their refrigerator rest. Chilling is part of achieving the soft texture, not merely a way to hold them until dessert.
Keep the preparation order clear: bake, carve while warm, cool completely, fill, paint, sugar, and chill. The warm carving is the time-sensitive stage. Have your knife and cooling area ready before the first batch comes out.
Once assembled, keep the cookies covered in the refrigerator. Choose a container with enough room that the rounded tops don’t press against the lid. Arrange them gently rather than packing them tightly, which can rub off sugar or push the halves out of alignment.
If using pastry cream instead of buttercream, keep the filled cookies chilled and follow the storage instructions for that particular filling. Different fillings need their own handling guidance; one storage limit doesn’t suit every variation.
Leave the mint or basil off until just before serving. Keeping the garnish separate protects its fresh appearance and prevents leaves from getting trapped against the covering. Transport the finished cookies in a covered container that supports them without squeezing their sides.
Serving Suggestions for Holidays and Showers
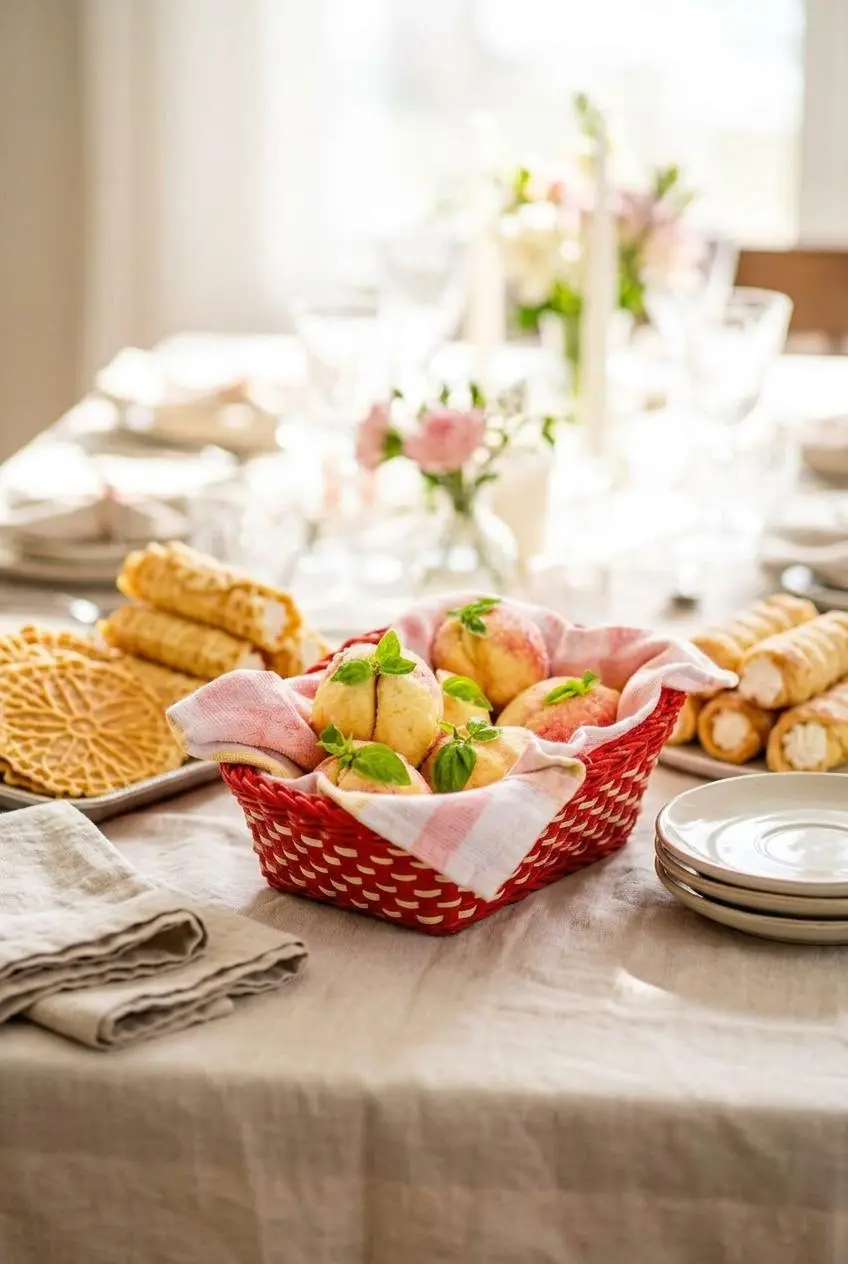
Serve these cookies chilled or at cool room temperature, with the optional leaves added at the last moment. Their rosy color fits Easter platters, bridal showers, baby showers, and summer dessert spreads without needing elaborate decorations.
On a wedding tray, pair them with Italian wedding cookies, pizzelles, and lady locks for contrasting shapes and textures. Leave a little space around the peaches so guests can lift them without gripping the sugared surfaces too firmly.
Tuck a small mint or basil leaf near the seam for the finishing touch. The garnish is decorative and aromatic, so keep it modest rather than covering the colored cookie.
Conclusion
Soft shells, peach buttercream, and sparkling sugar make these cookies a lovely homemade celebration dessert. Carving with a sharp paring knife while the centers are warm gives you the best chance of keeping those rounded shells intact.
Save the carved crumbs for the optional buttercream variation, then give the assembled cookies their refrigerator rest. A little care at each stage brings that bakery-style bite to the table.
Frequently Asked Questions
What Are Italian Peach Cookies Called?
They are called pesche dolci, meaning “sweet peaches.” The pastry-cream-filled version is often called pesche dolci con crema. The name refers to their peach-like shape and finish.
Why Did My Peach Cookies Crack When Carving the Centers?
The shells may have cooled completely, or the carving utensil may have pushed too hard against their walls. Excess flour can also make the crumb dry. Use a sharp paring knife while the cookies are warm and make small cuts rather than prying.
Can I Make Italian Peach Cookies Without Peach Schnapps or Alcohol?
Yes. Replace the schnapps with an equal amount of peach nectar or peach juice, as explained above. Keep the peach preserves buttercream and colored nectar coating unchanged.
How Far in Advance Can You Make Italian Peach Cookies?
Plan to finish assembly before the required refrigerator rest, rather than just before serving. Keep the finished cookies covered and chilled, and add leaves at serving time. The chilling period establishes their texture, not a longer storage limit.
Italian Peach Cookies

Equipment
- Cookie sheet
- Parchment Paper
- 1-tablespoon Cookie Scoop
- Sharp Paring Knife
Ingredients
For the Cookies
- 4 Cups Flour
- 1 Tablespoon Baking Powder
- ¼ Teaspoon Salt
- ¾ Cup Granulated Sugar
- ⅔ Cup Whole Milk
- 1 Stick Unsalted Butter (8 Tablespoons, Melted)
- ¼ Cup Peach Nectar or Juice
- 3 Tablespoons Peach Schnapps
- 3 Eggs
For the Frosting
- ¼ Cup Unsalted Butter
- ½ Teaspoon Vanilla
- 1 Pinch Salt
- 1 Cup Powdered Sugar
- 2 Tablespoons Peach Preserves
For Decorating
- ⅔ Cup Peach Nectar or Juice (Divided)
- ¼ Teaspoon Vanilla
- Red and Yellow Food Coloring
- 1 ½ Cups White Sugar
- Mint or Basil Leaves (For Garnish, If Desired)
Instructions
For the Cookies
- Prepare a parchment-lined cookie sheet and heat the oven to 350°F. The parchment should lie flat beneath the dough portions.
- Stir the sugar, milk, melted butter, peach schnapps, peach nectar, baking powder, salt, and eggs together in a large mixing bowl. Aim for an evenly blended mixture without visible streaks of egg.
- Add the flour in stages, stopping the stirring as soon as it disappears into the dough. The finished dough will be soft and sticky rather than stiff.
- Coat your palms with nonstick cooking spray, shape 1-tablespoon scoops into smooth balls, and bake them on the prepared sheet for 14 to 15 minutes. Look for lightly golden undersides and pale tops that have just set.
- After 2 to 3 minutes of cooling, cut a 1-inch hollow into each flat underside with a sharp paring knife, then let the shells cool completely. The warm crumb should cut more readily than a fully cooled center, with cookie left around the cavity to support the filling.
For the Frosting
- Beat the butter with vanilla and salt, work in the powdered sugar gradually, and fold the peach preserves through the frosting. The buttercream should look fluffy and hold a soft mound rather than flow.
- Fill each cavity lightly, coat the flat surfaces with a thin layer of buttercream, and join the cookie halves in pairs. The edges should meet neatly without a thick ring of filling squeezing out.
Assembly
- Blend the decorating nectar with vanilla, split it equally between two bowls, tint one red and the other yellow, and put the sugar in a separate bowl. The two liquids should show distinct colors before you begin brushing.
- Brush opposite sides of each assembled cookie with red and yellow nectar, roll it in sugar, and refrigerate under plastic wrap for 8 hours or overnight. The sugar should cling as visible crystals, and the chilled shells will soften as the moisture moves into the crumb.
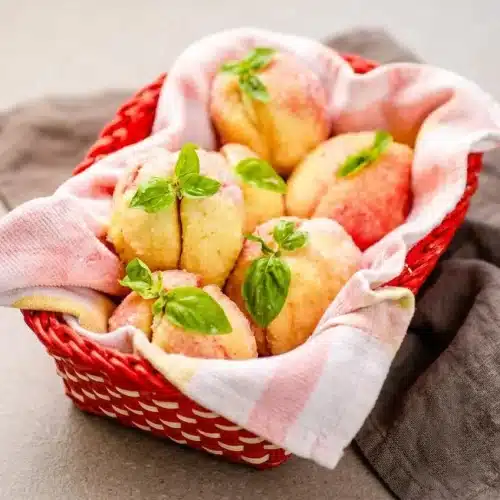
- Add a mint or basil leaf just before serving, if desired. A fresh green leaf completes the peach-like appearance without becoming a required garnish.