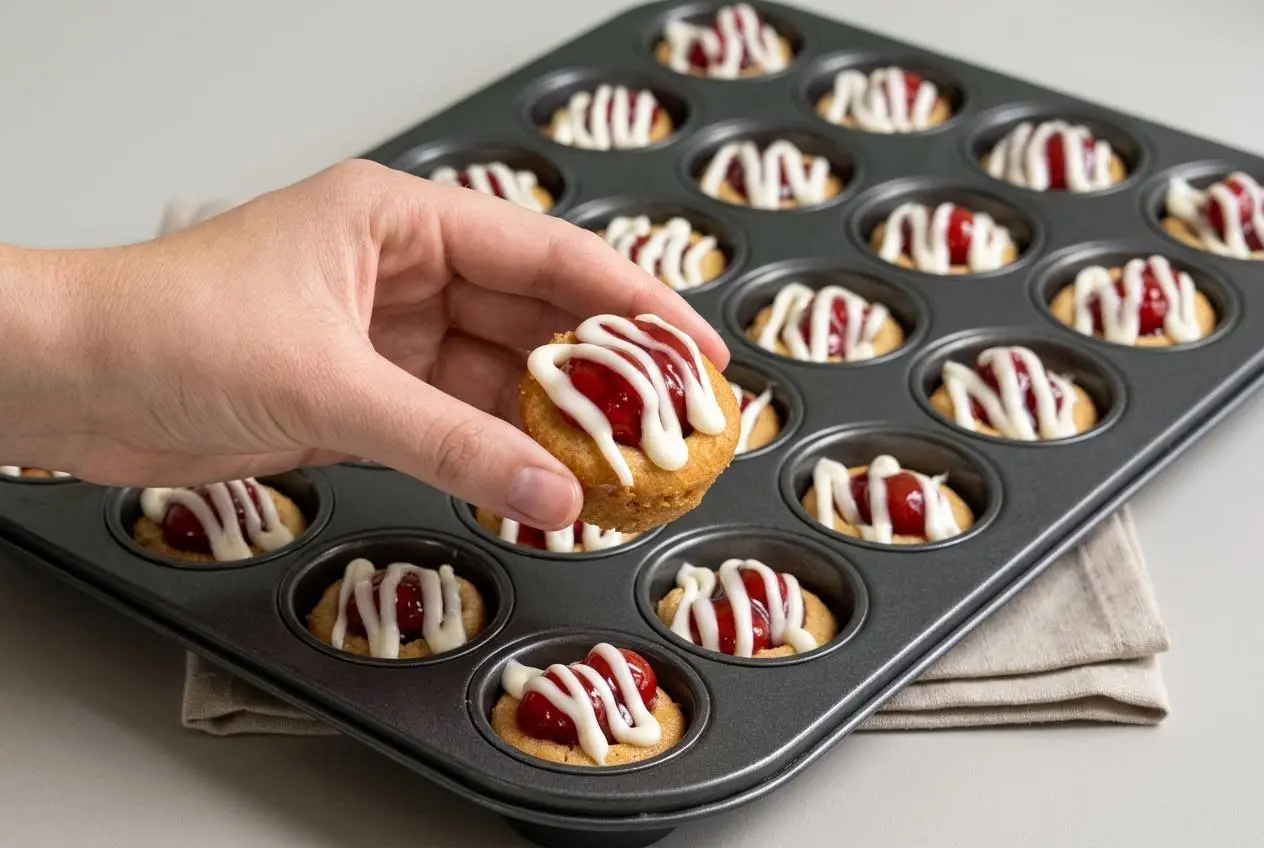
Cherry pie cookie cups are bite-sized desserts made with refrigerated sugar cookie dough baked in a mini muffin tin, indented while hot, and filled with cherries and almond icing. Expect a crisp, buttery shell, sweet tart fruit, and the comforting aroma of warm vanilla sugar crusts.
These cherry pie cookie cups bring together the buttery edges of a sugar cookie and the juicy center of a cherry dessert. Packaged dough handles the crust, while canned fruit filling makes assembly convenient for a party dessert table.
You don’t need to roll pastry or weave a lattice. The important part is shaping the baked dough before it firms up, then keeping the filling neatly inside each rim. That warm-cookie window makes all the difference.
Set a rounded spoon or spatula handle beside the oven before baking so you can shape the wells as soon as the pan comes out.
Ingredients for Cherry Pie Cookie Cups
The dough provides buttery structure, cherries bring moisture and tartness, and powdered sugar forms the icing. Heavy cream gives the drizzle richness and a smooth texture, while almond extract adds an aromatic contrast to the sweet filling.
- 1 (14 oz.) package sugar cookie dough
- 1 (21 oz.) Lucky Leaf Cherry Fruit Filling
- 1 cup powdered sugar
- 4 Tbsp. heavy whipping cream
- 1/4 tsp. almond extract
Sugar cookie dough: Refrigerated dough is easier to divide cleanly when cold. The equal portions matter because each cavity needs enough dough for a bottom and rim without crowding its neighbors.
Cherry fruit filling: Include fruit in each spoonful, rather than filling a cup with mostly syrup. The thickened filling should sit in the indentation instead of flowing freely over the cookie edges. Stir gently if the fruit and sauce have separated in the can.
Almond icing: Powdered sugar and cream create a glossy drizzle that contrasts with the cherry filling. Almond extract doesn’t remove sweetness, but its distinct aroma gives the sugar and fruit another flavor dimension. Measure it carefully so it complements rather than dominates the cherries.
I prefer to keep the dough chilled until the pan is ready; firm dough is much easier to portion without sticky fingers.
How to Make Cherry Pie Cookie Cups
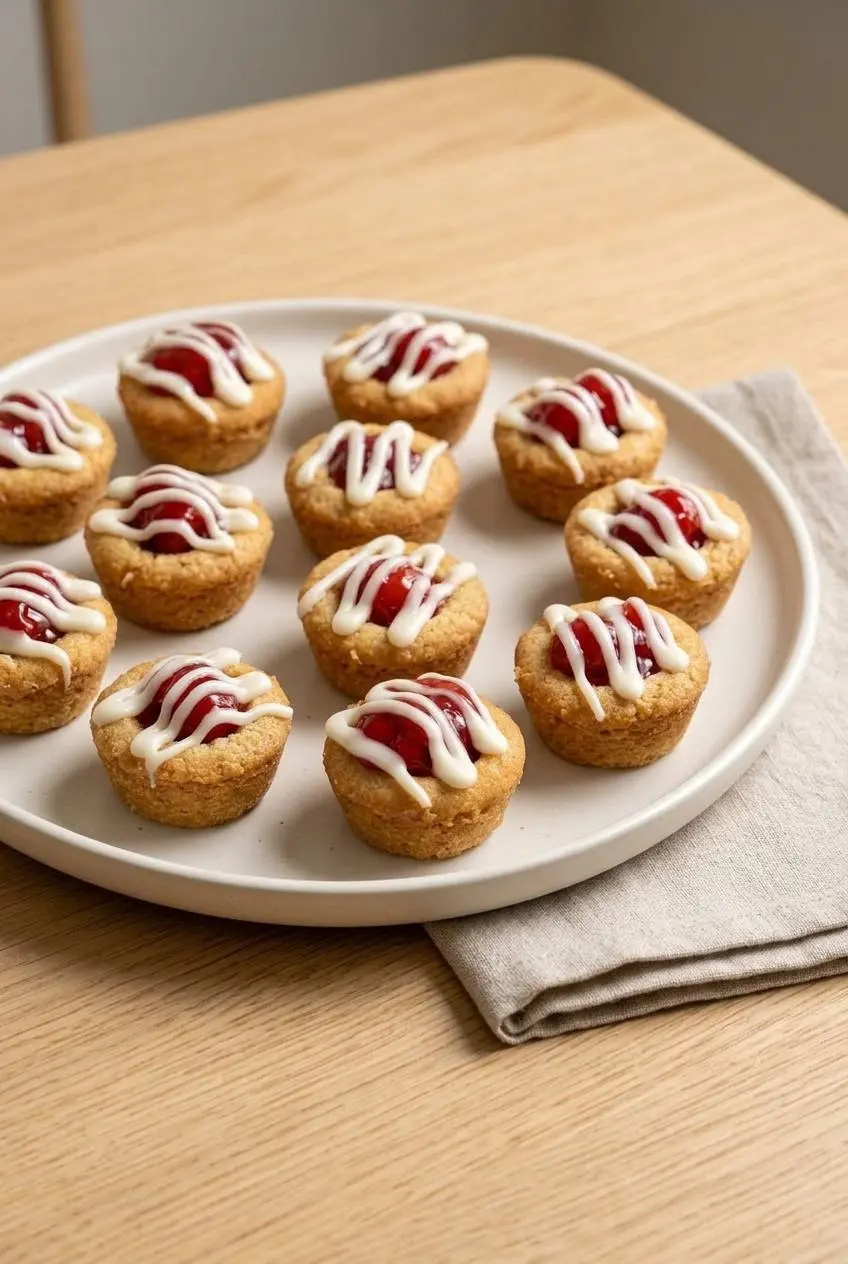
Bake the dough first and add the cherries afterward. This keeps the shaping stage manageable and lets you create a defined well before introducing the moist filling.
- Coat the bottoms and sides of a 24-cup mini muffin tin with cooking spray and heat the oven to 350°F.
An even coating inside each cavity helps the baked cookie edges release. - Separate the dough into 24 equal squares, using the perforations when present, and place one portion in every cavity.
The pieces should look similar in size so the cups bake evenly. - Bake for 18 to 20 minutes, then immediately indent each hot cookie with the rounded handle of a spoon or spatula.
Look for light golden edges and press gently while the centers remain pliable, leaving an intact cookie bottom. - Spoon roughly 2 teaspoons of cherry fruit filling into each indentation and set the pan aside.
Keep the cherries inside the wells with the cookie rims still visible. - Stir the powdered sugar, almond extract, and heavy whipping cream together until smooth, then drizzle the icing over the filled cups.
The icing should fall from the spoon in a smooth ribbon without dry lumps.
Preparing the Pan and Portions
Cover the interior walls as well as the bottoms with cooking spray. A missed patch near the upper edge can catch the cookie rim when you try to lift it out. Aim for coverage, not puddles.
Drop the cold dough portions into the cavities without flattening them into finished shells. The dough spreads during baking, and you’ll form the wells afterward. If your package isn’t perforated, divide it evenly into the same number of portions rather than guessing cavity by cavity.
Baking and Shaping the Hot Cookie Wells
Begin checking the edges at the start of the baking range. Light golden rims are the useful cue; waiting for deep brown edges can leave the shells harder and more brittle than intended.
Once the pan comes out, work promptly through the cavities. Hold the spoon or spatula handle upright and press into the center, not against one side. Stop when you feel the bottom resist. You’re making room for cherries, not pushing through to the metal pan.
Filling and Drizzling the Cups
Use the filling amount as a guide, then pay attention to the shape of each well. Distribute cherries between the cups so every bite contains fruit. Avoid piling filling above a fragile rim, where it can spill during unmolding.
Mix the icing thoroughly, scraping the bottom of the bowl to catch pockets of powdered sugar. A narrow drizzle leaves the red fruit visible and adds sweetness without covering the entire cookie. Let the cups cool completely in the tin before lifting them out.
Essential Success Tips and Troubleshooting
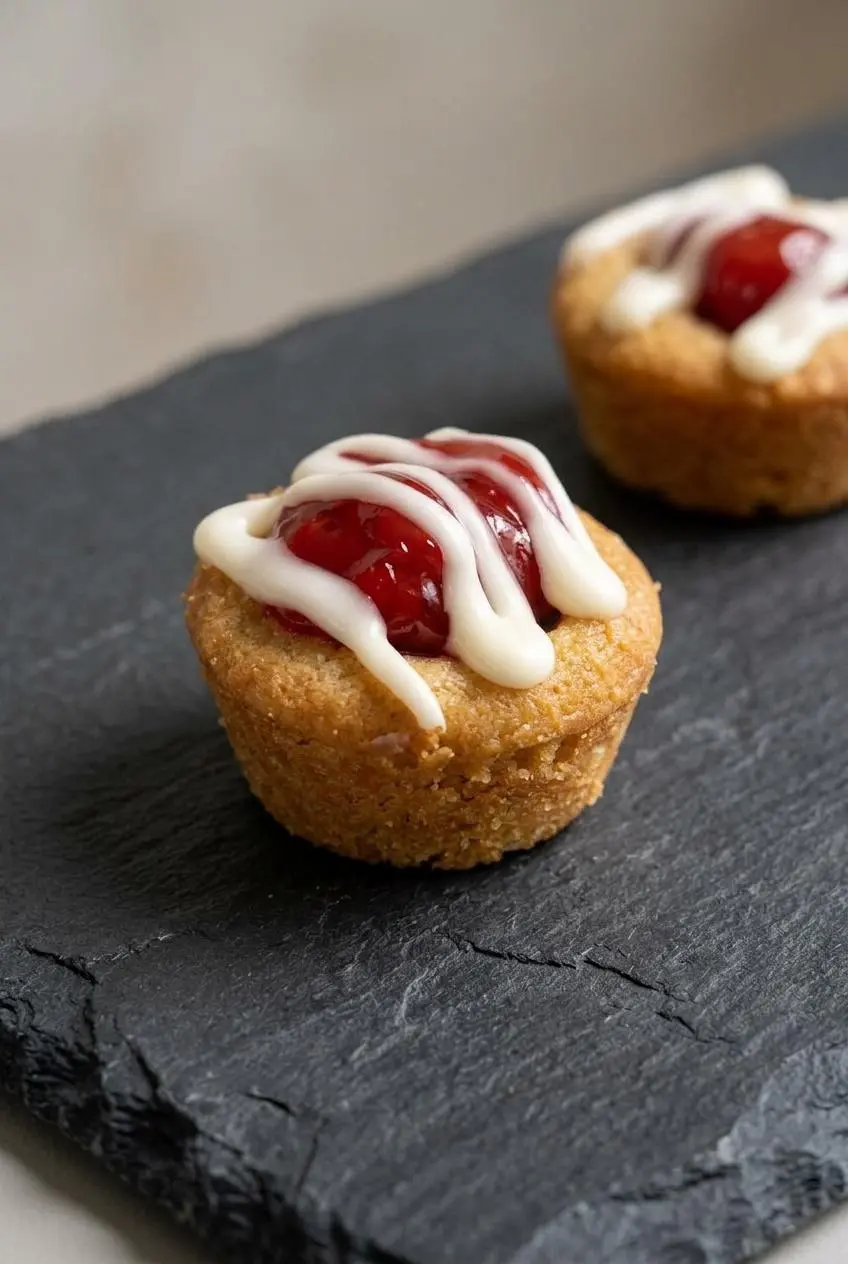
Most cookie cup problems come from uneven pan coating, delayed shaping, or lifting the shells before they firm up. Cookie dough needs different handling from the pastry used for traditional mini cherry pies: shape these wells after baking, while the centers are soft.
Releasing Cups Without Sticking or Crumbling
- The rim sticks: A dry patch of pan may have caught the dough. Once the cups are completely cool, slide a thin offset spatula or butter knife around the perimeter to loosen the edge.
- The bottom won’t lift: Don’t pull upward on the rim. Gently work the loosened cup from side to side, then support it from underneath as you lift.
- The cup crumbles: Warm cookies haven’t developed enough firmness for handling. Leave the remaining cups in the pan until completely cool, and avoid squeezing their sides.
Keep the utensil close to the metal wall rather than cutting into the cookie. If a rim breaks, handle that cup from underneath and serve it without further pressing or reshaping.
Choosing the Best Utensil for Pressing Wells
Choose a smooth, rounded surface narrow enough to fit inside the baked cookie with space left for the rim.
- Rounded spoon or spatula handle: This gives good control in small cavities and matches the shaping method used here.
- Small tart tamper: A properly sized tamper can make an even well, but one that nearly fills the cavity may crush the rim.
- Back of a rounded measuring spoon: This can form a curved indentation, although a wide spoon may press unevenly against the sides.
A narrow rounded handle is the most forgiving choice. Avoid sharp corners, and keep the pressing surface centered rather than rocking it toward the edges.
Fixing Puffy Centers and Cracked Edges
- The centers puff closed: Sugar cookie dough expands as it bakes. Create the wells immediately after removing the pan, while the centers still yield to gentle pressure.
- The edges crack during pressing: The dough may have cooled too much, or the pressing surface may be too wide. Stop forcing it deeper and use the shallow indentation that remains.
- The rims look uneven: Off-center pressure leaves one wall thinner than the other. Center the handle before pressing the remaining cups.
- The bottoms soften after filling: Fruit moisture gradually changes the cookie texture. Keep filling contained in the wells and assemble close to serving when crispness matters.
A minor crack doesn’t require more shaping. Additional pressure usually enlarges it. Let the cookie firm up in the pan, then lift it with support underneath.
Flavor Variations and Filling Ideas
Keep these optional changes separate from the sugar cookie version above. A different dough can spread or brown differently, so don’t assume the same baking range will suit every swap.
Shortbread Cookie Crust Swap
Shortbread dough offers a denser, butter-rich alternative. If you enjoy buttery shortbread cookies, that flavor pairs naturally with cherries. Choose a dough that holds its shape, and follow its baking guidance while watching the edges.
Handle this variation gently. A crumbly shortbread shell may need more support during unmolding, and a denser crust isn’t a guarantee against softening once it touches fruit filling.
Cheesecake Swirl Cherry Cups
For an optional cheesecake-style variation, spread a thin layer of sweetened cream cheese mixture inside a cooled well before adding cherries. Use less fruit if needed so the combined filling stays below the rim.
This adds creamy tang and a softer center. Keep the cream cheese mixture chilled until assembly, and treat these cups as refrigerated desserts rather than leaving the platter out for extended serving.
Creative Fruit and Citrus Additions
- Blueberry pie filling: Swap it for cherry filling for a deeper berry flavor, spooning fruit and thickened sauce together.
- Apple pie filling: Cut large apple pieces smaller so they fit inside the mini wells without pushing against the rims.
- Fresh lemon zest: Stir a little zest into the cherry filling for a bright citrus aroma without adding extra liquid.
Storage and Make-Ahead Instructions
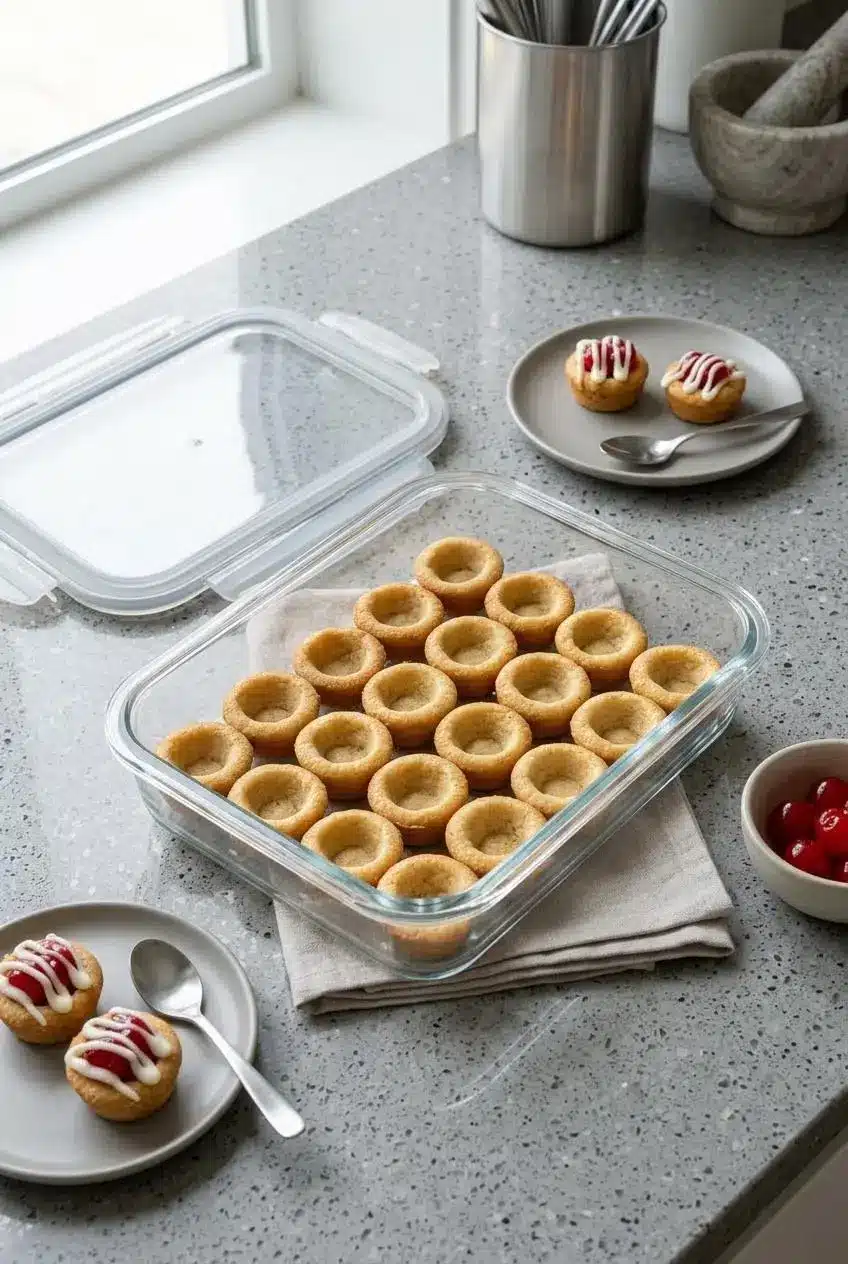
Keep moisture away from the shells until you’re ready to assemble. Separate components give you more control over texture than storing a finished platter.
Make-Ahead Shell Preparation
If you’re separating baking from assembly, cool the unfilled shells completely before placing them in a tightly closed container. Warm cookies can trap steam inside the container and lose their crisp edges.
Keep the fruit filling and icing separate, following their package storage directions. Fill and drizzle close to serving rather than letting the cookie shells sit in contact with wet filling unnecessarily.
Refrigerator and Room Temperature Guidelines
For finished leftovers, refrigerate the cups in a covered container as a precaution because the icing contains cream. Arrange them in a single layer so the lid and neighboring cookies don’t smear the topping.
Bring out the portion you plan to serve and keep the rest chilled. Follow storage directions on the dough, filling, and cream packaging rather than treating room temperature as a default holding condition. Refrigeration may change the cookie’s texture, especially after filling.
Protecting Baked Shells From Moisture
Choose a container with enough clearance to protect the rims. Don’t stack delicate shells directly on top of one another, and keep them away from the fruit filling until assembly.
Pack finished cups separately from unfilled shells. This protects the dry cookies from sticky icing and spilled cherry sauce, while making it easier to assemble only what you need.
Conclusion
These cookie cups turn sugar cookie dough, cherries, and almond icing into a neatly portioned dessert for gatherings or casual baking. Their appeal is the contrast between buttery edges and a soft fruit center.
Shape the wells while the cookies are hot, then let the cups cool fully before unmolding. A gentle press and a patient release keep those little shells ready for the dessert platter.
Frequently Asked Questions
Can I Make These Cookie Cups Ahead of Time?
You can separate baking from assembly: cool the unfilled shells completely and keep the filling and icing separate. Follow the ingredient package storage directions, then fill and drizzle close to serving to preserve the cookie texture.
Why Did My Cookie Cups Crack When Making the Well?
The cookies may have cooled before pressing, or the pressing surface may have been too wide. Shape the centers immediately after baking with a rounded handle, using gentle downward pressure without forcing the bottom thinner.
Do Cherry Pie Cookie Cups Need to Be Refrigerated?
Refrigerate finished leftovers in a covered container as a precaution because the icing contains heavy cream. Keep them in a single layer and follow the ingredient package storage directions.
Can I Use Homemade Sugar Cookie Dough Instead of Store-Bought?
A firm, chilled cutout sugar cookie dough is a reasonable optional alternative. Its spread and baking needs may differ, so use that dough’s guidance rather than assuming it will behave exactly like the packaged dough.
Can You Make Mini Cherry Pies in a Cupcake Pan?
A standard cupcake pan can make larger cookie cups, but it isn’t a direct substitute for this mini muffin method. Dough portions, filling amounts, and baking needs would change; use a mini muffin tin for the bite-sized cups described here.
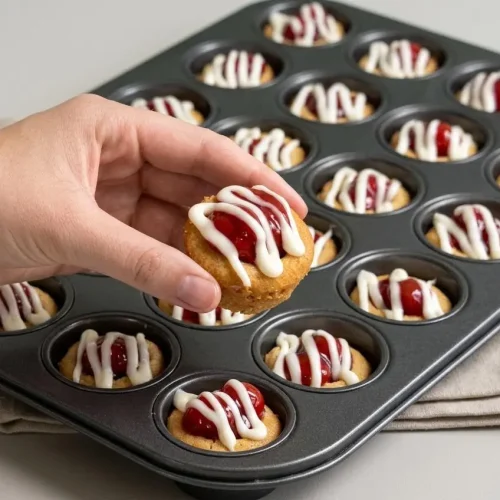
Cherry Pie Cookie Cups

Equipment
- mini (24 cup) muffin tin
- Cooking spray
- Spoon or Spatula
Ingredients
- 1 (14 oz.) package sugar cookie dough
- 1 (21 oz.) Lucky Leaf Cherry Fruit Filling
- 1 cup powdered sugar
- 4 Tbsp. heavy whipping cream
- 1/4 tsp. almond extract
Instructions
- Coat the bottoms and sides of a 24-cup mini muffin tin with cooking spray and heat the oven to 350°F. An even coating inside each cavity helps the baked cookie edges release.
- Separate the dough into 24 equal squares, using the perforations when present, and place one portion in every cavity. The pieces should look similar in size so the cups bake evenly.
- Bake for 18 to 20 minutes, then immediately indent each hot cookie with the rounded handle of a spoon or spatula. Look for light golden edges and press gently while the centers remain pliable, leaving an intact cookie bottom.
- Spoon roughly 2 teaspoons of cherry fruit filling into each indentation and set the pan aside. Keep the cherries inside the wells with the cookie rims still visible.
- Stir the powdered sugar, almond extract, and heavy whipping cream together until smooth, then drizzle the icing over the filled cups. The icing should fall from the spoon in a smooth ribbon without dry lumps.