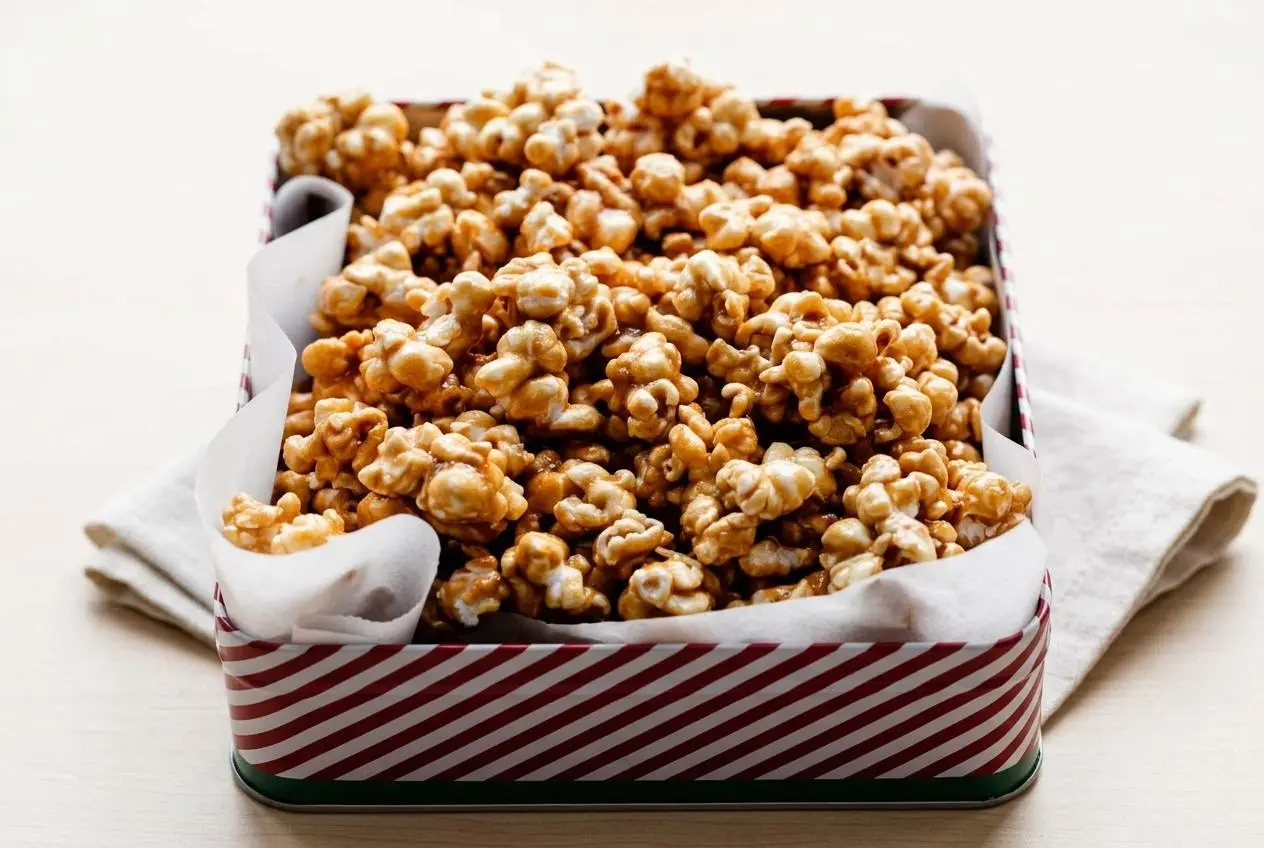
This caramel corn turns crisp and golden by coating plain popcorn in an aerated brown sugar glaze, then baking it at a low temperature to dry out lingering moisture.
This caramel corn recipe delivers buttery clusters with a light, brittle coating instead of a sticky chew. Warm butter and brown sugar make the kitchen smell like movie night in progress.
The caramel puffs dramatically after the baking soda goes in, then settles into a thin coating that clings to every kernel. The cooling step is where the real crunch arrives.
Set aside an oversized bowl and remove every unpopped kernel before the caramel reaches the popcorn.
Essential Ingredients for Caramel Corn
Every ingredient contributes to the caramel’s flavor, structure, spreadability, or crisp finish, from the deep sweetness of brown sugar to the airy lift created by baking soda.
- 10–11 cups (about 70–75g) air-popped popcorn
- 1 cup (200g) packed light brown sugar
- 1/4 cup (80g) light corn syrup
- 1/2 cup (113g) unsalted butter
- 1/2 teaspoon salt
- 1/8 teaspoon cream of tartar
- 1/2 teaspoon baking soda
Light brown sugar gives the coating its amber color and mellow molasses flavor. Unsalted butter adds richness, while salt keeps the sweetness from tasting flat. Cream of tartar adds a little acidity and helps the syrup stay smooth as it cooks.
I prefer air-popped popcorn because its dry, clean surface gives the caramel something to grip instead of letting buttery oils make the coating slide away.
The Science of Crisp Caramel and Why Ingredients Matter
Caramel corn succeeds when the sugar coating stays smooth, thin, and dry. Brown sugar brings a deeper flavor than white sugar, while light corn syrup contributes glucose molecules that interfere with sucrose crystals forming large, grainy clumps. Light corn syrup is different from high-fructose corn syrup, and it gives this caramel a neutral flavor that lets the butter and brown sugar lead.
Baking soda is the ingredient that changes the texture most dramatically. When it hits the hot caramel, it reacts with the syrup’s acids and creates tiny carbon dioxide bubbles. The amber syrup quickly expands, lightens, and turns frothy. Those bubbles help the coating spread over the popcorn in a thinner layer, which becomes crisp and pleasantly brittle after baking and cooling.
Do not skip the baking soda. Without it, the caramel is denser, harder to distribute, and more likely to form thick, heavy patches on the popcorn.
Selecting the Best Popcorn: Air-Popped vs. Microwave
Fresh air-popped popcorn gives the cleanest flavor and the crispest finished coating. Tip the popcorn into a large bowl, gently shake it, and look through the bottom for hard unpopped kernels before adding hot caramel. Those kernels tend to settle underneath the fluffy popcorn, where they are easy to miss.
Plain, unbuttered, unsalted microwave popcorn can work when needed. Avoid pre-buttered or heavily salted bags, especially ones with butter-flavored oils. Their greasy coating can keep caramel from adhering evenly and may leave the finished popcorn feeling oily.
Step-by-Step Guide to Perfect Homemade Caramel Corn
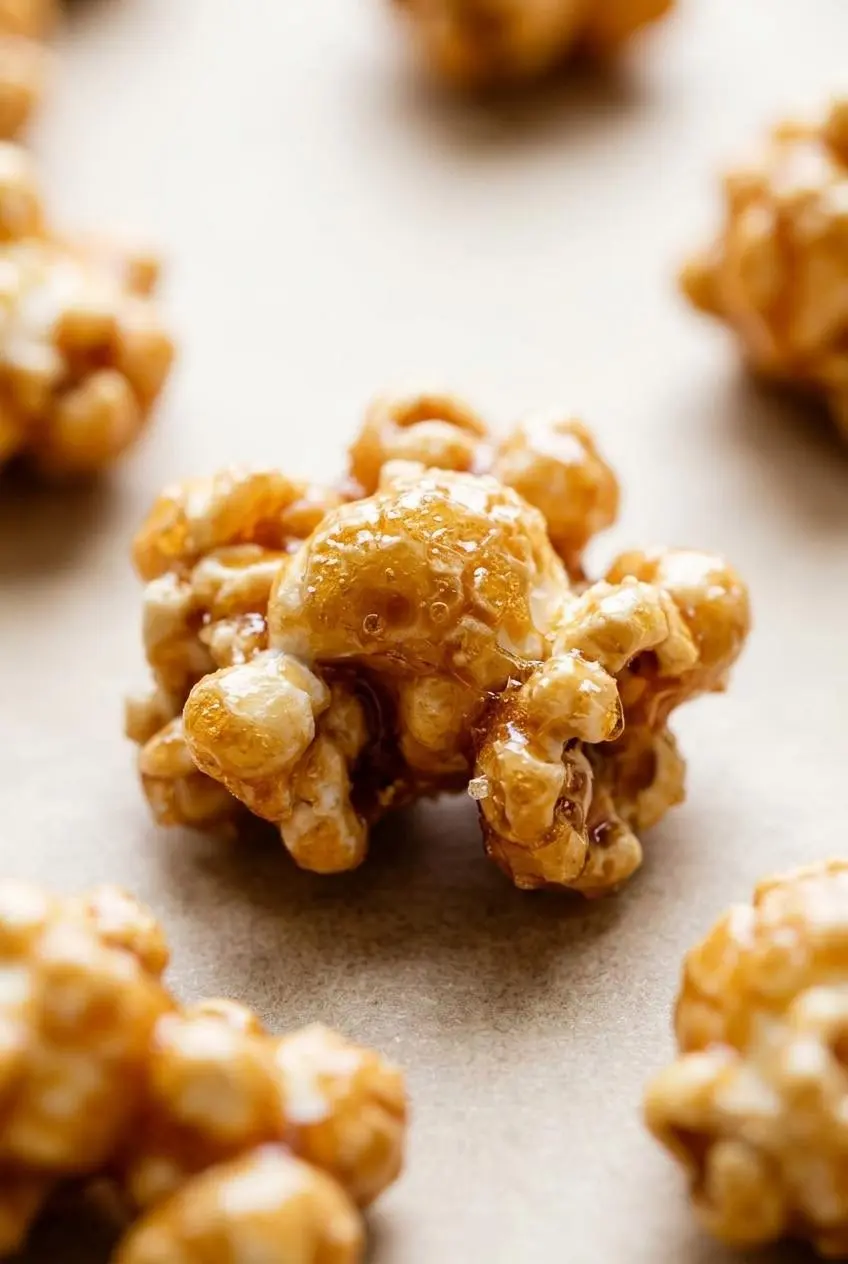
The key moments are a steady four-minute boil, a quick stir after the baking soda, and slow oven drying. Keep children and pets clear of the stove while working with the bubbling sugar mixture, since it is extremely hot.
- Heat the oven to 200°F (93°C), then line 1 or 2 12×17-inch baking sheets with silicone baking mats or parchment paper.
The lined pans prevent the caramel coating from sticking as it firms. - Place the popcorn in your largest bowl, or distribute it across the prepared baking sheets.
Leave enough room to turn the popcorn gently without crushing the kernels. - Put the brown sugar, corn syrup, butter, salt, and cream of tartar in a medium saucepan over medium heat, stirring continuously until the butter has melted and the mixture begins simmering.
Once bubbles appear around the edges, stop stirring and let the syrup boil for 4 minutes, reaching 234–235°F (112–113°C) on a candy thermometer if using one. - Take the saucepan off the heat and immediately stir in the baking soda.
The caramel will rise, foam, and nearly double in volume, so stir carefully and keep hands away from the hot steam. - Pour the foamy caramel over the popcorn and fold with a large spoon or spatula until the kernels are coated, then spread the popcorn across the prepared pans.
Work steadily but gently as the coating begins to thicken and cling to the popcorn. - Bake for 1 hour, using a gentle hand to stir the popcorn every 20 minutes.
Each turn redistributes the glaze and helps moisture escape so the coating dries evenly. - Leave the caramel corn on the pans to cool for at least 30 minutes, then separate any large clusters once they are comfortable to handle.
It may feel a little soft right out of the oven, but the coating hardens into a crisp shell as it cools. - Seal the completely cooled caramel corn tightly in an airtight container.
Protected from humidity, it stays fresh for up to 2 weeks.
Mastering the Classic Slow-Baked Method
The 200°F oven does more than warm the caramel. During the full hour, it slowly drives off moisture from the sugar coating without scorching the popcorn. Stirring every 20 minutes moves the still-soft glaze across the kernels, preventing thick caramel puddles from setting at the pan edges.
Do not judge the texture too early. Fresh from the oven, the caramel may seem slightly soft and flexible. Give it the full cooling time before deciding whether it is crisp enough. Once cool, it should snap cleanly rather than bend or feel tacky.
Choosing the Right Pan and Preventing Messes
High-rimmed half-sheet pans are especially helpful because they contain the popcorn while you stir. A large roasting pan also works well. Line either pan with parchment paper or a silicone baking mat so the hardened caramel releases cleanly.
An oversized bowl makes coating easier if you prefer to mix before spreading the popcorn onto pans. Add the caramel in a steady stream, then fold from the bottom upward rather than stirring aggressively. This keeps the delicate popcorn intact and gives the glaze a better chance to reach the whole batch.
Troubleshooting Common Caramel Corn Mistakes
Most caramel corn problems come down to moisture, heat control, or stirring at the wrong moment. These fixes keep a disappointing batch from becoming a lost cause.
- Chewy or sticky popcorn: The syrup may not have boiled long enough, or the oven drying was cut short. Return the popcorn to a 200°F oven and bake until the coating feels dry and crisp after cooling.
- An oily pool of butter: The butter and sugar did not fully come together before the syrup began boiling, or the heat ran too high. Use medium heat and stir constantly until the butter is completely incorporated and the mixture reaches a steady simmer.
- Grainy caramel: Stirring hard once the syrup is actively bubbling can encourage sugar crystals to form. Stir only until the mixture reaches its simmer, then leave it undisturbed during the four-minute boil.
- Very thick patches of caramel: Add the baking soda immediately after removing the pan from the heat, then fold the foamy caramel through the popcorn without delay. The expanded caramel is easiest to spread while it is still warm.
- Dark or bitter edges: Spread the popcorn into an even layer and keep up with the 20-minute stirring schedule. Clumps left at the pan edge can darken before the rest of the batch finishes drying.
Flavor Variations and Gourmet Mix-Ins
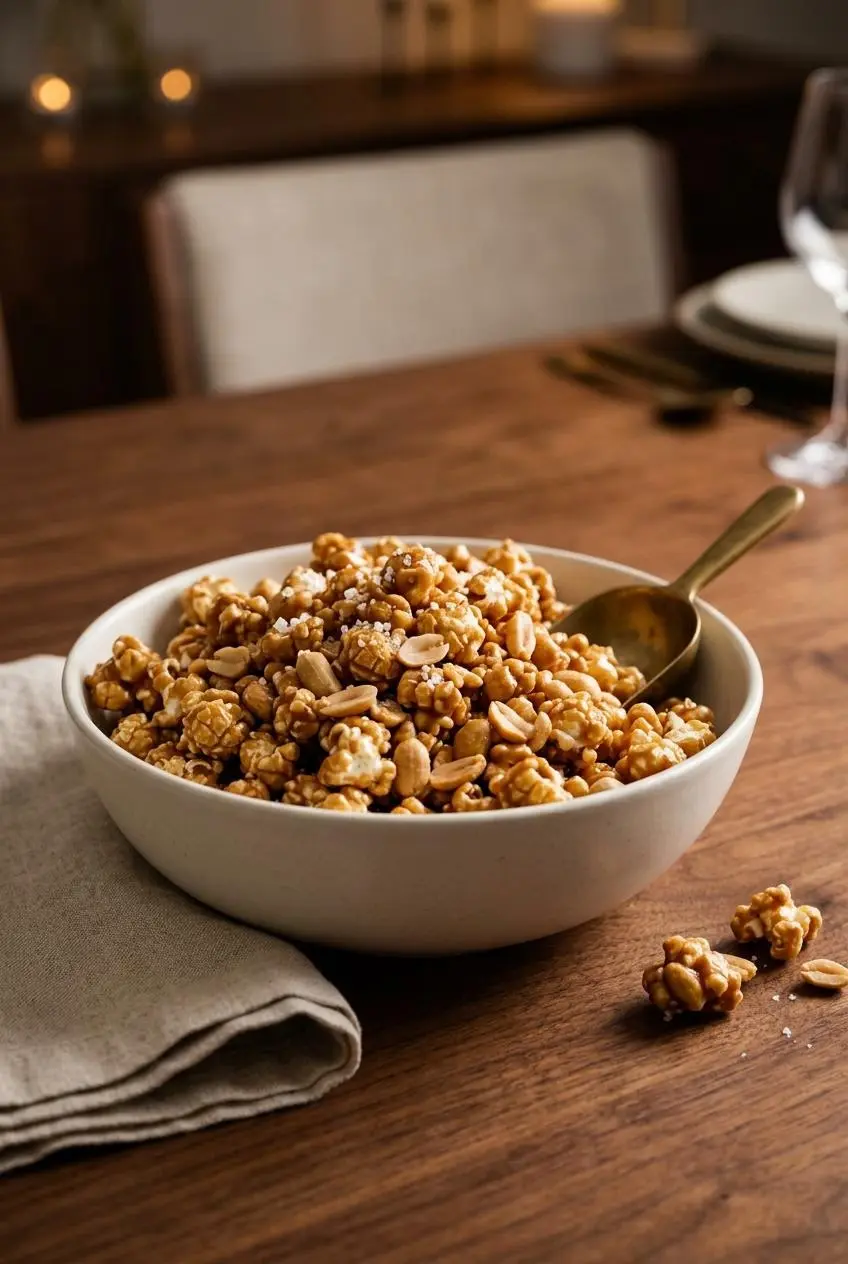
Keep the classic caramel corn as written, then customize part of the batch if you want a different flavor for a party, gift tin, or movie-night snack spread.
Salted Peanut or Cashew Caramel Corn
For a salty-sweet, old-fashioned crunch, fold roasted salted peanuts or cashews into the popped corn before pouring over the caramel. The nuts bake alongside the popcorn and become part of the clusters. Pecans are another good choice when you want a softer, buttery nut flavor.
For a second sweet popcorn option, serve this caramel corn beside cookies and cream popcorn. The two textures and flavors make a fun snack bowl without changing the caramel corn itself.
Dark Chocolate Sea Salt Drizzle
Let the caramel corn cool completely before drizzling it with melted dark chocolate. Add flaky sea salt while the chocolate is still wet, then let it set before packing or serving. Chocolate added to hot popcorn can melt into the caramel and lose its clean drizzle effect.
Microwave Shortcut Method for Busy Cooks
A microwave caramel corn method can satisfy a quick craving, but it produces a softer, chewier coating because it skips the slow oven drying that gives this version its brittle snap. Use plain popcorn, handle hot sugar carefully, and enjoy that style promptly for its best texture.
If crisp clusters are the goal, choose the oven method. If you want a gooier, softer sweet popcorn for immediate snacking, the microwave approach has its place.
Flavor Enhancements: Vanilla Bean and Sea Salt
For a more fragrant caramel, stir scraped vanilla bean into the hot syrup after it comes off the heat, along with the baking soda. Finish the hot popcorn with a light sprinkle of flaky sea salt for contrast. A touch of cinnamon gives the batch a warm, autumn-like flavor, while a small spoonful of molasses adds darker, more robust sweetness.
Storage, Shelf Life, and Gifting Ideas
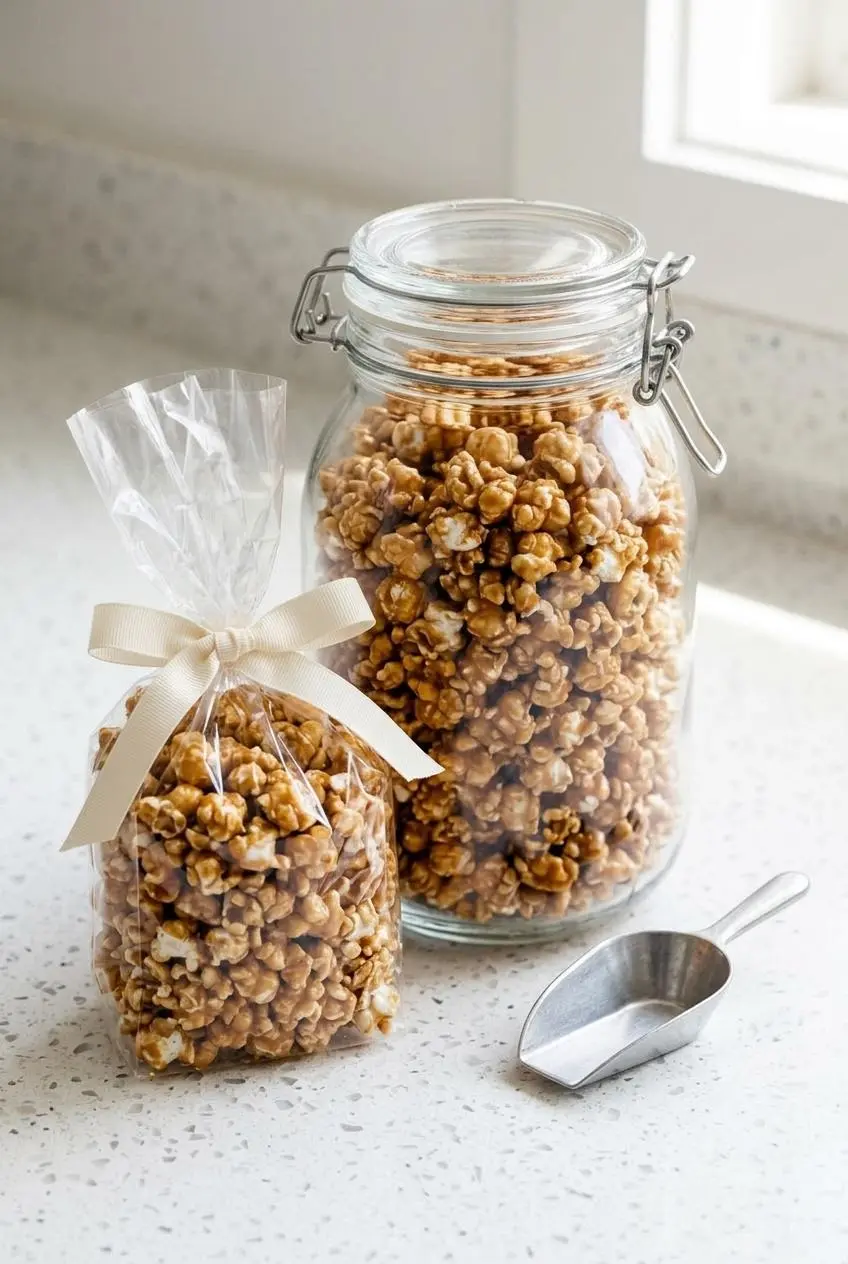
Humidity is the enemy of caramel corn’s crunch. Cool the popcorn completely before sealing it in an airtight glass jar, tightly lidded metal tin, or another moisture-blocking container. The caramel corn keeps its crisp texture for up to 2 weeks when stored at room temperature away from heat and humidity.
Skip the refrigerator, where moisture can soften the coating. For gifts, portion the cooled popcorn into moisture-sealed cellophane treat bags, press out excess air, and tie them tightly with ribbon. Clear bags make the golden clusters especially festive for holidays, game nights, and party favors.
Serve a bowl while the clusters are still slightly warm from cooling, or add it to an autumn dessert board with crisp apple slices and cheese. Keep any leftover chocolate-drizzled popcorn in a cool spot so the chocolate stays firm.
Conclusion
Homemade caramel corn is all about a few dependable cues: a smooth four-minute caramel boil, the dramatic foam from baking soda, and a patient low-temperature bake.
Let the popcorn cool fully before judging the texture, then enjoy that buttery, shattering crunch with an optional pinch of flaky sea salt. It is a small kitchen project with a very rewarding payoff.
Frequently Asked Questions
Why Is My Caramel Corn Chewy Instead of Crunchy?
Chewy caramel corn holds too much moisture. The syrup may have been under-boiled, or the popcorn may need more time in the low oven. Return it to a 200°F oven until the coating dries, then let it cool completely before checking the texture again.
What Is the Purpose of Baking Soda in Caramel Corn?
Baking soda reacts with acids in the hot caramel and creates carbon dioxide bubbles. The syrup becomes foamy and easier to spread, then cools into a lighter, crisp coating instead of a dense layer of hard candy.
Can I Make Caramel Corn Without Corn Syrup?
Yes. Mild honey, pure maple syrup, or brown rice syrup can be used as alternatives, though each changes the flavor. Light corn syrup gives the most neutral classic taste and helps reduce the chance of grainy caramel.
How Long Does Homemade Caramel Corn Stay Fresh?
When it is fully cooled and sealed in an airtight container at room temperature away from humidity, this caramel corn stays fresh for up to 2 weeks. Refrigeration can soften the coating, so keep it dry and tightly covered instead.
Can I Use Microwave Popcorn Instead of Air-Popped?
Plain, unbuttered, unsalted microwave popcorn works if air-popped popcorn is unavailable. Avoid butter-flavored or heavily salted bags, since their oils and seasoning can prevent the caramel from coating the kernels evenly.
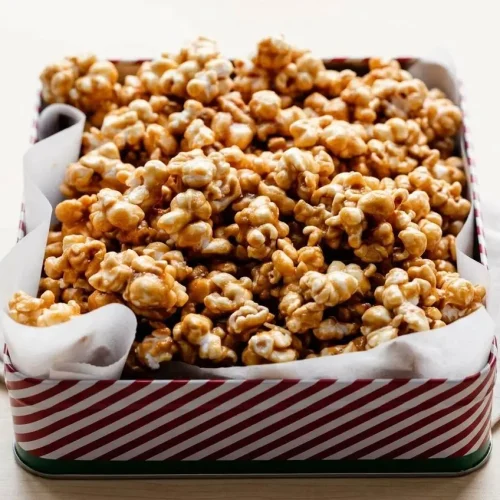
Caramel Corn Recipe

Equipment
- 1 or 2 12×17-inch baking sheets
- Silicone Baking Mats or Parchment Paper
- Medium saucepan
- Large spoon or spatula
- Candy thermometer
Ingredients
- 10–11 cups air-popped popcorn about 70–75g
- 1 cup packed light brown sugar 200g
- 1/4 cup light corn syrup 80g
- 1/2 cup unsalted butter 113g
- 1/2 teaspoon salt
- 1/8 teaspoon cream of tartar
- 1/2 teaspoon baking soda
Instructions
- Heat the oven to 200°F (93°C), then line 1 or 2 12×17-inch baking sheets with silicone baking mats or parchment paper. The lined pans prevent the caramel coating from sticking as it firms.
- Place the popcorn in your largest bowl, or distribute it across the prepared baking sheets. Leave enough room to turn the popcorn gently without crushing the kernels.
- Put the brown sugar, corn syrup, butter, salt, and cream of tartar in a medium saucepan over medium heat, stirring continuously until the butter has melted and the mixture begins simmering. Once bubbles appear around the edges, stop stirring and let the syrup boil for 4 minutes, reaching 234–235°F (112–113°C) on a candy thermometer if using one.
- Take the saucepan off the heat and immediately stir in the baking soda. The caramel will rise, foam, and nearly double in volume, so stir carefully and keep hands away from the hot steam.
- Pour the foamy caramel over the popcorn and fold with a large spoon or spatula until the kernels are coated, then spread the popcorn across the prepared pans. Work steadily but gently as the coating begins to thicken and cling to the popcorn.
- Bake for 1 hour, using a gentle hand to stir the popcorn every 20 minutes. Each turn redistributes the glaze and helps moisture escape so the coating dries evenly.
- Leave the caramel corn on the pans to cool for at least 30 minutes, then separate any large clusters once they are comfortable to handle. It may feel a little soft right out of the oven, but the coating hardens into a crisp shell as it cools.
- Seal the completely cooled caramel corn tightly in an airtight container. Protected from humidity, it stays fresh for up to 2 weeks.