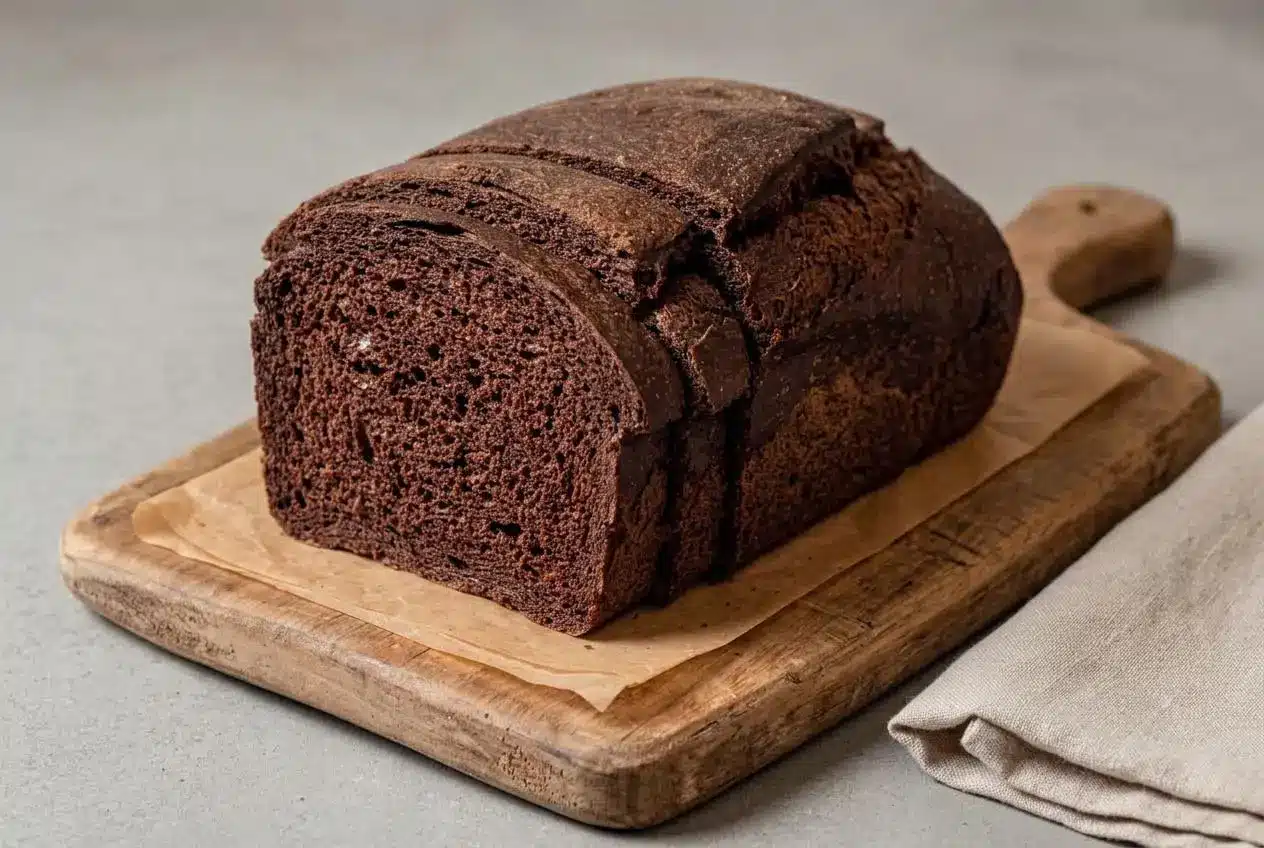
Pumpernickel bread is a hearty, dark rye loaf combining rye flour, bread flour, cocoa powder, and yeast. It delivers an earthy flavor balanced with subtle sweetness and a tender crumb, making it an exceptional foundation for classic deli sandwiches.
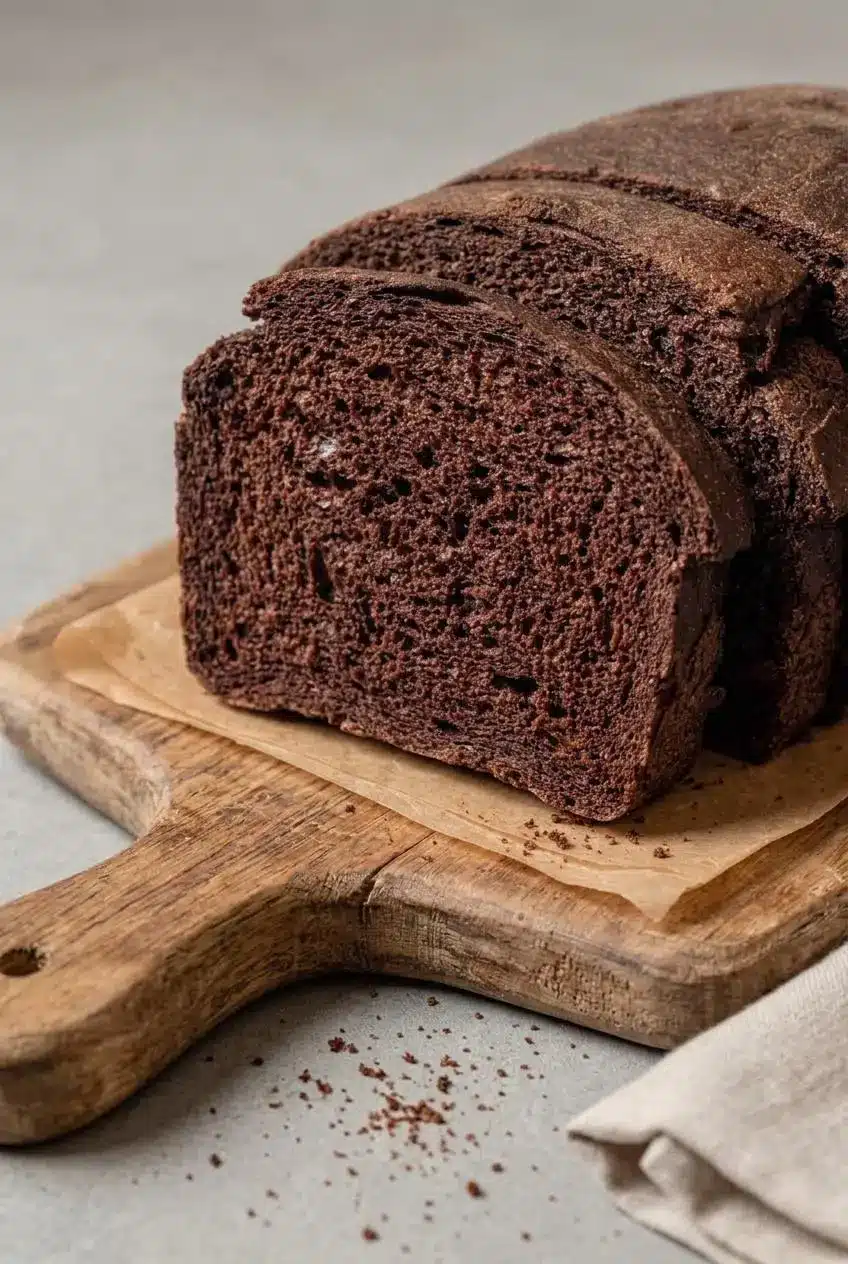
Few kitchen experiences rival the rich, earthy aroma of fresh pumpernickel bread rising and baking in your own oven. This bakery-style loaf features a deep cocoa-tinted crust and a soft, sliceable interior that holds up beautifully to savory fillings.
Making dark rye bread at home often feels intimidating because rye dough behaves quite differently from standard wheat dough. With the right balance of flours and a clear understanding of dough hydration, you will achieve an artisan-quality loaf on your first attempt. The reward is a warm kitchen filled with robust bakery aromas and a loaf with unmistakable character.
Keep a small bowl of water near your workspace during preparation, as moist fingers prevent the naturally sticky rye dough from clinging to your hands during shaping.
Essential Ingredients and Functional Roles
Every component in this loaf serves an exact purpose, contributing structure, moisture, color, or deep earthy flavor to achieve an authentic bakery crumb.
- 1 ¼ cups warm water, about 105°F – 300 mL
- 1 teaspoon instant dry yeast, 3 g
- 2 tablespoons brown sugar, 25 g
- 2 tablespoons vegetable oil, 30 mL
- 1 ½ cups rye flour, 180 g
- 1 ½ cups bread flour, 190 g
- ½ cup whole wheat flour, 60 g
- 2 tablespoons unsweetened cocoa powder, 12 g
- 1 teaspoon salt, 6 g
Understanding how these ingredients interact ensures total success at the mixing bowl. While rye flour delivers the quintessential robust, earthy taste, it contains very little gluten-forming protein. Bread flour steps in to create the elastic gluten network needed to trap yeast gases and support a tall rise, unlike a standard classic sandwich bread made solely with white flour.
Unsweetened cocoa powder provides the rich, dark shade characteristic of American bakery loaves without imparting a dessert-like chocolate taste. Brown sugar balances the natural bitterness of the rye and cocoa while giving the yeast quick fuel. Vegetable oil softens the crumb, locking in moisture so each slice stays fresh and flexible.
When measuring rye flour, I always spoon it gently into the cup and level it off with a flat edge, because packing it too tightly will make the dough overly heavy.
Combining Rye, Bread, and Whole Wheat Flours
Rye flour absorbs water at a substantially higher rate than standard wheat flour due to complex carbohydrates known as pentosans. If you baked a loaf using only pure rye flour and yeast, the result would be dense, heavy, and compact. Blending medium or dark rye flour with high-protein bread flour provides the structural framework necessary for a soft, airy sandwich crumb. The addition of whole wheat flour adds a pleasant nuttiness that rounds out the grain profile.
Caraway Seed Deli Style Addition
If you love the distinctive aroma of a traditional New York Jewish deli loaf, adding caraway seeds transforms the profile instantly. Incorporating one tablespoon of lightly crushed or whole caraway seeds into the dry flour blend distributes warm, peppery anise notes evenly throughout the dough. For a sweeter, steakhouse-style loaf, you can also replace the brown sugar with an equal quantity of dark molasses to enhance both sweetness and color depth.
What Gives Pumpernickel Bread Its Signature Color and Flavor
The dark appearance and bold taste of this bread come from a thoughtful marriage of wholesome grains and natural culinary coloring. Traditional European rye baking relied on slow transformations, whereas modern bakery methods achieve a similar visual appeal and nuanced flavor in a fraction of the time.
Rye grain inherently carries an earthy, slightly sour undertone that differentiates it from mild wheat. In American baking traditions, natural unsweetened cocoa powder and dark brown sugar or molasses enhance these deep undertones while yielding that iconic mahogany hue. The cocoa lends depth rather than sweetness, accentuating the rustic nature of the rye.
American Deli Style vs Traditional German Pumpernickel
Traditional German Westphalian pumpernickel is fundamentally different from the soft loaves found in American delicatessens. Authentic German pumpernickel is made with coarsely cracked whole rye berries and rye meal, baked in lidded pans at very low temperatures for up to 24 hours. This prolonged steaming process caramelizes the natural grain sugars, producing an almost black, dense loaf with no crust and a crumbly texture.
In contrast, American deli-style pumpernickel is a yeast-leavened bread designed for slicing and sandwich building. By combining rye with wheat flour, cocoa, and active yeast, it bakes in under an hour to produce a lofty, soft loaf with a tender crumb and a distinct crust.
How to Make Pumpernickel Bread
Baking this loaf requires minimal hands-on effort. Because rye dough is naturally paste-like rather than springy, gentle mixing and proper rising times will yield the best crumb.
- Combine the warm water at roughly 105°F with the rye flour, bread flour, whole wheat flour, cocoa powder, instant dry yeast, brown sugar, salt, and vegetable oil in a food processor bowl or large mixing vessel.
Ensure the water feels barely warm to the touch so the yeast activates without being damaged. - Process the ingredients for approximately 5 minutes until a soft, sticky dough pulls slightly away from the container sides, or stir vigorously with a wooden spoon until a uniform paste forms.
The finished mixture should look dark, glossy, and noticeably tackier than ordinary bread dough. - Cover the bowl tightly with plastic wrap and let the dough rest at room temperature for 1 hour and 30 minutes.
Look for the dough to become visibly puffy, expanded, and aerated rather than fully doubled in volume. - Turn the soft dough onto a surface generously dusted with rye flour to shape into a log, or scrape it directly into an oiled loaf pan using damp hands to smooth the top surface.
A lightly moistened spatula or wet fingertips will prevent the tacky dough from tearing as you shape it. - Cover the shaped dough loosely with a clean towel and let it proof undisturbed for 40 minutes.
The dough should swell gently and fill out the pan or hold a rounded mound shape on the baking sheet. - Transfer the loaf to an oven preheated to 425°F (220°C) and bake for 35 to 40 minutes.
The crust should feel firm and produce a distinct hollow sound when tapped gently on the top. - Place the baked bread onto a wire cooling rack and allow it to cool completely before cutting into slices.
Cooling lets internal starches stabilize so each slice cuts cleanly without gumminess.
Shaping Options: Loaf Pan vs Freeform Hearth Log
You can shape this versatile dough using two reliable techniques depending on your desired presentation. Baking the dough in a standard 8.5×4.5-inch or 9×5-inch loaf pan is the easiest method for beginners. The pan provides structured support for the soft, high-hydration dough, resulting in tall, square slices that are ideal for toasting and lunch sandwiches.
Alternatively, shaping the dough into a freeform hearth log on a parchment-lined baking sheet yields an artisan bakery aesthetic with a thicker, chewier crust all around. Generously dust your hands and parchment with rye flour, gently rolling the dough into a 9-inch cylinder. The freeform loaf spreads slightly outward during proofing, giving it a rustic, traditional profile.
Troubleshooting and Pro Baker Tips
Rye dough behaves differently from pure wheat dough because it contains higher levels of enzymes and soluble fibers. Keeping a few baker checkpoints in mind will ensure your loaf turns out light, aromatic, and evenly baked every time.
- If the dough seems unusually wet, avoid adding large amounts of extra dry flour, which creates a dry and heavy loaf.
- Verify that your water temperature sits close to 105°F before mixing, as excessively hot liquid deactivates dry yeast.
- Bake until the internal temperature reaches 200°F on a digital probe thermometer to ensure the center is fully cooked through.
- Check crust firmness near the end of baking to achieve the same satisfying resonance found in a well-baked crusty artisan loaf.
How to Prevent a Gummy Bread Center
The most frequent challenge when baking rye bread is ending up with a wet or gummy crumb texture in the center. Rye starches undergo retrogradation as the bread cools, meaning the interior structure is still actively setting for hours after you take it out of the oven. Slicing into a warm rye loaf releases essential trapped steam prematurely, causing the starches to collapse into a dense, wet layer. Always let the loaf rest on an open wire rack for a full 2 hours before taking your first slice.
Managing Sticky Rye Dough Without Adding Extra Flour
Rye flour contains high amounts of mucilaginous carbohydrates called pentosans, which trap water and produce a paste-like consistency instead of a smooth, elastic ball. Trying to knead rye dough like standard white dough will only cause frustration and sticking. Instead of adding heavy scoops of extra flour, work with damp hands or a lightly oiled silicone spatula. A gentle touch preserves the proper hydration level, ensuring your finished bread remains moist and tender.
Storage and Make-Ahead Guidelines
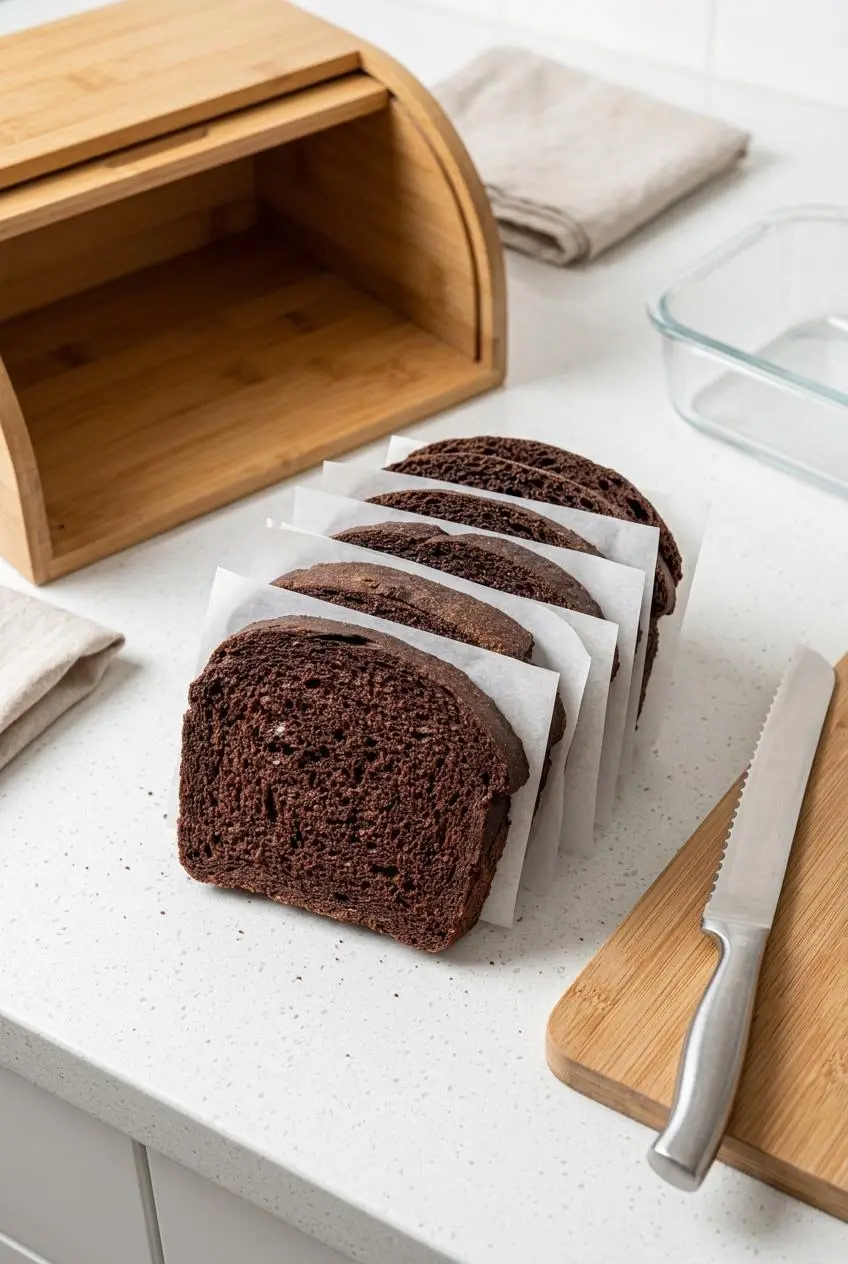
Proper storage preserves the soft texture and complex flavor of homemade rye bread for everyday meals. Avoid storing fresh bread in the refrigerator, as cold temperatures accelerate starch retrogradation and cause the crumb to turn stale and crumbly quickly.
Keep the completely cooled loaf in a bread box or inside a sealed paper bag at room temperature for up to 3 days. If you prefer to slice the bread ahead of time, place parchment paper between the slices and store them in an airtight freezer container for up to 3 months. Individual slices can be placed directly into a toaster on a medium setting for a quick breakfast or lunch.
If you have leftover end pieces or slices that have become dry after several days, pulse them in a food processor to create flavorful homemade breadcrumbs that add an earthy crunch to savory gratins, meatballs, and casseroles.
Serving Ideas for Deli-Style Bread
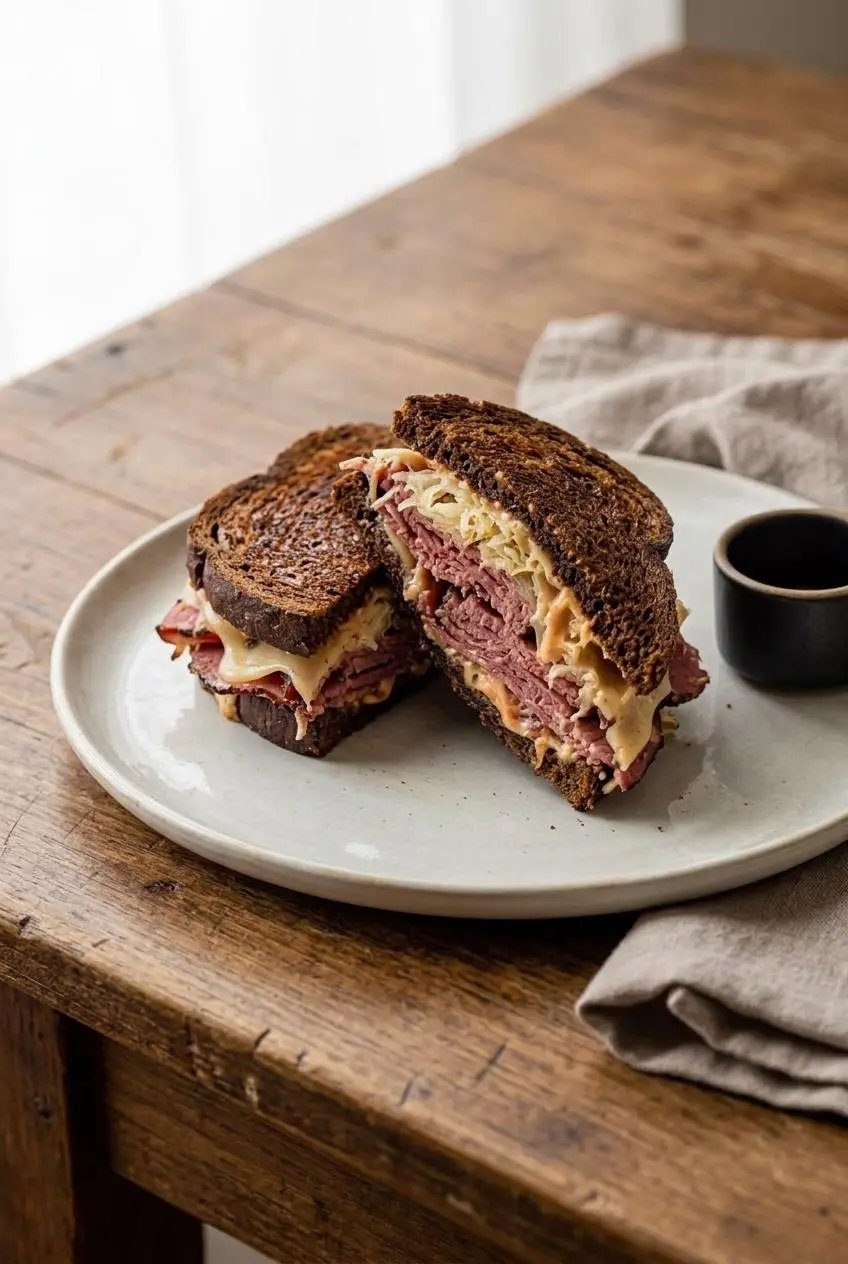
The bold, earthy character of pumpernickel makes it exceptionally versatile across savory breakfasts, hearty midday meals, and comforting dinners.
For the ultimate deli sandwich, layer thick warm slices with hot pastrami or corned beef, tangy sauerkraut, melted Swiss cheese, and Russian dressing for an unforgettable homemade Reuben. For a lighter breakfast or appetizer, toast a slice and spread it with whipped cream cheese, thinly sliced red onion, capers, and cold-smoked salmon.
Pumpernickel also makes an excellent companion to rich autumn stews, goulash, and creamy potato leek soups. Slices toasted with salted butter and garlic pair wonderfully alongside wholesome grain meals, much like a slice of soft oatmeal bread served next to warm seasonal bowls.
Conclusion
Baking homemade deli-style rye bread brings the unmatched aroma and hearty satisfaction of an artisan bakery right into your kitchen. By combining the earthy depth of rye with the reliable structure of bread flour and a touch of cocoa, you can produce a magnificent loaf that elevates any sandwich or breakfast spread.
Remember that patience during the final cooling stage is the secret to achieving clean, perfect slices and a tender crumb. Slice your fresh loaf, butter it generously, and enjoy the rich, wholesome flavor that only scratch baking can deliver.
Frequently Asked Questions
What gives pumpernickel bread its dark color?
American deli-style pumpernickel achieves its dark brown shade through the addition of unsweetened cocoa powder and dark brown sugar or molasses. Traditional European loaves darken naturally over many hours of slow, low-temperature baking through the caramelization of grain sugars.
Why is my pumpernickel loaf gummy in the middle?
A gummy center is usually caused by slicing the bread while it is still warm. Rye starches require time to finish setting as steam slowly redistributes during cooling. Always let the baked loaf cool entirely on a wire rack before cutting.
What is the difference between rye bread and pumpernickel bread?
All pumpernickel bread is a type of rye bread, but pumpernickel specifically features dark or whole rye flour and is often enriched with cocoa, brown sugar, or molasses for a darker color and deeper, slightly sweeter flavor profile.
Can I bake pumpernickel bread in a standard loaf pan?
Yes, baking the dough in a greased 8.5×4.5-inch or 9×5-inch loaf pan is the easiest method. The pan supports the soft rye dough as it rises, producing neat, uniformly shaped slices that are ideal for sandwiches.
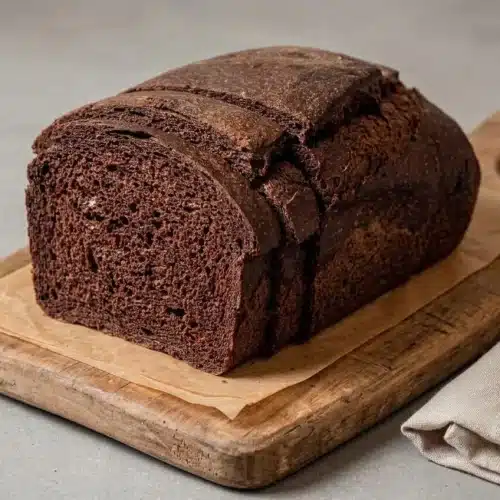
Pumpernickel Bread

Equipment
- Food processor or large mixing bowl
- Loaf pan or baking sheet
- Wire cooling rack
- Instant-read thermometer
Ingredients
- 1 1/4 cups warm water about 105°F, 300 mL
- 1 teaspoon instant dry yeast 3 g
- 2 tablespoons brown sugar 25 g
- 2 tablespoons vegetable oil 30 mL
- 1 1/2 cups rye flour 180 g
- 1 1/2 cups bread flour 190 g
- 1/2 cup whole wheat flour 60 g
- 2 tablespoons unsweetened cocoa powder 12 g
- 1 teaspoon salt 6 g
Instructions
- Combine the warm water at roughly 105°F with the rye flour, bread flour, whole wheat flour, cocoa powder, instant dry yeast, brown sugar, salt, and vegetable oil in a food processor bowl or large mixing vessel. Ensure the water feels barely warm to the touch so the yeast activates without being damaged.
- Process the ingredients for approximately 5 minutes until a soft, sticky dough pulls slightly away from the container sides, or stir vigorously with a wooden spoon until a uniform paste forms. The finished mixture should look dark, glossy, and noticeably tackier than ordinary bread dough.
- Cover the bowl tightly with plastic wrap and let the dough rest at room temperature for 1 hour and 30 minutes. Look for the dough to become visibly puffy, expanded, and aerated rather than fully doubled in volume.
- Turn the soft dough onto a surface generously dusted with rye flour to shape into a log, or scrape it directly into an oiled loaf pan using damp hands to smooth the top surface. A lightly moistened spatula or wet fingertips will prevent the tacky dough from tearing as you shape it.
- Cover the shaped dough loosely with a clean towel and let it proof undisturbed for 40 minutes. The dough should swell gently and fill out the pan or hold a rounded mound shape on the baking sheet.
- Transfer the loaf to an oven preheated to 425°F (220°C) and bake for 35 to 40 minutes. The crust should feel firm and produce a distinct hollow sound when tapped gently on the top.
- Place the baked bread onto a wire cooling rack and allow it to cool completely before cutting into slices. Cooling lets internal starches stabilize so each slice cuts cleanly without gumminess.