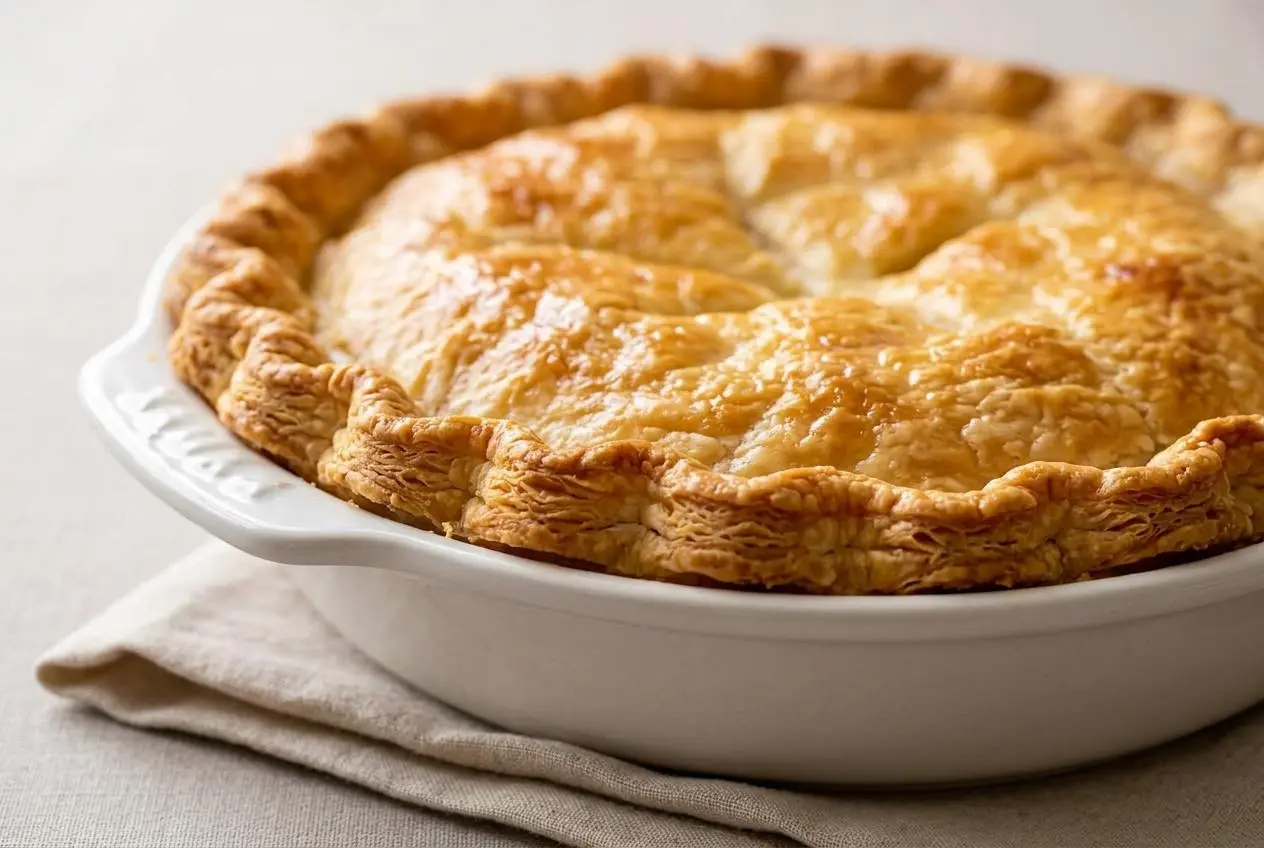
For tender, flaky pastry, keep the butter cold, mix only until the dough holds together, and chill the disks before rolling. Those three habits create butter pockets that steam in the oven and separate the crust into delicate layers.
This pie crust recipe makes two single crusts or one double crust with a buttery flavor, crisp edges, and a tender bite. It works with a food processor or a pastry blender, so you can use the equipment already in your kitchen.
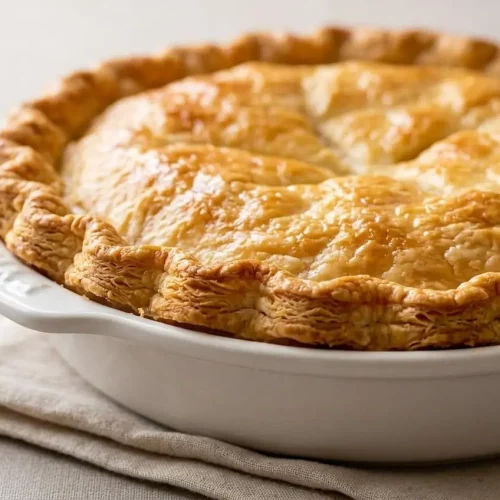
Freshly baked pastry has a warm butter aroma and golden layers that shatter gently under a fork. The cold-butter trick makes all the difference.
Keep a small bowl of ice water nearby, but add it gradually. Dough that looks slightly dry can still come together when pressed between your fingers.
Ingredients for a Flaky Pie Crust
Flour provides structure, butter creates flaky layers, sugar and salt sharpen the flavor, and ice water brings the dough together without turning it sticky.
- 2 1/2 cups all-purpose flour
- 1/2 Tbsp granulated sugar
- 1/2 tsp sea salt
- 1/2 lb COLD unsalted butter ((2 sticks) diced into 1/4″ pieces)
- 7 Tbsp ice water ((7 to 8 Tbsp))
All-purpose flour gives the crust enough structure to roll without making it bread-like. Spoon flour into the measuring cup and level it rather than packing it down, since excess flour can leave the dough dry and prone to cracking.
Unsalted butter brings the rich flavor and leaves distinct pockets throughout the dough. Sugar adds a subtle roundness and helps the crust take on color, while sea salt keeps the pastry from tasting flat. Ice water controls hydration and helps limit gluten development.
I keep the diced butter in the refrigerator until the moment it goes into the flour, because firm butter pieces are much easier to protect while mixing.
How to Make Flaky Pie Crust
Stop mixing before the dough looks smooth. A rough, marbled dough with visible butter flecks is exactly what will bake into crisp, tender layers.
- Add the flour, granulated sugar, and sea salt to a food processor, then pulse briefly to blend the dry ingredients.
The mixture should look evenly combined before the butter goes in. - Scatter in the cold diced butter and pulse in short bursts until the flour looks sandy with butter pieces about the size of peas.
Keep some larger butter bits visible and stop while the mixture is still dry and loose. - Pour in 7 Tbsp ice water and pulse only until moist clumps begin to form, adding more water by the teaspoon only if needed.
Pinch a small clump between your fingertips; it should hold together without feeling wet or sticky. - Turn the dough onto a clean surface, gather it gently, and fold it over itself only until it holds together, then divide it into 2 disks, wrap, and refrigerate for 1 hour.
The disks should feel cohesive but uneven, with pale streaks of cold butter still marbled through the dough.
Essential Ingredients and the Role of Cold Fats
Cold butter is the engine behind a flaky crust. As the pastry bakes, the butter melts and releases moisture; that steam pushes apart the surrounding dough and creates thin layers instead of one dense shell.
Warm butter blends into the flour too quickly, leaving less definition in the finished crust. If your kitchen is warm or the dough starts feeling soft during rolling, pause and chill it until it feels firm again. A pressed graham cracker crust can be useful for crumb-based desserts, but it does not provide the same rolled, flaky structure.
All-Butter Versus Shortening Blends
This all-butter dough delivers deep flavor and a crisp, tender finish. Butter also browns beautifully, which makes it especially appealing for fruit pies and rustic galettes.
- All butter: Choose it for pronounced buttery flavor, crisp layers, and a classic golden finish.
- Butter and vegetable shortening: Use this optional approach when you want extra heat stability and sharply defined decorative crimps.
- For intricate edges: A shortening blend can make the dough slightly more pliable, but it trades away some of butter’s flavor.
Keep any fat you use thoroughly chilled. For an optional tenderizing variation, a small splash of apple cider vinegar can replace part of the ice water, though it is not needed for this dough to work well.
The Chemistry of Ice Water and Chilled Butter
Ice water moistens the flour while helping the butter stay firm. Add it slowly because the exact amount can shift with how the flour was measured and the humidity in the room.
Look for dry, coarse crumbs before adding water. After hydration, the dough should form clumps when squeezed but should not resemble paste. Visible butter flecks are a good sign, not a problem.
Step-by-Step Pie Crust Method: Machine and Hand Techniques
Both methods make excellent dough when you keep the butter cold and stop before the mixture becomes uniform. The difference is mostly speed and how closely you want to feel the texture as it changes.
Food Processor Method for Speed
A food processor is fast, but its blade can warm the dough if it runs continuously. Use quick pulses, scraping only if flour clings to the sides. The moment you see coarse crumbs with pea-sized butter pieces, stop.
After adding water, pulse only enough to create small moist clusters. The dough does not need to gather into one ball inside the machine. Finishing that step on the counter keeps the texture lighter.
Pastry Blender Method by Hand
For the hand method, combine the flour, sugar, and salt in a large bowl. Cut the cold butter into the dry mixture with a pastry cutter until the texture looks like coarse crumbs with a mix of small and pea-sized butter pieces.
Two forks also work if you do not have a pastry cutter. Drizzle in ice water gradually and toss with a fork until the dough passes the pinch test. Avoid rubbing the butter into the flour with warm hands for too long.
How to Roll, Shape, and Crimp Pie Dough
Rolling is easier when the dough is cold but flexible. If a chilled disk feels hard as a puck, let it sit briefly on the counter just until the rolling pin can press into it without cracking the edges.
Lightly flour the counter and rolling pin, then roll from the center outward. Rotate the dough as you work to keep it round and prevent sticking. If the circle becomes lopsided, roll the thicker side a little more rather than stretching the thin side.
For a 9-inch pie dish, roll the dough large enough to cover the bottom and sides with an overhang. Loosely roll the pastry around the rolling pin, lift it over the dish, and unroll it into place. Settle it into the corners without pulling it tight, since stretched dough tends to retract during baking.
Trim and finish the edge as you like:
- Fork crimp: Fold the overhang under itself, then press the rim with fork tines for a neat, sturdy edge.
- Fingertip flute: Fold the dough under, place one finger inside the rim, and pinch around it with two fingers from the outside.
- Crack repair: Press a torn edge back together with lightly dampened fingertips, then dust away excess flour.
How to Blind Bake Your Pie Crust
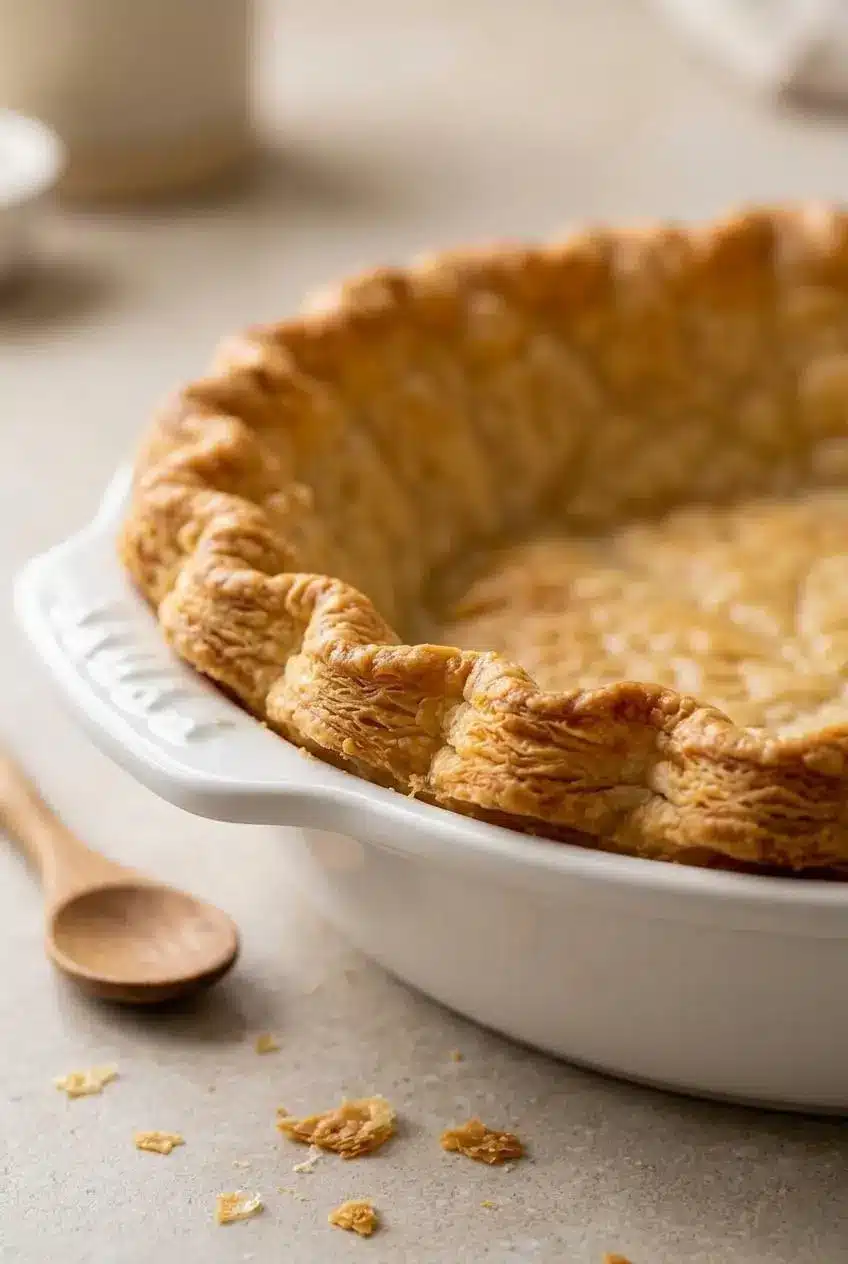
Blind baking gives fillings such as custards, chilled cream pies, and quiches a firmer, crisper foundation. A fully baked shell is especially useful for a creamy eggnog pie or another filling that is added after the crust has baked.
Fit the dough into the pie dish, shape the edge, and chill the pan in the freezer for 30 minutes before baking. This extra chill helps the sides hold their position instead of sliding down the dish.
Using Weights, Beans, or Rice
Line the chilled crust with parchment paper, leaving enough overhang to lift it out later. Fill the lined shell all the way to the rim with ceramic pie weights, dry beans, or uncooked rice so the bottom stays flat and the sides stay supported.
Do not bake an empty shell without weights at the start. The dough can puff, buckle, or slump before it has set.
Partial Versus Full Bake Timing
Partially bake the crust when it will return to the oven with a filling, such as a fruit pie or quiche. Remove the parchment and weights near the end so the base can dry and begin to color.
For a chilled or no-bake filling, continue baking until the crust looks pale golden and the bottom feels dry. A fully baked base often gives a light, hollow tap when you gently tap it after it has cooled slightly. Dock the bottom with a fork after removing the weights if it begins to bubble.
Glass dishes make it easier to watch the bottom color, while metal dishes tend to brown more quickly. Whichever dish you use, check the bottom as well as the rim.
Troubleshooting Common Pie Crust Mistakes
Most crust problems come down to moisture, temperature, or overhandling. These fixes can save a dough that looks less than perfect.
- Dry or crumbly dough: The flour may need a touch more moisture. Sprinkle ice water over the driest areas a little at a time, then press and fold gently until the dough holds when squeezed.
- Cracks around the edge while rolling: The dough is likely too cold or dry. Let it soften slightly, then press cracks together with your fingertips before continuing.
- Tough crust: Overmixing develops too much gluten, and warm butter loses its flaky structure. Mix only to form clumps, then handle the dough gently.
- Sticky dough: Too much water or warm butter can make the pastry cling to the counter. Chill it until firm, then use only a light dusting of flour while rolling.
- Shrinking sides: Stretching the dough into the dish or skipping the chill encourages shrinkage. Lower it into the pan without pulling and chill the shaped shell before baking.
- Over-browning rim: Cover the edge with a foil shield once it reaches the color you want, while allowing the center and bottom to finish baking.
Storing Pie Dough Ahead
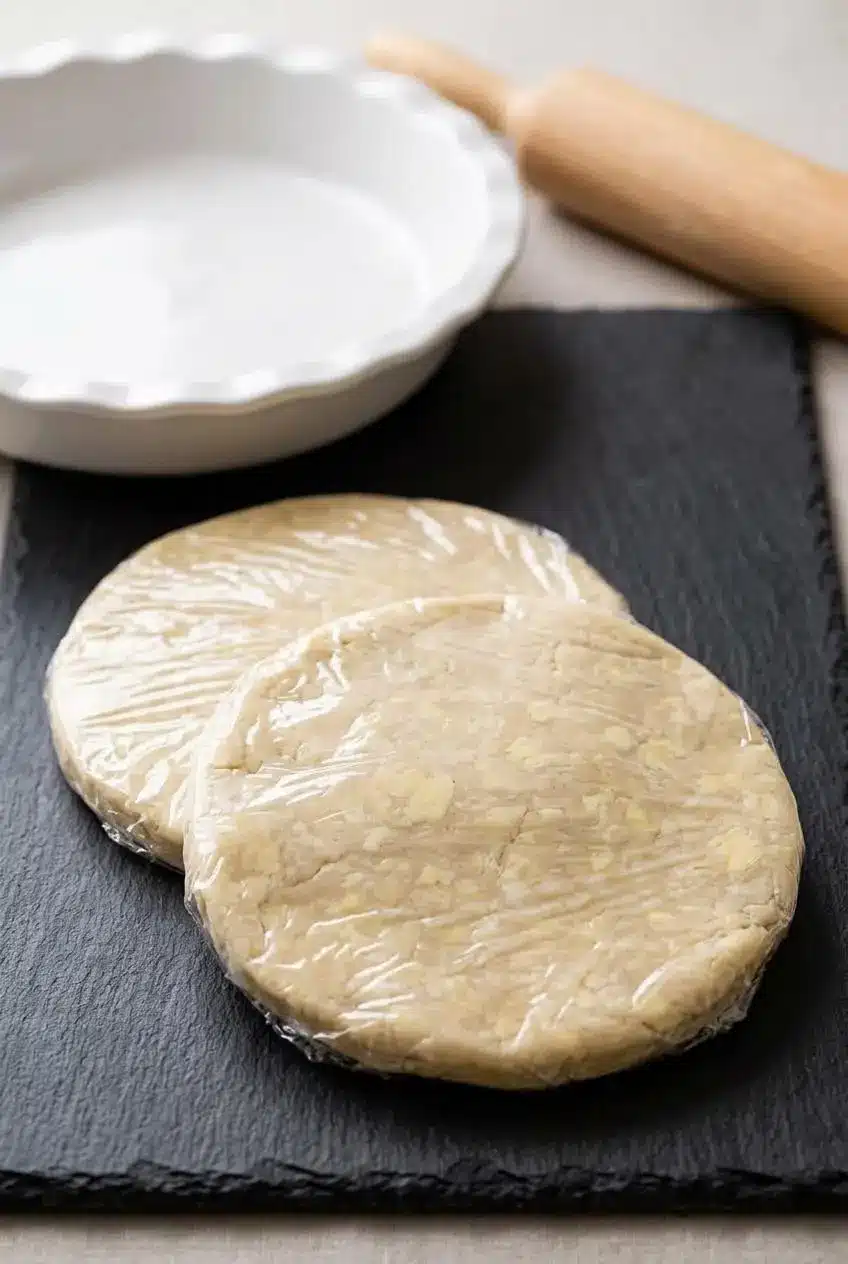
The prepared disks need the full 1-hour refrigerator chill from the method before rolling. Keep them tightly wrapped so their surface does not dry out or pick up refrigerator odors.
If you need to hold dough beyond the immediate baking window, wrap each disk closely and keep it cold until you are ready to roll. For shaped but unbaked shells, leave the dough in the pie dish, cover it snugly, and protect the crimped edge from being bumped.
If the dough becomes very firm in the refrigerator, let it sit briefly at room temperature until it bends without breaking. Avoid leaving it out long enough for the butter to become soft and greasy.
Delicious Ways to Use Your Homemade Pie Crust
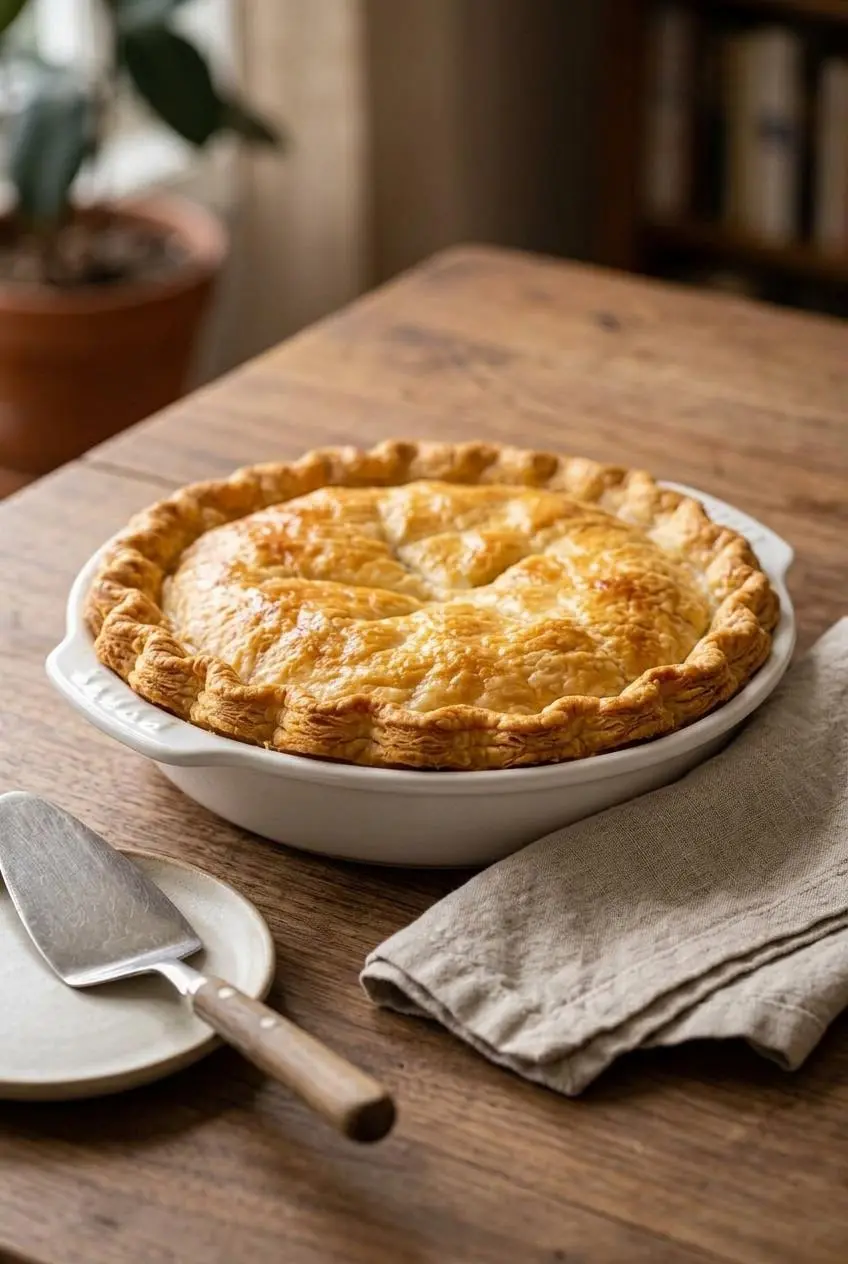
This dough is versatile enough for sweet pies, savory meals, and breakfast bakes. Use both disks for a double-crust apple, cherry, or chicken pie, or reserve one disk for an open-faced tart.
- Use a fully baked shell for cream pies and chilled fillings.
- Par-bake a shell before adding custard filling for quiche.
- Roll both disks for a fruit pie, such as a tangy rhubarb pie, with a crisp top crust and bubbling filling.
- Turn one disk into a rustic tart, folding the edges over sliced fruit rather than fitting it into a dish.
For an optional savory herb version, omit the granulated sugar and add one or more of these flavorings to the flour mixture:
- Cracked black pepper for a gently peppery crust with pot pies.
- Dried thyme for quiches, chicken pies, or mushroom fillings.
- Dried rosemary for hearty vegetable or meat pies.
Conclusion
Homemade pie dough gives you a buttery flavor and layered texture that is hard to match with a ready-made crust. The key is simple: keep the butter cold, add water with restraint, and stop mixing early.
Small imperfections disappear once the crust turns golden and crisp. Handle the dough gently, trust the pinch test, and enjoy the flaky results.
Frequently Asked Questions
Why Is My Pie Crust Tough Instead of Flaky?
Overmixing develops gluten and turns the pastry chewy instead of tender. Warm butter blends into the flour rather than staying in distinct pieces. Too much water can make the dough sticky and encourage extra handling. Use short pulses, cold ingredients, and gentle folds when gathering the dough.
What Is the Best Fat to Use for Pie Crust?
All butter gives the richest flavor and crisp, flaky layers. A butter and vegetable shortening blend can hold decorative crimps more firmly. For a classic dessert crust with strong buttery flavor, all butter is an excellent choice.
How Do I Prevent My Pie Crust from Shrinking During Baking?
Lower the rolled dough into the pan instead of stretching it along the sides. Chill the shaped crust before baking so the butter firms up again. Use parchment and pie weights when blind baking to support the sides and base.
How Long Does Unbaked Pie Dough Last in the Fridge or Freezer?
This method requires a 1-hour refrigerator chill before rolling. Keep dough tightly wrapped and chilled to prevent a dry surface. For longer holding, protect the disks carefully from air and refrigerator odors, then soften them only slightly before rolling.
Can I Make Pie Dough Without a Food Processor?
Yes. A pastry cutter gives you excellent control over the butter pieces. Two forks work as well, though they take a little more patience. Stop cutting when the mixture has coarse crumbs and visible pea-sized butter pieces. Use the pinch test after adding water to decide whether the dough needs more moisture.
Pie Crust Recipe

Equipment
- Food processor
- Pastry blender
- Rolling Pin
- 9-inch Pie Dish
Ingredients
- 2 1/2 cups all-purpose flour
- 1/2 Tbsp granulated sugar
- 1/2 tsp sea salt
- 1/2 lb COLD unsalted butter ((2 sticks) diced into 1/4″ pieces)
- 7 Tbsp ice water ((7 to 8 Tbsp))
Instructions
- Add the flour, granulated sugar, and sea salt to a food processor, then pulse briefly to blend the dry ingredients. The mixture should look evenly combined before the butter goes in.
- Scatter in the cold diced butter and pulse in short bursts until the flour looks sandy with butter pieces about the size of peas. Keep some larger butter bits visible and stop while the mixture is still dry and loose.
- Pour in 7 Tbsp ice water and pulse only until moist clumps begin to form, adding more water by the teaspoon only if needed. Pinch a small clump between your fingertips; it should hold together without feeling wet or sticky.
- Turn the dough onto a clean surface, gather it gently, and fold it over itself only until it holds together, then divide it into 2 disks, wrap, and refrigerate for 1 hour. The disks should feel cohesive but uneven, with pale streaks of cold butter still marbled through the dough.