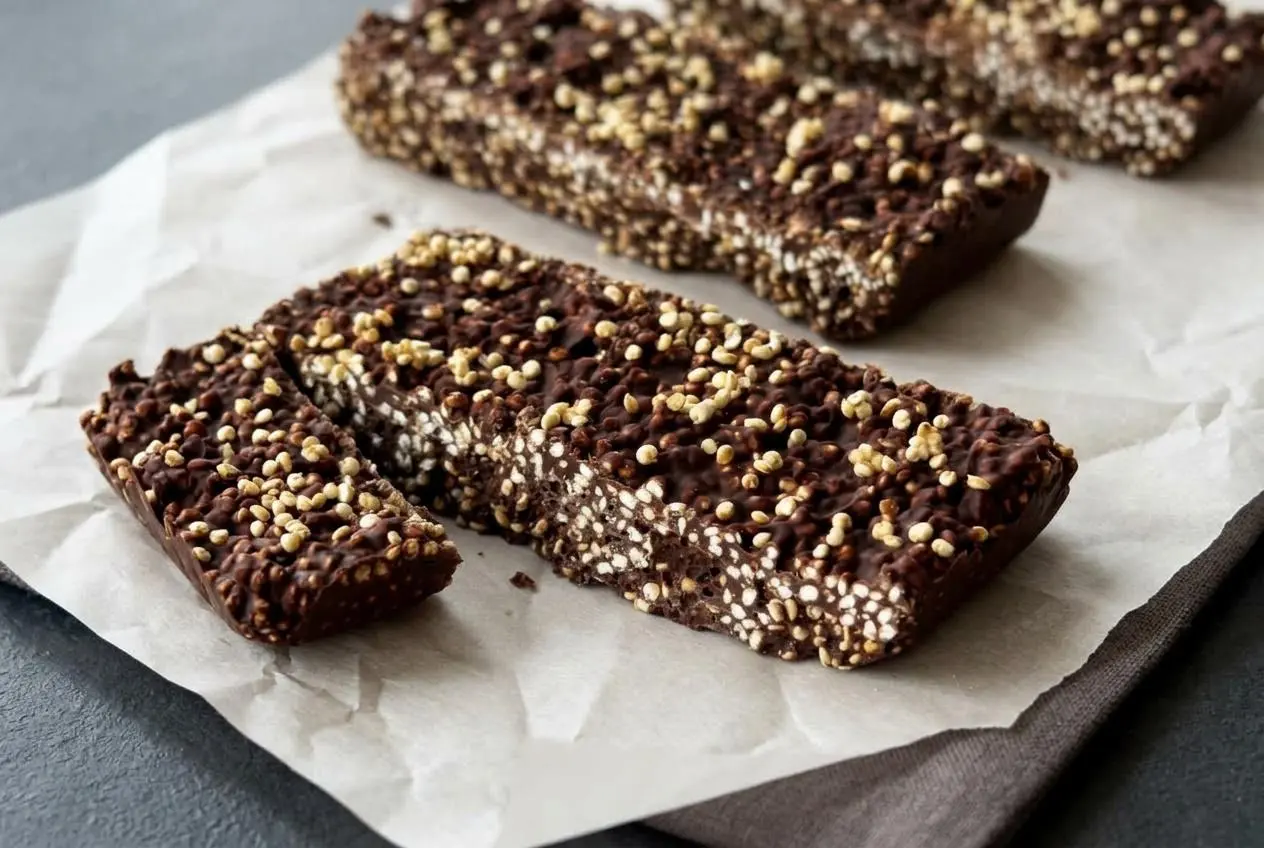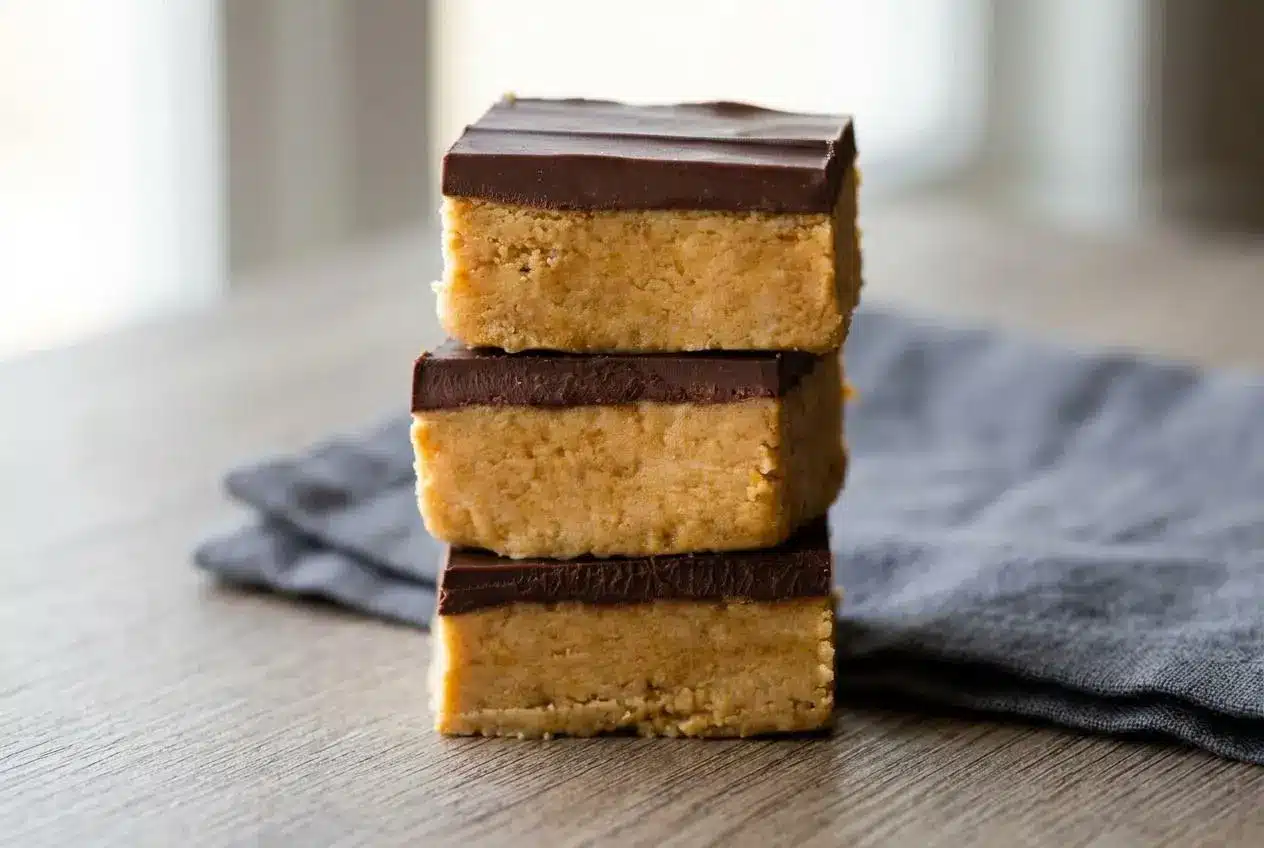
Classic no-bake peanut butter bars are made by mixing melted butter, graham cracker crumbs, confectioners’ sugar, and creamy peanut butter, topping them with melted chocolate, and chilling until firm.
Peanut Butter Bars land right in that sweet spot between candy and dessert bar. They taste like a homemade peanut butter cup, with a dense, fudgy base and a creamy chocolate top.
They’re quick to assemble, easy to chill, and especially good when you want something rich without turning on the oven. The trick is getting the base firm and the top sliceable.
Use finely crushed graham crumbs and creamy no-stir peanut butter for the neatest bars.
Choosing the Right Peanut Butter
This is the ingredient choice that decides whether your bars set properly or turn greasy and soft. For this no-bake style, creamy commercial peanut butter is the right tool for the job.
Brands like Jif or Skippy work well because they stay emulsified. That means the fats are blended and stabilized, so the peanut butter holds its shape when mixed with melted butter, confectioners’ sugar, and graham cracker crumbs. The base presses into the pan like thick, damp sand and firms up as it chills.
Natural peanut butter behaves differently. The oil separates easily, so the mixture can feel slick, loose, or crumbly at the same time. Instead of a compact bar, you often get a base that resists setting and leaves an oily film around the edges.
If your goal is a clean square with a fudgy bite, use creamy no-stir peanut butter. Save the natural kind for toast.
Ingredients
Each ingredient has a real job here, from building structure in the base to keeping the top smooth, rich, and sliceable.
- 1/2 cup (8 Tbsp; 113g) salted butter, melted
- 1 cup (120g) graham cracker crumbs (about 8 full sheet graham crackers)
- 2 cups (240g) confectioners’ sugar
- 1 cup + 2 Tablespoons (280g) creamy peanut butter, divided
- 1 cup (180g) semi-sweet chocolate chips
The melted butter brings richness and helps the base bind when it meets the crumbs and sugar. Graham cracker crumbs add structure and absorb the fat so the bars hold together instead of smearing.
Confectioners’ sugar sweetens the filling and tightens the texture. Creamy peanut butter is the main flavor and the main fat emulsion, so it gives the bars that dense, candy-like center. Semi-sweet chocolate chips balance the sweetness with a deeper cocoa flavor.
I like to check that the graham crumbs are very fine before mixing. Big crumb pieces make the base harder to press and can lead to ragged edges when you cut the bars.
How to Make Peanut Butter Bars
- Line an 8-inch or 9-inch square baking pan with aluminum foil or parchment paper and leave enough overhang to lift the bars out later.
The lining should sit flat against the corners so the finished slab chills in an even layer. - Combine the melted butter, graham cracker crumbs, and confectioners’ sugar in a medium bowl, then stir in 1 cup (250g) of peanut butter until the mixture comes together.
It should look thick and sandy, almost like damp cookie crumbs, and hold its shape when pressed between your fingers. - Press the peanut butter mixture evenly into the prepared pan with a spatula or the back of a spoon.
The surface should look compact and level, with no loose dry patches around the edges. - Melt the remaining 2 Tablespoons of peanut butter with the chocolate chips in the microwave or on the stove, stirring until smooth, then spread the mixture over the base.
If using the microwave, heat in short bursts so the chocolate turns glossy and fluid instead of stiff or grainy. - Refrigerate the pan until the bars are completely firm, at least 2 hours, then let them stand at room temperature for 10 minutes before cutting.
The top should feel set but still have a slight give, which helps keep the chocolate from cracking. - Serve the bars chilled and cover leftovers tightly before returning them to the refrigerator for up to 1 week.
The texture stays fudgy and the layers hold their shape best when stored cold.
The main stages are simple, but each one matters. The crumb base should feel heavy and thick before you press it in. If it looks shiny or oily, the peanut butter is usually the problem. If it feels too loose, the crumbs may be too coarse to absorb the fat evenly.
For the topping, melt slowly and stir often. Chocolate chips can seize if overheated, which makes the top look dull and hard to spread. When it is ready, it will turn smooth and glossy and glide over the peanut butter layer without dragging.
How to Slice Peanut Butter Bars Cleanly
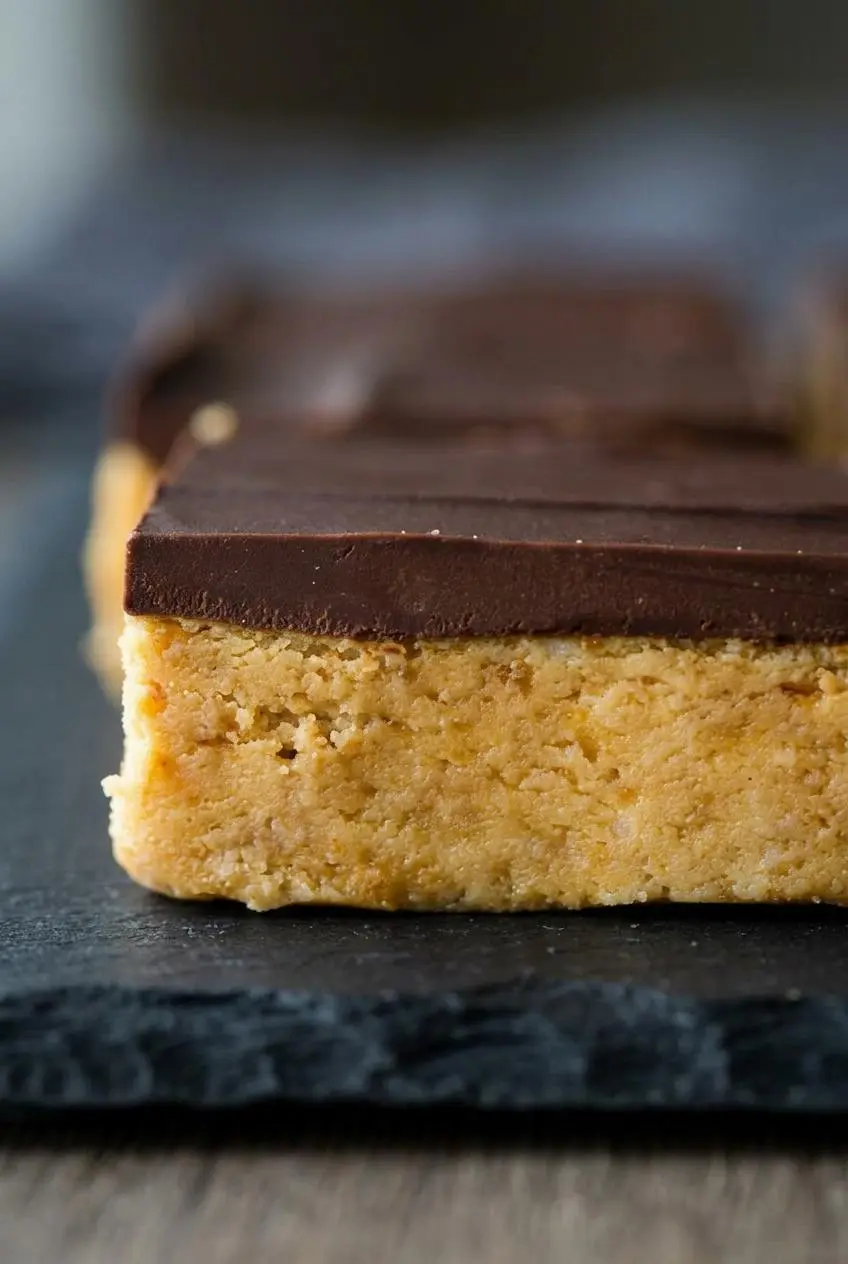
This is where a lot of good bars go sideways. The filling sets beautifully, then the cold chocolate top shatters the second the knife hits it.
The extra peanut butter in the topping helps prevent that. A small amount of added fat keeps the chocolate layer more pliable, so it cuts instead of cracking into random pieces. If you ever make a similar version with plain melted chocolate, a tiny splash of neutral oil can help for the same reason.
For the cleanest slices, follow this order:
- Let the chilled pan sit at room temperature for 10 minutes before cutting.
- Use a sharp knife dipped in warm water, then dry it well.
- Press straight down with steady pressure instead of sawing back and forth.
- Wipe the blade clean before every cut so the chocolate edge stays neat.
You will feel some resistance as the knife goes through the top layer. That is normal. If the chocolate starts snapping loudly or breaking at the corners, give the bars another minute or two on the counter and warm the knife again.
Nostalgic School Cafeteria and Baked Variations
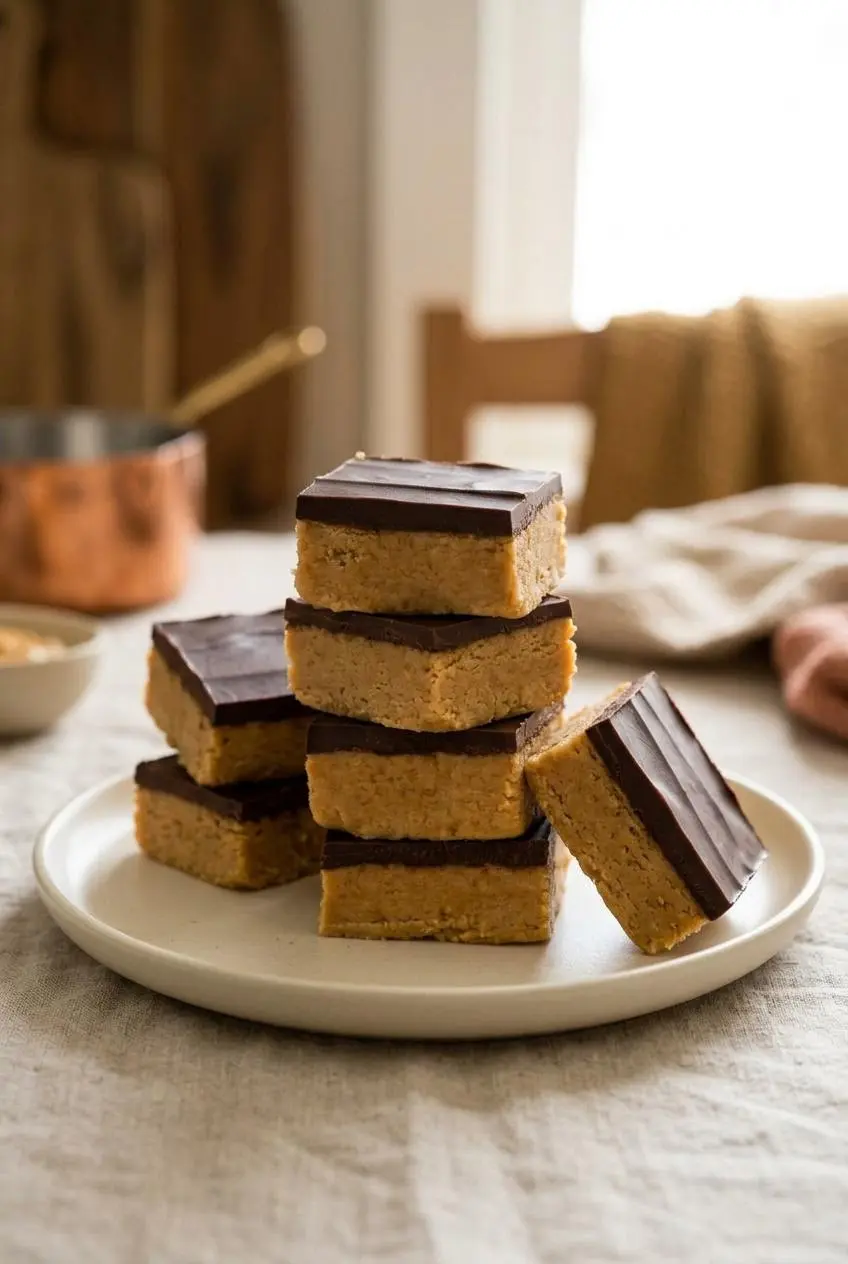
If you want to branch out, these are fun directions to take without changing the main no-bake formula above. You can also stir crushed pretzel pieces into the graham crumb base for a salty, crisp twist that leans even more candy-bar-like.
For another bite-sized no-bake treat built around a similar sweet peanut butter center, try classic peanut butter balls.
The 1970s Cafeteria Brown Sugar Square
This old-school version swaps the graham crumbs for a brown sugar based mixture. The texture changes quite a bit. Instead of a smooth, compact fudge-like base, you get a slightly grittier bite and a deeper caramel note from the molasses in the brown sugar.
That style is nostalgic for a reason, but it is usually softer and a little messier than the graham crumb version. If you love that lunchroom feel, it is a great optional variation. If you want cleaner edges and more structure, the crumb-based bar still wins.
Soft and Chewy Baked Peanut Butter Blondies
Baked peanut butter bars move in a completely different direction. They use flour and eggs, so the result is softer, chewier, and more like a blondie than a candy bar.
The no-bake version stays dense, cool, and fudgy, almost like a peanut butter cup in square form. The baked version feels warmer, more tender, and a little more cake-like in the middle. If that is what you are craving, chewy peanut butter brownies are a natural next stop.
Allergen-Safe and Gluten-Free Adaptations
For a nut-free option, sunflower seed butter can work as an alternative, but the texture and flavor will shift. It is usually earthier and can be looser, so choose a well-mixed, creamy version and expect a softer finish than classic peanut butter bars.
To make the bars gluten-free, use gluten-free graham-style crumbs or another similar crisp cookie crumb in equal weight. Crushed vanilla wafers or digestive biscuits can also stand in for the graham crumbs when needed, as long as they are finely crushed so the base still presses together evenly.
Storage, Freezing, and Make-Ahead Guide
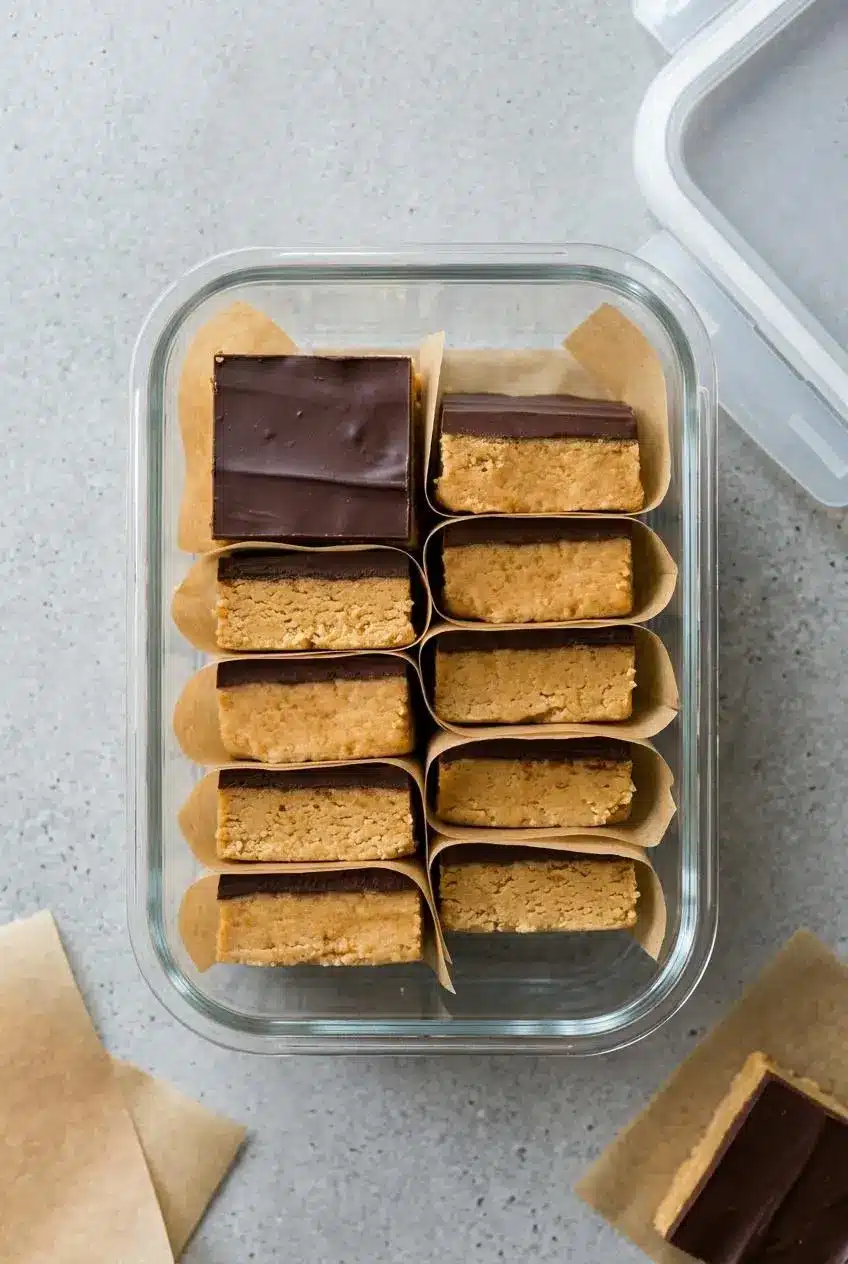
These bars hold best when kept cold and covered well. The goal is to protect the texture so the base stays firm and the chocolate top does not pick up moisture or refrigerator odors.
Fridge and Room Temperature Rules
Store the bars in an airtight container in the refrigerator for up to 1 week. The official method supports that timing, and a cold fridge helps maintain the texture of the butter-based layers. For general refrigerator food safety in a US kitchen, keep your fridge at or below 40 °F.
For serving, it is fine to let the bars sit out for a while so the layers soften slightly and the texture turns creamier. Once dessert is over, return them to the fridge rather than leaving them on the counter long term.
Best Practices for Freezing and Thawing
You can freeze these bars for longer storage because the official recipe notes support it as a make-ahead style dessert. Slice them first, then layer the squares between sheets of parchment paper in a well-sealed container so the tops do not stick and condensation stays off the chocolate.
When you want to serve them, thaw the bars in the refrigerator or on the counter just until the layers are no longer rock hard. Once softened slightly, use the same room-temperature rest and warm-knife trick for the cleanest edges.
Conclusion
These bars are rich, nostalgic, and wonderfully low effort, with that perfect mix of salty peanut butter and smooth chocolate. When the base is pressed firmly and chilled well, the texture lands right in the sweet spot between fudge and candy.
The two best tricks are simple: use creamy no-stir peanut butter and let the chilled bars rest briefly before slicing with a warm knife. That little bit of patience pays off in every clean square.
Frequently Asked Questions
Why did my chocolate topping crack when I cut these bars?
Cold chocolate gets brittle, especially straight from the refrigerator. The added peanut butter in the topping keeps the layer softer and easier to slice. Let the pan sit at room temperature for 10 minutes before cutting. Use a warm, dry knife and wipe it clean between cuts.
Can I use natural peanut butter for no-bake bars?
No for this version. Natural peanut butter separates too easily for a firm no-bake base. The extra oil can make the mixture greasy while the solids leave it crumbly. Use creamy commercial peanut butter for the most reliable structure.
Do I have to use graham cracker crumbs?
Graham crumbs are the main binder in the base, so they do a lot of structural work. You can swap in crushed vanilla wafers, digestive biscuits, or gluten-free graham crackers. Use an equal weight swap and crush the crumbs finely so the base still presses together well.
Should these bars be stored in the refrigerator or room temperature?
Store them in the refrigerator so the layers stay firm and fudgy. They can sit out during serving if you want a slightly softer texture. For the best shape and cleanest stacking, keep leftovers chilled in an airtight container.
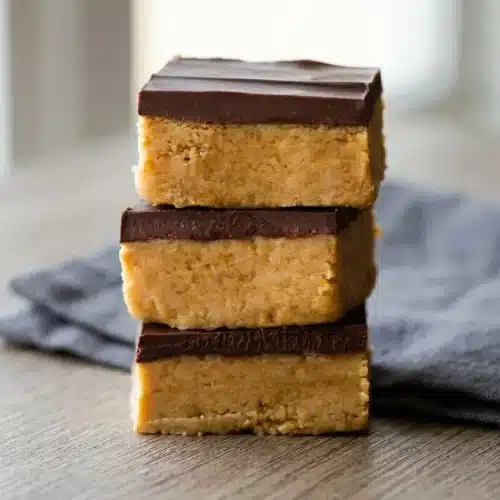
Peanut Butter Bars

Equipment
- 8-inch square baking pan
- Parchment Paper
- Glass Mixing Bowls
- Rubber spatula
Ingredients
- 1/2 cup salted butter melted (8 Tbsp; 113g)
- 1 cup graham cracker crumbs (120g) (about 8 full sheet graham crackers)
- 2 cups confectioners’ sugar (240g)
- 1 cup + 2 Tablespoons creamy peanut butter (280g), divided
- 1 cup semi-sweet chocolate chips (180g)
Instructions
- Line an 8-inch or 9-inch square baking pan with aluminum foil or parchment paper and leave enough overhang to lift the bars out later. The lining should sit flat against the corners so the finished slab chills in an even layer.
- Combine the melted butter, graham cracker crumbs, and confectioners’ sugar in a medium bowl, then stir in 1 cup (250g) of peanut butter until the mixture comes together. It should look thick and sandy, almost like damp cookie crumbs, and hold its shape when pressed between your fingers.
- Press the peanut butter mixture evenly into the prepared pan with a spatula or the back of a spoon. The surface should look compact and level, with no loose dry patches around the edges.
- Melt the remaining 2 Tablespoons of peanut butter with the chocolate chips in the microwave or on the stove, stirring until smooth, then spread the mixture over the base. If using the microwave, heat in short bursts so the chocolate turns glossy and fluid instead of stiff or grainy.
- Refrigerate the pan until the bars are completely firm, at least 2 hours, then let them stand at room temperature for 10 minutes before cutting. The top should feel set but still have a slight give, which helps keep the chocolate from cracking.
- Serve the bars chilled and cover leftovers tightly before returning them to the refrigerator for up to 1 week. The texture stays fudgy and the layers hold their shape best when stored cold.