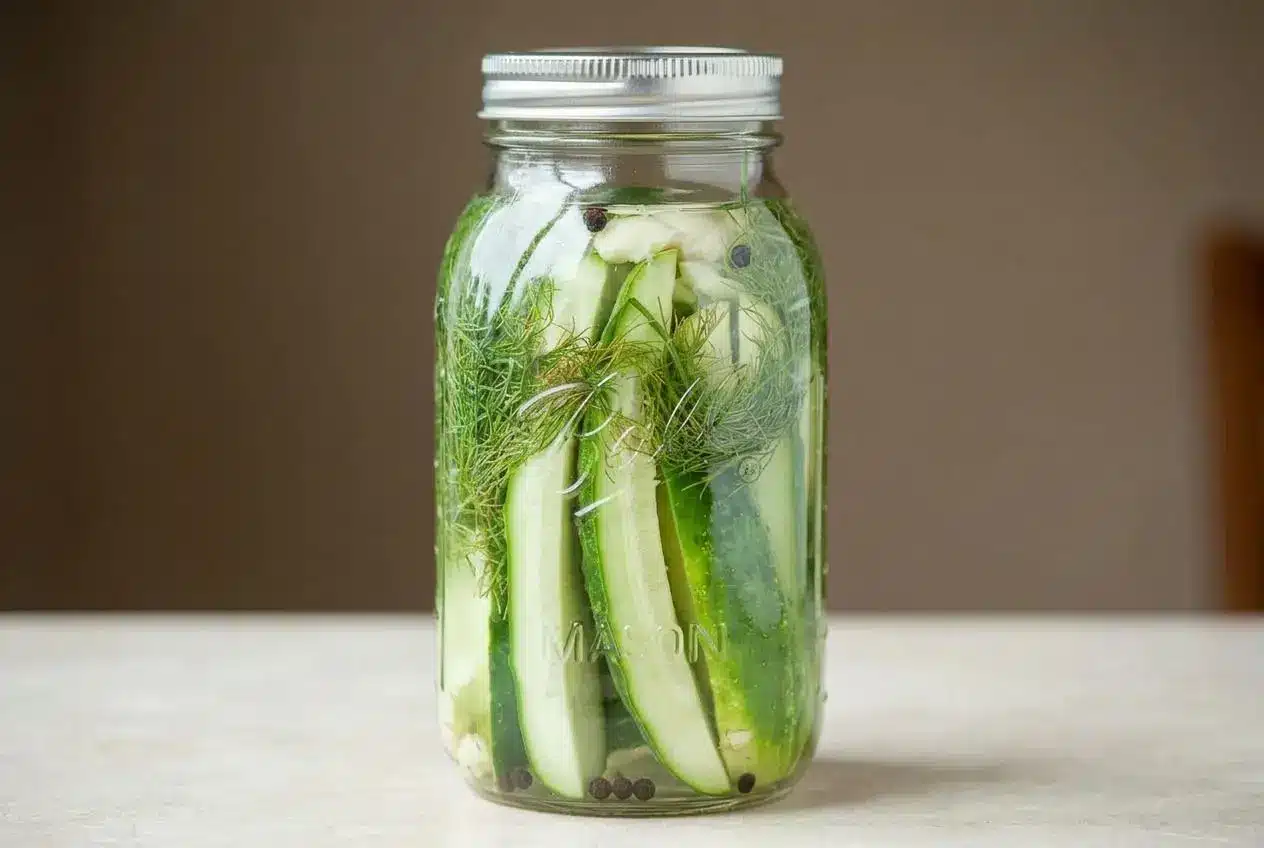
This Dill Pickles Recipe shows you how to make crisp, tangy homemade pickles with a quick refrigerator method and a shelf-stable canning option, using a balanced dill garlic brine and a few smart texture tips.
These pickles are bright, garlicky, and seriously refreshing. The brine is classic and clean, and the method is easy to follow whether you want quick refrigerator pickles or a batch for the pantry.
Once that first cold, crunchy bite hits, it all makes sense.
Trim a thin slice from the blossom end of each cucumber before pickling to help keep the texture firm.
Choosing the Best Ingredients for Crisp, Flavorful Pickles
The right ingredients do specific jobs here: they build crunch, balance sharp acidity, and give the pickles that fresh dill aroma and clean garlic bite.
Essential Ingredients for Dill Pickles
- 12 pickling cucumbers
- 4 cups water
- 2 cups white vinegar
- 2 tablespoons kosher salt
- 1 teaspoon sugar
- 1 bunch fresh dill
- 1 head garlic, skins removed, cloves smashed
- 1 tablespoon peppercorn kernels
Pickling cucumbers matter more than almost anything else. Small, firm cucumbers such as Kirby types have thinner skins and less water, so they stay crisper in brine. Regular slicing cucumbers can work in a pinch, but they usually soften faster and can turn a little watery. If you bought more cucumbers and dill than you need, a cucumber dill salad is another smart way to use them.
White vinegar gives you the classic sharp, clean pickle flavor most people expect from dill pickles. Apple cider vinegar is a nice optional swap if you want a rounder, slightly fruitier tang, but it changes the flavor profile. For canning, stick with vinegar that is labeled at 5% acidity so the brine stays in the proper pickling range.
Kosher salt or pickling salt is the better choice because it dissolves cleanly and keeps the brine clearer. Regular table salt often contains anti-caking additives, which can leave the liquid cloudy. Cloudy does not always mean spoiled, but it can make the jars look murky and less appealing.
That teaspoon of sugar is there for balance, not sweetness. It softens the edge of the vinegar so the pickles taste bright and tangy instead of harsh.
I like to give the cucumbers a quick ice bath before slicing when they feel a little less than perky. It helps them start firmer, which pays off once they hit the brine.
How to Make Dill Pickles: Two Easy Methods
Refrigerator pickles are the easier, faster option and usually stay a bit crisper because they are never processed in boiling water. Canned pickles take more work, but they are the better choice if you want shelf-stable jars for later. The flavor base is the same, but the texture and storage are different.
Essential Equipment
You will need Mason jars, a medium saucepan, a knife, and a cutting board. For the canned version, you will also need a deep pot for a water bath and a way to lift hot jars safely. Clean, well-sanitized jars matter for both methods.
Method 1: Quick Refrigerator Pickles (Step-by-Step)
- Wash the 12 pickling cucumbers well, then cut them into 1/4-inch slices or spears and set them aside while you prep the aromatics and jars.
The cucumbers should look fresh and firm, and uniform pieces pickle more evenly. - Smash the garlic cloves, pull the dill away from any thick stems, and sanitize the Mason jars before filling them.
Having everything ready makes packing easier and helps keep the dill and garlic evenly distributed. - Combine 4 cups water, 2 cups white vinegar, 2 tablespoons kosher salt, and 1 teaspoon sugar in a medium saucepan and bring the mixture to a boil.
When the brine is ready, it will smell bright and sharp with a fresh vinegary aroma, and the salt and sugar should be fully dissolved. - Take the saucepan off the heat and let the brine cool to room temperature before using it for refrigerator pickles.
This helps protect the cucumbers from softening and keeps their texture snappy. - Layer the cucumbers, 1 bunch fresh dill, 1 head garlic, skins removed, cloves smashed, and 1 tablespoon peppercorn kernels into the jars without pressing everything in too tightly.
Leave a little space between pieces so the brine can move around and season the cucumbers evenly. - Pour in enough cooled brine to fully cover the cucumbers, seal the jars with airtight lids, and refrigerate them.
The pickles can be tasted sooner, but the flavor is best after about 1 week when the dill, garlic, and peppercorns have had time to settle in.
Method 2: Shelf-Stable Canned Pickles (Step-by-Step)
If you want canned dill pickles for pantry storage, keep the ingredient ratios exactly the same and use a proper water bath canning process. This method is for long-term storage, so careful jar handling matters.
For canning, processing guidance can vary by jar size and altitude. Before starting, check current dill pickle procedures from the National Center for Home Food Preservation if you want a tested water-bath process for shelf-stable jars.
- Wash and cut the cucumbers as directed above, then prepare clean jars, lids, and a water bath setup before you make the brine.
Starting organized makes it easier to pack the jars while the brine is still hot. - Bring the water, white vinegar, kosher salt, and sugar to a boil in a medium saucepan until the salt and sugar dissolve completely.
The liquid should look clear and smell brisk and vinegary. - Pack the jars with cucumbers, fresh dill, smashed garlic, and peppercorn kernels, keeping the pieces snug but not jammed in place.
Good packing gives you room for hot brine to flow around the cucumbers. - Pour the hot brine over the cucumbers to cover them, wipe the jar rims clean, and apply the lids according to your canning setup.
Clean rims help the lids seal more reliably during processing. - Process the jars in a boiling water bath using a tested dill pickle procedure for your jar size and conditions, then lift them out carefully and let them cool undisturbed.
After cooling, a sealed jar often gives a clear little ping, and the center of the lid should stay down when pressed. - If a jar does not seal, move it to the refrigerator and use it as a refrigerator pickle instead of storing it in the pantry.
A properly sealed jar stays closed on its own, while an unsealed lid will flex or pop when touched.
Expert Tips for the Best Homemade Pickles
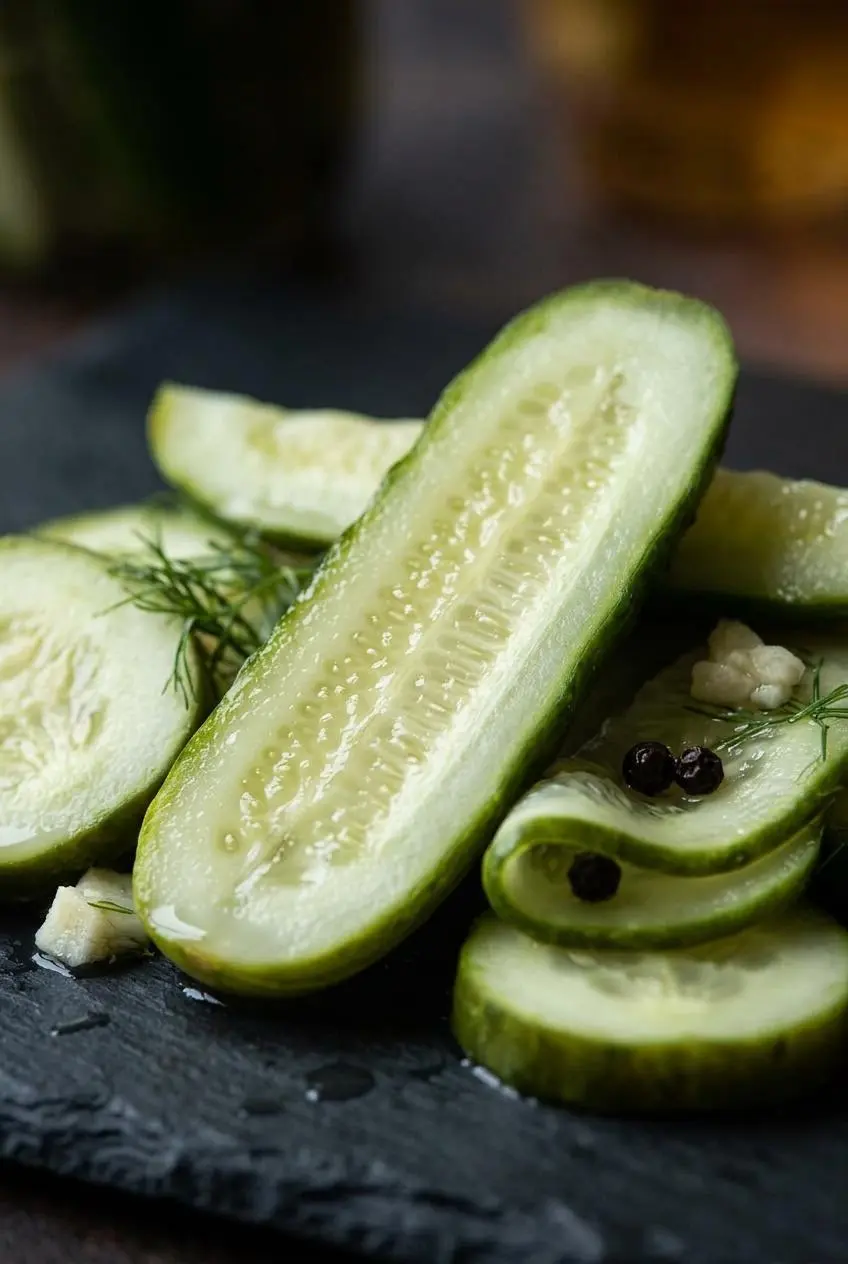
Great homemade pickles come down to texture, balance, and a few habits that prevent trouble before it starts. These are the fixes that make the difference between crisp pickles and a sad, floppy jar.
The Secret to Extra-Crisp Pickles
- Start with very fresh, firm pickling cucumbers. If they already feel bendy or tired, they will not magically improve in brine.
- Trim a thin slice from the blossom end of each cucumber. That end contains enzymes that can encourage softening.
- Do not pack the jars too tightly. A little breathing room helps the brine circulate and season the cucumbers evenly.
- For refrigerator pickles, let the brine cool before pouring it over the cucumbers. Hot liquid can soften them slightly before they ever chill.
- Add a grape leaf to each jar if you have one. Grape leaves release tannins, which can help the cucumbers stay firmer.
- If grape leaves are not practical, one plain black tea bag in a jar can offer the same tannin effect without changing the flavor much. It looks odd, but it works.
- Watch the salt and vinegar balance closely. Too little salt can make the flavor flat, while too much can drown out the dill and garlic.
Troubleshooting Common Pickle Problems
- Soft pickles: This usually comes from using regular slicing cucumbers, skipping the blossom-end trim, pouring hot brine over refrigerator pickles, or processing canned pickles too aggressively. Start with firm pickling cucumbers and protect them from excess heat.
- Cloudy brine: Table salt, hard water, and floating spice particles are common causes. If the jar still smells fresh and looks normal otherwise, cloudy brine is often just cosmetic.
- When cloudiness is a problem: If the jar has mold, an off smell, unusual fizzing, or a lid that bulges instead of staying flat, discard it.
- Garlic turned blue or green: This can happen when garlic reacts with the vinegar and trace minerals. It is a natural color change and does not mean the pickles are ruined.
- Flavor tastes too sharp: Give the pickles more time to settle. The garlic, dill, and cucumbers soften the edge of the brine as they sit.
- Flavor seems weak: The jars may be underfilled with dill and garlic, or the pickles may simply need more time in the brine. Fresh dill makes a big difference here.
How to Store Homemade Pickles (And How Long They Last)
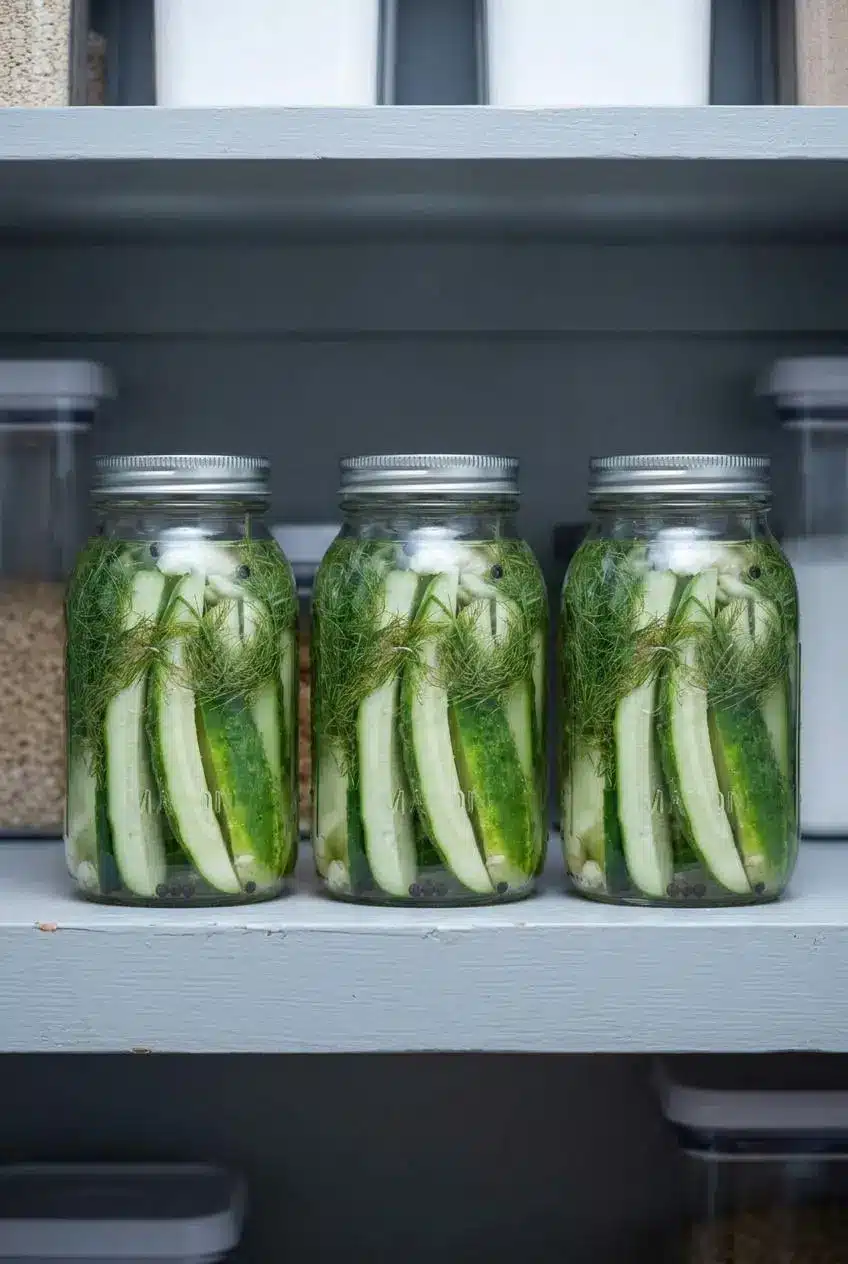
Storage depends on which method you used, so it helps to think of these as two different kinds of pickles once the jars are filled.
Refrigerator pickles need to stay chilled the whole time. They taste best after 5 to 7 days, when the brine has fully worked into the cucumbers, and the official recipe notes that they are good for at least 4 to 6 weeks after that.
Canned pickles can be kept in a cool, dark place for up to a year if the jars sealed properly during processing. Once a canned jar is opened, move it to the refrigerator.
For either method, discard the pickles if you notice mold, a bad smell, unusual fizzing, leaking, or a bulging lid. With canned jars, an unsealed lid means the jar belongs in the refrigerator, not the pantry.
Serving Suggestions and Fun Variations
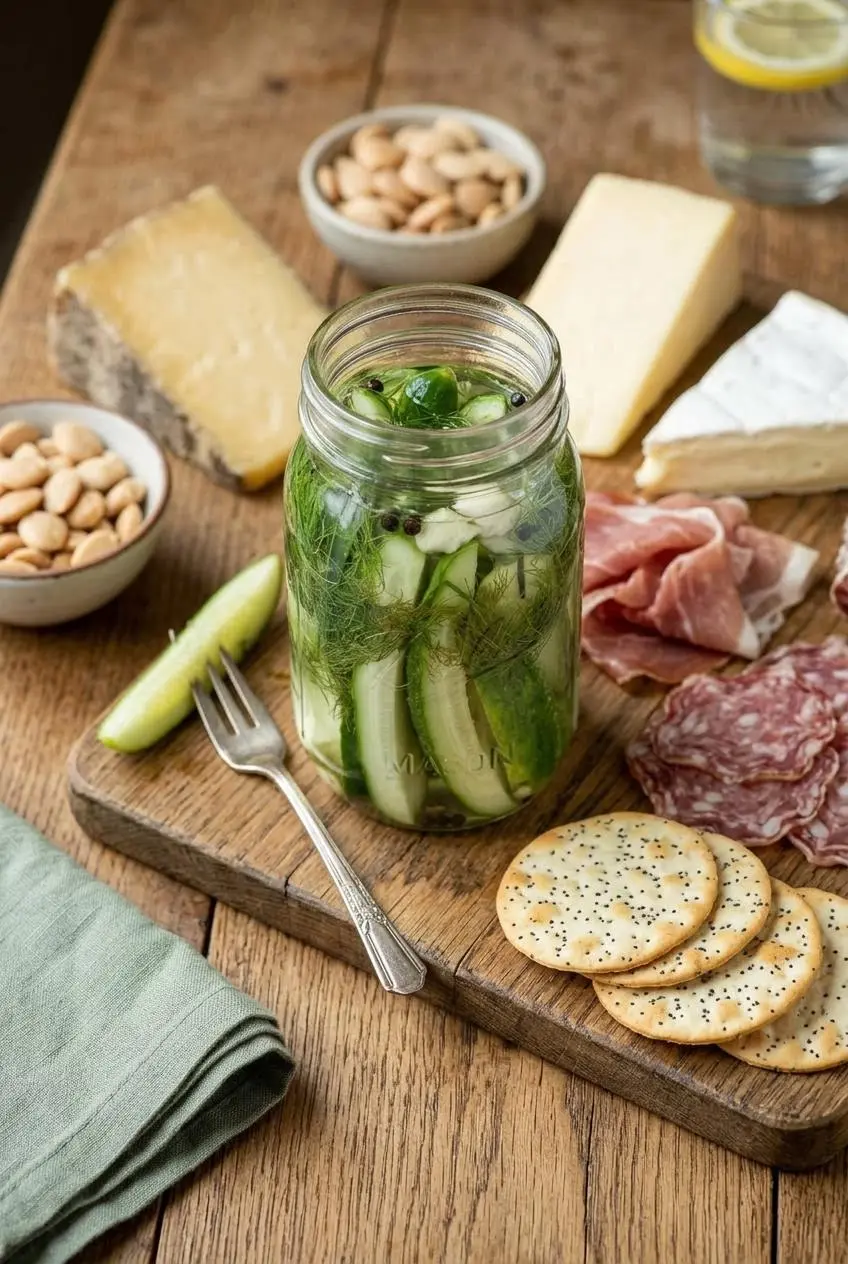
Once the jars are ready, these pickles can do a lot more than sit next to a burger. They bring crunch, salt, and acidity wherever a dish needs a lift.
How to Serve Your Dill Pickles
- Serve them with burgers and sandwiches for a cold, crunchy contrast.
- Chop them into potato salad, egg salad, or tartar sauce when you want extra tang.
- Add them to a cheese board or snack plate for something bright and briny.
- Eat them straight from the jar when you want a crisp, zesty bite.
- Stir chopped pickles into creamy dill pickle dip if you want their flavor to be the whole point of the snack.
Flavor Variations to Try
- Spicy dill pickles: Add jalapeño slices or a pinch of red pepper flakes to each jar for a warm kick.
- Extra garlic kosher-style pickles: Double the garlic if you want a punchier, deli-style flavor.
- Sweet and spicy twist: For a bread-and-butter direction, increase the sugar and add onions and mustard seed. It is a tasty variation, but it changes the recipe from a classic dill profile.
- Apple cider vinegar version: Swap the white vinegar for apple cider vinegar if you want a mellower, slightly fruity tang.
- More layered spice: Mustard seeds, coriander seeds, or a bay leaf can deepen the brine without taking over the dill.
Conclusion
Homemade dill pickles are easier than they look, and the payoff is big. You get crisp, garlicky, tangy pickles that taste brighter and fresher than most store-bought jars.
If you remember one thing, make it this: start with firm pickling cucumbers and protect their crunch from excess heat. That small step makes every jar better.
Frequently Asked Questions
Why did my homemade pickles get soft or mushy?
Usually it comes down to three things. The cucumbers were the wrong kind, the blossom end was left on, or the pickles were exposed to too much heat during processing. For the best crunch, use firm pickling cucumbers, trim the blossom end, and cool the brine for refrigerator pickles.
Can I use regular cucumbers from the grocery store?
Yes, but expect a softer pickle. Regular slicing cucumbers hold more water and have a different texture, so they do not stay as crisp in brine as pickling cucumbers. Persian cucumbers are usually the best easy-to-find backup.
Is cloudy pickle brine safe to eat?
Often, yes. Cloudiness can come from table salt, hard water, or spices in the jar. If the pickles smell bad, show mold, fizz oddly, or the jar looks swollen or leaky, discard them.
Can I reuse the pickle brine?
Yes, for refrigerator pickles you can reuse it for another round, though the flavor will be less bold the next time. Leftover brine is also great in chicken marinades, salad dressings, or a splash stirred into potato salad for extra tang.
Dill Pickles Recipe

Equipment
- Mason jars
- Medium saucepan
Ingredients
- 12 pickling cucumbers
- 4 cups water
- 2 cups white vinegar
- 2 tablespoons kosher salt
- 1 teaspoon sugar
- 1 bunch fresh dill
- 1 head garlic, skins removed, cloves smashed
- 1 tablespoon peppercorn kernels
Instructions
Method 1: Quick Refrigerator Pickles (Step-by-Step)
- Wash the 12 pickling cucumbers well, then cut them into 1/4-inch slices or spears and set them aside while you prep the aromatics and jars. The cucumbers should look fresh and firm, and uniform pieces pickle more evenly.
- Smash the garlic cloves, pull the dill away from any thick stems, and sanitize the Mason jars before filling them. Having everything ready makes packing easier and helps keep the dill and garlic evenly distributed.
- Combine 4 cups water, 2 cups white vinegar, 2 tablespoons kosher salt, and 1 teaspoon sugar in a medium saucepan and bring the mixture to a boil. When the brine is ready, it will smell bright and sharp with a fresh vinegary aroma, and the salt and sugar should be fully dissolved.
- Take the saucepan off the heat and let the brine cool to room temperature before using it for refrigerator pickles. This helps protect the cucumbers from softening and keeps their texture snappy.
- Layer the cucumbers, 1 bunch fresh dill, 1 head garlic, skins removed, cloves smashed, and 1 tablespoon peppercorn kernels into the jars without pressing everything in too tightly. Leave a little space between pieces so the brine can move around and season the cucumbers evenly.
- Pour in enough cooled brine to fully cover the cucumbers, seal the jars with airtight lids, and refrigerate them. The pickles can be tasted sooner, but the flavor is best after about 1 week when the dill, garlic, and peppercorns have had time to settle in.
Method 2: Shelf-Stable Canned Pickles (Step-by-Step)
- Wash and cut the cucumbers as directed above, then prepare clean jars, lids, and a water bath setup before you make the brine. Starting organized makes it easier to pack the jars while the brine is still hot.
- Bring the water, white vinegar, kosher salt, and sugar to a boil in a medium saucepan until the salt and sugar dissolve completely. The liquid should look clear and smell brisk and vinegary.
- Pack the jars with cucumbers, fresh dill, smashed garlic, and peppercorn kernels, keeping the pieces snug but not jammed in place. Good packing gives you room for hot brine to flow around the cucumbers.
- Pour the hot brine over the cucumbers to cover them, wipe the jar rims clean, and apply the lids according to your canning setup. Clean rims help the lids seal more reliably during processing.
- Process the jars in a boiling water bath using a tested dill pickle procedure for your jar size and conditions, then lift them out carefully and let them cool undisturbed. After cooling, a sealed jar often gives a clear little ping, and the center of the lid should stay down when pressed.
- If a jar does not seal, move it to the refrigerator and use it as a refrigerator pickle instead of storing it in the pantry. A properly sealed jar stays closed on its own, while an unsealed lid will flex or pop when touched.