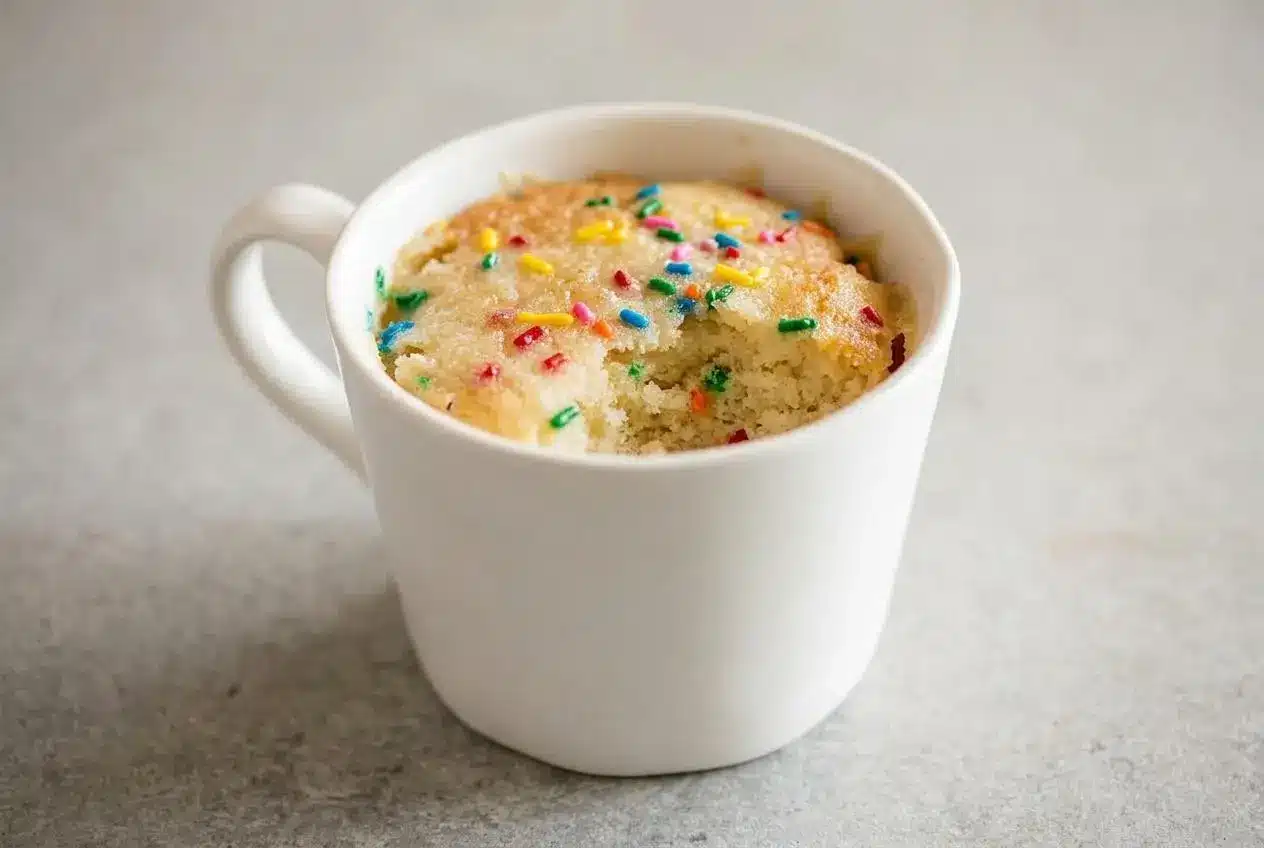
A vanilla mug cake is a quick, egg-free single serving dessert made right in a mug and microwaved for 70 to 90 seconds until soft, fluffy, and just set.
This vanilla mug cake is the kind of treat you make when you want cake now, not after preheating an oven. It has a warm vanilla flavor, a tender crumb, and enough sweetness to feel like a real dessert.
It’s also very forgiving once you know the two big keys: use the right mug and don’t overcook it. That’s where the fluffy magic happens.
Use a microwave-safe mug that holds at least 10 ounces, and fill it no more than two-thirds full so the batter has room to rise.
Why This Recipe Is the Best
This recipe works because it gives you actual cake texture in about 5 minutes, not a gummy shortcut that tastes like compromise. The crumb stays soft, the vanilla flavor comes through clearly, and the sprinkles make it feel a little more fun without changing the base recipe.
It’s also an eggless mug cake, which is handy when you want dessert for one and don’t want to deal with half-used eggs or a sulfur-y microwave cake. Baking powder does the lifting here, so the cake still rises and turns fluffy.
Just as important, this version covers the little details that usually decide whether a microwave mug cake turns out tender or rubbery. You’ll find the mug size, batter texture, wattage tips, and fixes for the most common problems all in one place.
Ingredients You’ll Need
Each ingredient has a real job here, from lift and tenderness to moisture, sweetness, and that classic vanilla cake aroma.
- ¼ cup + 1 1/2 teaspoons all-purpose flour (35 g)
- 2 tablespoons sugar (25 g)
- 1/4 teaspoon baking powder (1 g)
- dash salt
- 2 tablespoon butter, melted (28 g)
- 3 tablespoon milk (45 ml)
- 1/2 teaspoon vanilla extract (2.5 ml)
- 1 teaspoon sprinkles (4 g)
The flour gives the cake structure, while sugar sweetens and helps keep the crumb soft. Baking powder is what makes this cake rise without an egg, so it’s the reason the texture stays light instead of dense.
Melted butter adds richness and keeps the crumb tender. Milk loosens the batter so it cooks evenly, vanilla gives the cake its full dessert flavor, and the sprinkles add a little color and fun.
I like to stir the dry ingredients together in the mug first so the baking powder is evenly distributed before the wet ingredients go in.
How to Make a Vanilla Mug Cake
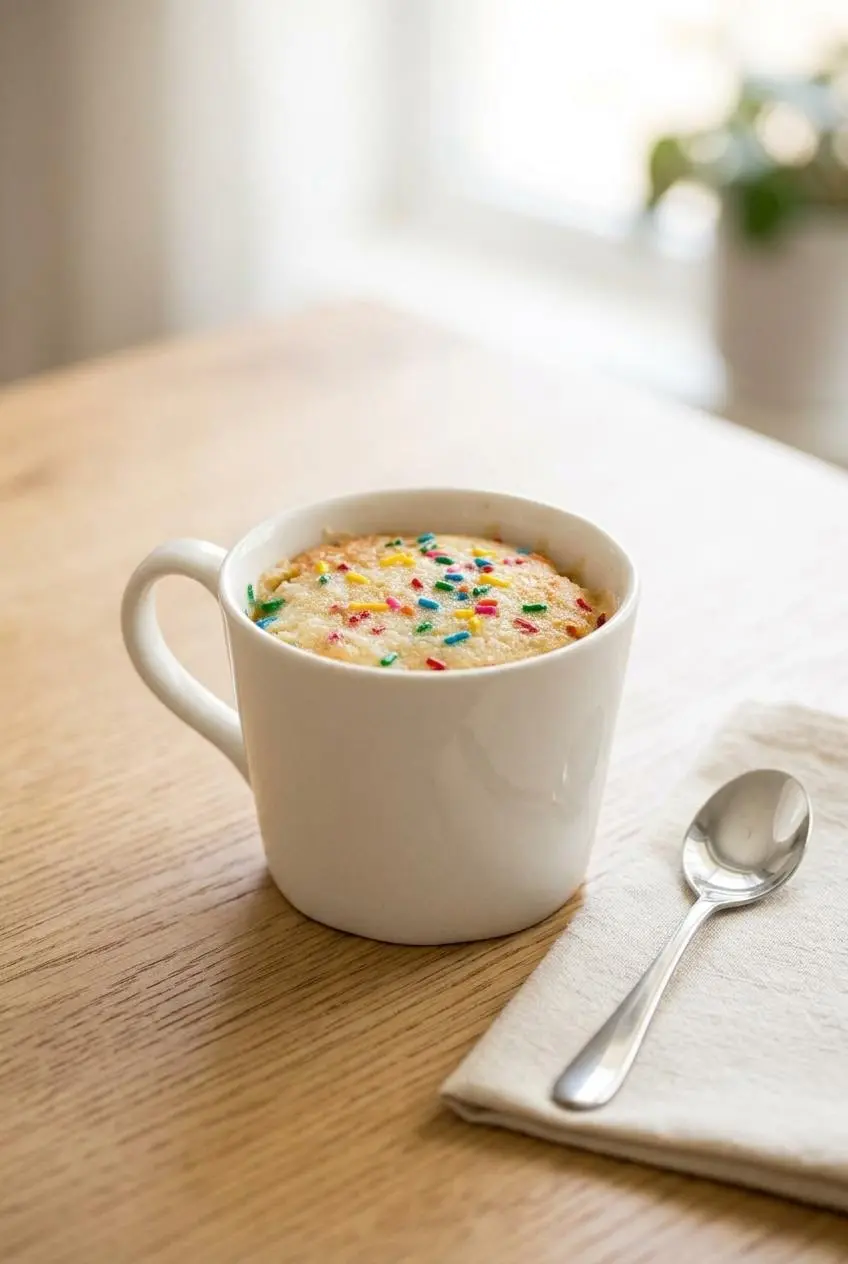
This comes together right in the mug, so a good stir and the right texture matter more than fancy technique.
- Add the flour, sugar, baking powder, and salt to a microwave-safe mug, then stir well with a fork or small whisk.
Mix until the dry ingredients look even, since any flour left sitting at the bottom can stay raw after cooking. - Pour in the milk, melted butter, and vanilla extract, then stir until the batter is smooth and scrape the bottom and sides of the mug before folding in the sprinkles.
The batter should look like a thick pancake batter, smooth and thick but still easy to stir, and you should stop mixing as soon as no dry streaks remain. - Microwave for 70 to 90 seconds, then let the cake rest in the microwave for 1 minute before eating.
The edges should pull away from the mug slightly and the center should look just set with only a faint shine on top.
If you want an extra check, touch the top lightly after the rest. It should spring back gently rather than look wet in the middle.
Tips for the Perfect Mug Cake
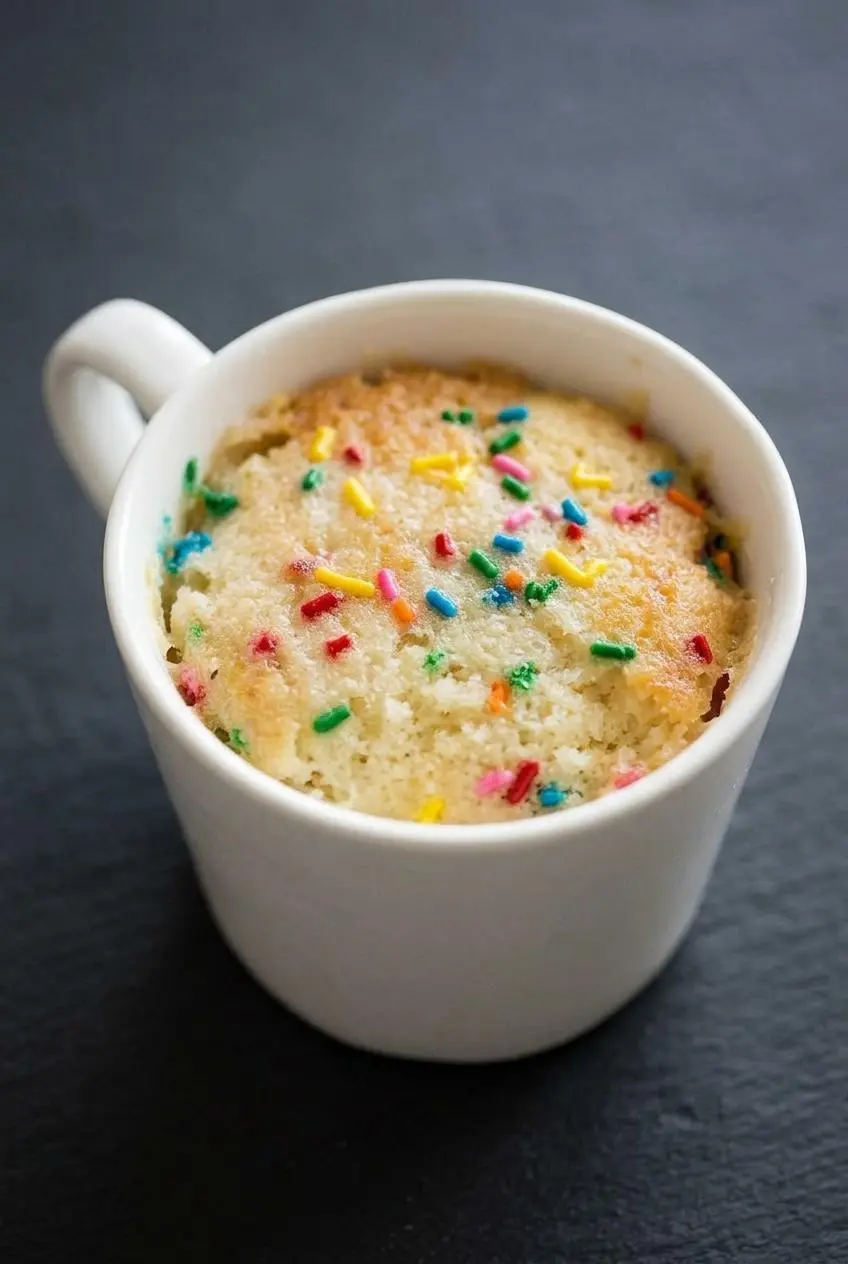
These small details make the difference between a soft microwave mug cake and one that turns dry, tough, or messy.
Choose the Right Mug
A standard 10 to 14-ounce microwave-safe mug is the sweet spot. It gives the batter enough space to rise without spilling over and helps the cake cook more evenly through the center.
Very narrow mugs can make the middle cook unevenly, while smaller cups are more likely to overflow. If the batter sits too high before microwaving, switch to a larger mug before you start.
Don’t Overmix the Batter
Stir just until everything comes together and no dry pockets remain. Once the batter looks smooth, stop.
Too much stirring develops the flour enough to make the cake tougher and less fluffy. You want a light mug cake here, not the tighter crumb of a dense pound cake.
Know Your Microwave’s Wattage
Microwave power is the biggest variable in this recipe. This timing works best in a 1200W microwave, so lower-wattage machines usually need a little more time and stronger ones need less.
If your microwave runs around 700 to 900W, start closer to 90 seconds and add a short burst only if the center still looks wet. If yours is high-powered, start around 70 seconds and check early. The cake keeps cooking a bit while it rests, so don’t chase a completely dry top in the microwave.
Troubleshooting Common Mug Cake Problems
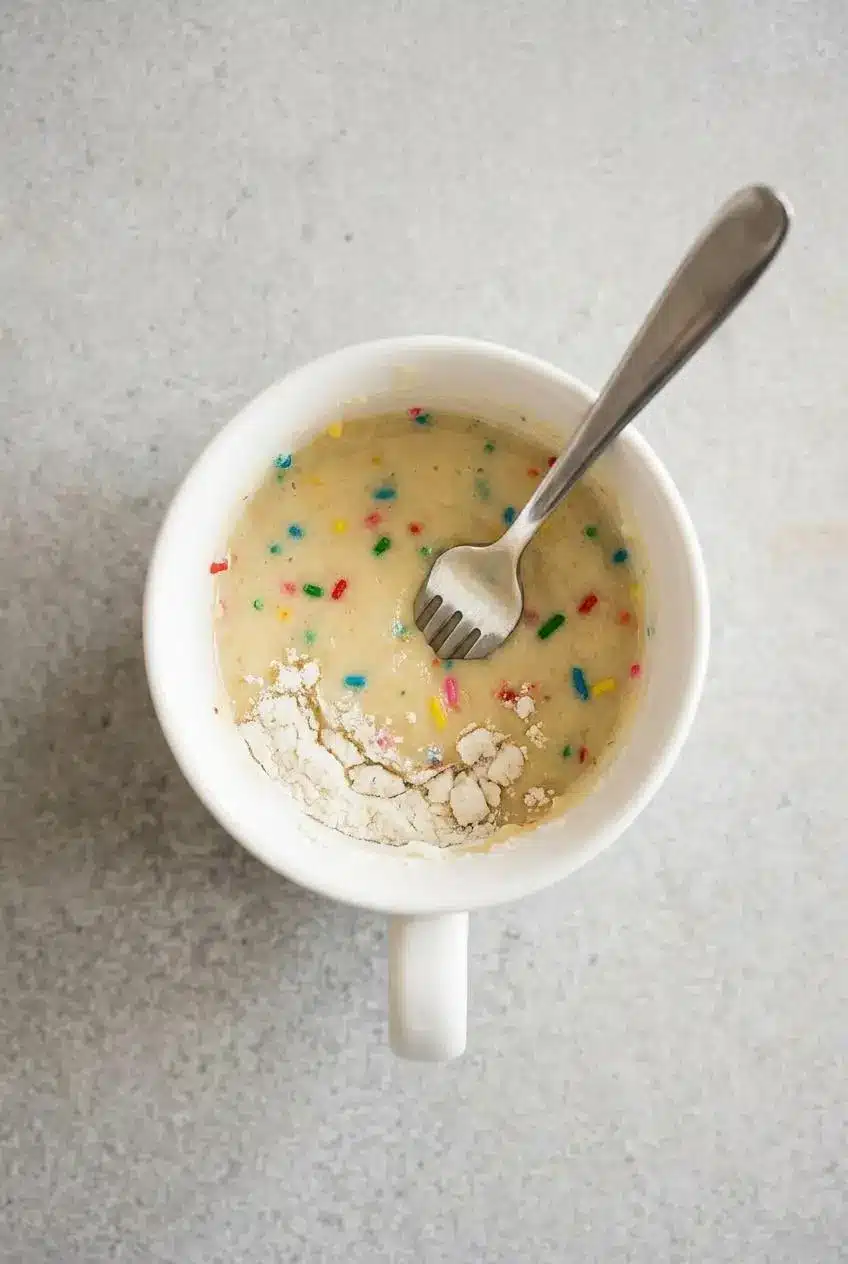
If mug cake has ever let you down, it was probably one of these issues. The good news is that each one has an easy fix.
- Problem: My cake is tough and rubbery. Solution: This usually means it cooked too long. Pull the time back a little next time, because even a brief extra burst can take it from soft to chewy fast. Letting it rest for 1 minute also helps it finish gently instead of drying out.
- Problem: There is dry, uncooked flour at the bottom. Solution: The batter likely wasn’t mixed all the way through. Scrape the bottom and sides of the mug well with a fork or small whisk before microwaving so no flour pockets stay hidden.
- Problem: My mug cake overflowed. Solution: The mug was probably too small or too full. Use a 10 to 14-ounce mug and keep the batter below the top third of the mug so it can rise without climbing out.
- Problem: My cake is dense or gummy. Solution: This can happen when the batter is overmixed. Stir only until combined, because too much mixing makes the crumb heavier instead of soft and fluffy.
- Problem: The top looks dry but the middle still seems underdone. Solution: Your mug may be narrow or your microwave may heat unevenly. Let the cake rest first, then give it a very short extra burst only if the center still looks clearly wet.
Variations and Customizations
This base is easy to tweak when you want a different flavor or need a swap. Keep these changes optional so the original texture stays true to the main recipe.
Chocolate Chip Mug Cake
For a chocolate chip version, stir in chocolate chips along with the sprinkles. You can also use white chocolate chips if you want a sweeter, creamier finish.
Funfetti Mug Cake
This recipe is already basically a funfetti mug cake thanks to the sprinkles. Rainbow sprinkles give it that classic birthday-cake look and make the vanilla flavor feel extra playful.
Dairy-Free and Vegan Options
To make it dairy-free, swap the milk for almond, soy, or oat milk, and replace the butter with melted coconut oil or plant-based butter. The cake will still be soft, though coconut oil may give it a slightly different flavor.
For a vegan version, use those same dairy-free swaps and choose sprinkles that fit your needs, since some brands contain confectioner’s glaze or color additives some people avoid.
- Eggless mug cake: The base recipe already skips the egg, and that’s a big reason it cooks quickly without turning heavy.
- Mug cake without butter: Use an equal amount of neutral oil or melted coconut oil. Oil gives a soft texture, though the buttery flavor will be lighter.
- Nutella or peanut butter center: Spoon a small dollop into the middle of the batter before cooking for a molten center.
- Richer vanilla flavor: Add a tiny pinch of instant espresso powder to the dry ingredients. It won’t make the cake taste like coffee, but it can make the vanilla taste deeper.
- With an egg for a cakier texture: If you prefer a more traditional cake feel, add 1 egg yolk to the wet ingredients and increase the flour by 1 tablespoon. The texture will be different from the original egg-free version, and if you use egg, proper handling and thorough cooking matter for food safety with foods containing eggs.
- Gluten-free option: Use a 1-to-1 gluten-free baking flour blend that includes xanthan gum. Expect a slightly different crumb, but it can still work well.
If you love the vanilla flavor and want something party-ready later, classic vanilla cupcakes are a nice next bake.
How to Store and Reheat
Mug cakes are best eaten fresh, while the crumb is still warm and soft. That’s when the texture really shines.
If you need to hold it for later, cover the mug well once the cake has cooled. Reheat briefly in the microwave just until warmed through, because too much reheating can make it firm and a little dry.
Conclusion
This vanilla mug cake is one of the fastest ways to get a real dessert on the table, with a soft crumb and classic vanilla flavor in a single serving.
For the best texture, stop cooking as soon as the center is just set and let it rest before digging in. Try one of the variations the next time you want to change it up.
Frequently Asked Questions
Why is my vanilla mug cake rubbery?
A rubbery texture is almost always from overcooking. Microwaves move fast, so even a little extra time can dry the cake out. Cook just until set, then let it rest for 1 minute so the center can finish gently.
What is the best size mug to use for a mug cake?
A 10 to 14-ounce microwave-safe mug is ideal. It gives the batter enough room to rise without spilling over and helps the cake cook more evenly than a very small or narrow mug.
Can I bake this mug cake in the oven?
Yes. Pour the batter into a greased oven-safe ramekin and bake at 350°F (175°C) for about 12 to 15 minutes, or until a toothpick in the center comes out clean.
Can I make this mug cake gluten-free?
Yes. Swap the all-purpose flour for an equal amount of a 1-to-1 gluten-free baking flour blend that contains xanthan gum. The texture may be a little different, but it should still bake up nicely.
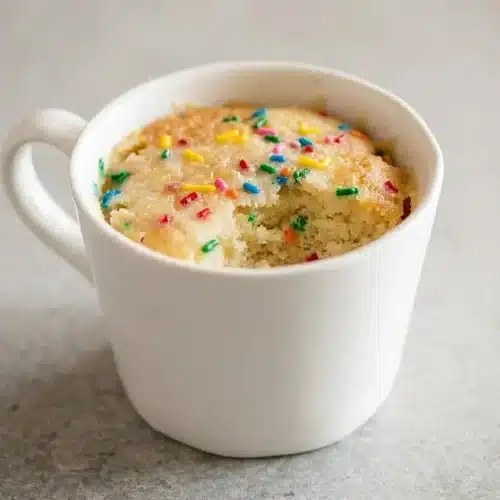
Vanilla Mug Cake

Equipment
- Microwave-safe mug (10-14 ounce)
- Fork or small whisk
Ingredients
- ¼ cup + 1 1/2 teaspoons all-purpose flour (35 g)
- 2 tablespoons sugar (25 g)
- 1/4 teaspoon baking powder (1 g)
- 1 dash salt
- 2 tablespoon butter, melted (28 g)
- 3 tablespoon milk (45 ml)
- 1/2 teaspoon vanilla extract (2.5 ml)
- 1 teaspoon sprinkles (4 g)
Instructions
- Add the flour, sugar, baking powder, and salt to a microwave-safe mug, then stir well with a fork or small whisk. Mix until the dry ingredients look even, since any flour left sitting at the bottom can stay raw after cooking.
- Pour in the milk, melted butter, and vanilla extract, then stir until the batter is smooth and scrape the bottom and sides of the mug before folding in the sprinkles. The batter should look like a thick pancake batter, smooth and thick but still easy to stir, and you should stop mixing as soon as no dry streaks remain.
- Microwave for 70 to 90 seconds, then let the cake rest in the microwave for 1 minute before eating. The edges should pull away from the mug slightly and the center should look just set with only a faint shine on top.