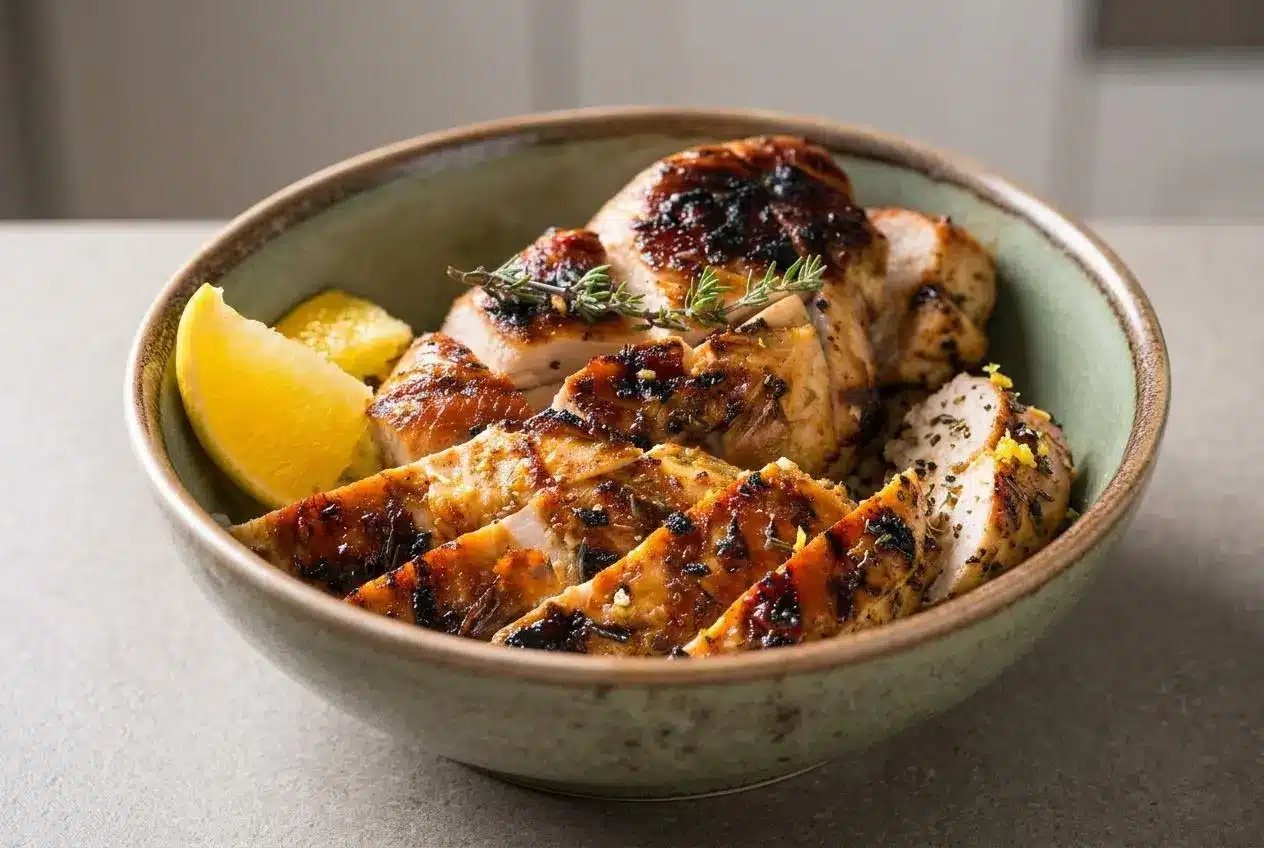
Pound the chicken to an even ½-inch thickness, marinate it well, grill over high heat, and pull it just before it finishes cooking through. Resting before slicing is what keeps it juicy.
Grilled Chicken Breast should be tender, smoky, and full of flavor, not dry around the edges and bland in the middle. This method is built to solve that exact problem with a smart lemon herb marinade and a very short cook time.
You’ll also get clear cues for doneness, optional marinade ideas, and fixes for the most common grilling mishaps. The sizzle when the chicken hits the grates tells you you’re on the right track.
If your chicken breasts are thick on one end, take the extra minute to pound them evenly before anything else.
The 4 Keys to Juicy Grilled Chicken Breast
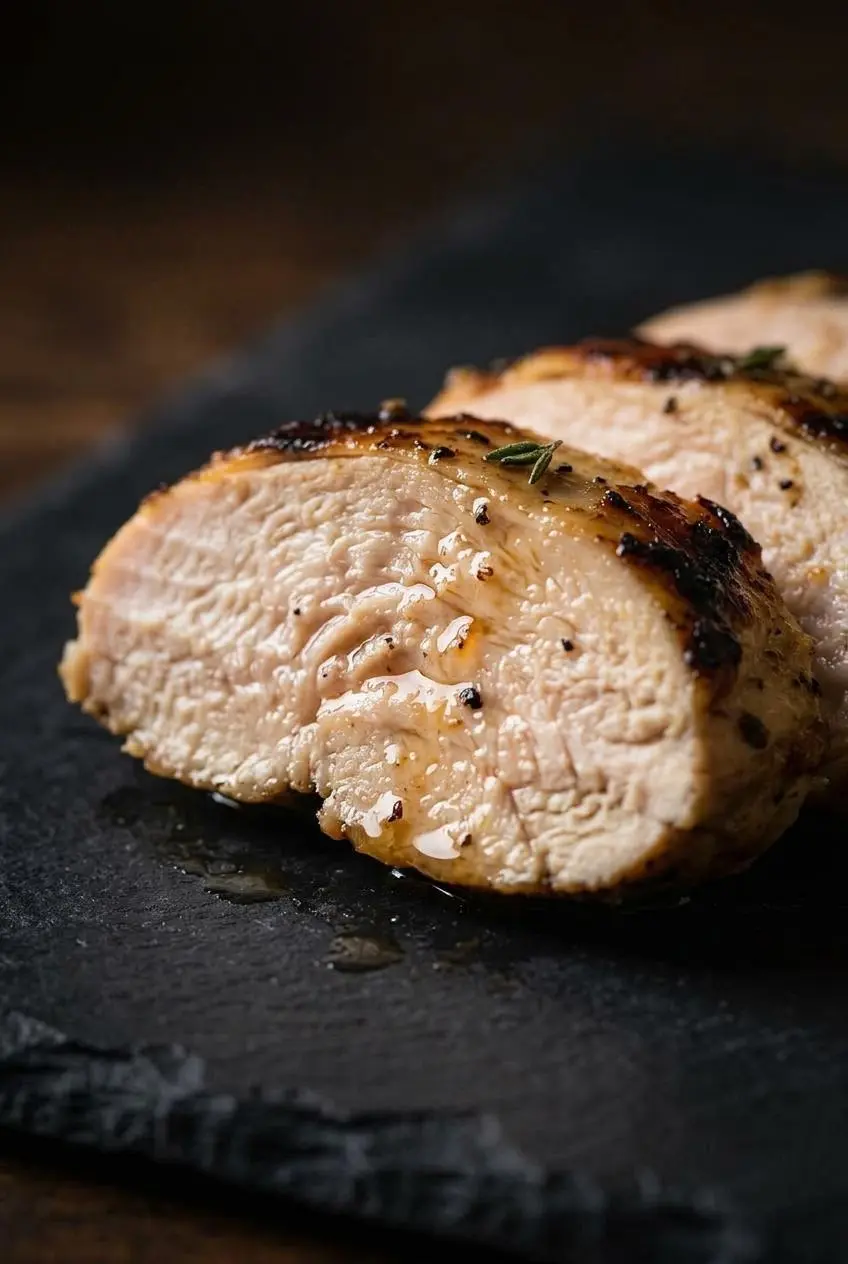
If you want consistently juicy chicken, these four steps are not optional. They work together to prevent the two big problems with boneless skinless chicken breast: uneven cooking and overcooking.
1. Create Even Thickness
Pounding the chicken to an even ½-inch thickness is the first move because it makes the whole breast cook at the same rate. Without that step, the thin end dries out while the thick end is still catching up.
This also helps the chicken stay tender. A flat breast makes better contact with the grill, cooks fast, and gives you more even browning instead of dry edges and a pale center.
If you like using thin-sliced cutlets, they can work well here too. They cook quickly and evenly, but keep a close eye on them because they can go from juicy to dry fast.
2. Marinate for Flavor and Moisture
A good chicken marinade does more than add flavor. Olive oil helps coat the meat, promotes better browning, and makes sticking less likely once the chicken hits the grates.
Garlic, thyme, oregano, pepper, and lemon zest build flavor all the way across the surface. Salt matters too because it seasons the meat and helps it hold onto moisture better during grilling.
For this recipe, lemon zest gives brightness without soaking the chicken in strong acid. That matters because long marinades heavy on lemon juice or vinegar can make the outside of chicken feel tight and slightly leathery instead of tender.
The marinade should smell fresh, savory, and lemony, with the herbs and garlic clearly noticeable. It will look glossy from the oil and speckled with seasoning.
3. Master Temperature Control
Chicken breast cooks best on a hot grill, around 450 to 475°F. High heat gives the outside fast color and light char, while the inside cooks through before the meat has time to dry out.
A meat thermometer is the most reliable way to avoid overcooking. For poultry, the finish line is 165°F, as shown on FoodSafety.gov’s safe minimum internal temperature chart.
For the juiciest result, pull the chicken when the thickest part is around 160°F and let carryover cooking do the rest. That short rest brings the temperature up while protecting the texture.
Close the grill lid while cooking. It creates steadier heat around the chicken and helps the center cook as quickly as the outside browns.
4. Let the Chicken Rest
Resting gives the hot juices time to settle back into the meat instead of running straight onto the cutting board. Slice too soon and that moisture is gone before it ever reaches the plate.
Give the chicken 5 to 10 minutes before cutting. When it’s ready, it will feel firm with a slight spring rather than stiff and tight.
Ingredients for Our Juicy Grilled Chicken Breast
Each ingredient has a real job here, from building savory flavor to helping the chicken brown well and stay moist on the grill.
- 1¾ lbs boneless, skinless chicken breasts
- 6 tablespoons extra virgin olive oil
- 4 large garlic cloves, minced
- 1 teaspoon dried thyme
- ½ teaspoon dried oregano
- 1¼ teaspoon salt
- ½ teaspoon freshly ground black pepper
- 1½ teaspoons lemon zest, from one lemon
Olive oil helps the chicken brown and keeps the marinade clinging to the surface. Garlic and dried herbs bring deep savory flavor, while lemon zest adds brightness without the sharp acidity that can toughen the outside during a long marinate.
I always reach for fresh garlic and freshly zested lemon here because the marinade smells livelier and the grilled chicken tastes noticeably brighter.
How to Grill Chicken Breast Step-by-Step
This method keeps the recipe focused and fast. Once the chicken is flattened and marinated, the grill does the rest in just a few minutes per side.
- Place one chicken breast at a time in a 1-gallon zip-lock bag and pound it to an even ½-inch thickness with a meat mallet.
The chicken should look level from end to end, which helps it cook evenly instead of drying out at the thinner edges. - Add the olive oil, garlic, thyme, oregano, salt, black pepper, and lemon zest to a 1-gallon zip-lock bag, then mix well and add the chicken to coat it completely.
The marinade should look glossy and evenly speckled, and the chicken should be fully covered before you seal the bag and refrigerate it in a bowl for at least 4 hours or overnight. - Heat the grill to high and oil the grates right before cooking.
When the grill is ready, the chicken should sizzle as soon as it touches the grates, which is the sound of a properly heated surface. - Set the chicken on the grill, cover, and cook for 2 to 3 minutes on the first side.
Once it has good grill marks, it should release more easily from the grates instead of clinging. - Flip and cook the second side for 2 to 3 minutes more, watching closely so it does not overcook.
The chicken should look lightly charred in spots and feel firm with a slight spring when it is close to done. - Move the chicken to a platter and let it rest before serving.
The juices will settle back into the meat during the rest, so the slices stay moist instead of watery on the board.
Grilled Chicken Marinade Variations
The lemon herb version is bright, savory, and easy to pair with almost anything, but chicken is flexible enough to take on other flavors beautifully. If you want more options, here are a few good directions, plus more chicken marinades for future cookouts.
| Variation | Main Flavor | Best For |
|---|---|---|
| Sweet & Tangy Balsamic | Deep, lightly sweet, sharp | Sandwiches, grain bowls, summer dinners |
| Smoky & Spicy Chipotle | Smoky heat with a sweet edge | Tacos, rice bowls, corn and grilled veggies |
| Classic Italian Herb | Herby, savory, versatile | Salads, pasta add-ins, meal prep |
Sweet & Tangy Balsamic Marinade
This one brings a darker, slightly sweet glaze effect and works especially well if you like stronger caramelized edges. Combine balsamic vinegar, olive oil, brown sugar, Dijon mustard, and garlic for a marinade that balances sweetness, tang, and savory depth.
If that flavor profile is what you want for dinner, a dedicated balsamic chicken recipe is a great next stop.
Smoky & Spicy Chipotle Marinade
For bigger grill flavor, mix olive oil with adobo sauce, honey or maple syrup, lime juice, and cumin. The result is smoky, a little spicy, and especially good with charred corn, black beans, or rice.
Because this style includes more sugar, watch the grill closely. It browns faster than the lemon herb version.
Classic Italian Herb Marinade
Stir together olive oil, red wine vinegar, dried Italian seasoning, garlic powder, and onion powder for a more pantry style marinade. It’s mellow, savory, and useful when you want grilled chicken that can go into salads, wraps, or pasta without stealing the whole show.
Grilling Tips and Troubleshooting
This is where small adjustments make a big difference. The core method stays the same, but your grill setup and a few common mistakes can change the final result fast.
How to Grill on a Gas vs. Charcoal Grill
On a gas grill, preheat with the lid closed so the grates get fully hot. If your grill runs unevenly, leave one side a little lower so you have a cooler zone to move the chicken to if it’s browning too quickly.
On a charcoal grill, bank the coals so you have a direct high-heat area and a cooler side nearby. That setup gives you the same control as a two-zone gas grill, which is handy if the chicken is getting dark before the center is ready.
The same core timing still applies here because the breasts are pounded thin. What matters most is hot grates, a closed lid, and checking doneness instead of trusting the clock alone.
How to Use an Indoor Grill Pan
If you don’t have an outdoor grill, an indoor grill pan can still give you very good results. Heat the pan over medium-high to high heat until it is thoroughly hot, then lightly oil the pan ridges or the chicken itself.
Sear the chicken for a few minutes on the first side, then flip and finish the second side. If the exterior is browning too fast before the center is done, move the pan into a 350°F oven to finish cooking more gently.
This method works best with evenly pounded chicken breasts or thin cutlets. If you’d rather skip the grill pan entirely, air fryer chicken breast is another good indoor option.
Common Grilling Problems and How to Fix Them
When grilled chicken goes wrong, the cause is usually pretty easy to spot. This quick table helps you fix the issue before the next batch hits the grill.
| Problem | Likely Cause | Fix |
|---|---|---|
| Dry, tough chicken | Uneven thickness or overcooking | Pound the breasts evenly, use a thermometer, and let the chicken rest before slicing |
| Chicken sticks to the grill | Grates were not fully hot, clean, or oiled | Preheat longer, brush the grates clean, and oil them right before cooking |
| Burnt outside, raw inside | Chicken is too thick for the heat level | Pound it thinner or move it to a cooler zone to finish cooking |
| Chicken lacks flavor | Marinating time was too short or seasoning was too light | Marinate for at least 4 hours and make sure the marinade is well seasoned |
Storing and Reheating Grilled Chicken
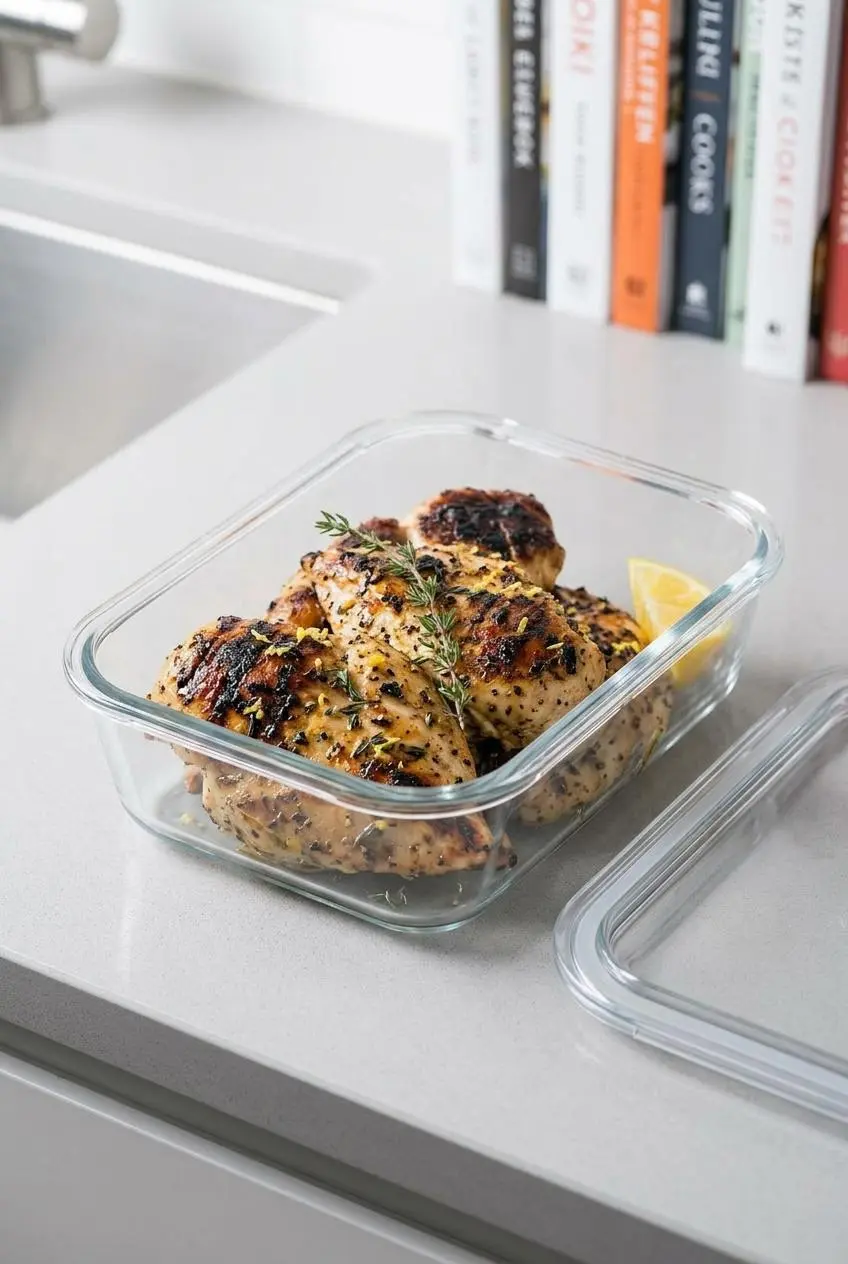
Cooked grilled chicken is excellent for meal prep, but texture matters. The goal is to keep it moist and prevent it from drying out a second time.
How to Store
Let the chicken cool, then place it in an airtight container and refrigerate it promptly. Keep it well covered and chilled, and for best texture, slice only what you plan to use right away.
It also helps to store any juices from the platter with the chicken. Those juices can keep the meat from drying out in the container.
How to Reheat
The gentlest method is a covered skillet over low heat with a small splash of water or broth. Warm it just until heated through so the chicken stays tender instead of tightening up.
You can also avoid reheating altogether by slicing the chicken cold for salads, wraps, or grain bowls. That’s often the best move for texture.
What to Serve with Grilled Chicken
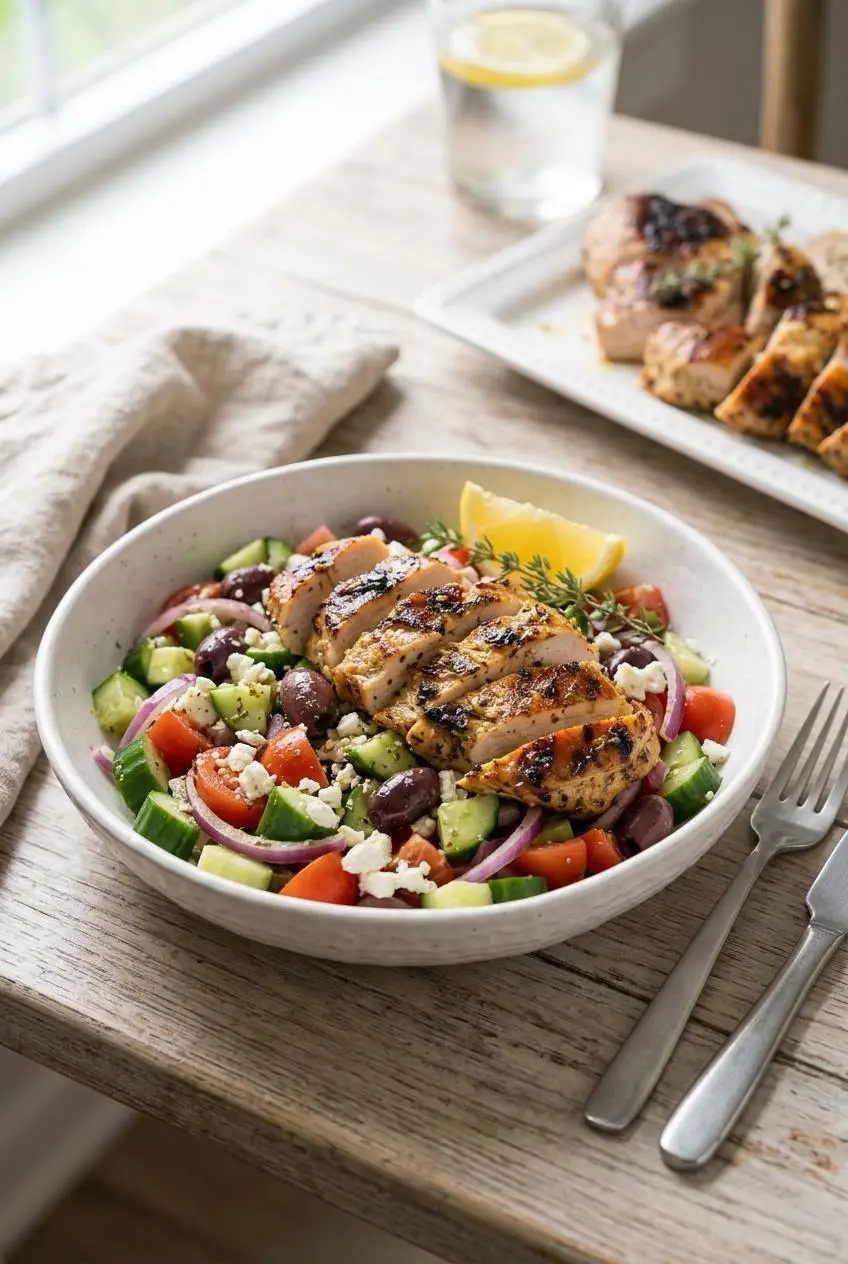
Because the flavor is clean and herby, this chicken fits into all kinds of meals without much extra work.
- Slice it over a Caesar salad or Greek salad.
- Tuck it into sandwiches or wraps for lunch.
- Add it to grain bowls with rice, quinoa, cucumber, and a spoonful of yogurt sauce.
- Serve it as a main dish with grilled asparagus, corn on the cob, or zucchini.
- Pair it with classic cookout sides like mashed potatoes or potato salad.
- Use it in Grilled Chicken Caprese for an easy full meal idea.
- For leftovers, slicing or shredding works well, and this guide to making shredded chicken can help if you want to repurpose it for bowls or wraps.
Conclusion
This method keeps grilled chicken breast juicy by focusing on the details that actually matter: even thickness, a smart marinade, high heat, and a proper rest. The result is tender chicken with smoky char and real flavor, not a dry piece of poultry you have to drown in sauce.
If you remember one thing, make it this: use a thermometer and pull the chicken before it dries out. Once you have that down, you can play with marinades as much as you like and still get great results.
Frequently Asked Questions
What’s the secret to juicy grilled chicken breast?
The secret is a four-part method: pound the chicken to an even thickness, marinate it well, cook by temperature instead of guesswork, and let it rest before slicing. Miss one of those steps and the chicken gets much harder to keep juicy.
What is the best temperature to grill chicken breast?
A grill temperature of 450 to 475°F works best. That high heat sears the outside quickly and helps the chicken cook fast enough to stay juicy inside.
How long should I marinate chicken before grilling?
For this recipe, at least 4 hours gives the chicken much better flavor, and overnight works well too. If you’re short on time, a quick marinade can still help, but the flavor won’t be as developed.
How do I know my grilled chicken is done without a thermometer?
A thermometer is still the best tool. If you don’t have one, pierce the thickest part and check that the juices run clear and the center looks opaque with no pink, but this method is less reliable and can lead to overcooking.
How long should you let chicken rest after grilling?
Let it rest for 5 to 10 minutes. That short pause helps the juices redistribute so the chicken stays moist when you slice it.
Can I grill chicken breasts from frozen?
No, it’s not recommended. Frozen chicken tends to brown too hard on the outside before the inside cooks properly, so thaw it completely before grilling for better texture and more even cooking.
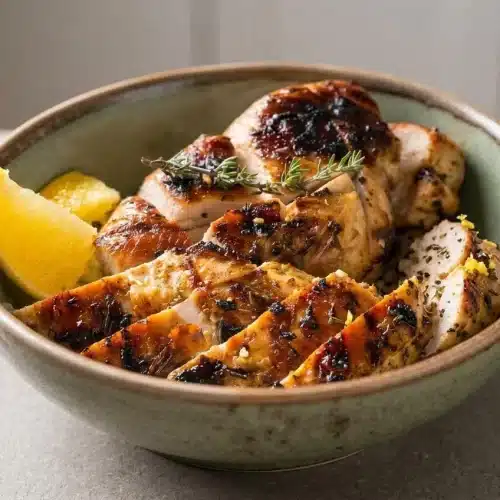
Grilled Chicken Breast

Equipment
- Grill
- Meat Mallet
- Zip-lock bag
- Meat Thermometer
Ingredients
- 1¾ lbs boneless, skinless chicken breasts
- 6 tablespoons extra virgin olive oil
- 4 large garlic cloves, minced
- 1 teaspoon dried thyme
- ½ teaspoon dried oregano
- 1¼ teaspoon salt
- ½ teaspoon freshly ground black pepper
- 1½ teaspoons lemon zest from one lemon
Instructions
- Place one chicken breast at a time in a 1-gallon zip-lock bag and pound it to an even ½-inch thickness with a meat mallet. The chicken should look level from end to end, which helps it cook evenly instead of drying out at the thinner edges.
- Add the olive oil, garlic, thyme, oregano, salt, black pepper, and lemon zest to a 1-gallon zip-lock bag, then mix well and add the chicken to coat it completely. The marinade should look glossy and evenly speckled, and the chicken should be fully covered before you seal the bag and refrigerate it in a bowl for at least 4 hours or overnight.
- Heat the grill to high and oil the grates right before cooking. When the grill is ready, the chicken should sizzle as soon as it touches the grates, which is the sound of a properly heated surface.
- Set the chicken on the grill, cover, and cook for 2 to 3 minutes on the first side. Once it has good grill marks, it should release more easily from the grates instead of clinging.
- Flip and cook the second side for 2 to 3 minutes more, watching closely so it does not overcook. The chicken should look lightly charred in spots and feel firm with a slight spring when it is close to done.
- Move the chicken to a platter and let it rest before serving. The juices will settle back into the meat during the rest, so the slices stay moist instead of watery on the board.