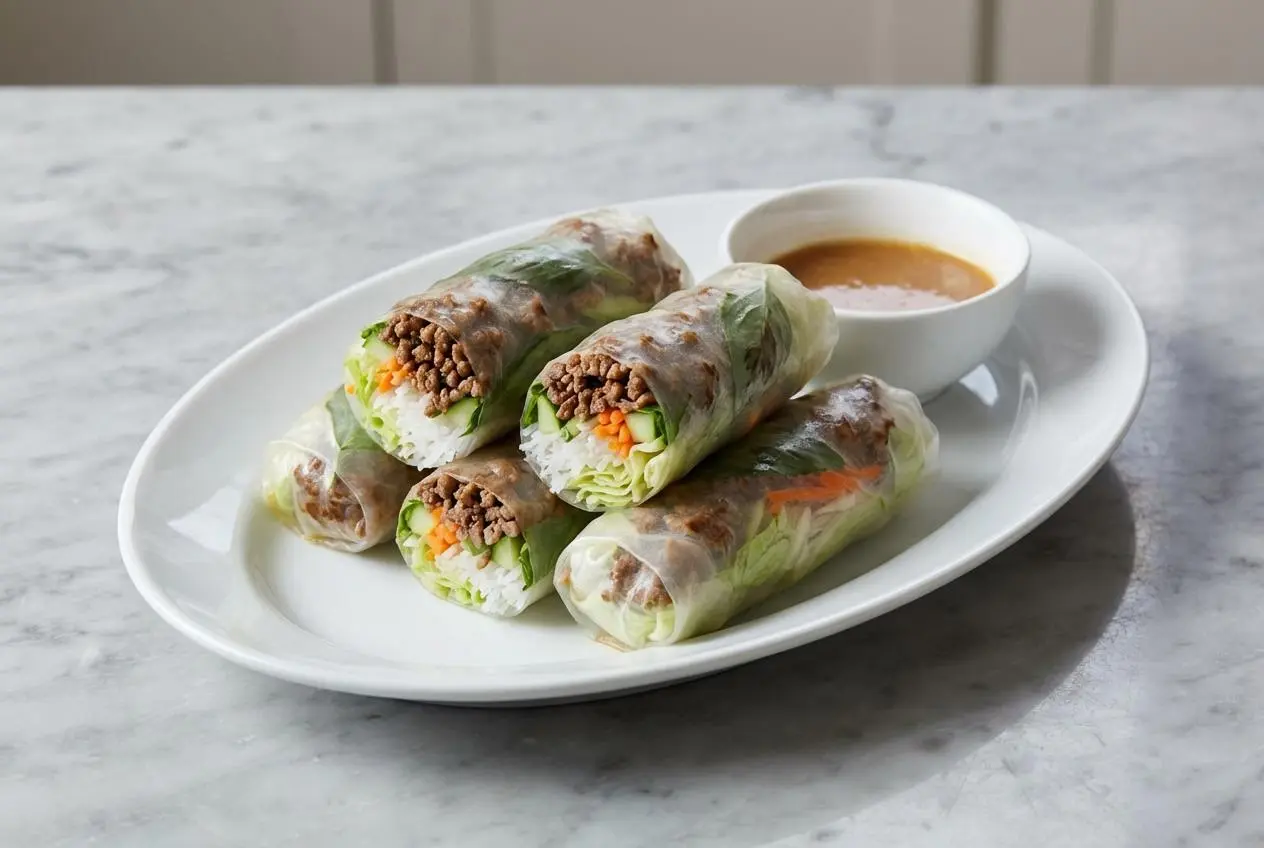
The best fresh spring roll has a little bit of everything in one bite, savory beef, cool herbs, crisp vegetables, that gentle chew from the wrapper, and a bright dip that wakes up the whole plate. In my kitchen, this Thai Basil Beef Spring Rolls Recipe is the kind of appetizer that disappears faster than anything else on the table.
It is perfect for weeknights, casual dinners with friends, or those moments when you want restaurant-style Thai flavors without a complicated project. I’ll walk you through the small details that make the filling deeply flavorful and the rolls easy to assemble, so you get fresh, satisfying spring rolls at home.
Why You’ll Love This Recipe
Bold Thai flavor: The mix of ground beef, garlic, ginger, soy sauce, oyster sauce, and Thai basil gives these spring rolls a savory, herbaceous filling that tastes layered rather than flat.
The secret twist: In my kitchen, a splash of fish sauce is what gives the beef that unmistakable Thai cuisine depth, adding the kind of umami that soy sauce alone cannot quite deliver.
Great texture in every bite: Rice vermicelli makes the rolls more satisfying and gives you that soft, chewy contrast against cool lettuce, cucumber, and carrot.
Fresh but filling: These summer rolls feel light enough for lunch, yet hearty enough to pass around as a crowd-pleasing appetizer or simple dinner.
Better than takeout: Once you get the hang of rolling, these feel wonderfully polished at home, much like the same fun, hands-on appeal I love in Thai chicken lettuce wraps, only with an even fresher finish.
Ingredients and Substitutions
These ingredients keep the recipe simple, but each one pulls its weight, from the savory beef filling to the crisp vegetables and quick dipping sauce that ties everything together.
Ingredients
For the Beef Filling:
- 1 lb ground beef
- 2 cloves garlic, minced
- 1 tablespoon fresh ginger, grated
- 2 tablespoons soy sauce
- 1 tablespoon oyster sauce
- 1 tablespoon hoisin sauce
- 1 teaspoon chili flakes or sriracha (optional)
- ½ cup fresh Thai basil leaves, chopped
For Assembling:
- 12 small flour tortillas or rice paper wrappers
- 1 cup shredded lettuce
- 1 carrot, finely shredded
- ½ cucumber, thinly sliced
- Extra basil leaves (optional)
Dipping Sauce:
- 2 tablespoons soy sauce
- 1 tablespoon lime juice
- 1 teaspoon honey
- 1 teaspoon sesame oil
Ingredient Notes & Substitutions
Thai Basil: Thai basil has a more peppery, slightly anise-like personality than sweet Italian basil, which is why it gives these spring rolls their signature aroma. If that is what you can find, regular basil still works, and I like adding a little fresh mint alongside it to mimic some of that complexity.
Ground Beef: I usually reach for 85/15 or 90/10 ground beef because it brings enough richness without leaving the filling greasy. Ground chicken, ground pork, or even thinly sliced flank steak are all good swaps if you want a different texture.
Rice Paper Wrappers: When you want true fresh spring rolls or summer rolls, rice paper wrappers are the right choice, not wheat-based spring roll pastry. You can usually find them in the international aisle of most supermarkets, and they soften quickly in warm water.
Fish Sauce: Even though the core ingredient list above keeps things streamlined, I strongly recommend adding 1 tablespoon of fish sauce to the beef seasoning with the other sauces for the most authentic flavor. A good fish sauce adds a deep, fermented savory note that makes the filling taste far more rounded.
Rice Vermicelli: For a more traditional and more satisfying roll, I love adding 4 ounces of cooked rice vermicelli during assembly. It gives the filling a gentle chew and helps absorb extra moisture so the rolls stay neater.
Gluten-Free Options: Rice paper wrappers are naturally gluten-free, so this recipe is easy to adapt. Use gluten-free tamari instead of soy sauce, and check that your oyster sauce and hoisin sauce are certified gluten-free if needed.
Fresh Herbs and Crunch: Cilantro and mint are optional, but they make a big difference if you enjoy bright, layered herbal flavor. I also sometimes add a sprinkle of chopped roasted peanuts or cashews for a little extra texture.
How to Make Thai Basil Beef Spring Rolls Recipe
Prepare the Noodles and Aromatics
- Cook the rice vermicelli according to the package directions first, then drain and rinse it under cold water right away so it stops cooking and does not clump together. Set it aside while you build the rest of the filling.
- Set a skillet over medium heat and add the minced garlic and grated ginger. Let them sizzle for about 1 minute, just until fragrant and lively, without letting the garlic darken too much.
Cook the Beef Filling
- Add the ground beef to the skillet and break it up with a spoon as it cooks. Keep going until the meat is fully browned and no pink remains, then drain off the excess grease so the filling stays flavorful but not heavy.
- Return the pan to the heat and stir in the soy sauce, oyster sauce, hoisin sauce, and the chili flakes or sriracha if you want some heat. For the deeper flavor that makes this recipe special, stir in 1 tablespoon of fish sauce here too, then cook everything together for 2 to 3 minutes until the beef looks glossy and well coated.
- Take the skillet off the heat and fold in the chopped fresh Thai basil. The residual warmth will soften the leaves and release that unmistakable sweet-peppery aroma, then let the mixture cool slightly so it is easier to roll.
Assemble the Spring Rolls
- Lay out your tortillas on a flat surface, or if you are using rice paper wrappers, dip each one briefly in warm water until it feels flexible and pliable. It will continue softening for a few seconds after you set it down, so there is no need to over-soak it.
- Place a spoonful of the beef filling near the lower third of each wrapper, then add a small bundle of the cooked rice vermicelli, some shredded lettuce, carrot, cucumber, and extra basil leaves if you like. Keep the filling modest so the wrapper can hold everything snugly.
- Roll each one up like a burrito or classic spring roll, folding in the sides as you go so the filling stays neatly tucked inside. A tight roll should feel compact but not strained.
Mix the Sauce and Serve
Whisk together the soy sauce, lime juice, honey, and sesame oil in a small bowl until smooth and balanced. Serve the finished rolls right away while the vegetables are crisp and the herbs still smell bright and fresh.
Our Secrets for Flawless Spring Rolls
The umami foundation: Fish sauce is the quiet powerhouse in this recipe. Because it is fermented, it brings natural glutamates to the filling, which create a deeper savory backbone than soy sauce alone and make the beef taste richer and more authentically Thai.
The texture equation: Rice vermicelli does more than bulk up the filling. Those soft noodles absorb a bit of extra moisture, help protect the wrapper from sogginess, and add the classic chewy contrast that makes each bite feel balanced.
Aromatics matter: Garlic, ginger, and Thai basil are not there just for fragrance. When the hot beef hits those aromatics, they create the kind of layered flavor that makes a simple appetizer taste carefully built.
Mastering the Art of Rolling Spring Rolls
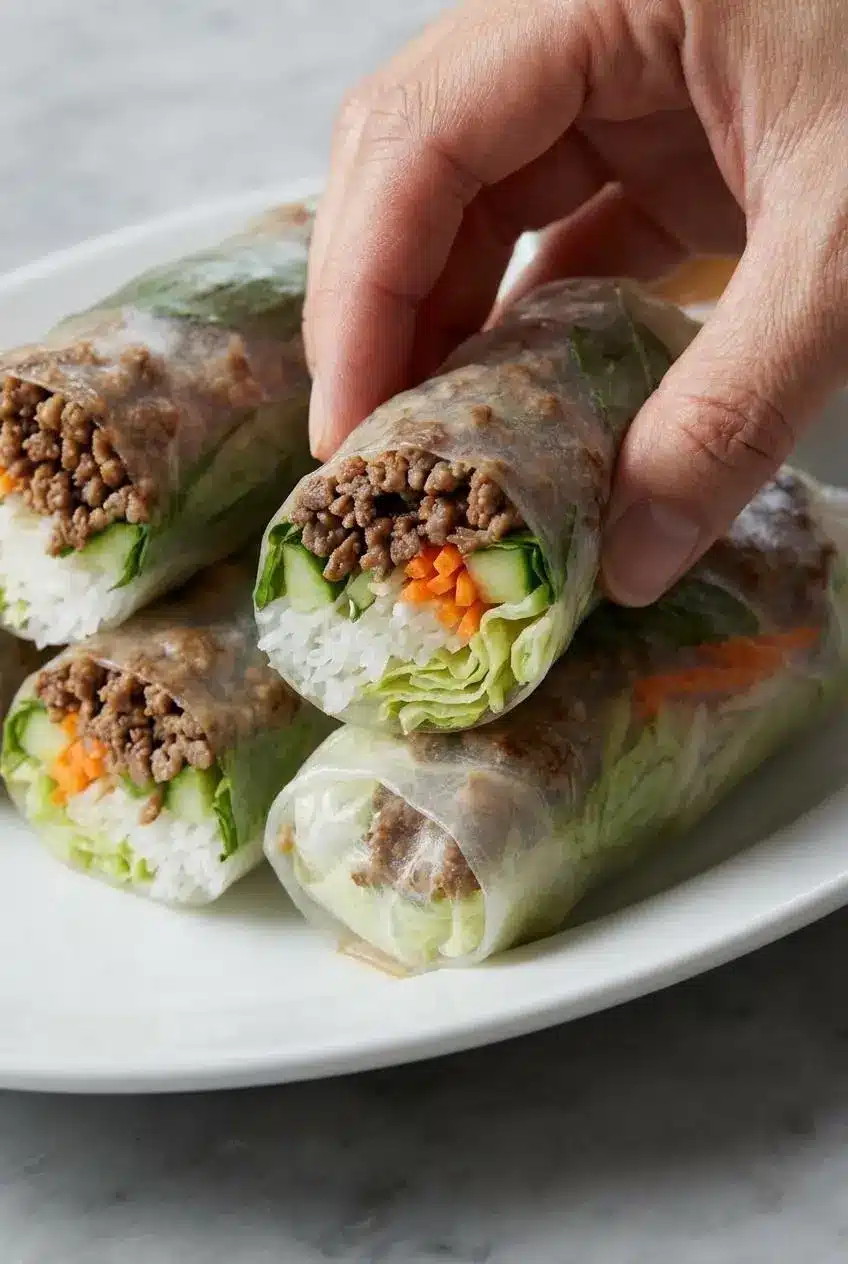
A smooth setup makes all the difference. I like to line up the cooled beef filling, chopped vegetables, herbs, cooked rice vermicelli, a bowl of warm water, and a damp towel or cutting board before I touch the first wrapper.
The water should feel warm, not hot, almost like a comfortable bath. Very hot water softens rice paper too fast, turning it gummy and fragile before you even start filling it.
Step-by-Step Rolling Guide
- Place the wrapper in front of you and arrange the filling on the bottom third, starting with a little vermicelli, then beef, then the vegetables and herbs.
- Lift the bottom edge up and over the filling, then pull it back gently so the roll feels snug and compact.
- Fold the left side inward to keep the filling enclosed.
- Fold the right side inward so the shape looks neat and even.
- Roll from the bottom to the top in one firm motion until you have a sealed cylinder.
Troubleshooting the Roll
If a wrapper tears, do not panic. You can often patch a small rip with a piece of another softened wrapper, and once it is rolled, it usually holds together just fine.
To prevent sticking, do not let finished rolls touch each other on the serving plate. I like to separate them slightly or set them on lettuce leaves so they stay glossy instead of gluing themselves together.
Fresh, Fried, or Air-Fried? Cooking Methods Explained
One of the fun things about filled wrappers is how many directions you can take them once the filling is ready. If you enjoy that hands-on style of cooking, our potstickers recipe scratches a similar itch, though the texture and folding method are a little different.
The Classic Fresh Roll
This is the main method for this recipe, and honestly, it is my favorite because it lets the Thai basil, cilantro, mint, and crisp vegetables stay bright and refreshing. Once the rolls are assembled, they are ready to serve with no extra cooking needed.
For a Crispy, Deep-Fried Version
If you want that shatteringly crisp bite, use wheat-based spring roll pastry from the freezer section rather than rice paper wrappers. Heat oil to 350°F (175°C), fry the rolls in batches for 3 to 4 minutes, turn once, and cook until golden brown and crisp, then transfer them to a wire rack to drain.
The Air-Fryer Method
This works best with wheat-based wrappers, though rice paper can be used if you do not mind a chewier, lightly crisp finish. Preheat the air fryer to 375°F (190°C), lightly spray the rolls with oil, place them in a single layer, and cook for 8 to 12 minutes, flipping halfway through, until golden.
The Oven-Baked Method
For a less hands-on crispy version, wheat-based wrappers are again the best fit. Bake the rolls on a parchment-lined sheet at 400°F (200°C) for 15 to 20 minutes, flipping halfway through, until the outsides look browned and lightly blistered.
Pro Tips & Troubleshooting
Pro Tips
- Drain the beef filling very well after browning so extra grease and liquid do not make the spring rolls soggy.
- Let the filling cool to lukewarm before rolling, because hot filling can wilt the vegetables and make rice paper more likely to tear.
- Use warm water, around 100 to 110°F, for softening rice paper wrappers. That temperature gives you much more control than hot water.
- Cover the stack of dry wrappers with a clean, damp towel while you work so they do not become brittle around the edges.
- Keep the filling modest, about 2 to 3 tablespoons per roll, so you can roll tightly without splitting the wrapper.
Common Mistakes to Avoid
- Using very hot water for the wrappers, which makes them sticky and hard to handle almost instantly.
- Skipping the draining step after cooking the ground beef, which is the fastest route to a wet filling and limp rolls.
- Rolling too loosely, which causes the spring rolls to sag, unravel, or fall apart when dipped.
- Leaving the wrapper in water too long. A short 15 to 20 second soak is usually enough because it keeps softening after you remove it.
Serving, Storing, and Make-Ahead Guide
Serving Suggestions & Dipping Sauces
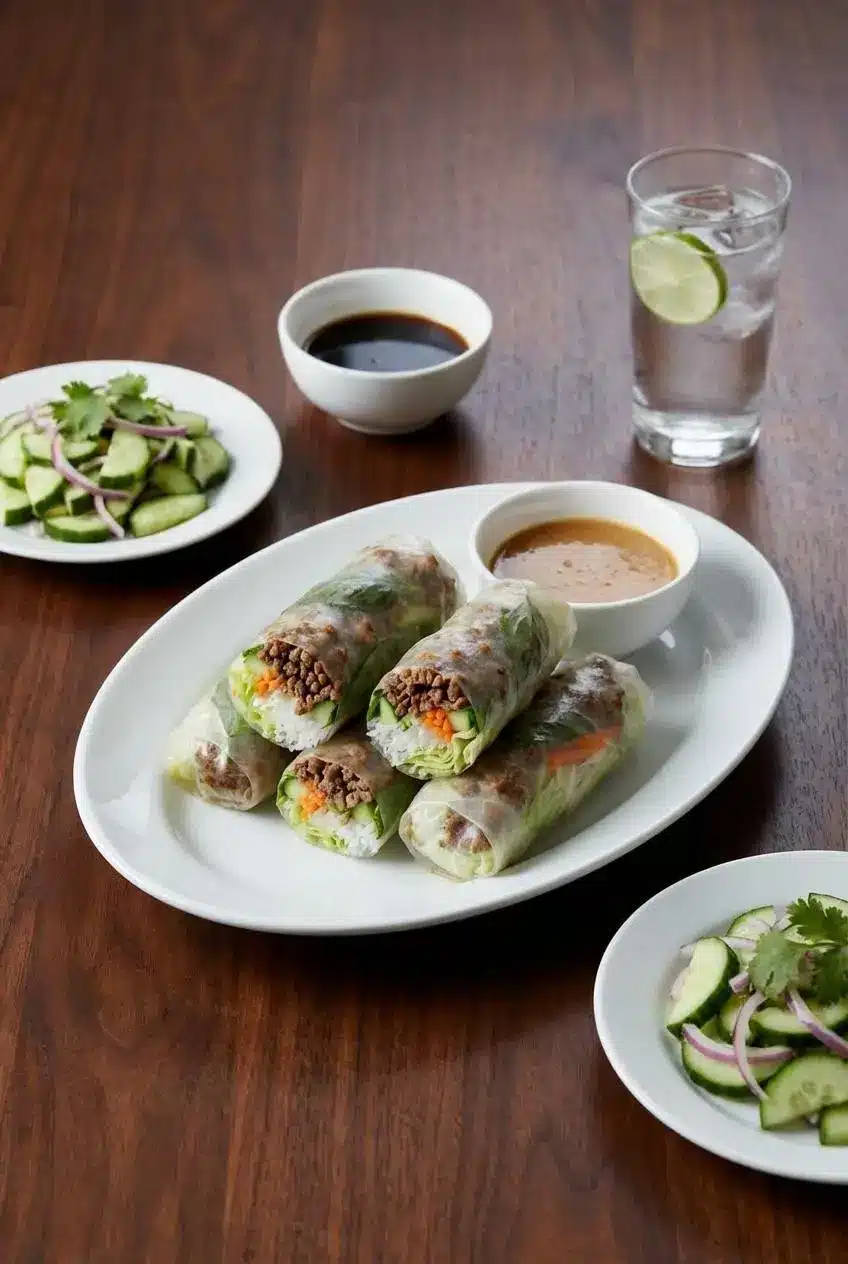
These spring rolls are at their best the minute they are rolled, when the wrapper is tender, the vegetables are crisp, and the herbs smell bright. I love to serve them on a platter with lime wedges, extra mint, cilantro, and a sprinkle of chopped peanuts for a little crunch.
For a fuller meal, pair them with a Thai cucumber salad, green papaya salad, or a simple cabbage stir-fry if you want something quick, savory, and easy to get on the table. When I am building out a Thai-inspired dinner, a bowl of Thai red curry soup also makes a wonderful partner for these fresh rolls.
The soy-lime dipping sauce in this recipe is salty, tangy, and light, which works beautifully with the rich ground beef. If you want something creamier, whisk together peanut butter, a splash of soy sauce, a little hoisin, lime juice, and enough warm water to thin it into a silky peanut sauce.
Sweet chili sauce is another easy favorite when you want a sweeter contrast. I often set out both a peanut sauce and the soy-lime sauce so everyone can choose their own favorite dip.
Storage and Make-Ahead Instructions
Fresh spring rolls are best eaten the day they are made, but leftovers can be stored for up to 24 hours in the refrigerator. The trick is to wrap each roll individually and tightly in plastic wrap before placing them in an airtight container, which keeps them from sticking together.
For make-ahead prep, cook the beef filling, chop the vegetables, and mix the dipping sauce in advance, then refrigerate the components separately. Assemble the rolls just before serving for the best texture.
I do not recommend freezing assembled fresh rolls because the rice paper texture tends to become tough and unpleasant after thawing. The cooked beef filling, however, freezes well for up to 3 months, so you can get a head start on a future batch.
Thai Basil Beef Spring Rolls Recipe

Equipment
- Large Skillet
- Cutting board
- Small bowl
Ingredients
For the Beef Filling:
- 1 lb ground beef
- 2 cloves garlic, minced
- 1 tablespoon fresh ginger, grated
- 2 tablespoons soy sauce
- 1 tablespoon oyster sauce
- 1 tablespoon hoisin sauce
- 1 teaspoon chili flakes or sriracha optional
- ½ cup fresh Thai basil leaves, chopped
For Assembling:
- 12 small flour tortillas or rice paper wrappers
- 1 cup shredded lettuce
- 1 carrot, finely shredded
- ½ cucumber, thinly sliced
- Extra basil leaves optional
Dipping Sauce:
- 2 tablespoons soy sauce
- 1 tablespoon lime juice
- 1 teaspoon honey
- 1 teaspoon sesame oil
Instructions
Cook the Beef Filling
- In a large skillet over medium heat, add the minced garlic and grated ginger. Sauté for about 1 minute until fragrant.
- Add the ground beef to the skillet, breaking it up with a spoon. Cook until fully browned, then drain any excess grease from the pan.
- Return the skillet to the heat and stir in the soy sauce, oyster sauce, hoisin sauce, and chili flakes (if using). Cook for 2-3 minutes until the sauce has coated the beef and thickened slightly.
- Remove the skillet from the heat and stir in the chopped Thai basil. Set the beef filling aside to cool slightly.
Assemble the Spring Rolls
- Prepare your assembly station with the cooled beef filling, shredded lettuce, carrot, cucumber, and extra basil leaves. If using rice paper wrappers, fill a shallow dish with warm water.
- Dip one rice paper wrapper into the warm water for 15-20 seconds until it becomes soft and pliable. Lay it flat on a clean, damp work surface.
- Place a spoonful of the beef filling on the lower third of the wrapper. Top with a small amount of lettuce, carrot, cucumber, and any extra basil leaves.
- Roll the wrapper up tightly like a burrito: fold the bottom edge over the filling, fold in the sides, and then continue rolling from the bottom to the top to seal.
- Repeat with the remaining wrappers and filling, being careful not to let the finished rolls touch each other on the plate to prevent sticking.
Mix the Sauce and Serve
- In a small bowl, whisk together the 2 tablespoons of soy sauce, lime juice, honey, and sesame oil until well combined.
- Serve the fresh spring rolls immediately with the dipping sauce on the side.
Notes
Conclusion
This recipe brings together everything I want in a fresh appetizer, savory beef, fragrant Thai basil, crisp vegetables, and a dipping sauce that makes every bite pop. With the extra depth of fish sauce and the satisfying chew of rice vermicelli, these rolls feel especially complete and restaurant-worthy.
Once you make them a time or two, the whole process becomes easy and even a little relaxing. Have fun with the herbs, play with the dipping sauces, and enjoy every bright, bold bite.
Frequently Asked Questions
Can I make these spring rolls ahead of time?
What is the best way to handle rice paper so it doesn’t tear or get sticky?
What is a good substitute for Thai basil if I can’t find it?
How can I make these spring rolls crispy (fried, baked, or air-fried)?
What are the best dipping sauces to serve with these rolls?
How do I store leftovers without them becoming soggy or sticking together?