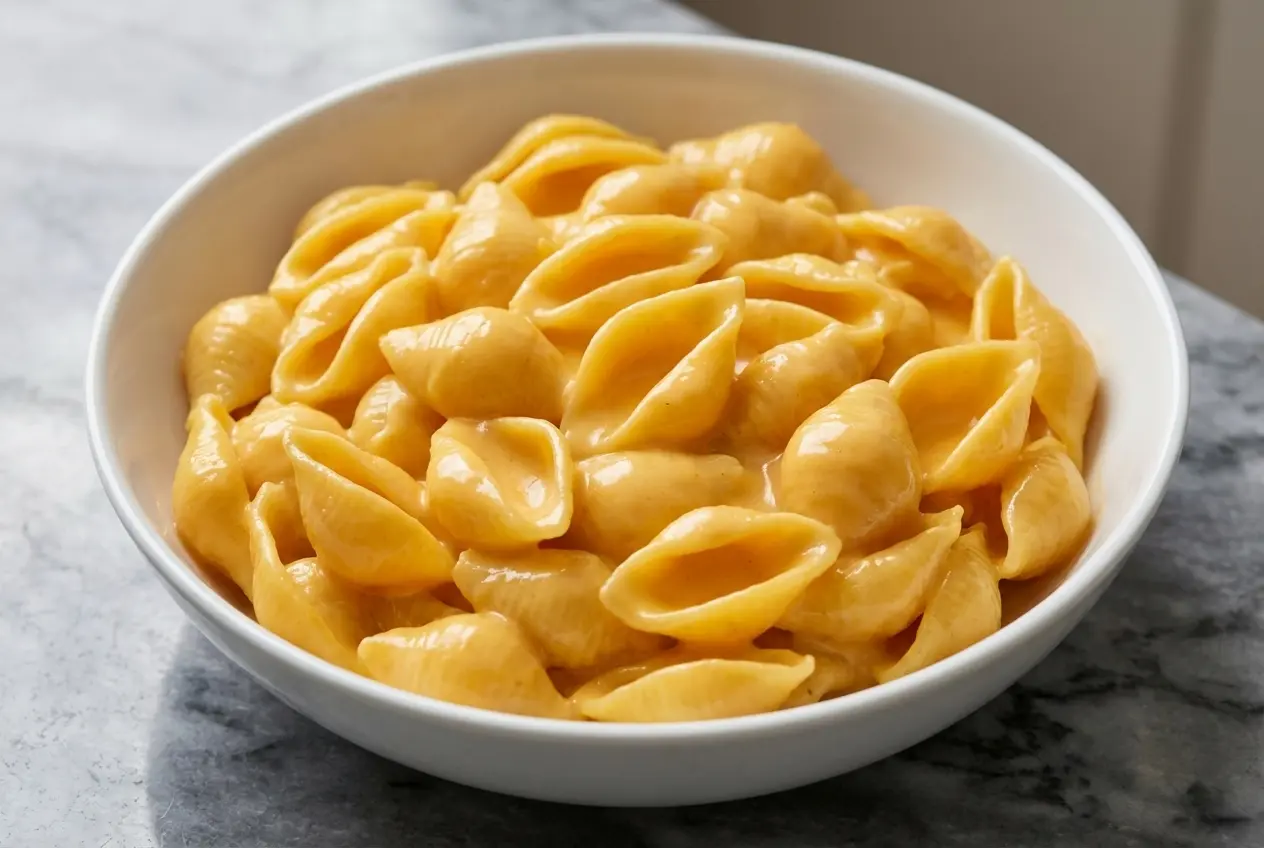
Some nights call for the kind of dinner that feels like a soft blanket, and Shells and Cheese has always been that dish in my kitchen. It brings back all the cozy, weeknight nostalgia of the boxed classic, but this homemade version tastes richer, cheesier, and far more satisfying.
What I love most is how foolproof it is. With a simple stovetop method and a couple of smart tricks, you get a silky cheese sauce every time, no graininess, no oily puddles, just pure creamy comfort in under 30 minutes.
Why You’ll Love This Shells and Cheese Recipe
Unbelievably creamy: This sauce turns out glossy, smooth, and lush, the kind that slips right into every pasta shell and clings beautifully. In my kitchen, it gives that Velveeta copycat feel, but with real cheddar cheese and a fuller homemade flavor.
The secret twist: I whisk dry mustard powder and sodium citrate into the evaporated milk before it ever hits the pot. That one little move makes the cheese sauce more stable, silkier, and much more reliable for homemade shells and cheese.
Real cheese flavor: Sharp cheddar and cream cheese give this dish a deep, tangy, savory bite that boxed shells and cheese just cannot match. The mustard does not shout, it simply makes the cheddar taste more like itself.
Weeknight friendly: This is the kind of one-pot recipe I lean on when dinner needs to be fast and comforting. From boiling the pasta shells to stirring in the final cheese, it comes together with very little fuss.
Ingredients and Substitutions
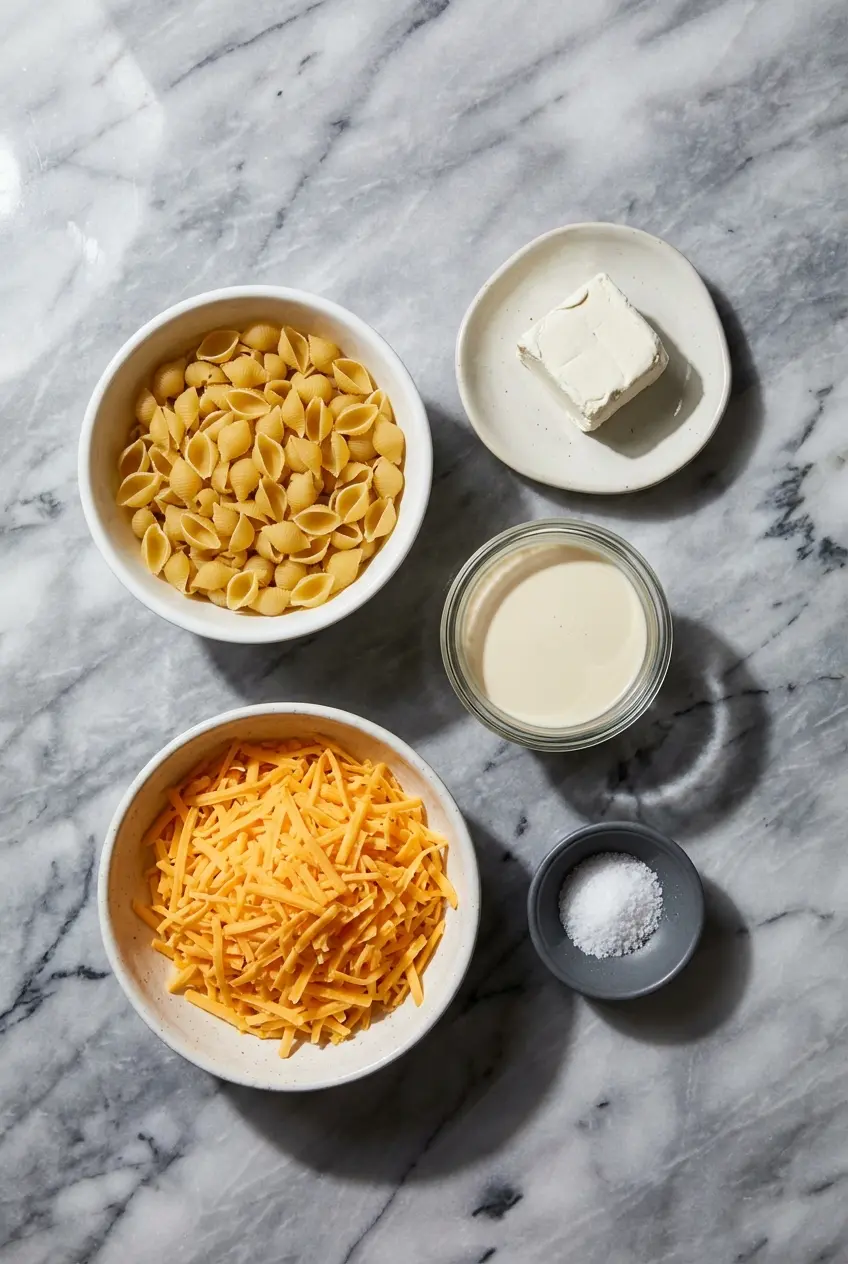
These ingredients are simple, but each one pulls its weight. The pasta shells hold the sauce, while the dairy base creates that creamy, nostalgic finish everyone wants from a great stovetop mac and cheese.
Ingredients
- 1 pound pasta shells
- 4 ounces cream cheese
- ½ cup evaporated milk
- 8 ounces freshly shredded cheddar cheese
- Salt to taste
Ingredient Notes & Substitutions
Pasta shells: Medium pasta shells are my favorite because they scoop up the cheese sauce in every bite. Small shells also work nicely if that is what you have in the pantry, but I would skip jumbo shells here since they throw off the sauce-to-pasta balance.
Cheddar cheese: Buy a block of sharp cheddar cheese and shred it yourself if you want the smoothest result. Pre-shredded cheese is coated with starches and anti-caking agents, and those extras can keep your cheese sauce from melting into that silky, creamy texture.
Cream cheese: Full-fat cream cheese gives the sauce extra body, richness, and a gentle tang that balances the cheddar beautifully. It does not make the dish taste strongly like cream cheese, it just rounds everything out and makes the texture more luxurious.
Evaporated milk: This is one of my favorite comfort food shortcuts because it gives you a richer, more stable sauce than regular milk. Since it has less water and more concentrated milk solids, it helps create a creamy finish without needing heavy cream.
Sodium citrate: Even though it is not listed in the core ingredient list above, this is the behind-the-scenes trick that gives shells and cheese that remarkably smooth, melty texture. It is a special salt used in cheese sauces to help the proteins melt evenly, and it is easy to find online if you want that polished, boxed-style silkiness made with real cheese.
How to Make Shells and Cheese
Cook the Pasta
- Bring a large pot of well-salted water to a boil, then cook the pasta shells according to the package directions until al dente. The shells should be tender but still have a little bite, since they will finish in the warm sauce.
- Before draining, scoop out about 1 cup of the starchy pasta water and set it aside. Drain the shells, then return the pot to the stove over low heat so it is ready for the sauce.
Build the Creamy Base
- While the pasta cooks, whisk the evaporated milk with the sodium citrate and dry mustard powder in a small bowl until everything dissolves. This step helps the sauce start smooth, and it is one of the easiest ways to avoid a gritty finish later on.
- Pour that mixture into the warm pot and add the cream cheese. Stir constantly over low heat until the cream cheese fully melts and the mixture looks smooth, pale, and creamy with no little lumps left behind.
Melt in the Cheese
Add the freshly shredded cheddar cheese a small handful at a time, stirring after each addition until it disappears into the sauce before adding more. Keep the heat low and be patient, and you will see the mixture turn into a glossy, rich, liquid-gold cheese sauce.
Finish and Season
- Add the drained pasta shells back to the pot and stir until every shell is coated inside and out. If the sauce feels thicker than you like, loosen it with a tablespoon or two of the reserved pasta water until it reaches that creamy, spoonable consistency.
- Taste before seasoning, then add salt only if needed. Cheddar already brings plenty of salt, so a quick taste at the end keeps the flavors balanced.
Secrets to Perfectly Smooth Cheese Sauce
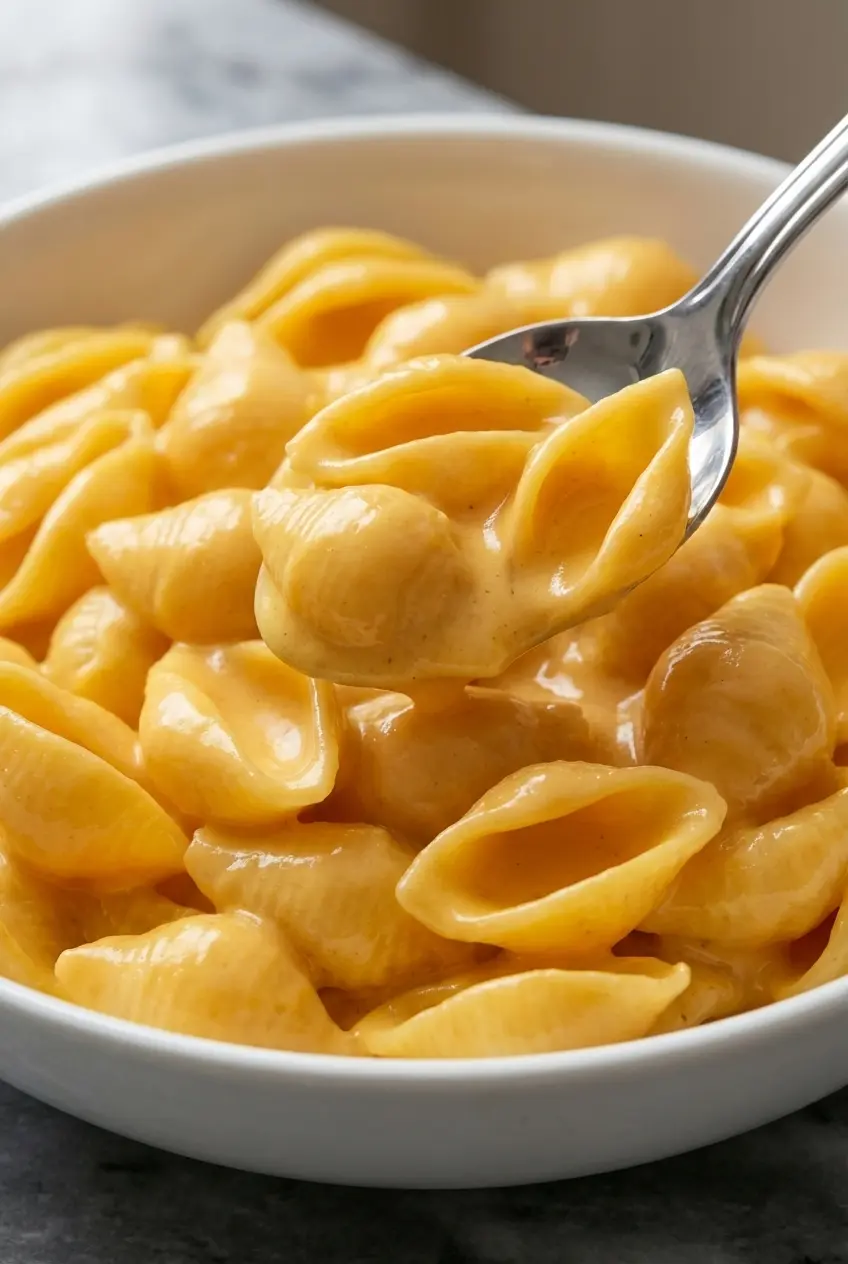
Sodium citrate is the closest thing to magic I keep around for homemade cheese sauce. It helps the proteins in cheddar melt into a stable, glossy mixture instead of tightening up and pushing out oil, which is exactly how you get that smooth, almost Velveeta-like finish with real cheese.
If you have ever wondered whether it is okay to use, sodium citrate is considered a safe and common food ingredient in the United States. That little bit of kitchen science goes a long way when you want homemade shells and cheese to come out silky rather than separated.
Dry mustard powder is quieter, but it matters. It does not make the sauce taste mustardy, instead it helps act as a flavor enhancer, making the cheddar taste sharper, brighter, and more deeply cheesy.
Low heat matters just as much as the ingredients. Cheese sauce hates aggressive heat, and when the pot gets too hot the proteins can seize and the fat can split, which is why gentle stirring over low heat gives you the best chance at a smooth, creamy finish.
Mastering Cheese Sauce Science
At its core, cheese sauce is an emulsion of fat, water, and protein. If those parts stay together, the sauce looks smooth and luscious, but if they separate, you get the grainy or greasy texture that frustrates so many home cooks.
That is why pre-shredded cheese can be such a problem. Those anti-caking coatings interfere with melting, high heat makes the proteins tighten, and some cheeses simply do not melt as gracefully as cheddar or cream cheese in a stovetop mac and cheese.
Traditional mac and cheese often uses a flour-thickened béchamel to help hold the emulsion together. This recipe takes a different path, relying on evaporated milk, cream cheese, and sodium citrate to stabilize the sauce while keeping the flavor bold and the texture exceptionally smooth.
How to Customize Your Shells and Cheese
Baked Shells and Cheese Variation
To turn this into a casserole, spoon the finished shells and cheese into a greased baking dish, then top it with Panko breadcrumbs tossed with melted butter. Bake at 375°F for 15 to 20 minutes, until the top is crisp and golden and the edges are bubbling.
If you love that oven-baked comfort food style, a dish like Southern baked mac leans more traditional and casserole-like, with a different texture from this silky stovetop version. I like this shells and cheese when I want creaminess, and baked versions when I am craving those toasty edges.
Protein and Vegetable Add-ins
For a fuller meal, stir in cooked crumbled bacon, diced ham, shredded rotisserie chicken, or sliced smoked sausage right at the end. Keeping the add-ins cooked and well-drained helps the sauce stay creamy instead of watery.
Vegetables work beautifully too, especially steamed broccoli florets or frozen peas. Fold them in while everything is hot, and make sure any extra moisture is shaken off first so the cheese sauce stays rich and clingy.
Exploring Different Cheese Blends
Once you have the method down, it is easy to play with the flavor. Swap part of the cheddar for Gruyère if you want a nuttier edge, Pepper Jack for a little heat, or white cheddar for a classic white shells and cheese.
Pasta shells are surprisingly versatile, which is one reason I keep them around. When I am not making this creamy comfort dish, I also love recipes like lasagna stuffed shells, which turn the same shape into something hearty and family-style in a completely different way.
Pro Tips & Troubleshooting
Pro Tips
- Always shred your own cheese from a block. It is the single best way to get a smooth cheese sauce.
- Stick with small to medium pasta shells for the best sauce-to-pasta ratio.
- Keep a little reserved pasta water nearby so you can thin the sauce if it tightens up.
- An extra splash of evaporated milk works well if you want a looser, creamier finish.
- For even more richness, stir in 1 tablespoon of butter at the end for added gloss.
Common Mistakes to Avoid
- If the sauce turns grainy, the usual cause is pre-shredded cheese or heat that was too high while melting the cheddar.
- If the sauce feels too thick, stir in reserved pasta water or warm milk 1 tablespoon at a time until it relaxes.
- If the sauce seems too thin, let it sit over low heat for a few more minutes. It will also thicken slightly as it cools.
- Using regular milk instead of evaporated milk can leave the sauce thinner and less rich.
Serving and Storage Guide
Serving Suggestions
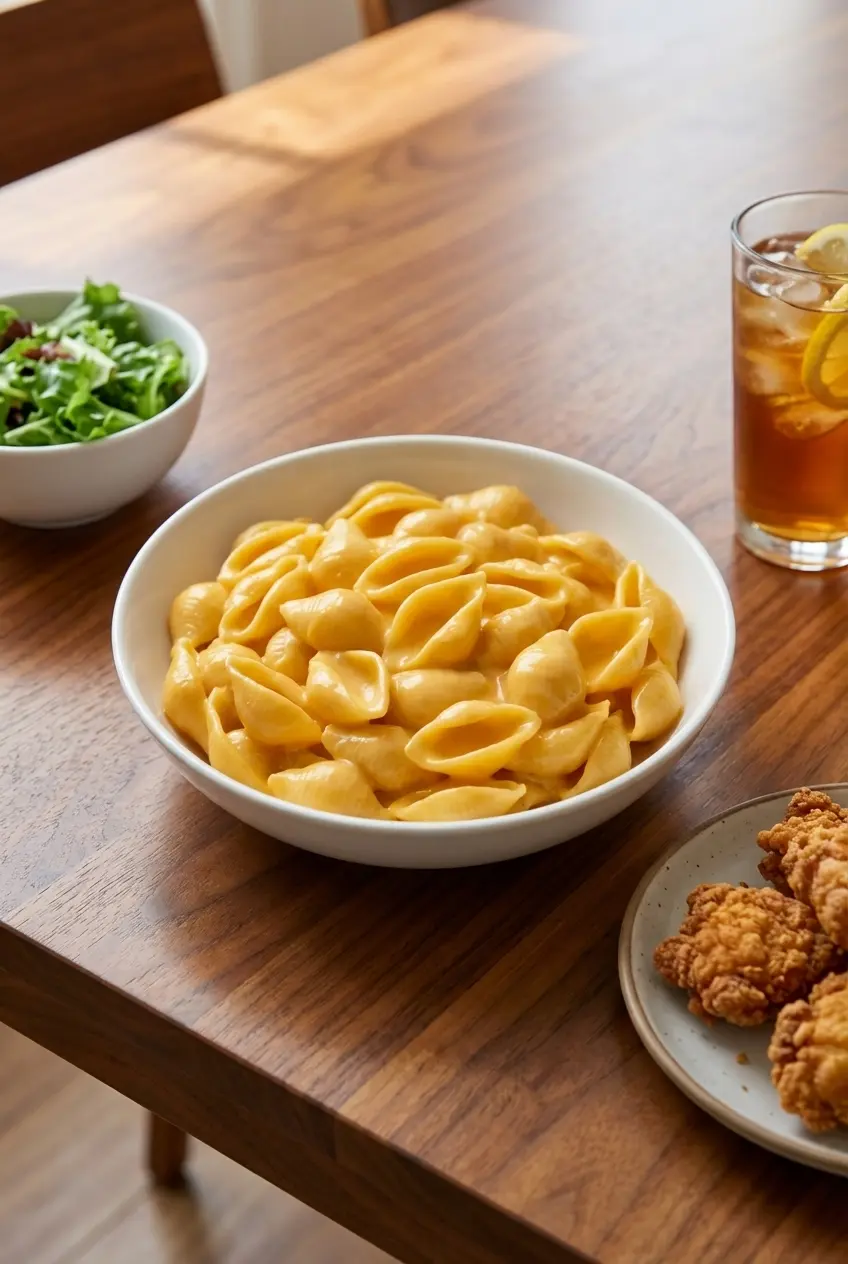
This dish works beautifully as a main course with a simple green salad and sharp vinaigrette to cut through the richness. It is also a classic side for fried chicken, hamburgers, hot dogs, or barbecue pulled pork, and a little black pepper, paprika, or fresh chives on top never hurts.
When I want a truly cozy dinner spread, I often pair it with something savory and comforting like slow cooker chicken and a crisp salad on the side. The creamy shells and cheese soak up all those homey flavors beautifully without feeling too fussy for a weeknight.
Storing, Freezing, and Reheating
Store leftovers in an airtight container in the refrigerator for up to 3 to 4 days. The sauce will thicken as it chills, which is completely normal for a rich cheddar-based pasta dish.
I do not recommend freezing this one if texture matters to you. Cheese sauce and pasta both suffer in the freezer, and once thawed the mixture often turns grainy, separated, and a little mushy.
For reheating, use a saucepan over low heat and add about 1 tablespoon of milk or water per cup of leftovers. Stir gently and steadily as it warms so the sauce loosens and comes back together, creamy and glossy again.
The microwave is not my favorite method here because it heats unevenly and can make the fat separate. Slow reheating on the stove gives the sauce the best chance to re-emulsify and taste almost as good as it did the first night.
Creamy Homemade Shells And Cheese

Equipment
- Large Pot
- Whisk
- Small bowl
Ingredients
- 1 pound pasta shells
- 4 ounces cream cheese
- ½ cup evaporated milk
- 8 ounces freshly shredded cheddar cheese
- Salt to taste
Instructions
Cook the Pasta
- Bring a large pot of well-salted water to a boil. Cook the pasta shells according to package directions until al dente.
- Before draining the pasta, scoop out and reserve about 1 cup of the starchy pasta water. Drain the shells and return the empty pot to the stove over low heat.
Build the Creamy Base
- While the pasta cooks, whisk the evaporated milk in a small bowl. For an extra smooth, Velveeta-like texture, you can whisk in a pinch of dry mustard powder and sodium citrate (optional).
- Pour the milk mixture into the warm pot and add the cream cheese. Stir constantly over low heat until the cream cheese is fully melted and the base is smooth and creamy.
Melt in the Cheese
- Add the shredded cheddar cheese one handful at a time, stirring continuously until each addition is completely melted before adding the next. Maintain low heat to prevent the sauce from breaking.
Finish and Season
- Add the drained pasta shells to the cheese sauce and stir until everything is evenly coated. If the sauce seems too thick, add a splash of the reserved pasta water to loosen it to your desired consistency.
- Taste the shells and cheese, then season with salt only if needed, as the cheese provides a good amount of saltiness.
Notes
Nutrition
Conclusion
This is the kind of homemade shells and cheese that delivers everything people crave, nostalgic comfort, real cheddar flavor, and a sauce so smooth it feels like a little kitchen miracle. With evaporated milk, cream cheese, dry mustard, and sodium citrate working together, that silky finish is much easier to pull off than most people think.
Once you make it, do not be surprised if it becomes part of your regular weeknight rotation. Add a topping, stir in a favorite protein, or keep it simple and enjoy a warm bowl exactly as it is.
Frequently Asked Questions
Why is evaporated milk better than regular milk for cheese sauce?
Is it really necessary to shred my own cheese?
What are the best cheeses to use for the smoothest, most flavorful sauce?
How do I prevent my cheese sauce from becoming grainy or breaking?
What are some easy ways to customize this shells and cheese?
What is the best way to store and reheat leftovers?