There is something about party food that brings out my inner diner cook, and these little bites hit that sweet spot between comfort food and game day showstopper. In my kitchen, Garlic Parmesan Cheeseburger Bombs are what I make when I want the flavor of a backyard burger without juggling buns, condiments, and drips.
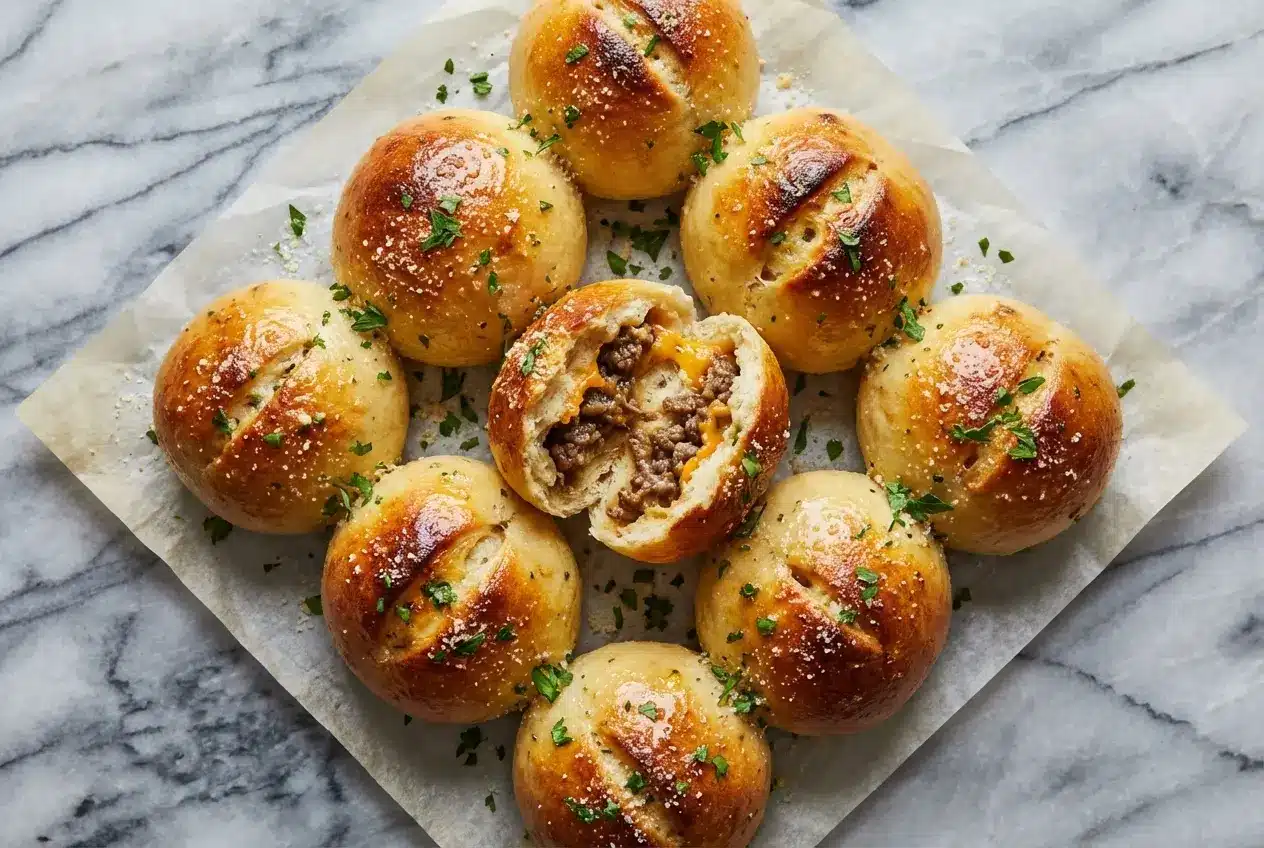
They bake up golden and buttery on the outside, with a gooey cheddar center and a juicy beef filling tucked into soft biscuit dough. Best of all, they are easy to pass around, easy to love, and just a little more special thanks to one clever pickle twist hidden inside.
Why You’ll Love This Recipe
The Hidden Pickle Twist: I discovered that one thin dill pickle chip and a tiny touch of mustard inside each bomb changes everything. That sharp, briny bite cuts through the richness of the ground beef and cheese, so every mouthful tastes balanced instead of heavy.
Big Texture Payoff: You get a crisp, garlic-butter shell, a fluffy layer of biscuit dough, and a molten center all in one bite. The contrast reminds me of the pull-apart comfort of buttery garlic knots, only with full cheeseburger energy tucked inside.
Diner Flavor at Home: Freshly browned beef, sharp cheddar cheese, and parmesan cheese give these that classic American diner feel. In my kitchen, they beat frozen appetizers every time because the filling tastes savory, juicy, and actually seasoned.
Perfect for Sharing: These are the kind of appetizer people hover around. They are neat to serve, easy to grab, and ideal for game day snacks, family movie nights, or any table that needs a warm, cheesy crowd-pleaser.
Ingredients and Substitutions
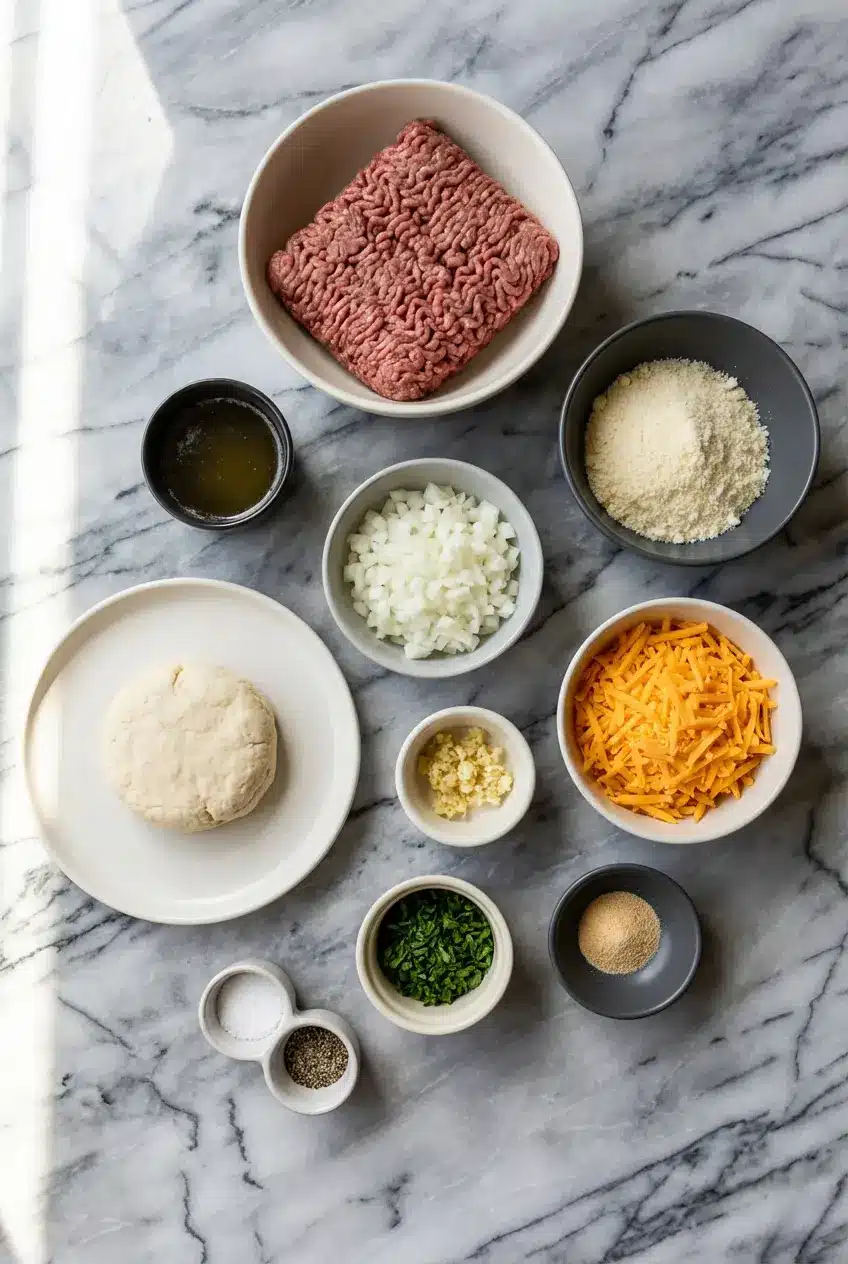
These ingredients build the full burger-house flavor, from savory beef and melted cheese to the buttery garlic finish that makes the tops irresistible.
Ingredients
- 1 lb ground beef
- 1 medium onion, finely diced
- 2 garlic cloves, minced
- ½ cup + 2 tablespoon grated parmesan cheese, divided
- 1 cup cheddar cheese, freshly grated
- 1 can (16.3 oz) biscuit dough
- 2 tablespoon unsalted butter, melted
- 1 tablespoon parsley, finely chopped
- ½ teaspoon garlic powder
- Salt and black pepper, to taste
Ingredient Notes & Substitutions
Biscuit dough: I like using the flaky Grands-style biscuit dough here because it bakes up lighter and gives the bombs a soft, layered interior. Crescent roll dough can work in a pinch, but it is more delicate and needs extra care when sealing, while pizza dough creates a slightly chewier bite.
Cheddar cheese: Freshly grated cheddar melts far better than bagged shreds. Pre-shredded cheese often carries anti-caking agents that keep it from turning into that smooth, gooey filling everyone hopes for.
Parmesan cheese: Use finely grated parmesan so it blends easily into both the filling and the butter topping. The smaller texture helps it melt into the beef mixture and cling to the tops without feeling gritty.
Ground beef: An 80/20 blend gives you the best burger flavor, but draining it well is non-negotiable. If you want a leaner version, ground turkey or chicken works too, and I like adding a splash of Worcestershire sauce to bring back some of that deep, savory character.
The hidden additions: The dill pickles and yellow mustard are not just garnish ideas, they are the flavor balance that makes these taste like a great cheeseburger. Even a small amount adds acidity, brightness, and that classic diner-style finish.
How to Make Garlic Parmesan Cheeseburger Bombs
Prep the Pan and Build the Filling
- Heat your oven to 375°F (190°C) and line a baking sheet with parchment paper so the bottoms do not stick and cleanup stays easy.
- Set a skillet, ideally a cast iron skillet, over medium-high heat and cook the ground beef with the onion and minced garlic. Let the meat really brown instead of just turning gray, and cook until the onions soften and everything smells deeply savory.
- Pour off the extra fat thoroughly, because this is the step that keeps the biscuit dough from getting greasy or splitting in the oven. Once drained, season the mixture with salt and black pepper to taste.
- While the beef is still hot, stir in ½ cup of Parmesan and all of the cheddar cheese. Mix until the cheeses melt into the meat and create a rich, scoopable filling rather than loose crumbles.
Fill and Seal the Bombs
- Open the biscuit dough and press each piece into a round disc, wide enough to hold the filling without tearing. If the dough feels sticky, dust your hands lightly with flour, and if it feels stiff, let it sit at room temperature for a few minutes.
- Spoon about 1 to 2 tablespoons of filling into the center of each disc, then add one thin dill pickle chip and a tiny dot of yellow mustard on top. That little briny pop is the secret that keeps the bombs tasting like a real cheeseburger instead of just beef wrapped in bread.
- Bring the dough up and over the filling, pinching the seams tightly so there are no open spots. If the edges resist sealing, dab them with a drop of water, then press again until the dough feels snug and secure.
Brush, Bake, and Rest
- In a small bowl, stir together the melted unsalted butter, garlic powder, parsley, and the remaining 2 tablespoons of Parmesan cheese until the mixture looks glossy and well blended.
- Arrange the bombs seam-side down on the prepared baking sheet, then brush the tops generously with the garlic-parmesan butter. This seam-side-down placement helps prevent leaks and gives the tops a beautiful golden finish.
- Bake for 12 to 15 minutes, until the dough is puffed, deeply golden, and fragrant with garlic and butter. For food safety and the best texture, the center should reach an internal temperature of 165°F.
Let Them Set Before Serving
Give the bombs 5 minutes to rest before serving. The filling will settle, the cheese will stop running like lava, and each bite will be safer and much more satisfying.
Secrets for Burger Bomb Perfection
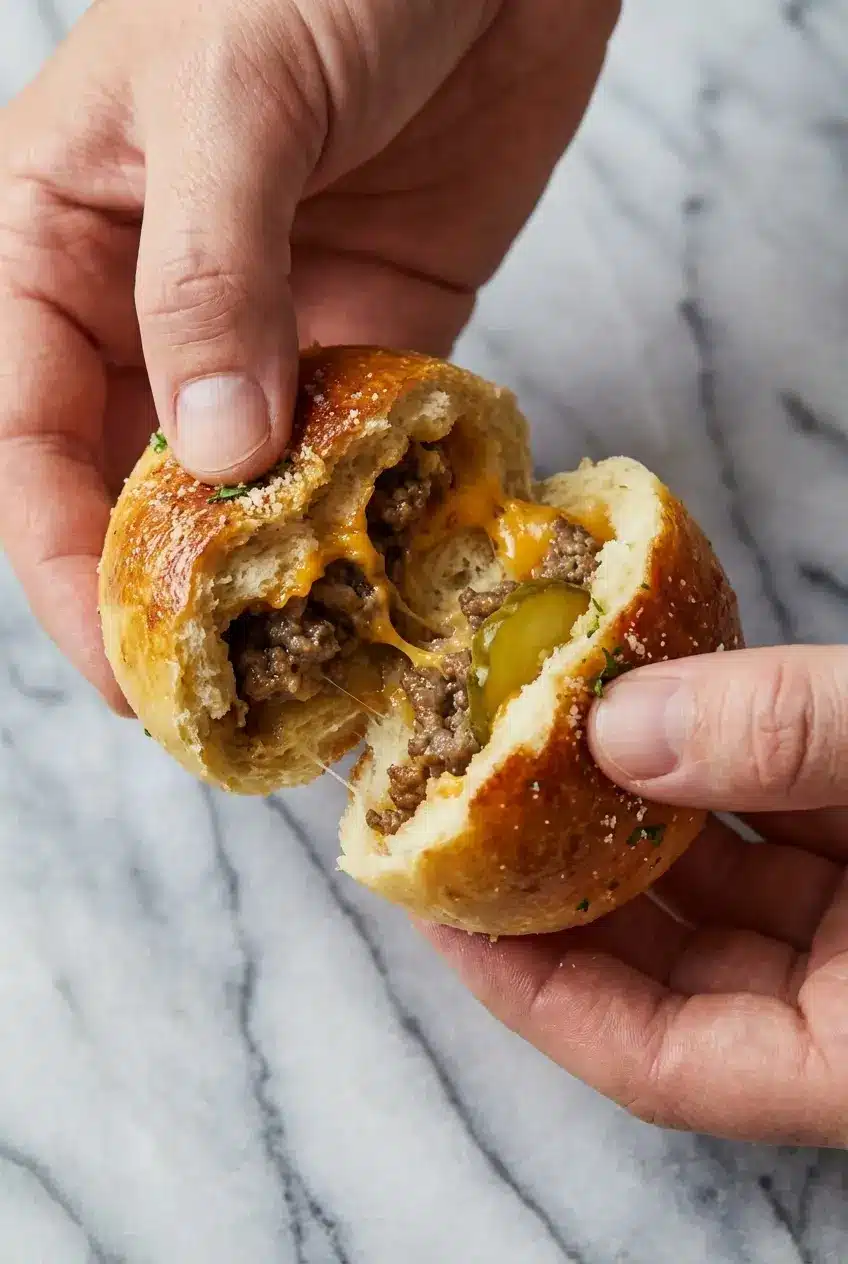
The best batch comes down to a few small details that matter more than people think. If you want a taller, rounder shape, chill the assembled unbaked bombs in the fridge for 15 minutes before baking, which helps the butter in the dough stay cold and keeps the structure neat.
Pay close attention to the dough itself while assembling. If it feels too sticky, a very light dusting of flour helps you handle it without toughening it, and if it feels dry or tight, a short rest on the counter softens it enough to stretch without cracking.
Internal temperature matters too. When the filling reaches 165°F, the ground beef is piping hot, the cheese is fully melted, and the center feels creamy rather than lukewarm or clumpy.
Mastering the Air Fryer Conversion
For a smaller batch, the air fryer does a beautiful job with these bombs. Arrange them in a single layer at 350°F and cook for 8 to 10 minutes, checking around the 7-minute mark, when the tops should be browning and the dough should look puffed and set.
The reason the air fryer produces such an even crispier exterior comes down to fast-moving hot air circulating closely around the dough. In practice, that means you get more crunch outside while the center stays soft and cheesy, which is especially handy when you do not want to heat the whole oven.
The Science of the Perfect Melt and Sear
Freshly grated cheddar makes a noticeable difference because it melts smoothly into the hot beef mixture instead of staying stringy or chalky. That is why I always grate from a block when I want the filling to hold together and stay luscious.
Just as important is how you brown the beef. The Maillard reaction is what gives well-seared meat its deep, complex flavor, and once you taste that difference, it is hard to go back to simply steamed or gray beef.
I use the same idea whenever I make a rich beef-and-cheese dish like this cheesy hamburger casserole, where proper browning is what keeps the final dish from tasting flat. Color on the beef is not just cosmetic, it is the foundation of that savory diner-style flavor you want in every bite.
Pro Tips & Troubleshooting
Pro Tips
- Brush the tops with a beaten egg before the garlic butter if you want a shinier, more bakery-style finish.
- Do not skip grating your own cheese, because it melts more evenly and gives the filling a smoother texture.
- For a Bacon Cheeseburger version, stir in crisp bacon crumbles with the beef filling.
- If you like heat, swap in Pepper Jack and tuck in a few diced pickled jalapeños for a spicy twist.
- These have the same all-ages, pull-apart appeal that makes cheesy garlic breadsticks disappear fast at parties, so making a double batch is never a bad idea.
Common Mistakes to Avoid
- Overstuffing the dough, which can force the seams open and send cheese onto the pan instead of keeping it inside the bomb.
- Leaving too much grease in the skillet, which creates a soggy bottom and weakens the dough.
- Using frozen dough that is not fully thawed, because the outside can brown before the center has time to cook through.
- Placing the bombs seam-side up instead of seam-side down, which makes leaking much more likely.
- Using fresh minced garlic in the topping, which can scorch on the surface before the bombs are done. Garlic powder gives better flavor and color control here.
Serving & Storage
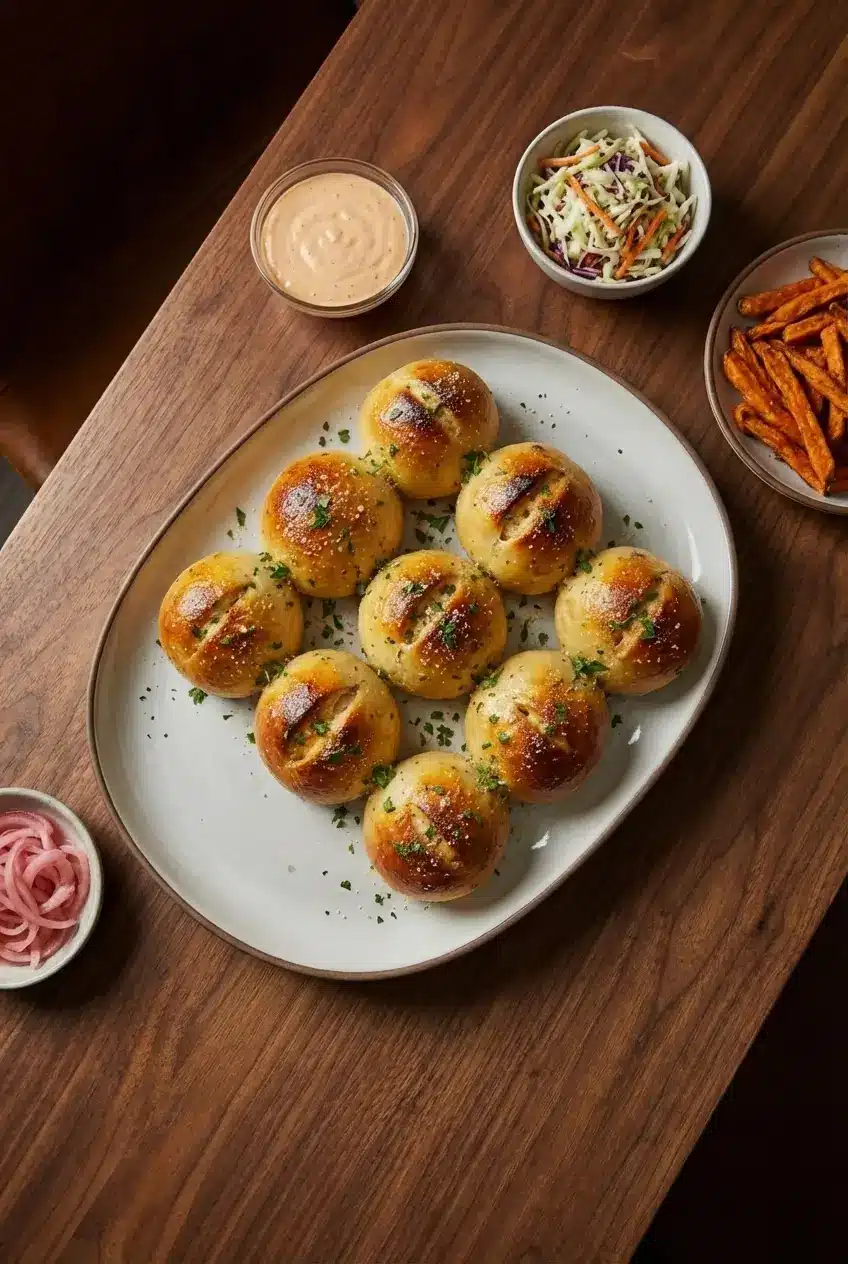
Serving Ideas
I love serving these with a simple secret sauce made from mayo, ketchup, mustard, and relish. A crisp side like vinegar slaw, sweet potato fries, or even a few quick pickled onions keeps the plate from feeling too rich and plays nicely with the pickle tucked inside each bomb.
If you want to dress them up for a party tray, a tiny sprinkle of extra parsley or everything bagel seasoning on top looks great. They fit right in next to other classic appetizer favorites and disappear especially fast during football season.
Storage & Reheating
Store leftovers in an airtight container in the fridge for up to 3 days. To bring back that crisp shell, reheat them in a 350°F oven or air fryer until warmed through, because the microwave tends to make biscuit dough chewy.
For longer storage, you can freeze them either raw or cooked. If freezing raw, place the assembled bombs on a tray until firm, then transfer them to a freezer-safe container, and bake from chilled or thawed when needed, adding time as necessary until hot in the center.
Cooked bombs also freeze well once cooled completely. I reheat them straight from the freezer in the oven or air fryer, which helps restore the crust far better than softer reheating methods.
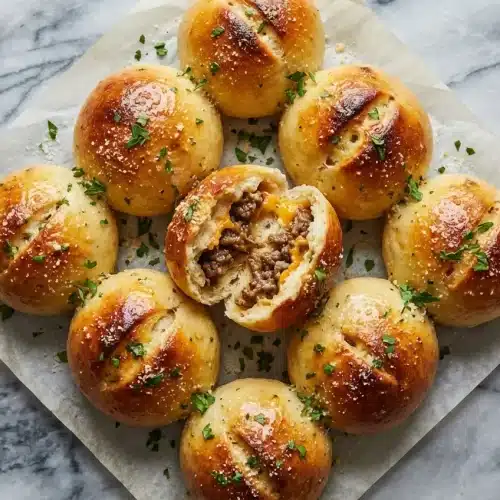
Garlic Parmesan Cheeseburger Bombs

Equipment
- Baking Sheet
- Parchment Paper
- Cast Iron Skillet
- Small bowl
- Pastry brush
Ingredients
- 1 lb ground beef
- 1 medium onion, finely diced
- 2 cloves garlic, minced
- ½ cup + 2 tablespoon grated parmesan cheese, divided
- 1 cup cheddar cheese, freshly grated
- 1 can (16.3 oz) biscuit dough
- 2 tablespoon unsalted butter, melted
- 1 tablespoon parsley, finely chopped
- ½ teaspoon garlic powder
- Salt and black pepper, to taste
Instructions
Prep the Pan and Build the Filling
- Heat your oven to 375°F (190°C) and line a baking sheet with parchment paper for easy cleanup and to prevent sticking.
- In a cast iron skillet over medium-high heat, brown the ground beef with the diced onion and minced garlic. Cook until the meat is well-seared and the onions have softened.
- Thoroughly drain off the excess fat to prevent the dough from becoming greasy. Season the beef mixture with salt and black pepper to taste.
- While the beef is still hot, stir in ½ cup of Parmesan and all the shredded cheddar cheese until the mixture becomes a rich, melted, and scoopable filling.
Fill and Seal the Bombs
- Open the biscuit dough and flatten each piece into a wide disc. If the dough is sticky, a light dusting of flour can help.
- Place 1 to 2 tablespoons of filling in the center of each disc. Add one thin dill pickle chip and a small dot of yellow mustard on top of the meat.
- Pull the edges of the dough over the filling and pinch the seams tightly to seal. Use a drop of water on the edges if needed to ensure a snug closure.
Brush, Bake, and Rest
- In a small bowl, whisk together the melted butter, garlic powder, chopped parsley, and the remaining 2 tablespoons of Parmesan cheese.
- Place the bombs seam-side down on the baking sheet. Brush the tops generously with the garlic-parmesan butter mixture.
- Bake for 12 to 15 minutes until the bombs are puffed and deeply golden brown. Ensure the center reaches an internal temperature of 165°F.
- Allow the bombs to rest for 5 minutes before serving to let the filling settle and the cheese to set.
Notes
Conclusion
These cheeseburger bombs are already a crowd favorite, but the hidden pickle and mustard twist is what turns them into something people actually talk about after the plate is empty. You still get all the savory beef, gooey cheddar, and buttery garlic flavor you want, just with a brighter, more balanced finish.
If you are cooking for a game day spread, a family snack night, or just want a fun new appetizer, this recipe is worth keeping in your back pocket. Once you make a batch, it is easy to play with bacon, jalapeños, or your own favorite burger-inspired filling.
Frequently Asked Questions
How do I keep the filling from leaking out?
What is the best way to reheat cheeseburger bombs without them getting chewy?
Can I assemble these a day in advance?
Is it better to use shredded cheese or cheese cubes for the filling?
How do I get a golden brown crust without burning the garlic?