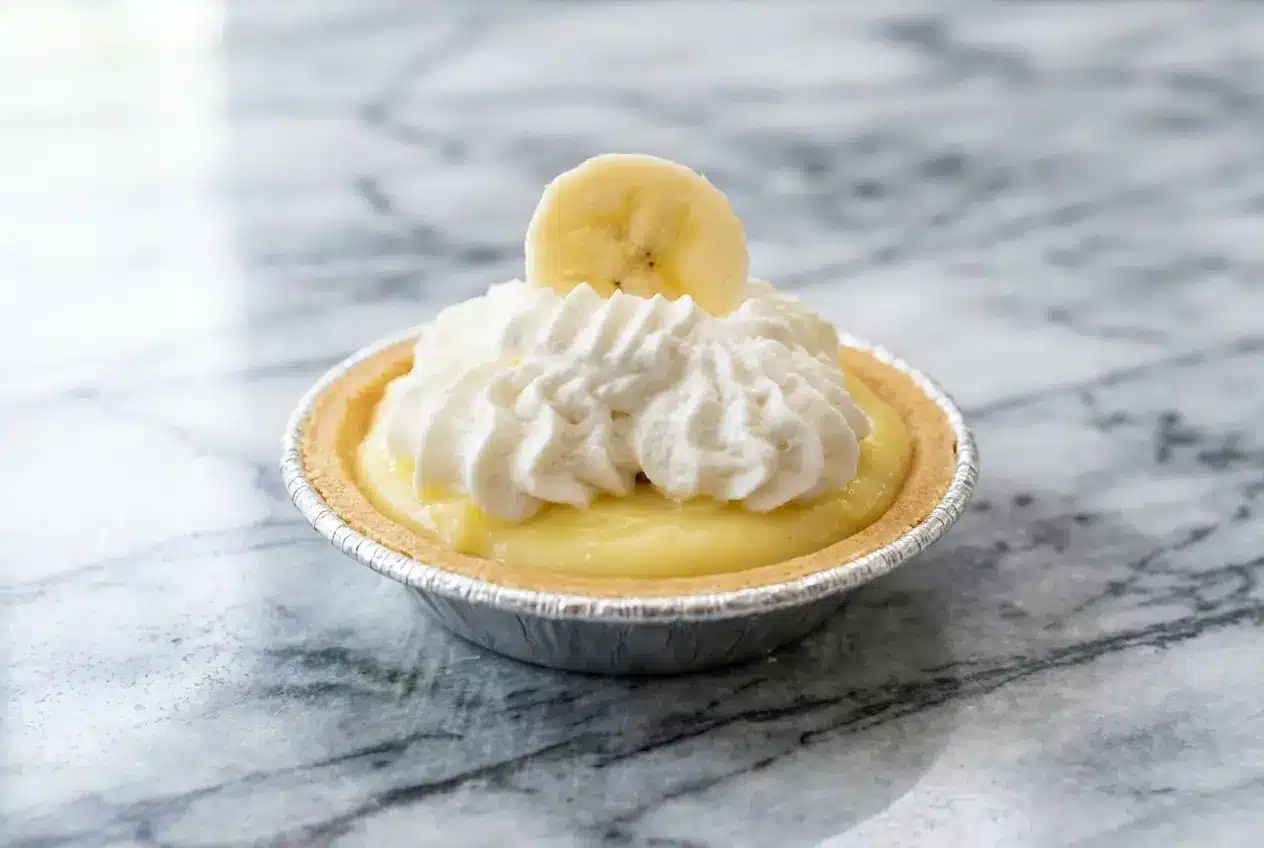
Some desserts never really leave you. In my kitchen, banana cream pie is one of those old-school favorites that always brings back diner booths, cold whipped cream, and that first spoonful of silky filling. These mini banana cream pies take that familiar comfort and turn it into something party-ready, a little polished, and very easy to serve.
They’re perfect for showers, cookouts, holiday trays, or any night when you want a make-ahead treat that feels special. What makes this version worth keeping in your back pocket is the crisp crust trick, a malted chocolate layer that keeps every bite creamy, crunchy, and full of classic banana-malt flavor.
Why You’ll Love This Recipe
The crisp-crust secret: In my kitchen, the malted milk chocolate barrier is the little bakery-style move that changes everything. It seals the graham cracker crust so the pastry cream doesn’t soak in too quickly, and it adds that sweet malt-shop flavor bananas love.
Perfect little portions: These mini banana cream pies are easy to plate, easy to serve, and there’s no messy slicing at the table. If you love hand-held desserts with the same charm as banana pudding cheesecakes, this recipe hits that same crowd-pleasing note.
Silky, reliable filling: The combination of a proper cornstarch slurry and careful tempering eggs gives you a custard that sets beautifully. I love how the filling stays smooth, glossy, and rich without feeling heavy.
Ingredients and Substitutions
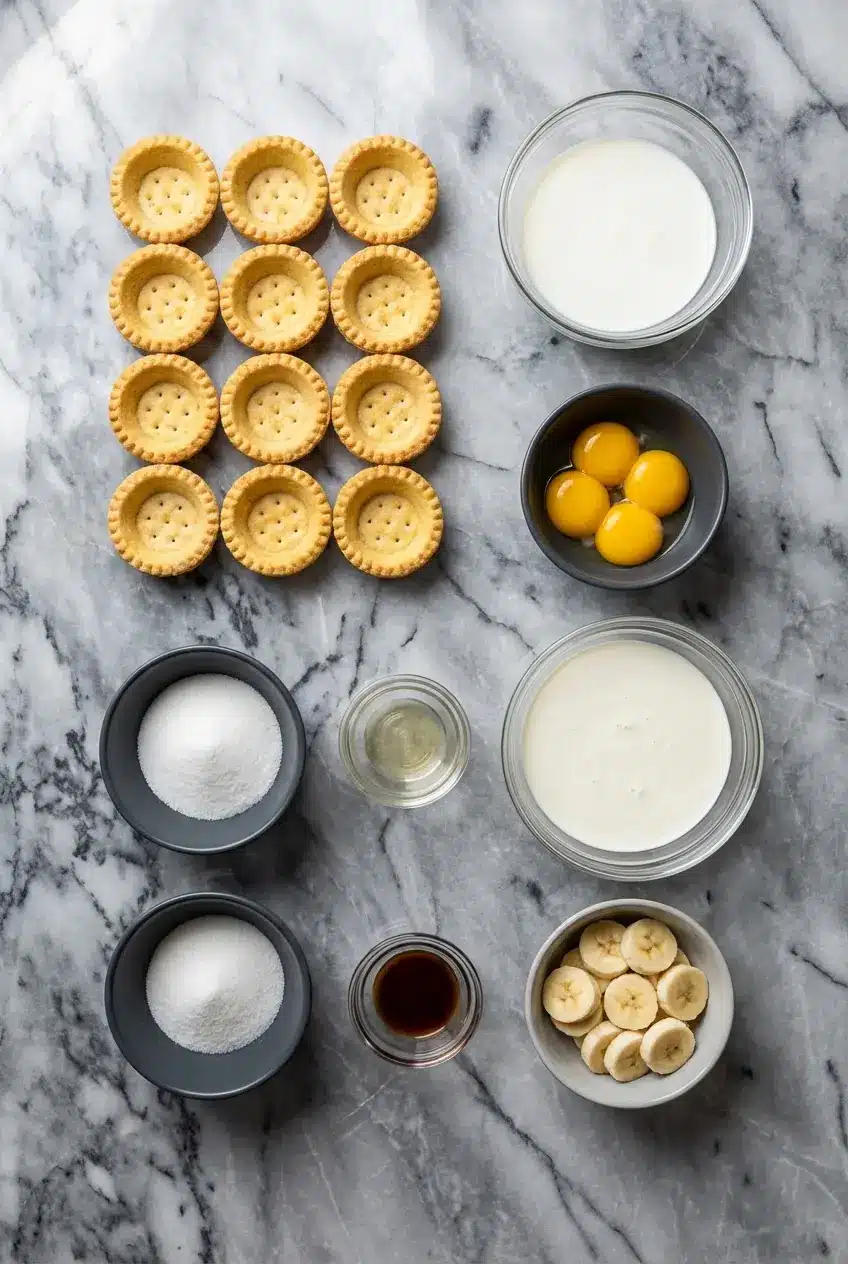
A short list does a lot of work here, rich milk for the custard, sturdy little crusts, and plenty of heavy whipping cream for that cloud-like finish.
Ingredients
- 2 packages mini cracker pie crusts, 12 total
Banana Cream Mixture:
- 3 cups whole milk, divided
- 5 egg yolks
- 5 tablespoons cornstarch
- 1/4 teaspoon salt
- 1/2 cup sugar
- 1 1/2 teaspoon banana extract
Homemade Whipped Cream:
- 2 cups heavy whipping cream
- 1/4 cup sugar
- 1 teaspoon vanilla
- 1 banana cut into 12 slices
Ingredient Notes & Substitutions
Whole milk: Whole milk gives this pastry cream the richest body and the smoothest finish. I have tested lighter milk before, and the custard always feels a little thinner and less luxurious.
Mini cracker pie crusts: A classic Graham cracker crust gives that familiar American pie-shop flavor, but vanilla wafer shells are wonderful here too. If you want a warmer, spiced profile, Biscoff-style cookie crusts make these taste a little more grown-up.
Banana extract: This is what gives the filling that nostalgic, classic banana cream pie flavor, almost like the best old-fashioned pudding cups. If you prefer a more natural, less candy-like profile, swap it for extra vanilla bean paste and let the banana topping do more of the talking.
Heavy whipping cream: Use well-chilled cream and a cold bowl if you want tall, clean swirls that hold their shape. That matters with mini pies, because a soft topping can slump fast once piped.
Fresh banana: Save the slices for the very end so they look fresh and glossy instead of soft and spotted. If you want deeper banana flavor in the filling itself, I sometimes fold a little mashed ripe banana into the cooled custard, but only after it has thickened properly.
How to Make mini banana cream pies
Prep the crusts and start the custard base
- In a small microwave-safe bowl, melt the milk chocolate chips until smooth, then stir in the malt powder until no dry spots remain. Brush a thin layer all around the inside of each mini crust, then chill them in the refrigerator for 5 minutes so the coating firms up into a crisp moisture barrier.
- In a medium bowl, whisk the egg yolks, cornstarch, salt, and 1/4 cup of the milk until the mixture is completely smooth and pale, with no starchy lumps hiding at the bottom. This cornstarch slurry should look loose and creamy before you set it aside.
- In a large pot, combine the sugar with the remaining 2 3/4 cups milk and warm it over medium heat until it reaches a gentle simmer, around 180 to 190°F. You’re looking for steam, tiny bubbles at the edges, and milk that smells sweet and hot, but not scorched.
Temper and thicken the filling
- Take the pot off the heat and slowly stream about half of the hot milk into the egg mixture while whisking constantly. This step matters, because the science of tempering is what gently raises the egg yolks’ temperature without turning them into scrambled bits.
- Pour the warmed egg mixture back into the pot with the remaining hot milk, then stir in the banana extract. Return the pot to medium heat and keep stirring steadily until the custard bubbles and thickens into a heavy pudding consistency, glossy, smooth, and able to hold soft lines from the spoon.
Fill and chill
- Spoon the warm custard into the chilled crusts, filling each one about 2/3 full and smoothing the tops so they set evenly. The filling should look thick enough to mound slightly before settling.
- Press a small piece of plastic wrap or parchment directly onto the surface of each pie’s custard so a skin doesn’t form. Refrigerate the pies for 2 to 3 hours, until the centers are fully cold and set.
Whip, pipe, and finish
- In a chilled bowl, beat the heavy whipping cream, sugar, and vanilla until stiff peaks form. The cream should look billowy and hold a sharp shape when you lift the beaters, not grainy or curdled.
- Pipe or spoon a generous swirl onto each chilled pie, then top each one with a banana slice just before serving. That final fresh slice gives the pies their pretty bakery look and the cleanest banana flavor.
Secrets for a Perfect Banana Cream Filling
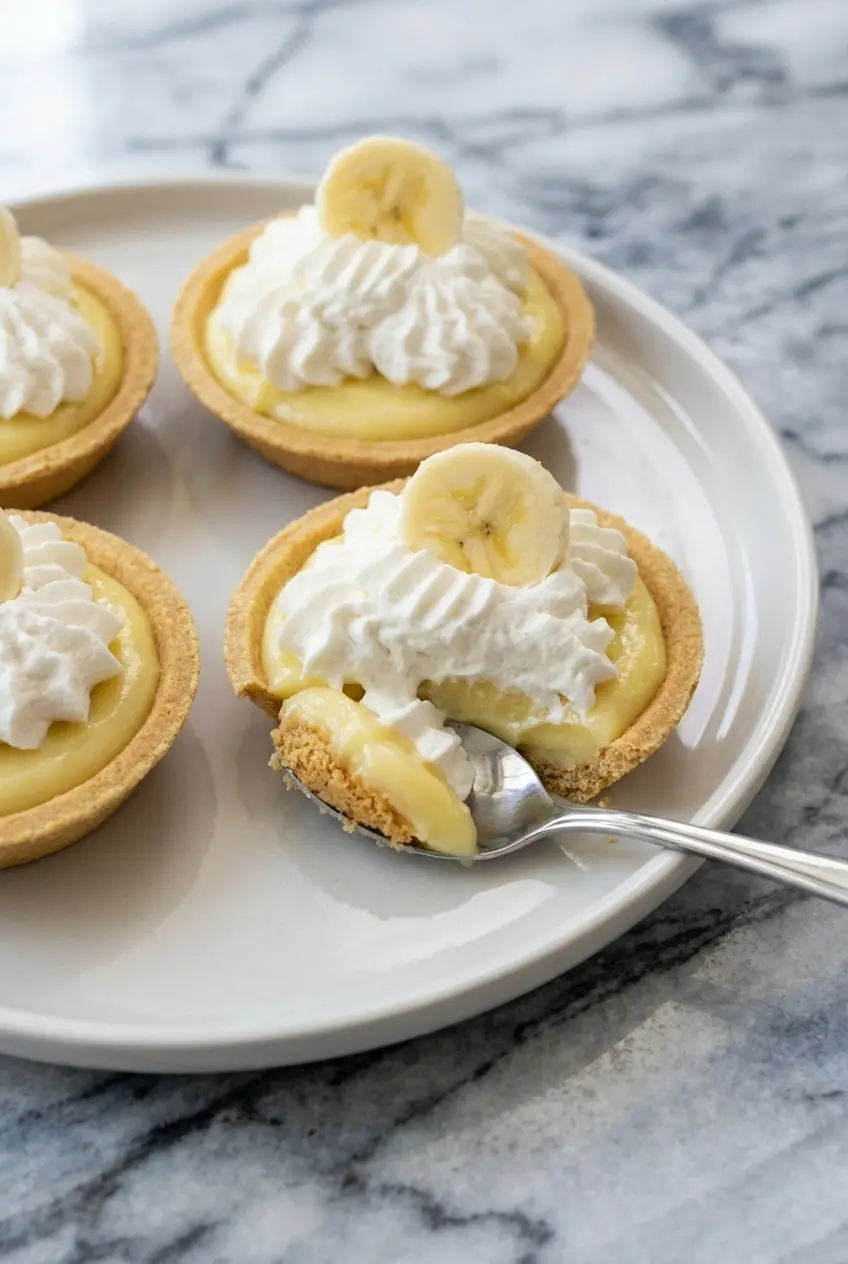
The biggest detail most home cooks miss is temperature. For the custard to thicken properly later, the milk needs to reach that gentle simmer zone of 180 to 190°F, because that heat sets you up for full cornstarch activation once everything goes back on the stove.
As the mixture cooks, watch for a clear visual change from thin and milky to glossy and noticeably heavier. When it reaches the right point, it looks like real pastry cream, smooth, shiny, and thick enough to leave trails as you stir, much like the soft, spoonable texture you’d expect in a good classic banana pudding.
If you’re making your own shells in a Muffin tin, getting them out cleanly takes a little planning. I like using parchment paper “slings” under each crust, or slipping in a thin offset spatula once the shells are fully cool, so the delicate crumb base doesn’t crack on the way out.
Custard Chemistry: Why Cornstarch Creates the Best Texture
For banana cream filling, cornstarch is my first choice every time. A well-made Cornstarch slurry thickens cleanly and gives pastry cream a smooth, almost satiny texture, while flour can leave the custard a little cloudy and slightly pasty on the tongue.
That difference matters in a dessert where banana is supposed to be the star. Cornstarch gives a more translucent, “clean” flavor, so the banana extract and dairy taste brighter and more defined instead of getting buried under a starchy finish.
Tempering eggs also plays a big role here, because egg yolks bring richness but need a gentle hand. Once tempered properly and cooked with the starch, they help create that stable, sliceable custard structure you also see in other desserts built around vanilla pastry cream.
The Physics of a Perfect Crust: Preventing Soggy Bottoms
This is where the chocolate trick earns its keep. Custard is water-based, and a cracker crust is quick to absorb moisture, but a thin coating of chocolate adds fat, and fat naturally repels water, so the filling meets a barrier before it ever touches the crumbs.
The malt powder does more than add flavor. It turns that chocolate layer into a subtle nod to an old-fashioned soda fountain, which is exactly why these mini banana cream pies taste more memorable than a standard graham shell filled with pudding.
Cold storage matters too, because once the pies are filled, the crust stays firmer when everything is kept well chilled. Whether you use a Graham cracker crust or a Vanilla wafer base, warmth speeds softening, and fresh banana slices can also release moisture as Oxidation and breakdown start to set in.
Pro Tips & Troubleshooting
Pro Tips
- Dip the banana slices in a little pineapple juice if you want to stop browning without the sharper flavor of lemon. Research on banana browning supports how pineapple can stop oxidation without the sharp tang, which is why it’s my favorite choice for party platters.
- For stronger banana flavor, mash about half a ripe banana into the cooled custard after it has already thickened and chilled slightly. That gives you more fruit depth without interfering with the setting stage.
- Use a large star tip when piping the whipped cream so the tops look full, neat, and bakery-style. On a dessert table, that little detail makes these stand out beside other bite-sized treats like mini fruit pies.
Common Mistakes to Avoid
- Skipping the tempering step is the fastest route to scrambled eggs in your custard. Always whisk hot milk gradually into the yolk mixture before returning it to the pot.
- Overwhipping the cream will take it from smooth to grainy in a hurry. Stop as soon as you reach stiff peaks that hold their shape cleanly.
- Adding the banana garnish too early can make the tops look wet and tired. Fresh slices are best added just before serving so they stay firm and bright.
- If your filling seems loose, it usually means the custard never bubbled long enough to fully activate the starch. The same principle shows up in other custard desserts, including lemon custard cake, where patience at the stove makes all the difference.
Serving & Storage
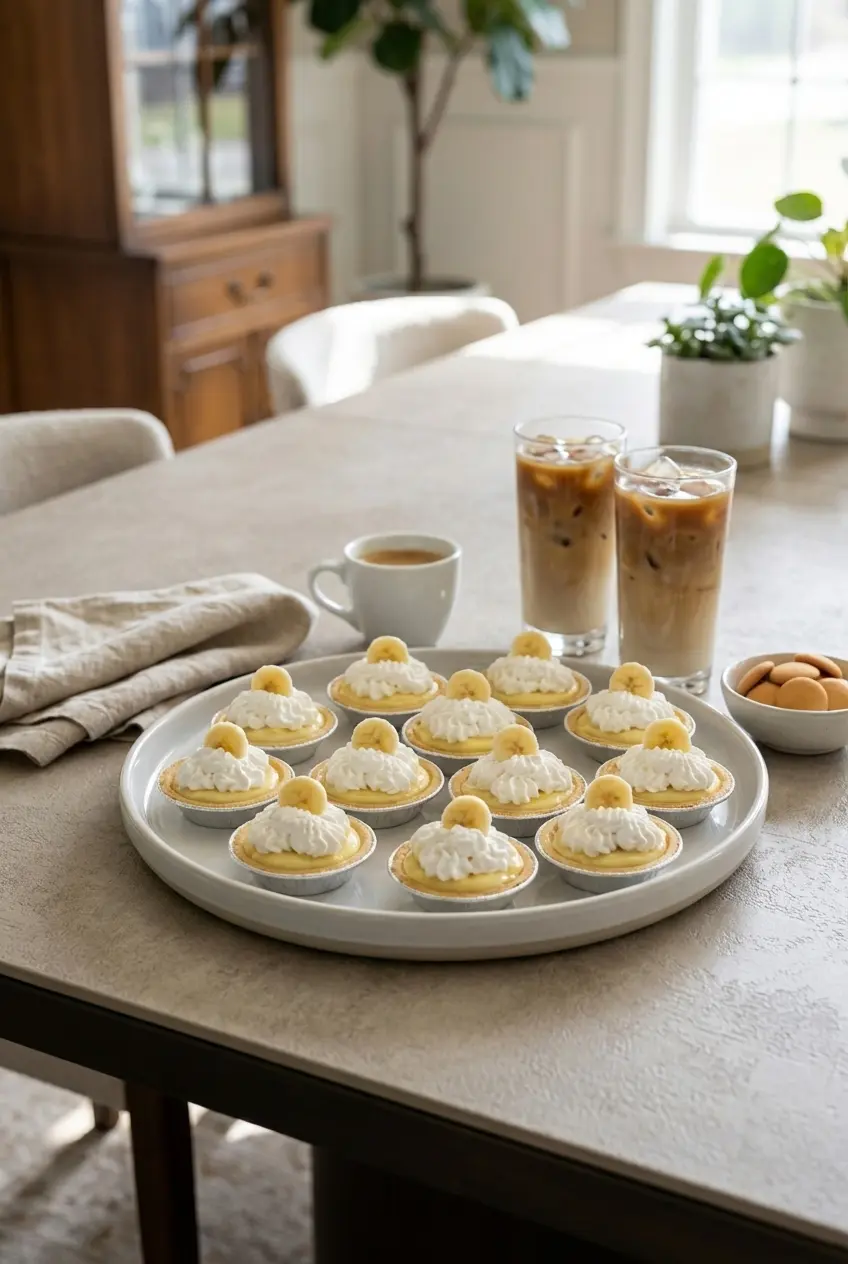
Serving Ideas
These little pies shine on a chilled platter, especially for outdoor parties or holiday dessert tables. I like to finish them with a mini vanilla wafer tucked into the whipped cream, or a light drizzle of salted caramel for that sweet-salty edge.
Because the filling is cool and silky, they pair beautifully with coffee, iced espresso drinks, or even a simple glass of cold milk. If you want a fuller dessert spread, these sit nicely next to citrus bars, chocolate cookies, or other nostalgic American sweets.
Storage & Make-Ahead
The custard can absolutely be made 24 hours ahead, and that’s often how I do it when I’m planning for guests. Just keep plastic wrap pressed directly on the surface so it stays smooth and doesn’t form a skin.
For the best texture, assemble the pies as close to serving as you can, especially when it comes to the whipped cream and fresh banana topping. Once filled, they’ll keep in the fridge for 3 to 4 days, but the crust will gradually lose that crisp bite, even with the chocolate barrier.
If you need to hold them for a party, keep them refrigerated until the last possible moment and garnish right before they hit the table. They’re at their very best within the first 24 hours, when the crust is still crunchy and the topping looks fresh and lofty.
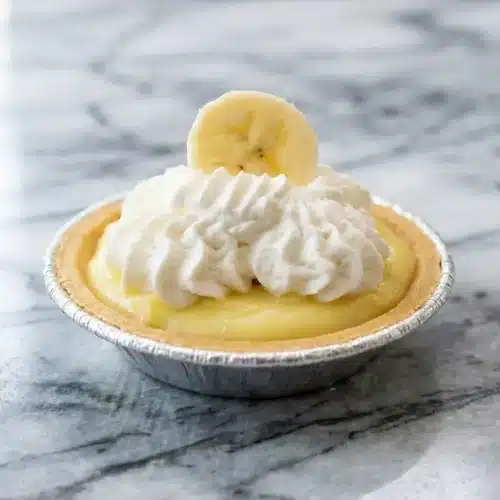
Classic Mini Banana Cream Pies

Equipment
- Microwave-safe Bowl
- Medium bowl
- Large Pot
- Whisk
- Chilled mixing bowl
- Piping bag with star tip
Ingredients
- 2 packages mini cracker pie crusts, 12 total
Banana Cream Mixture:
- 3 cups whole milk, divided
- 5 egg yolks
- 5 tablespoons cornstarch
- 1/4 teaspoon salt
- 1/2 cup sugar
- 1 1/2 teaspoon banana extract
Homemade Whipped Cream:
- 2 cups heavy whipping cream
- 1/4 cup sugar
- 1 teaspoon vanilla
- 1 banana cut into 12 slices
Instructions
Prep the crusts and start the custard base
- In a small microwave-safe bowl, melt milk chocolate chips until smooth, then stir in malt powder. Brush a thin layer inside each mini crust and chill in the refrigerator for 5 minutes to create a crisp moisture barrier.
- In a medium bowl, whisk the egg yolks, cornstarch, salt, and 1/4 cup of the milk until the mixture is pale and completely smooth with no lumps.
- In a large pot, combine the sugar with the remaining 2 3/4 cups milk. Warm over medium heat until it reaches a gentle simmer, approximately 180 to 190°F, indicated by steam and tiny bubbles at the edges.
Temper and thicken the filling
- Remove the pot from the heat. Slowly stream about half of the hot milk into the egg mixture while whisking constantly to temper the yolks without scrambling them.
- Pour the warmed egg mixture back into the pot with the remaining milk and stir in the banana extract. Return to medium heat, stirring steadily until the custard bubbles and thickens into a glossy, heavy pudding consistency.
Fill and chill
- Spoon the warm custard into the chilled crusts, filling each about 2/3 full. Smooth the tops so they set evenly.
- Press a piece of plastic wrap or parchment directly onto the surface of the custard to prevent a skin from forming. Refrigerate for 2 to 3 hours until fully set.
Whip, pipe, and finish
- In a chilled bowl, beat the heavy whipping cream, sugar, and vanilla until stiff peaks form and the cream holds its shape cleanly.
- Pipe or spoon a generous swirl of whipped cream onto each chilled pie. Top each with a fresh banana slice just before serving for a professional look.
Notes
Conclusion
These mini banana cream pies take a comforting classic and give it one smart upgrade, that malted milk chocolate barrier that keeps the crust crisp and adds a sweet old-fashioned soda-shop note. With silky custard, airy cream, and a fresh banana finish, they feel special without being fussy.
If you’re planning a shower, cookout, holiday tray, or just want a dessert people remember, this method is a keeper. Once you make them once, it’s easy to play with little twists, from vanilla wafer shells to a drizzle of caramel on top.
Frequently Asked Questions
How do I prevent the bananas from turning brown?
Why is my custard not thickening?
Can I make these no-bake?
How long do mini banana cream pies last in the fridge?
Can I use almond milk for the custard?
How long can these stay out at room temperature?