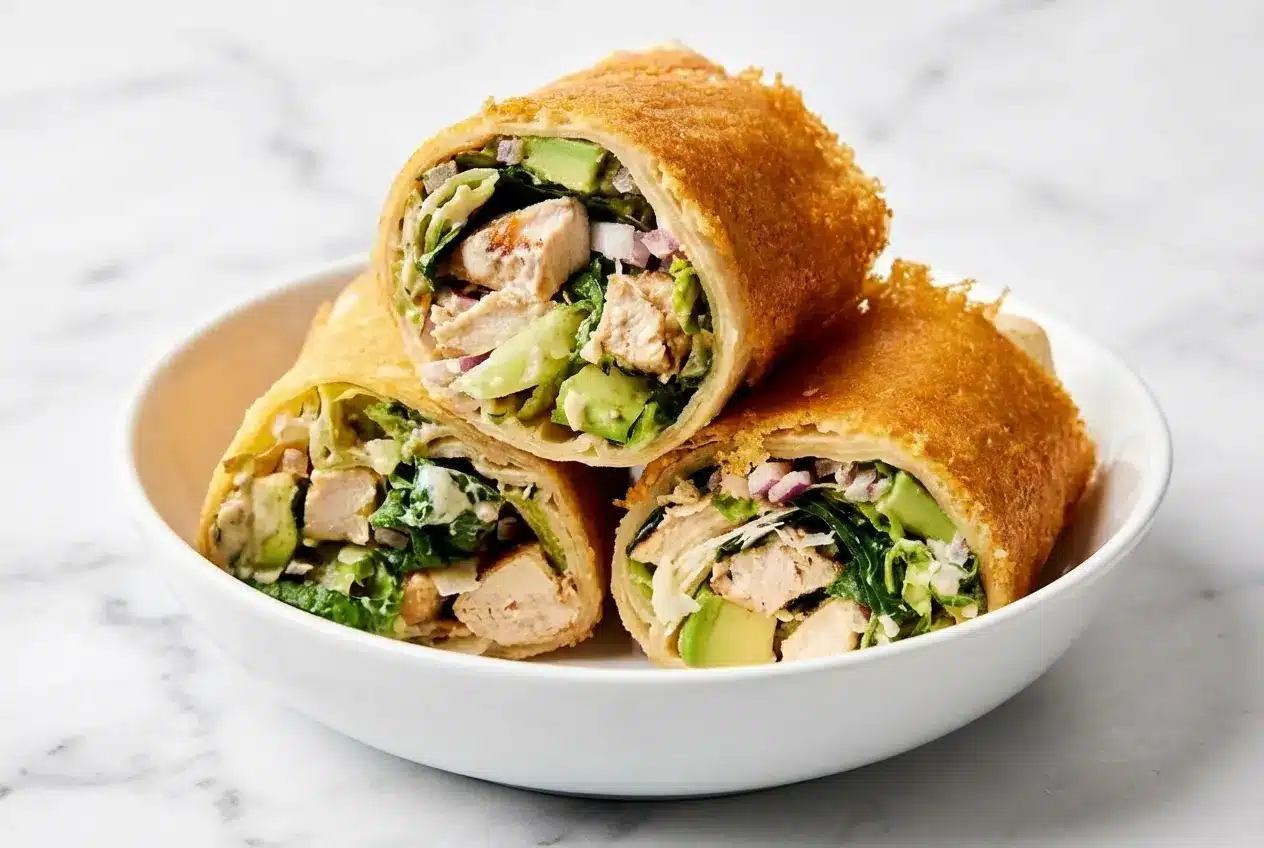
On busy weekdays, a really good chicken Caesar wrap feels like lunch solving itself. In my kitchen, this is the kind of meal I lean on when I want something fast, filling, and crisp enough to feel a little special instead of rushed.
This version is built to stay sealed, avoid that dreaded soggy middle, and deliver crunch in every bite. Between the juicy chicken breast, cool Romaine lettuce, and a smart breadcrumb twist, it gives you all the classic Caesar flavor in a wrap that actually holds together.
Why You’ll Love This Recipe
No more soggy wraps: I built this recipe to fix the two biggest lunch problems, tortillas that split and fillings that turn watery before you even sit down to eat.
Double-crunch without the mess: Instead of bulky croutons, I use toasted panko with olive oil, garlic, and anchovy paste for a fine, savory crunch that spreads through the whole chicken Caesar wrap without poking holes in the tortilla.
A lighter, creamier dressing: In my kitchen, mixing half the Caesar dressing with full-fat Greek yogurt keeps that signature tang while adding extra protein and making the filling feel less heavy.
Big flavor, smart technique: From pan-seared chicken breast to the crisp Parmesan cheese crust, every part of this lunch recipe is designed to taste rich, creamy, and crunchy while staying easy enough for a weekday.
Ingredients and Substitutions

These ingredients keep the wrap classic at its core, but with a few smart choices that make it crispier, sturdier, and more satisfying.
Ingredients
for the quick pan-seared chicken breasts:
- 2-3 tablespoons olive oil
- 1.5 pounds boneless, skinless chicken breasts, butterflied
- 1 teaspoon garlic powder
- 1 teaspoon onion powder
- kosher salt and ground black pepper
for the chicken Caesar wraps:
- 1 head Romaine lettuce, chopped
- 1 avocado, diced
- 0.5 red onion, thinly sliced
- 0.5 cup shaved parmesan cheese
- fresh lemon juice
- 0.5 cup Caesar dressing
- 4 large burrito-sized flour tortillas
- 1.33 cup finely grated parmesan cheese
Ingredient Notes & Substitutions
Burrito-sized flour tortillas: Go for the softest, freshest tortillas you can find, ideally the large burrito-style ones with a flexible feel right out of the package. A tortilla with good stretch makes the wrap folding technique much easier and gives you enough surface area to hold the Caesar salad without bursting.
Caesar dressing: For the protein boost in this recipe, I like to mix half of the dressing with full-fat Greek yogurt before tossing the salad. You still get that familiar Caesar flavor, but the dressing clings to the Romaine lettuce in a slightly lighter, creamier way.
Anchovy paste: A small touch stirred into toasted panko breadcrumbs adds a deep, savory backbone that tastes more like a great steakhouse Caesar and less like bottled dressing. If you already love classic Caesar dressing, this little umami note is worth it.
Chicken breast: Butterflied chicken cooks quickly and evenly, especially when the thicker end is gently pounded to about a half-inch thickness. That little bit of prep saves the edges from drying out before the center is done.
Parmesan cheese: Finely grated Parmesan melts into a more even frico crust than coarsely shredded cheese. For the filling, shaved parmesan gives you those salty, delicate ribbons that tuck nicely into the wrap.
How to make chicken caesar wrap
Cook the chicken and build the crunch
- Set a large skillet over medium-high heat and add the olive oil. When the oil is hot and shimmering, lay the butterflied chicken breasts in a single layer, then season them with garlic powder, onion powder, kosher salt, and ground black pepper. Sear for 4-5 minutes per side until the outside is deeply golden and the center is cooked through, then move the chicken to a plate to cool slightly before slicing into thin strips.
- For the double-crunch twist, toast panko breadcrumbs in a little olive oil with garlic and anchovy paste until they turn golden and smell richly savory. You want them crisp and dry, not greasy, then set them aside so they stay crunchy for the salad.
Toss the Caesar filling
In a large bowl, combine the chopped Romaine lettuce, sliced chicken, avocado, red onion, shaved parmesan, and the toasted umami breadcrumbs. Add a spritz of fresh lemon juice, then gently toss everything with the Caesar dressing, using a Greek yogurt-enhanced mix if you want that creamier, higher-protein finish, until the leaves are lightly coated and still crisp.
Warm and fold the wraps
- Wrap the tortillas in a damp paper towel and microwave for 20-30 seconds, just until warm and pliable. This quick step makes the burrito-sized flour tortillas far less likely to crack when rolled.
- Lay one tortilla on your work surface and spoon a quarter of the filling slightly below the center. Tuck in the sides, pull the bottom flap up and snug over the filling, then roll forward into a tight cylinder so the wrap stays compact and sealed.
Finish with the Parmesan crust
- Heat a clean nonstick skillet over medium heat and scatter about a third cup of the finely grated parmesan into a rectangle roughly the size of a wrap. As the cheese melts, it will smell nutty and turn golden around the edges.
- Set one wrap seam-side down on the edge of the melted cheese, then use a spatula to roll it across the frico so the outside gets coated in a crisp Parmesan cheese crust. Repeat with the remaining wraps, then slice each one in half just before serving while the exterior is still crackly and the inside stays creamy and cool.
Secrets for the Perfect Wrap

The best insurance for juicy chicken is a meat thermometer. Pan-seared poultry should reach an internal temperature of 165°F at the thickest part, which gives you a safe, properly cooked center without guessing.
Resting the chicken for 10 minutes matters more than most people think. That pause gives the juices time to redistribute through the meat, so they stay in the chicken instead of running onto the cutting board and soaking your wrap filling.
It also protects the lettuce. If steaming hot sliced chicken hits the Romaine lettuce too soon, the leaves wilt almost instantly and your crisp Caesar texture disappears before the wrap is even folded.
The Ultimate Wrap Folding Technique
A good wrap is really about tension. Too loose, and the filling shifts with every bite, too tight too soon, and the tortilla can tear.
Start by keeping the filling in a short, compact line rather than spreading it edge to edge. That leaves room for the tortilla to overlap itself, which is what creates a sealed cylinder instead of a messy spiral.
Tuck the left and right sides in first so the ends are closed. Then pull the bottom flap up and over the filling with a gentle but firm lift, using your fingers to draw the tortilla back toward you before rolling forward.
That little backward pull is the secret. It tightens the filling into one bundle, so the wrap stays neat and the Caesar salad does not tumble out when you slice it.
Easy Dietary Adaptations
For a gluten-free version, use your favorite certified gluten-free wrap and handle it a bit more gently than a standard flour tortilla. Alternative wraps can be less elastic, so smaller portions of filling and a slower fold usually work best.
For a lower-carb lunch, keto-friendly tortillas or lettuce-based wraps can work nicely with the same chicken Caesar filling. A crisp option like chicken lettuce wraps is especially handy when you want the flavor without the flour tortilla.
The texture difference comes down to gluten. The gluten necessary for the damp-towel stretching method is what helps classic tortillas stay flexible and tear-resistant.
For readers who track carbs more closely, this low-carb diet resource gives helpful background on how lower-carb meals are commonly structured.
Pro Tips & Troubleshooting
Pro Tips
- Pound the chicken breasts to an even half-inch thickness before they hit the skillet. That small step helps the pan-seared chicken cook evenly, so the thin ends do not dry out while the thicker center finishes.
- Dress the Romaine lettuce at the exact moment you are ready to assemble. Crisp greens are the backbone of a great chicken Caesar wrap, and they lose their snap fast once the dressing goes on.
- If you want a hands-off variation, air fryer chicken works beautifully for the filling. It is a practical way to keep the stovetop free for the Parmesan crust.
- Let the cooked chicken cool before tossing it with the salad. Warm chicken is fine, hot chicken is what turns the filling limp.
Common Mistakes to Avoid
- Overfilling the tortilla is the fastest way to end up with a wrap that will not seal. Keep the filling compact and centered so you can roll with tension.
- Wet lettuce will water down the Caesar dressing and create sogginess almost immediately. After washing your Romaine lettuce, dry it thoroughly before chopping.
- Whole croutons are a bad fit here. Their jagged edges can puncture soft burrito-sized flour tortillas, which is exactly why the toasted breadcrumb layer works better.
Serving & Storage

Serving Ideas
This wrap loves a crunchy side. Crispy sweet potato fries, baked zucchini chips, or a light minestrone soup all make it feel like a full lunch without weighing it down.
An extra ramekin of the Greek yogurt Caesar dressing on the side is never a bad idea. The creamy dip plays especially well with that salty Parmesan crust.
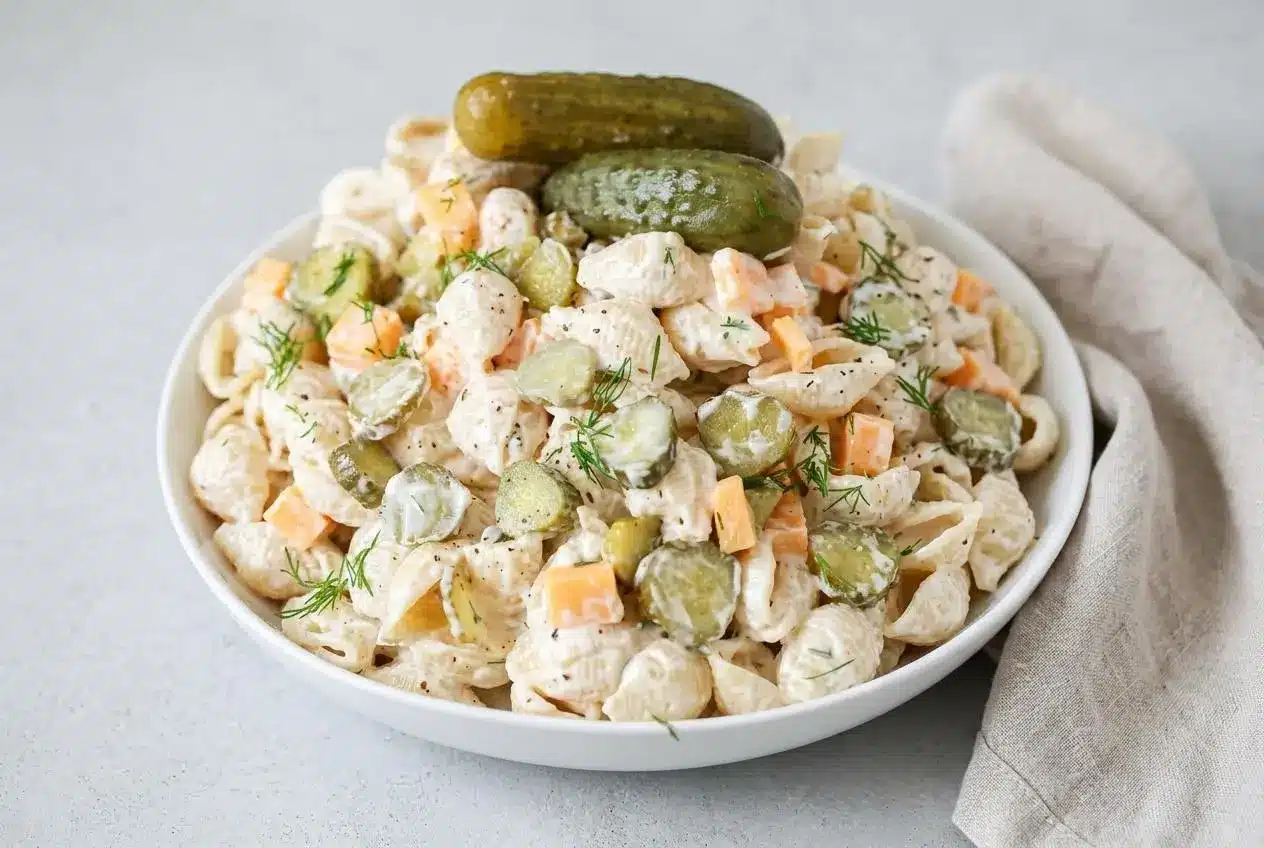
For something picnic-friendly and cool, ranch pasta salad makes a nice pairing beside the wrap.
Storage & Make-Ahead
If you are doing meal prep, keep the wet and dry parts separate. Store the dressing apart from the chopped lettuce, chicken, and tortillas so everything stays crisp until assembly.
Leftover assembled wraps can be rolled in parchment paper or foil and chilled, but they are best eaten soon after making. The Parmesan crust is at its finest when it is freshly crisp, still golden, and not softened by the fridge.
If you do store a fully assembled wrap, keep it cold and plan to enjoy it within a day for the best texture. The filling holds up better than most lunch wraps, but Caesar salad is always happiest when freshly dressed.
This is one of those recipes that rewards a little advance prep. Slice the chicken, wash and dry the Romaine lettuce, and mix the dressing ahead, then assemble right before lunch.
This chicken Caesar wrap is one of my favorite answers to the weekday lunch slump, especially with that savory breadcrumb crunch and crisp Parmesan shell. Once you try it, it is easy to riff on it with bacon, tomatoes, or even a different wrap style, depending on what is in your fridge.

Chicken Caesar Wrap

Equipment
- Large Skillet
- Meat Thermometer
Ingredients
for the quick pan-seared chicken breasts
- 2-3 tablespoons olive oil
- 1.5 pounds boneless, skinless chicken breasts butterflied
- 1 teaspoon garlic powder
- 1 teaspoon onion powder
- kosher salt and ground black pepper
for the chicken Caesar wraps
- 1 head Romaine lettuce chopped
- 1 avocado diced
- 0.5 red onion thinly sliced
- 0.5 cup shaved parmesan cheese
- fresh lemon juice
- 0.5 cup Caesar dressing
- 4 large burrito-sized flour tortillas
- 1.33 cup finely grated parmesan cheese
Instructions
Cook the chicken and build the crunch
- Set a large skillet over medium-high heat and add the olive oil. When the oil is hot and shimmering, lay the butterflied chicken breasts in a single layer, then season them with garlic powder, onion powder, kosher salt, and ground black pepper. Sear for 4-5 minutes per side until the outside is deeply golden and the center is cooked through, then move the chicken to a plate to cool slightly before slicing into thin strips.
- For the double-crunch twist, toast panko breadcrumbs in a little olive oil with garlic and anchovy paste until they turn golden and smell richly savory. Set them aside so they stay crisp and dry for the salad.
Toss the Caesar filling
- In a large bowl, combine the chopped Romaine lettuce, sliced chicken, avocado, red onion, shaved parmesan, and the toasted umami breadcrumbs. Add a spritz of fresh lemon juice, then gently toss everything with the Caesar dressing until the leaves are lightly coated and still crisp.
Warm and fold the wraps
- Wrap the tortillas in a damp paper towel and microwave for 20-30 seconds, just until warm and pliable to prevent cracking when rolled.
- Lay one tortilla on your work surface and spoon a quarter of the filling slightly below the center. Tuck in the sides, pull the bottom flap up and snug over the filling, then roll forward into a tight cylinder so the wrap stays compact and sealed.
Finish with the Parmesan crust
- Heat a clean nonstick skillet over medium heat and scatter about a third cup of the finely grated parmesan into a rectangle roughly the size of a wrap. Let the cheese melt until it turns golden around the edges.
- Set one wrap seam-side down on the edge of the melted cheese, then use a spatula to roll it across the frico so the outside gets coated in a crisp Parmesan cheese crust. Repeat with the remaining wraps, then slice each one in half just before serving.