
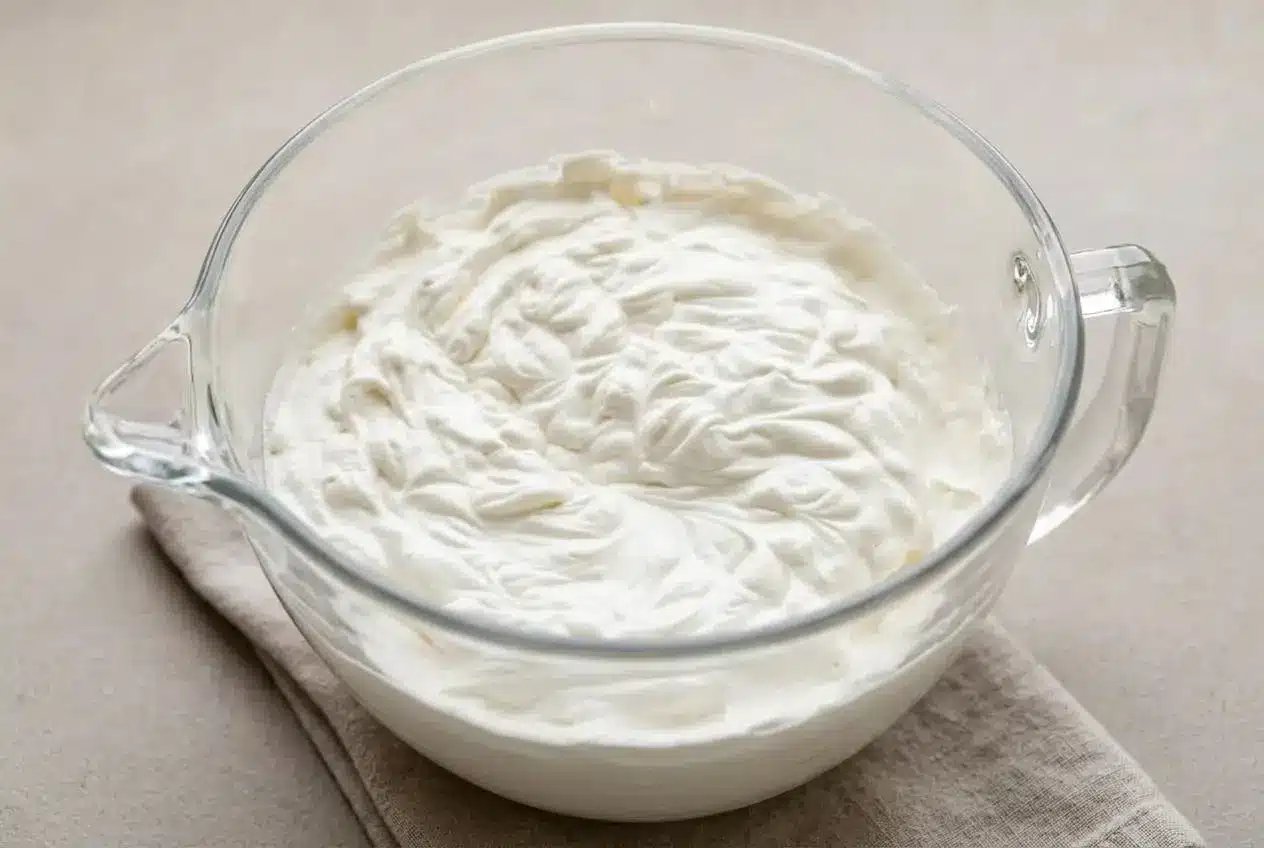
Make homemade whipped cream by beating cold heavy cream with sugar and vanilla for 3 to 4 minutes, until medium peaks form.
Fresh whipped cream is light, pillowy, and softly sweet, with a velvety texture that canned topping can’t quite match. It takes just a few minutes, but the texture depends on cold cream and knowing when to stop mixing.
Watch the beaters closely as the cream thickens and begins to hold its shape. That gentle curl at the tip is the sweet spot.
Chill a metal bowl and whisk attachment in the freezer for 15 minutes before you begin, then keep the cream cold until it goes into the bowl.
Essential Ingredients for Whipped Cream
Each ingredient supports the finished texture: cream builds the airy structure, sugar adds sweetness and helps the foam hold, and vanilla rounds out the rich dairy flavor.
- 1 cup (240g/ml) heavy cream or heavy whipping cream, cold
- 2 Tablespoons granulated sugar or confectioners’ sugar
- 1/2 teaspoon pure vanilla extract
Cold heavy cream contains enough fat to capture air and turn into a stable foam. Sugar sweetens the cream while vanilla brings warmth and balance, keeping the flavor from tasting flat or overly rich.
I keep the carton of cream in the coldest area of the refrigerator until the bowl and beaters are ready, because even slightly warm cream can be slow to thicken.
Heavy Cream vs. Whipping Cream
Heavy cream and heavy whipping cream are the best choices when you want defined, sturdy peaks. They generally contain at least 36 percent milk fat, giving the whipped structure more body and holding power.
Regular whipping cream is lighter, usually around 30 to 35 percent milk fat. It can whip, but its peaks tend to be softer and may lose volume sooner. Milk and half-and-half do not contain enough fat to form a stable whipped topping.
Choosing the Right Sweetener
Granulated sugar gives a clean, classic sweetness, though the crystals take a little longer to dissolve. Add it at the beginning so the mixer can distribute it evenly through the cream.
Confectioners’ sugar dissolves quickly and contains a small amount of cornstarch, which can help the whipped cream stay smoother and reduce weeping. For an optional maple flavor, replace the sugar with pure maple syrup, keeping in mind that the extra liquid can make the peaks a touch softer.
How to Make Whipped Cream Step-by-Step
Use a handheld mixer or stand mixer with a whisk attachment for the quickest, most even results. A balloon whisk works too, but it takes more time and steady arm power.
- Pour the cold heavy cream into the chilled large bowl, then add the sugar and vanilla; mix briefly on low speed before increasing to medium-high.
The splashing sound will shift to a softer, duller hum as the cream thickens and the beaters begin leaving clear tracks. - Continue mixing for about 3 to 4 minutes, stopping when the cream reaches medium peaks, then serve or cover and refrigerate for up to 24 hours.
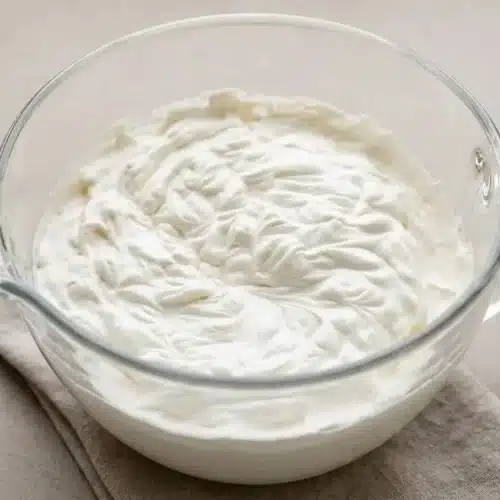
Lift the beaters straight up: the peak should hold its shape with a curved tip that bends over gently.
Medium peaks are ideal for most desserts because they are thick enough to spoon or pipe neatly without becoming stiff and grainy. Stop the mixer to check often once the cream starts holding tracks. The final minute moves fast.
Mastering Peak Consistency: Soft, Medium, and Stiff
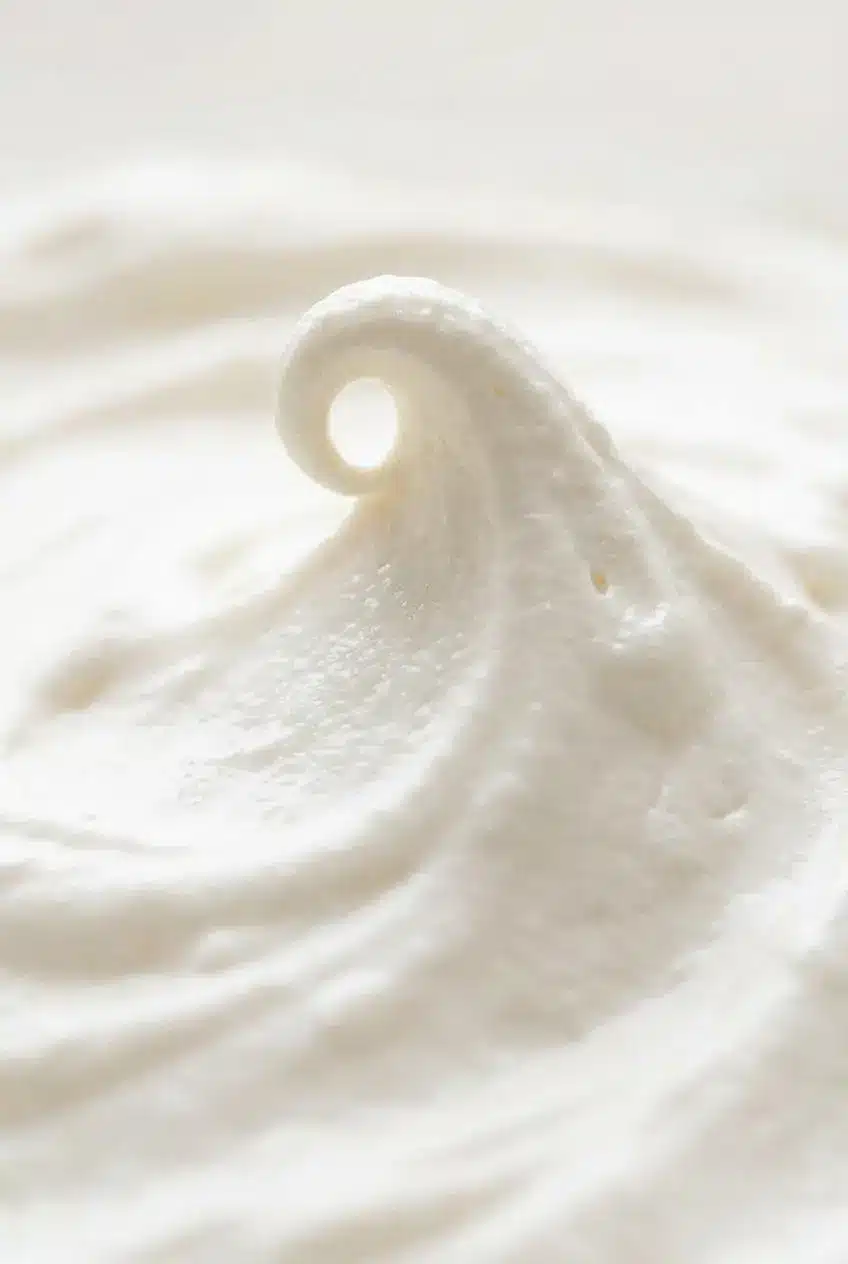
The right peak stage depends on how you plan to use the cream. Checking the beaters rather than trusting the clock keeps the texture under control.
- Soft peaks: The cream looks airy and loose, and the tip folds over into a floppy curl when you lift the beaters. Use soft peaks for hot chocolate, coffee, or gently folding into a mousse.
- Medium peaks: The cream holds a defined ridge and forms a soft hook at the tip. This is the most flexible stage for dolloping over pie, tarts, fruit, and berries.
- Stiff peaks: The peak stands upright with little or no bend, and the cream feels noticeably firmer. Use this stage for piping borders, frosting cakes, or filling homemade cream puffs.
For a polished finish on a pie, medium peaks are usually more forgiving. Stiff peaks look sharp when piped, but they sit very close to over-whipping, so reduce the mixer speed or stop frequently to inspect them.
Troubleshooting Common Whipped Cream Mistakes
Most whipped cream problems come down to temperature, fat content, or mixing past the right peak stage. The good news is that a rough-looking bowl of cream can often be rescued.
- Grainy or curdled cream: This means the cream has been whipped too far and the fat is beginning to separate. Fold in 1 to 2 tablespoons of cold, unwhipped heavy cream with a rubber spatula, using gentle strokes until it turns smooth again.
- Runny cream that will not thicken: Warm equipment or cream with too little fat is usually the culprit. Confirm that you are using heavy cream or heavy whipping cream, then chill the bowl, beaters, and cream for 15 minutes before trying again.
- Weeping or watery cream: The foam has started losing its structure. Use confectioners’ sugar next time, or add a small amount of dry milk powder as an optional stabilizer before whipping for a cream that holds more reliably on desserts.
- Butter-like clumps: The cream has gone beyond the rescue stage and is separating into butter and liquid. Stop mixing as soon as the cream reaches the texture you need, especially when making stiff peaks.
Don’t walk away once the mixer pitch changes and the tracks become distinct. That is the moment to pause every few seconds and check the peak shape.
How to Store Whipped Cream
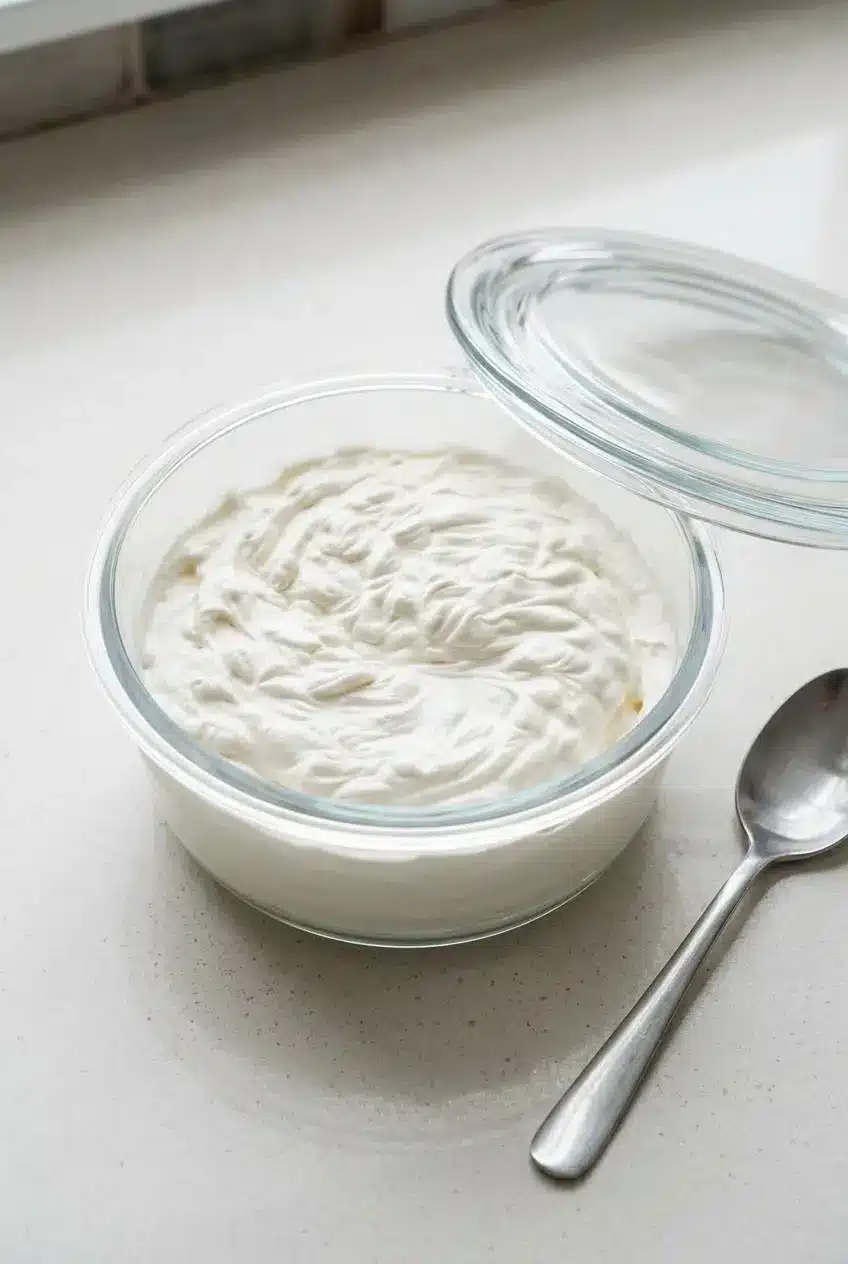
For the texture described here, cover the whipped cream tightly and refrigerate it for up to 24 hours. If it shows a little separation after chilling, give it a brief, gentle whisk by hand to bring it back together without pushing it toward stiff peaks.
For make-ahead desserts, prepare the cream close to serving time whenever possible. Confectioners’ sugar or an optional dry milk powder stabilizer can help it hold its shape, especially when you plan to pipe it onto a cake or tart.
Keep the bowl or container covered so the cream does not absorb refrigerator odors or develop a dry surface. If it has been left out and becomes warm, it is better to discard it than try to restore its structure.
Delicious Ways to Serve and Flavor Variations
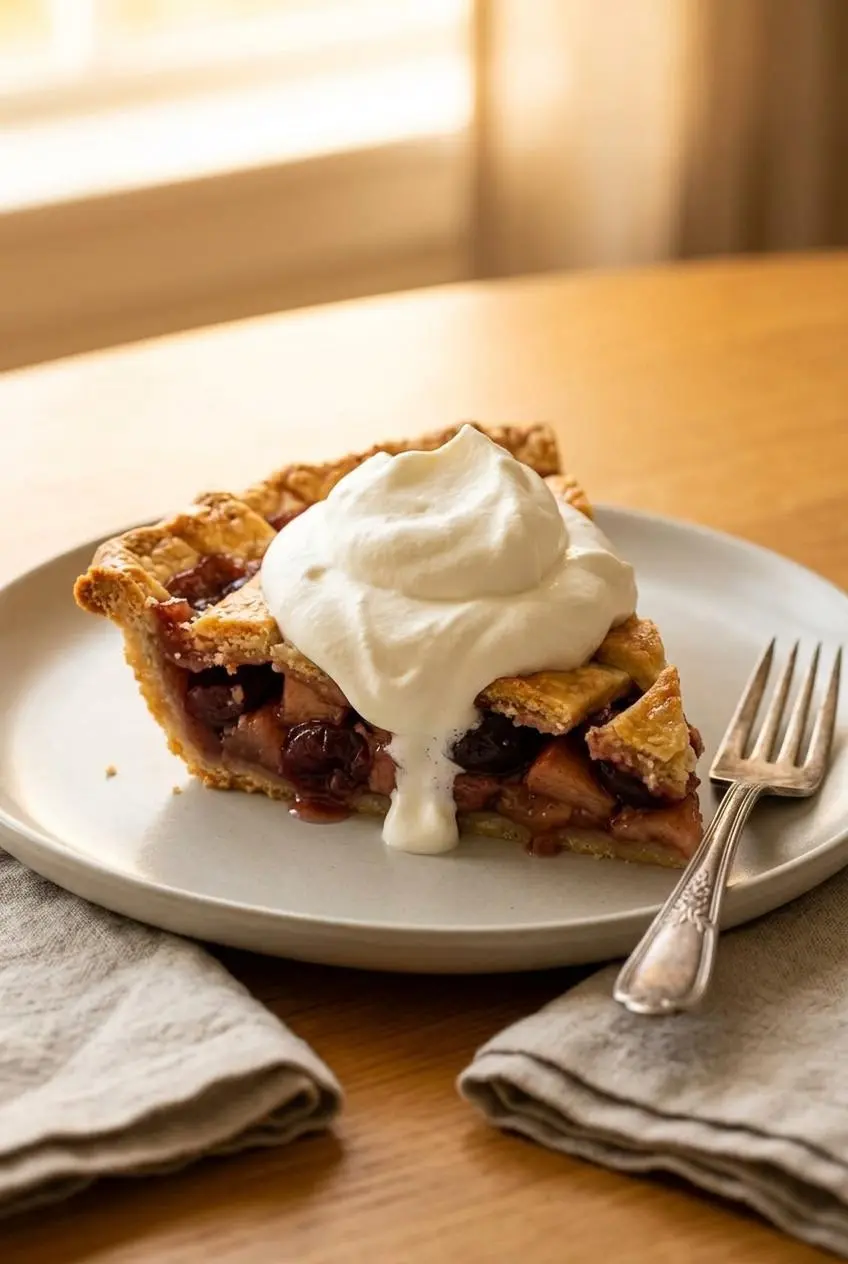
Once you know how to control the peaks, this topping works with everything from casual weekend breakfasts to a dressed-up dessert table. Keep flavor additions optional so the vanilla version stays the dependable starting point.
Spiced and Citrus Variations
- Spiced vanilla whipped cream: Add 1/4 teaspoon ground cinnamon, nutmeg, or cardamom with the sugar and vanilla. The warm spice notes are especially good with apple desserts and pumpkin pie.
- Citrus-infused whipped cream: Fold in 1/2 teaspoon finely grated orange or lemon zest after whipping. The bright aroma cuts through rich fruit crisps, custards, and berry tarts.
- Maple-sweetened whipped cream: Replace the sugar with pure maple syrup for a deeper, caramel-like sweetness. Whip only to medium peaks for the best spoonable texture.
Best Dessert Pairings
Spoon medium-peak cream over fruit pies, warm crumbles, waffles, or a bowl of fresh berries. It is also a natural finish for hot chocolate, warm coffee, and ice cream sundaes when you want a soft, melting dollop.
For a classic chilled dessert, pile it onto a chocolate cream pie just before serving. Its light texture also works beautifully with crisp pastry, caramelized fruit, and chocolate-forward desserts that need a cool contrast.
Conclusion
Homemade whipped cream comes together in minutes and tastes fresher, softer, and more balanced than a canned topping. Cold cream, a chilled bowl, and a close eye on the peaks make all the difference.
Aim for medium peaks when you want an easy all-purpose topping, then stop the mixer before the cream turns grainy. That small bit of attention pays off in every cloud-like spoonful.
Frequently Asked Questions
What Is the Difference Between Heavy Cream and Whipping Cream?
Heavy cream and heavy whipping cream have at least 36 percent milk fat, which helps them form firmer, longer-lasting peaks. Regular whipping cream usually has 30 to 35 percent milk fat. It makes a lighter topping, but the peaks are often softer and less stable.
Can I Use Milk or Half-and-Half to Make Whipped Cream?
No. Milk and half-and-half do not have enough fat to trap air and build a stable foam. Use cold heavy cream or heavy whipping cream for the best volume and a texture that holds its shape.
How Do I Fix Over-Whipped Cream That Looks Curdled?
Stop mixing immediately, then fold 1 to 2 tablespoons of cold liquid heavy cream into the grainy cream by hand. Use a rubber spatula and gentle strokes until the mixture looks smooth and creamy again. Avoid turning the mixer back on unless it still needs a very small adjustment.
Can You Freeze Homemade Whipped Cream?
Freezing is not part of this method’s storage guidance. For the best texture, keep the prepared cream tightly covered and chilled, then use it within the recommended refrigerated storage time. If you need a dessert topping later, prepare the cream close to serving so the peaks stay light, smooth, and well defined.
Whipped Cream

Equipment
- Electric Mixer (Handheld or Stand)
- Large Mixing Bowl
- whisk attachment
Ingredients
- 1 cup heavy cream or heavy whipping cream, cold 240g/ml
- 2 Tablespoons granulated sugar or confectioners’ sugar
- 1/2 teaspoon pure vanilla extract
Instructions
- Pour the cold heavy cream into the chilled large bowl, then add the sugar and vanilla; mix briefly on low speed before increasing to medium-high. The splashing sound will shift to a softer, duller hum as the cream thickens and the beaters begin leaving clear tracks.
- Continue mixing for about 3 to 4 minutes, stopping when the cream reaches medium peaks, then serve or cover and refrigerate for up to 24 hours. Lift the beaters straight up: the peak should hold its shape with a curved tip that bends over gently.



1 thought on “Whipped Cream”