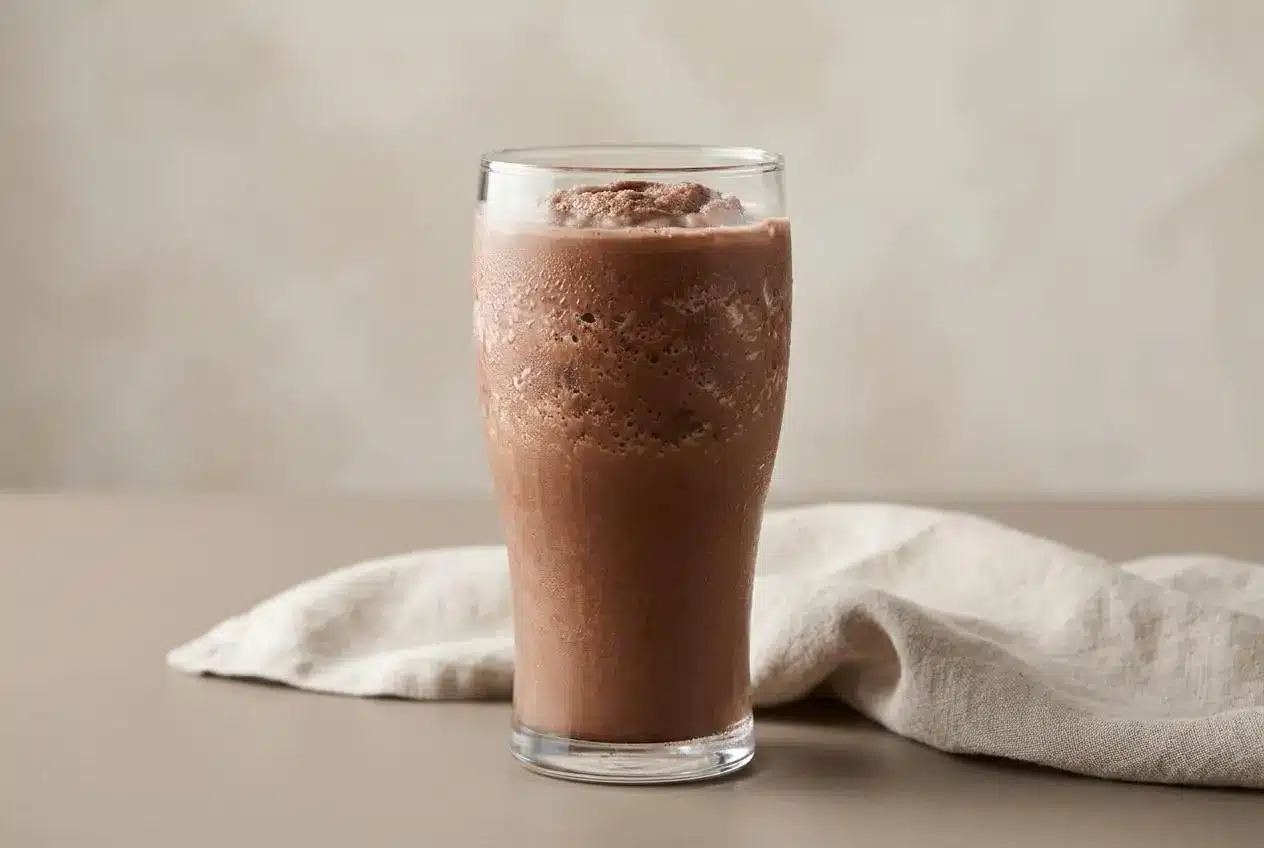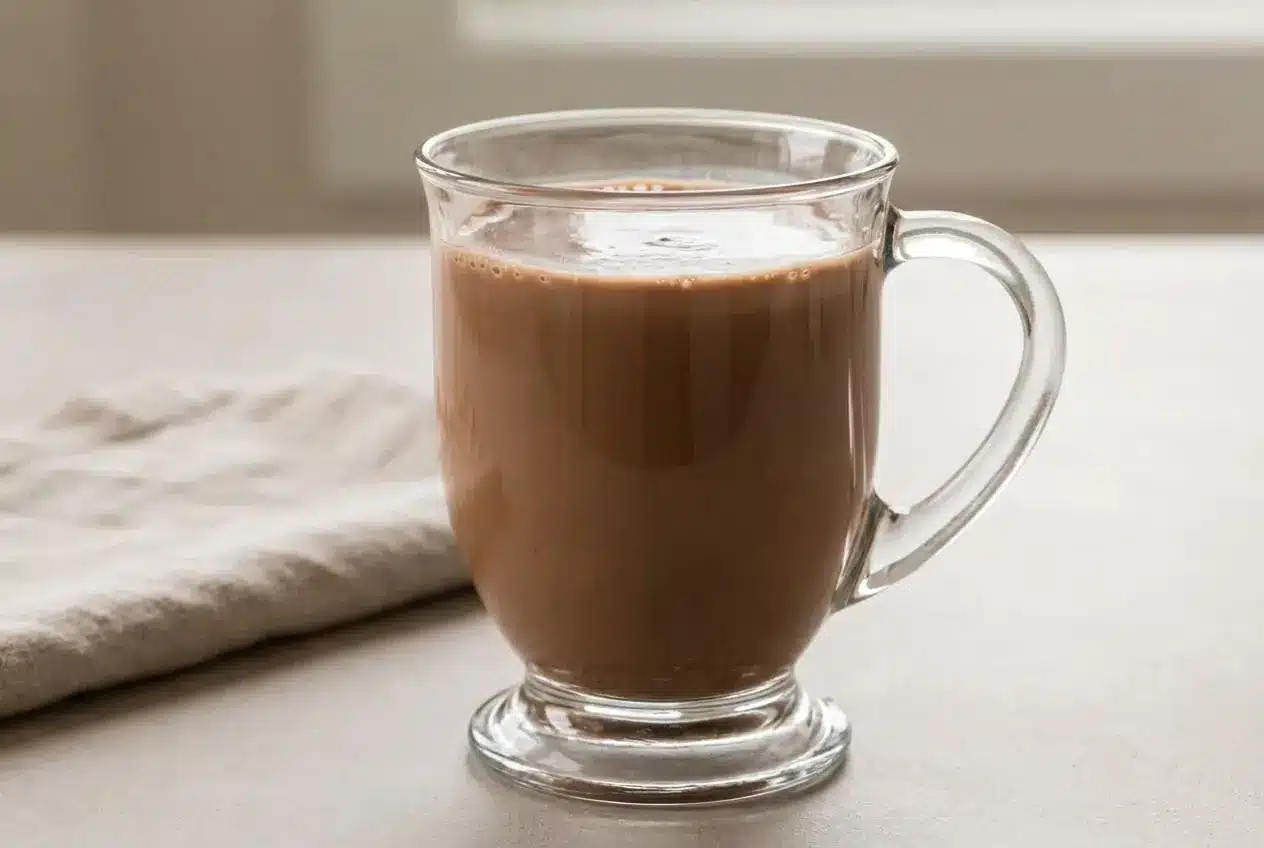
Make peppermint mocha coffee creamer in 10 minutes by blending 14 ounces sweetened condensed milk, 1½ cups milk, 3 tablespoons baking cocoa, 1½ teaspoons vanilla extract, and 1 teaspoon peppermint extract until smooth. Stir it into brewed coffee for a sweet, velvety chocolate-mint drink.
This peppermint mocha coffee creamer recipe makes a pourable chocolate-and-mint concentrate for hot or iced coffee. Sweetened condensed milk supplies the creamy body, while unsweetened cocoa keeps the chocolate flavor distinct beneath the cool peppermint.
Skip the coffeehouse line and bring that rich mocha aroma home. The blender handles the mixing, and you control how sweet and minty each mug tastes. The trick is getting the cocoa smooth.
Keep a spatula nearby to scrape the thick condensed milk cleanly from its can.
Key Ingredients and Smart Substitutions
Condensed milk gives the creamer sweetness and body, milk makes it pourable, and cocoa brings chocolate depth. Peppermint adds a cool finish, while vanilla softens the edges of both the mint and cocoa.
- 14 ounces sweetened condensed milk
- 1 ½ cups 2% milk or milk of your choice
- 1 ½ teaspoons vanilla extract
- 1 teaspoon peppermint extract
- 3 tablespoons baking cocoa
Sweetened condensed milk does two jobs: it sweetens the creamer and gives it a thick, velvety texture. Check the can carefully. Evaporated milk is unsweetened and less thick, so it won’t produce the same result as a direct replacement.
Milk loosens the condensed milk into something you can pour easily. The listed 2% milk balances richness and fluidity. Another milk can work, but its flavor and fat content will change the finished texture.
Unsweetened baking cocoa supplies concentrated chocolate flavor without adding more sugar. Hot cocoa drink mix contains sweeteners and sometimes milk powder, so swapping it in changes both sweetness and chocolate intensity.
Peppermint extract gives this creamer its familiar holiday-mocha flavor. Choose pure peppermint extract rather than spearmint, which has a different mint profile. Vanilla extract rounds out cocoa’s bitterness and helps the peppermint taste less sharp.
I measure peppermint extract into a spoon held away from the blender jar so an accidental splash can’t overwhelm the batch.
How to Make Peppermint Mocha Coffee Creamer
Allow 10 minutes total for measuring, blending, and transferring the creamer. The blender runs for about a minute; use the texture, rather than color alone, to judge whether the cocoa has dispersed.
Step 1: Blend the Creamer
To Make the Creamer
- Load the blender with the milk, followed by the sweetened condensed milk, cocoa, vanilla, and peppermint extracts.
The thinner milk helps the blades pull the thick condensed milk and dry cocoa into the mixture. - Run the blender at medium speed for about 1 minute, until the creamer looks evenly mixed.
Initially pale and speckled, it should become uniformly chocolate-colored with no dry cocoa pockets. - Pour the creamer into an airtight container, refrigerate it, and stir or shake before each use.
Cocoa can settle during chilling, so remixing restores an even chocolate flavor and consistency.
A little foam on top doesn’t mean anything went wrong. Look beneath it for an even mixture without dry flecks stuck around the sides. Cocoa disperses through the milk rather than disappearing completely, which explains why the jar may need another shake later.
Step 2: Store and Brew Your Coffeehouse Latte
To Make a Peppermint Mocha Latte or Cocoa
- Combine 2 ounces (¼ cup) of remixed creamer with 12 ounces of brewed coffee, warming the combined drink if needed.
The finished mug should look evenly chocolate-colored, with no dense ribbon of creamer at the bottom. - If using frozen creamer portions from baking cups, add one portion to 12 ounces of coffee or cocoa and stir as it melts.
The drink will become creamy throughout once the frozen center has melted.
That coffee-to-creamer ratio is a starting point, not a requirement for every mug. Taste the combined drink before adding more, since the concentrated creamer tastes much sweeter and mintier on its own.
Expert Tips and Troubleshooting Common Mistakes
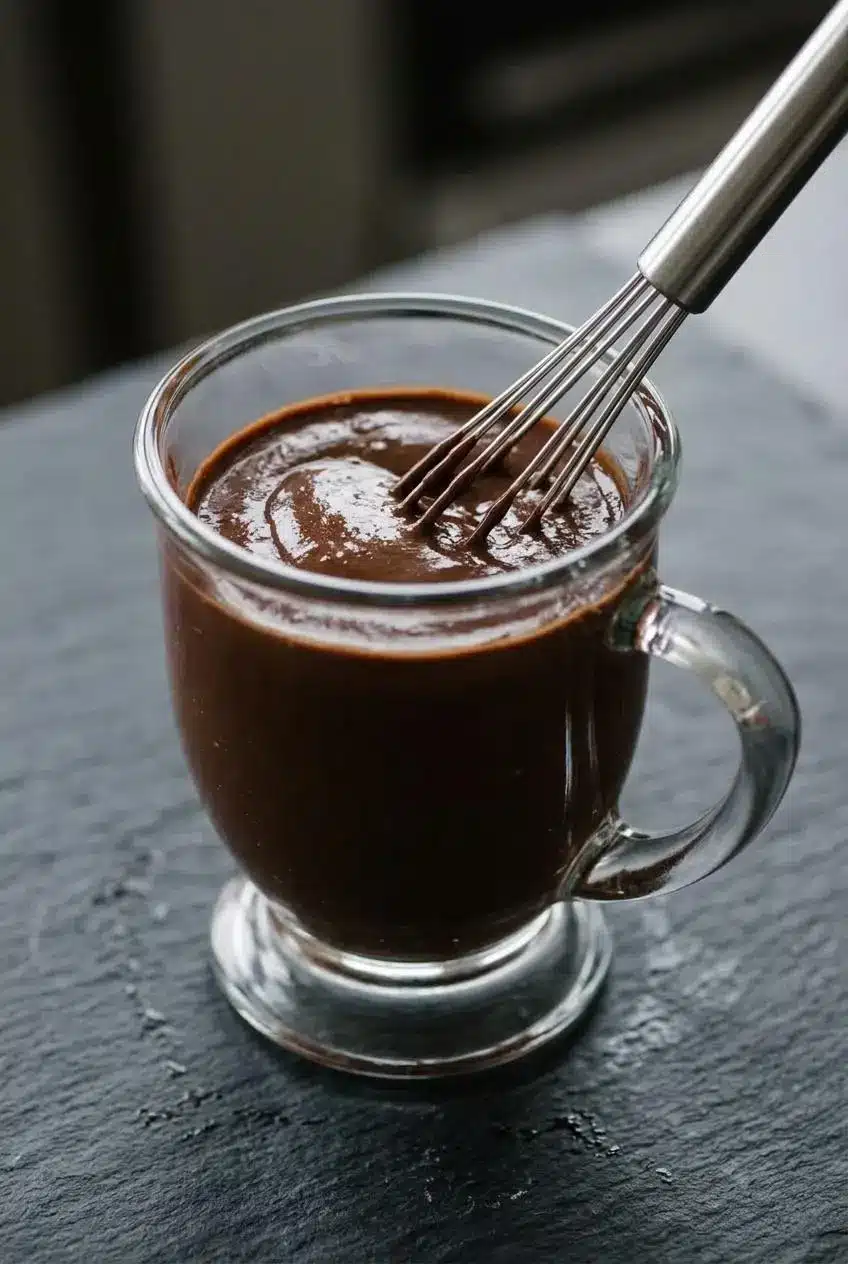
Most texture problems come from dry cocoa that hasn’t fully wetted, while flavor problems usually trace back to a heavy pour of extract.
- For stubborn cocoa clumps, make a warm paste. As an optional alternative, whisk the measured cocoa with a splash of warmed milk taken from the recipe before blending. Add liquid gradually until the paste turns smooth. This wets the powder more effectively than shaking dry cocoa into cold milk.
- For overpowering peppermint, dilute rather than cover it. Mix in additional plain milk gradually, then rebalance with sweetened condensed milk or a smooth cocoa paste if needed. More sugar alone won’t remove excess mint, and adding dry cocoa directly can create another problem.
- For gentler mint, add the extract gradually. If you’re sensitive to peppermint, begin with less than the listed amount, blend, and taste a little creamer in coffee before adding more. The full teaspoon gives a more assertive finish.
- For a blender-free batch, wet the cocoa first. Whisk it into a splash of warm milk in a mug or saucepan, then whisk in the condensed milk, remaining milk, and extracts. Transfer to a tightly closed jar and shake until uniform.
- For settled cocoa, remix before pouring. A darker layer at the bottom can be ordinary cocoa sediment, not a reason to keep blending the entire batch. Stir or shake to redistribute it; this texture cue does not establish freshness.
- For deeper chocolate flavor, consider an optional pinch of salt. Keep it subtle. Salt should balance sweetness, not make the creamer taste salty.
If you use the warm-milk method, keep the heat gentle and stir along the bottom of the pan. You need enough warmth to help wet the cocoa, not a rolling boil.
Dairy-Free, Sugar-Free, and Natural Variations
These optional adaptations replace the milk-and-condensed-milk combination rather than adding to it. Expect a different texture because sweetened condensed milk contributes both concentrated milk solids and sweetness.
- 2% milk: Keeps the classic creamer pourable without making it especially heavy.
- Half-and-half: Produces a richer, fuller mouthfeel.
- Full-fat canned coconut milk: Adds substantial body and a noticeable coconut flavor.
- Barista oat milk: Gives a milder flavor and creamy texture, though brands vary in sweetness and thickness.
Dairy-Free Coconut or Oat Milk Version
Replace both dairy ingredients with full-fat canned coconut milk and a dairy-free milk, sweetening with maple syrup to taste. Oat or cashew milk can soften the coconut flavor; using oat milk without coconut gives a more neutral but less concentrated result.
Whisk the cocoa into a warmed splash of your chosen milk before combining everything. Add maple syrup gradually, then taste the creamer in coffee. Because syrup doesn’t provide the same body as condensed milk, don’t expect an identical thickness.
Sugar-Free and Keto Half-and-Half Version
For a version without sweetened condensed milk, use half-and-half or unsweetened almond milk with a sugar-free sweetener such as erythritol, a monk fruit blend, or liquid stevia. These sweeteners aren’t interchangeable by volume, so follow the product’s sweetness guidance.
Gently warm the milk mixture while whisking in cocoa and any granular sweetener. Remove it from the heat once smooth, then add the extracts. Liquid stevia doesn’t need the same dissolving step, though the cocoa still benefits from warm liquid.
Check labels when choosing ingredients for a particular eating plan. A sugar-free sweetener doesn’t make every milk choice carbohydrate-free or establish that the drink fits someone’s medical needs.
Honey-Sweetened Stovetop Variation
- Use whole milk or half-and-half in place of the condensed-milk mixture, then add honey to taste for a floral sweetness.
- Warm gently over low heat while whisking in the cocoa and honey, stopping once the mixture is smooth and steaming rather than boiling.
- Remove from the heat before stirring in vanilla and peppermint; taste in coffee before adjusting the sweetness.
Make-Ahead, Storage, and Freezing Guide
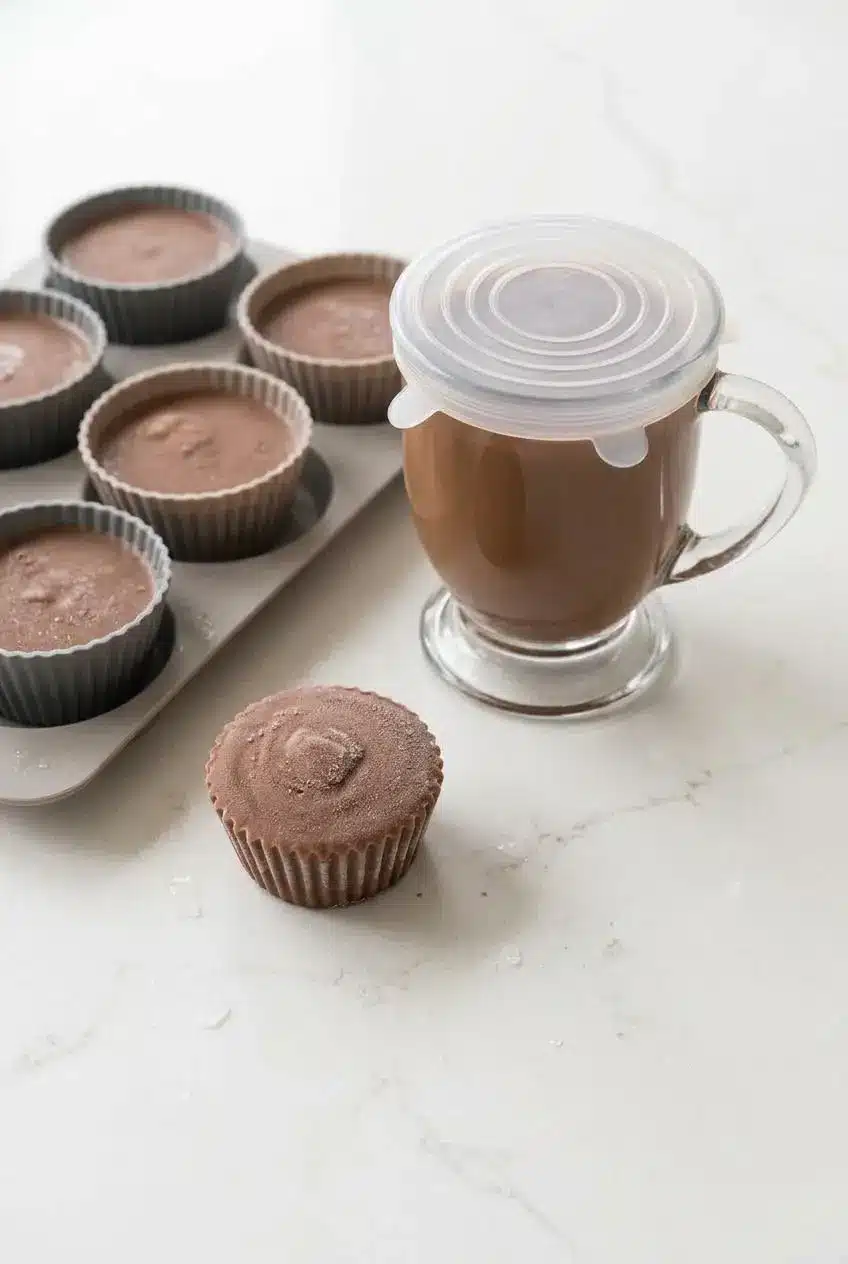
Store the blended creamer in a clean, tightly covered jar or bottle in the refrigerator. Label it with the preparation date and consider the freshness and handling of the milk you used rather than assuming the finished mixture has a fixed shelf life.
Shake or stir before pouring, and pour out only what you need. Don’t return leftover coffee or creamer from a used cup to the storage jar.
For frozen portions, divide the creamer among silicone baking cups, leaving room for expansion. Freeze until firm, then transfer the portions to a sealed freezer container or bag. Label them so they don’t become mystery chocolate pucks.
Add a portion directly to hot coffee or cocoa and stir as it melts. If it cools your drink too much, warm the combined drink gently in a microwave-safe mug, stirring and checking between brief heating intervals. Alternatively, let a portion soften in a covered container in the refrigerator before mixing it into coffee.
Frozen creamer also works in cold brew or iced coffee, gradually adding chocolate-mint flavor as it melts without introducing plain water. For a different chilled coffee flavor, try banana iced coffee.
How to Serve and Make a Peppermint Mocha Latte
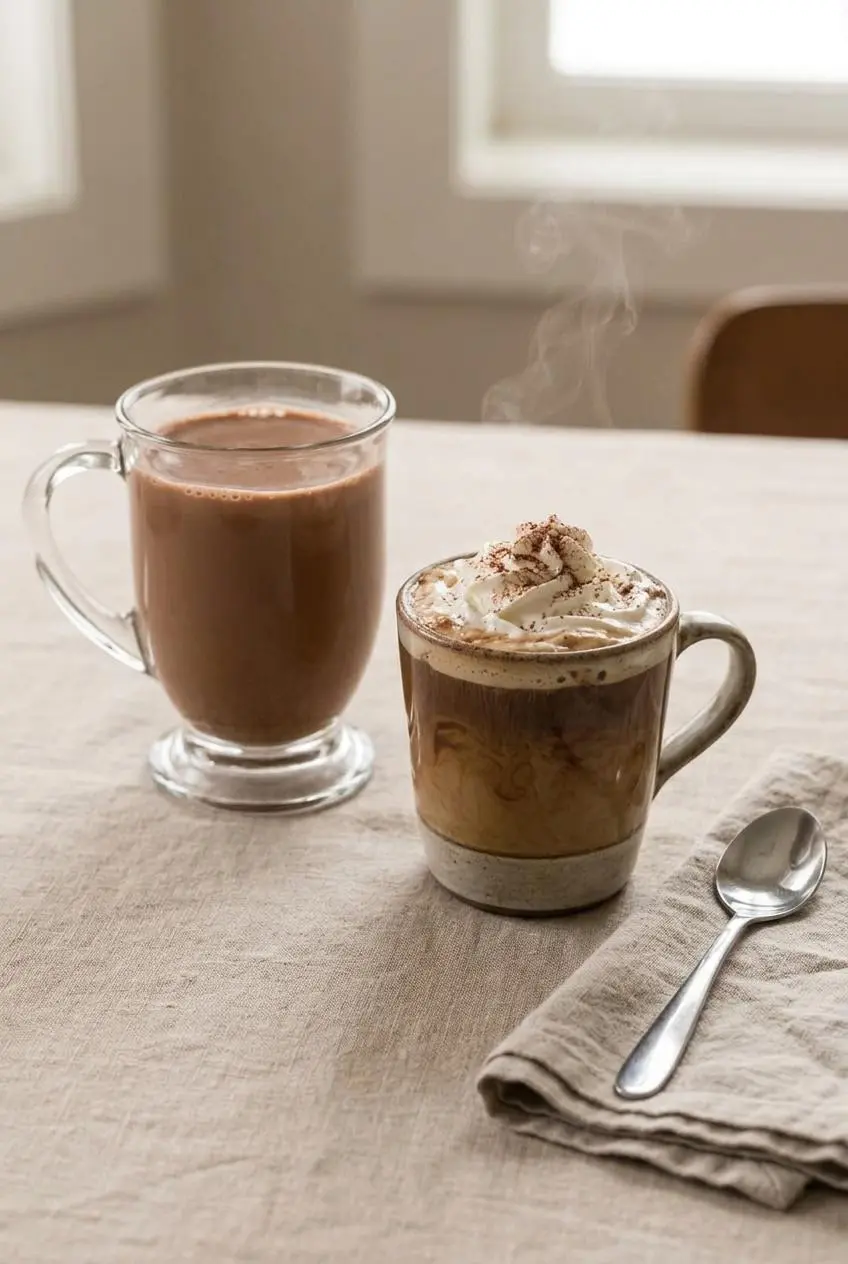
Start with 2 ounces (¼ cup) creamer for 12 ounces of freshly brewed coffee. Medium roast lets the chocolate and mint stand out; dark roast gives the sweet creamer a more pronounced coffee counterpoint. Add more creamer gradually for a sweeter, richer mug.
For a festive finish, choose whipped cream, a light dusting of cocoa, chocolate curls, or crushed candy canes. The creamer already supplies sweetness, so toppings work best as accents.
For a coffee-free drink, swirl it into steamed milk or hot cocoa. Choose decaf coffee if you want coffee flavor without a regular brew.
A warm mug also makes a cozy brunch pairing with cinnamon swirl coffee cake.
Conclusion
Homemade peppermint mocha creamer puts chocolate, sweetness, and cool mint in your hands. Choose the classic condensed-milk version for its velvety body, or explore an optional variation for a different milk or sweetener.
Measure the peppermint carefully and remix the jar before pouring. If cocoa clumps give you trouble, try the warm-milk paste for a smoother start to your next mug.
Frequently Asked Questions
How Do I Fix Peppermint Mocha Creamer If the Mint Flavor Is Too Strong?
Gradually mix in plain milk to dilute the peppermint. Rebalance with sweetened condensed milk or smooth cocoa paste if needed, tasting each adjustment in coffee. Next time, begin with less extract and increase it cautiously.
Can I Make This Coffee Creamer Without a Blender?
Yes. Whisk the cocoa into a splash of warm milk until smooth, then incorporate the condensed milk, remaining milk, and extracts. Shake in a tightly closed jar to finish mixing.
What Is the Best Dairy-Free or Sugar-Free Substitute for Sweetened Condensed Milk?
For dairy-free creamer, use coconut or oat milk sweetened with maple syrup, expecting a different thickness. For a sugar-free adaptation, use half-and-half or unsweetened almond milk with a suitable sugar-free sweetener, following its package guidance.
How Long Does Homemade Peppermint Mocha Creamer Last in the Fridge and Freezer?
There isn’t a verified refrigerator or freezer duration for this mixture here. Keep it covered and refrigerated, account for the milk’s freshness and handling, and label frozen portions. Freezing is an option for portioning, not a way to rescue creamer that may have spoiled.
Peppermint Mocha Coffee Creamer Recipe

Equipment
- Blender
- Airtight container
- silicone muffin cups
Ingredients
- 14 ounces sweetened condensed milk
- 1 ½ cups 2% milk or milk of your choice
- 1 ½ teaspoons vanilla extract
- 1 teaspoon peppermint extract
- 3 tablespoons baking cocoa
Instructions
To Make the Creamer
- Load the blender with the milk, followed by the sweetened condensed milk, cocoa, vanilla, and peppermint extracts. The thinner milk helps the blades pull the thick condensed milk and dry cocoa into the mixture.
- Run the blender at medium speed for about 1 minute, until the creamer looks evenly mixed. Initially pale and speckled, it should become uniformly chocolate-colored with no dry cocoa pockets.
- Pour the creamer into an airtight container, refrigerate it, and stir or shake before each use. Cocoa can settle during chilling, so remixing restores an even chocolate flavor and consistency.
To Make a Peppermint Mocha Latte or Cocoa
- Combine 2 ounces (¼ cup) of remixed creamer with 12 ounces of brewed coffee, warming the combined drink if needed. The finished mug should look evenly chocolate-colored, with no dense ribbon of creamer at the bottom.
- If using frozen creamer portions from baking cups, add one portion to 12 ounces of coffee or cocoa and stir as it melts. The drink will become creamy throughout once the frozen center has melted.