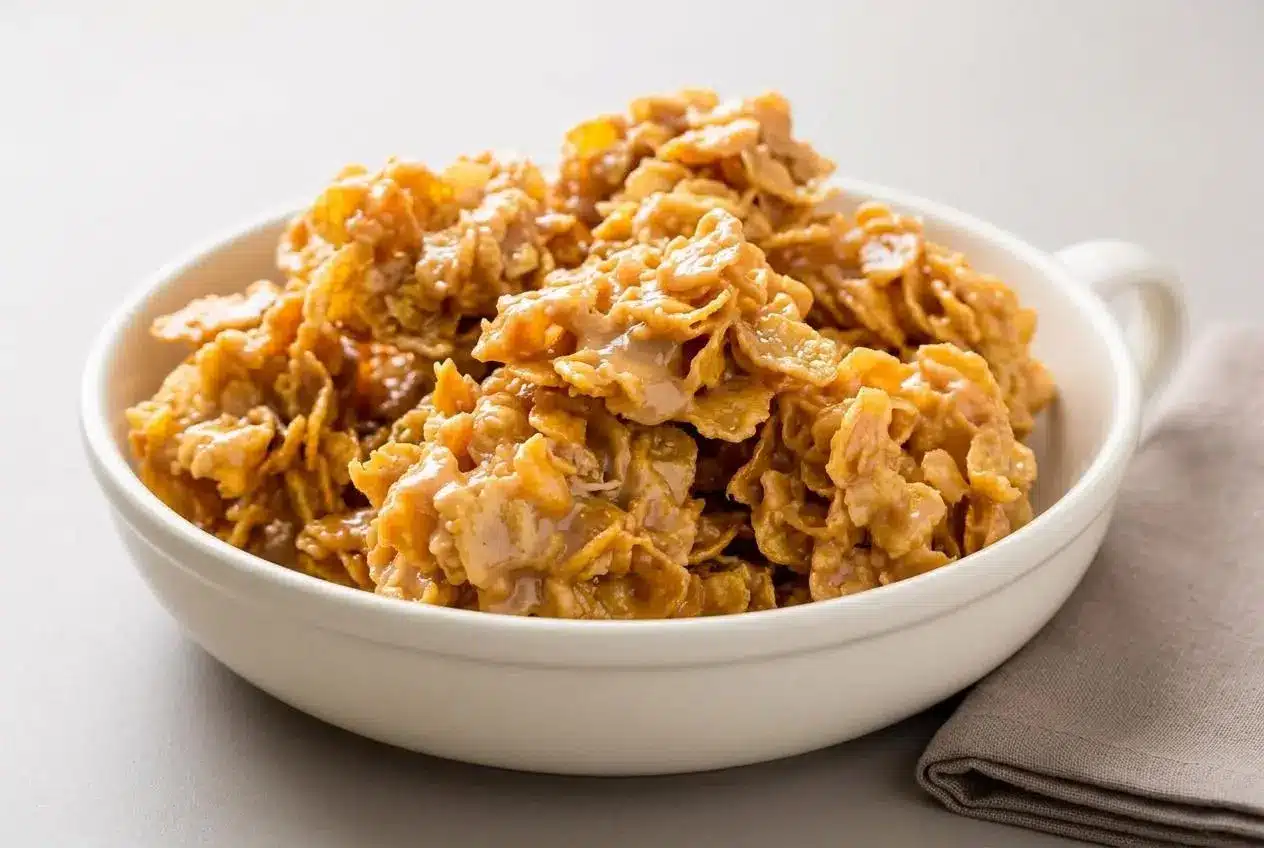
Peanut butter cornflake cookies are sweet, nutty, five-ingredient no-bake treats made by heating sugar, corn syrup, and peanut butter, then adding vanilla and crisp cereal. Scoop the warm mixture onto parchment and let it cool for 20 to 30 minutes for chewy, crunchy clusters.
These cookies sit somewhere between a cereal treat and peanut butter candy. Whole cornflakes give each bite a delicate crunch, while the cooked peanut butter coating holds everything together without flour, eggs, or an oven.
The batch makes about 18 cookies, with roughly 15 minutes of active preparation before cooling. The biggest trick is knowing when to stop heating the binder. Catch those first center bubbles, and the chewy crunch follows.
Lay parchment on your baking sheet before heating the saucepan so you can scoop without stopping to prepare a landing spot.
Ingredients for Peanut Butter Cornflake Cookies
Sugar gives the coating structure, corn syrup supports a smooth chew, and peanut butter adds richness and nutty flavor. Vanilla rounds out the sweetness, while whole cornflakes supply the crisp texture that makes these clusters distinctive.
- 1 cup granulated sugar
- 1 cup light corn syrup
- 1 cup creamy peanut butter
- 1 teaspoon vanilla extract
- 6 cups corn flakes
The vanilla goes in after the saucepan leaves the heat, adding a warm aroma to the peanut butter coating. Measure the cereal without packing it into the cup, since compressing the flakes can break them before they reach the pan.
I’d choose a fresh box of cornflakes for these cookies; a chewy coating can’t bring stale cereal back to life.
The Role of Light Corn Syrup vs. Granulated Sugar
Granulated sugar gives the binder sweetness and body. As it heats with the syrup and peanut butter, it dissolves into a coating that becomes firmer as it cools.
Light corn syrup helps discourage sugar crystals from forming, keeping the coating smoother and less grainy. It also supports the flexible, chewy texture that distinguishes these cookies from brittle candy. The two sweeteners work together rather than serving interchangeable roles.
Light corn syrup has a mild flavor, allowing the peanut butter and vanilla to stand out. Use the measured amount rather than reducing it casually: changing the balance of sugar, syrup, and cereal can change whether the clusters hold together.
Selecting the Best Peanut Butter for Proper Emulsion
Choose conventional, no-stir creamy peanut butter for the most predictable coating. A smooth, evenly blended jar helps distribute peanut flavor and fat throughout the syrup instead of leaving oily patches.
Natural peanut butter with a distinct layer of separated oil is less reliable here. Depending on how thoroughly it has been mixed and how it is formulated, it can produce greasy clusters or a softer set. That does not mean every natural peanut butter will fail, but this recipe is better suited to a stable, no-stir variety.
Check the jar rather than relying on the word “natural” alone. Some products labeled natural are no-stir formulations. The useful distinction is whether the peanut butter stays evenly blended or needs substantial stirring to reincorporate separated oil.
Whole Cornflakes vs. Crushed Flakes
Keep the cornflakes whole. Their irregular shapes create small spaces inside each cookie, giving the clusters a lighter bite and plenty of crisp edges.
Crushed cereal packs more tightly into the coating, producing denser clusters with less distinct crunch. You do not need to sort out every broken flake, but avoid crushing the cereal deliberately or using the powdery crumbs at the bottom of the box.
Freshness matters as much as shape. Taste a flake before starting: it should snap cleanly rather than feel leathery. Once coated, the cereal should still provide a noticeable crisp contrast to the chewy binder.
How to Make Peanut Butter Cornflake Cookies
Have the measured vanilla, cornflakes, parchment-lined baking sheet, and ice cream scoop ready before turning on the burner. Use a large saucepan with enough room to fold the cereal without spilling it over the sides.
- Heat the sugar, corn syrup, and peanut butter together in a large saucepan over medium-high heat, stirring continuously across the bottom.
Watch for active bubbles breaking through the center of the mixture, which signals that heating should stop. - Move the saucepan off the burner immediately, then incorporate the vanilla and fold in the cornflakes.
Finish folding when a glossy peanut butter coating covers the flakes evenly, without dry pockets of cereal. - Portion the warm mixture promptly onto parchment paper with an ice cream scoop.
The coating thickens as it cools, so the clusters should release more easily while the mixture remains warm. - Leave the cookies undisturbed on the parchment for 20 to 30 minutes.
The clusters should cool enough to hold their shape when lifted, with a less glossy surface and a chewy interior.
Saucepan Heating and Boiling Indicators
The endpoint is a bubbling cue, not a prescribed length of boiling. As the mixture warms, the peanut butter loosens and the coating becomes easier to stir. Keep sweeping the bottom and corners of the saucepan so sugar does not sit against a hot spot and scorch.
Look specifically at the center. A few bubbles around the edge do not give the same cue as active bubbling through the middle. Once the center starts boiling, remove the pan immediately. Do not wait for a prolonged, vigorous boil across the entire surface.
Take the saucepan fully off the hot burner, especially on an electric stove where the element retains heat. Leaving it on the switched-off burner can continue cooking the binder while you reach for the cereal.
Gentle Folding Technique to Preserve Crunch
A wide silicone spatula helps coat the flakes without grinding them into crumbs. Slide it beneath the mixture, lift, and turn the cereal over itself. Rotate your working area around the pan rather than stirring rapidly in tight circles.
At first, some flakes will look dry while others carry thick streaks of coating. Continue gentle folding until that contrast disappears. The finished mixture should look evenly glossy, with recognizable flakes still intact.
Stop once the coating is distributed. Extra mixing offers no benefit and can break down the cereal. These are loosely gathered clusters, so there is no need to press them into dense balls.
Rapid Scooping Before the Candy Hardens
Keep the lined baking sheet close to the saucepan. The less distance between pan and parchment, the easier it is to portion the batch before the binder stiffens.
An ice cream scoop makes rounded clusters without much handling. If the mixture clings stubbornly, a lightly greased scoop can help it release. Treat that as an optional handling aid, not another ingredient in the coating.
Release each portion and move on rather than repeatedly reshaping it. Slightly uneven edges are normal and preserve the cereal’s airy structure. Let the cookies finish cooling before checking their final texture; warm clusters naturally feel softer than cooled ones.
Troubleshooting Texture: Avoiding Hard or Gooey Cookies
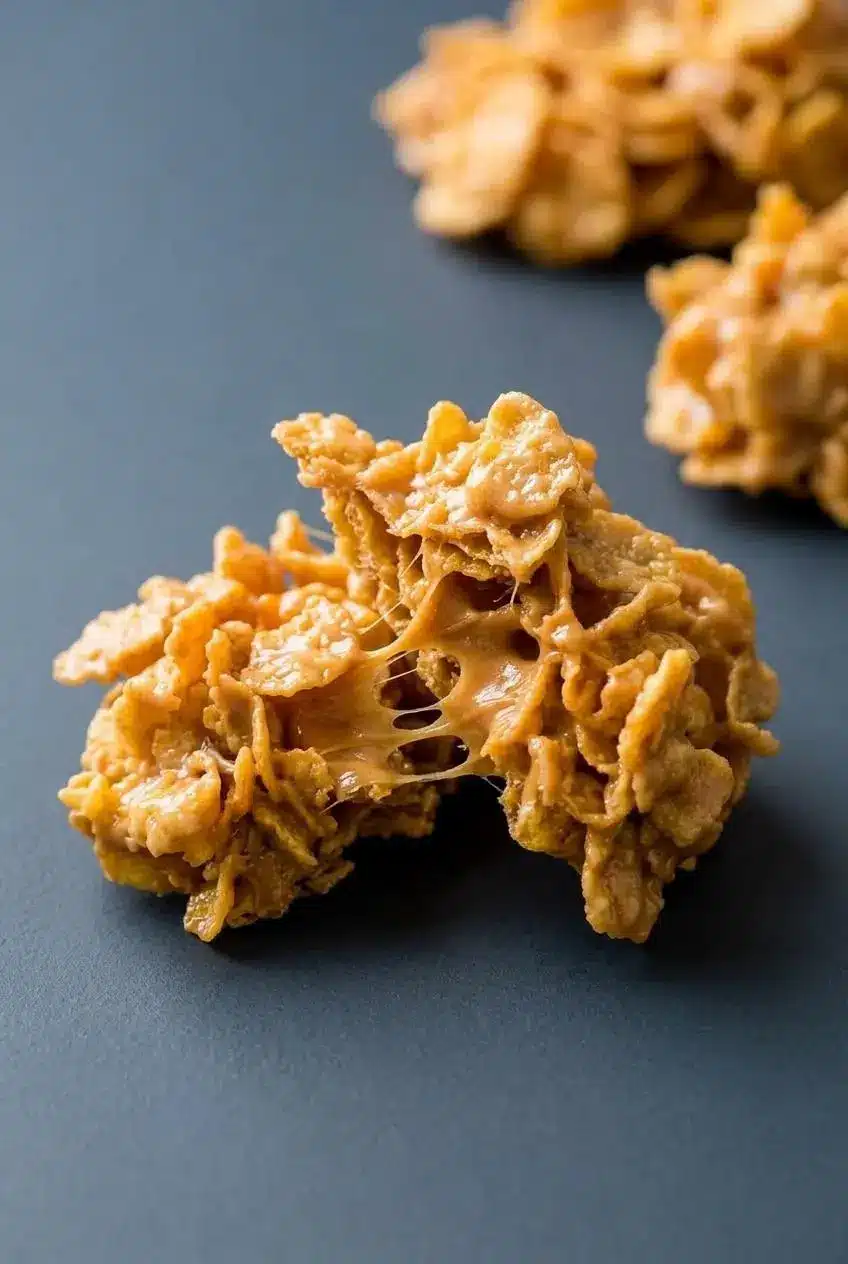
Judge the texture after the cookies have completed their cooling period. A warm, glossy cluster can look too soft even when the mixture has cooked correctly.
- Hard or brittle cookies: The binder likely cooked beyond the first center boil, losing moisture and becoming more concentrated. For the next batch, remove the saucepan at that cue instead of adding extra boiling time. Cooling will not reverse an overcooked coating.
- Sticky cookies that spread: The mixture may have come off the heat before the center boiled, or the ingredient balance may have changed. Check the measurements and heating cue next time. Chilling can temporarily firm a soft batch, but it does not correct the binder’s composition.
- Greasy clusters: Separated peanut butter oil may have made the coating uneven. Choose a stable, no-stir creamy peanut butter for the next batch rather than trying to absorb the oil with additional cereal.
- Mixture stiffening before scooping: Return the saucepan briefly to low heat and fold gently, stopping as soon as the coating loosens enough to portion. Avoid bringing it back to a boil.
- Dense or crumbly cookies: Crushed flakes, forceful mixing, or uneven coating can prevent light clusters from forming. Keep the cereal whole, fold gently, and check for dry pockets before scooping.
Do not add extra sugar or cereal as a quick fix for stickiness. Both change the proportions and can create a different problem. If a cooled batch remains soft, separate the portions with parchment and handle them gently rather than repeatedly compressing them.
Boiling instructions also vary between different peanut butter no-bake cookies. Follow the heating cue for the specific recipe you are making rather than borrowing a boil time from another cookie.
Sweetener Swaps and Delicious Variations
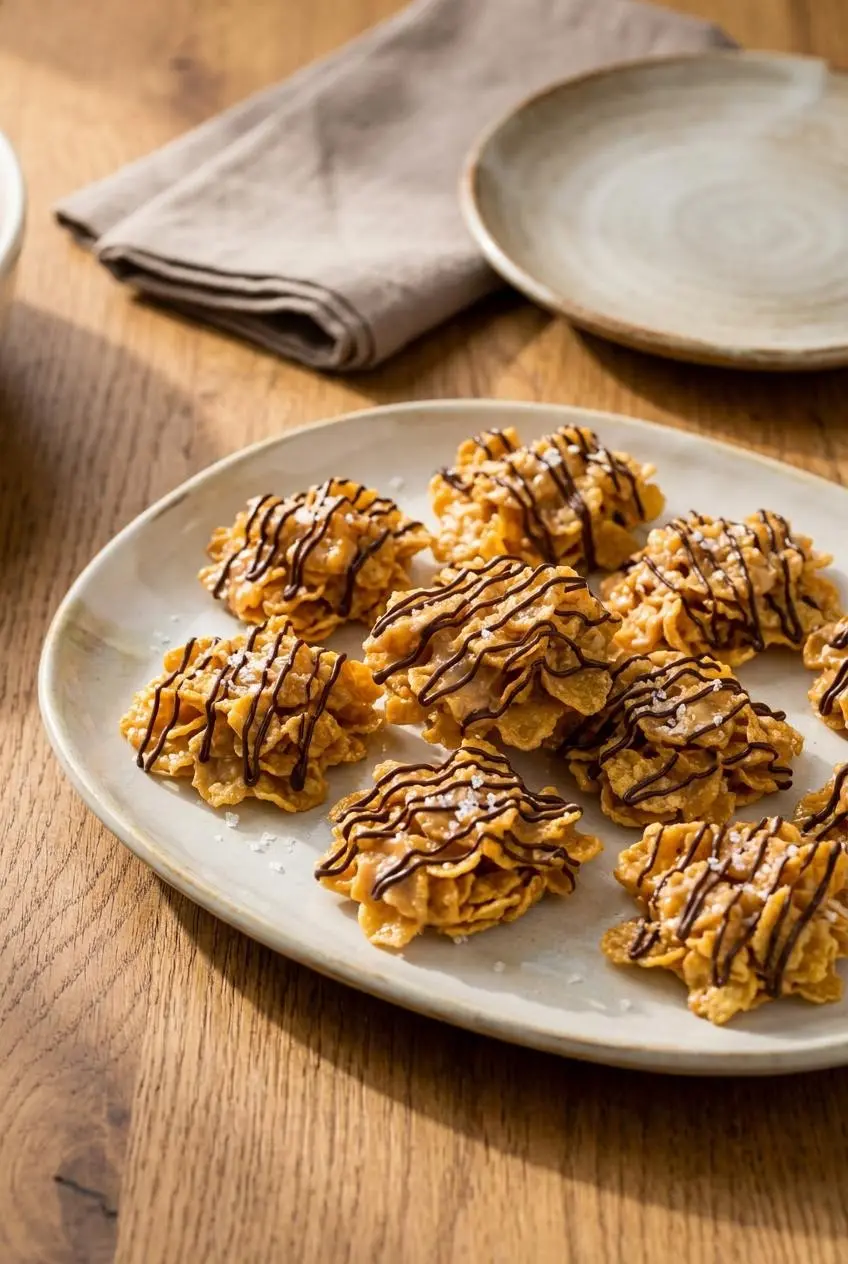
The listed recipe gives the most predictable classic texture. Keep the following ideas optional, and expect a different flavor or set when changing the binder.
Honey and Alternative Syrup Ratios
A corn syrup replacement needs to do more than taste sweet: it must help bind the cereal as the coating cools. Alternative sweeteners differ in moisture and composition, so matching sweetness alone does not ensure the same result.
- Honey: A possible corn syrup alternative, honey adds a distinct floral flavor and can produce a softer set. Treat it as a variation rather than expecting identical cookies.
- Brown rice syrup: This offers a different, mildly malty flavor. Its thickness and setting behavior can differ from light corn syrup, so use a formulation designed for that sweetener when consistency matters.
- Maple syrup: Its thinner consistency makes it less predictable in this particular coating. A maple-specific recipe is a better choice than assuming it will behave like corn syrup.
- Melted marshmallows or marshmallow fluff: These can act as sticky cereal-treat binders, but they require a different formulation rather than a direct replacement in the saucepan mixture. For that style of chew, try peanut butter Rice Krispies.
Do not compensate for a softer sweetener by boiling this mixture longer without a dedicated method. That makes the final texture harder to predict and can overcook the peanut butter coating.
Holiday Mix-Ins and Chocolate Finishing
Toppings let you change the finish while leaving the cooked binder alone. They are especially useful for a dessert platter where you want a little contrast without making several different batches.
- Chocolate drizzle: Drizzle melted semisweet or dark chocolate over cooled, set cookies for a bittersweet contrast to the peanut butter.
- Flaky sea salt: Add a light sprinkle to warm clusters so it adheres and balances the sweet coating.
- Festive sprinkles: Scatter them over freshly scooped cookies before the surface firms, using a light hand to preserve the cereal texture.
Let any chocolate finish set before arranging the cookies together. For lunchboxes or individual portions, separate the clusters with parchment so their irregular edges do not catch on one another.
Storage and Freshness
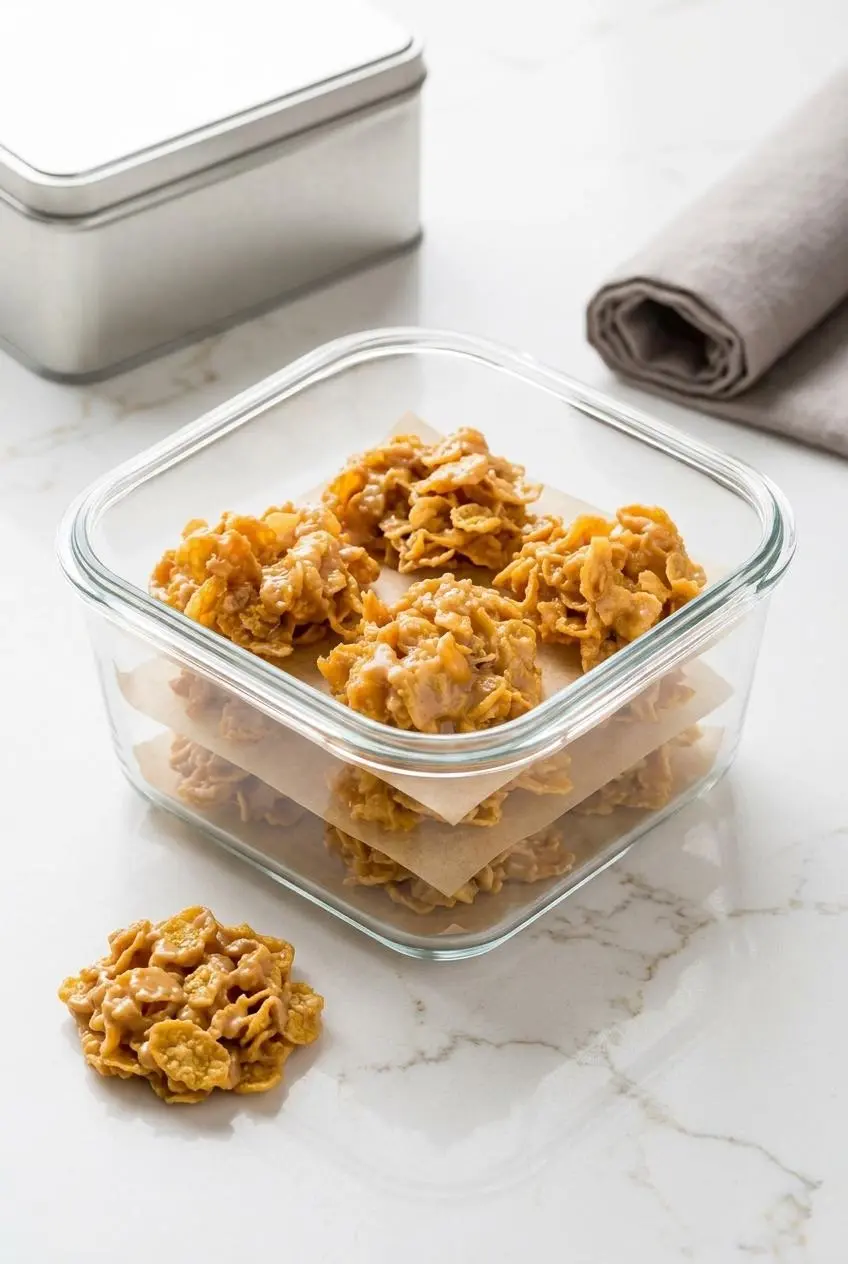
Cool the cookies completely before closing them in a container. Trapping warmth can introduce moisture that softens the cereal and makes the coating tackier.
Use an airtight container at room temperature in a cool, dry spot. Place wax paper or parchment between layers so the clusters do not bond together or break when you lift them out. Avoid pressing the lid down against a tightly packed top layer.
Humidity works against crisp cornflakes. Keep the container away from stove steam, direct sunlight, and other warm areas, and replace the lid after taking out a portion.
If you are arranging a platter, keep the remaining cookies covered rather than exposing the entire batch while you serve. This protects their texture without relying on a fixed freshness deadline.
Conclusion
These no-bake cookies deliver a satisfying combination of nutty richness, chewy coating, and crisp cereal. Gentle folding keeps the flakes intact, and prompt scooping keeps preparation manageable.
The most useful rule is to remove the saucepan as soon as the center begins boiling. Then give the clusters time to cool before lifting them. Enjoy that first chewy, crunchy bite.
Frequently Asked Questions
Why Did My Cornflake Cookies Turn Out Hard?
The sugar mixture most likely boiled too long, losing moisture and producing a firmer coating. Remove the saucepan when active bubbling first reaches the center, and move it fully off the hot burner. Do not add an extra boiling period.
Can I Substitute Honey or Maple Syrup for Corn Syrup?
Honey is a possible variation, but expect a more noticeable honey flavor and potentially softer cookies. Maple syrup is less predictable in this formulation because it behaves differently from light corn syrup. For dependable results, choose a recipe developed for the sweetener you want to use.
Should I Use Natural or Commercial Peanut Butter?
Use conventional, no-stir creamy peanut butter for the most consistent coating. Peanut butter with separated surface oil can produce greasy or softer clusters. Check how the product behaves rather than relying solely on whether the label says “natural.”
How Should No-Bake Cornflake Cookies Be Stored?
Once completely cooled, place them in an airtight container in a cool, dry spot at room temperature. Separate layers with wax paper or parchment, and keep the lid closed to protect the cereal from moisture.
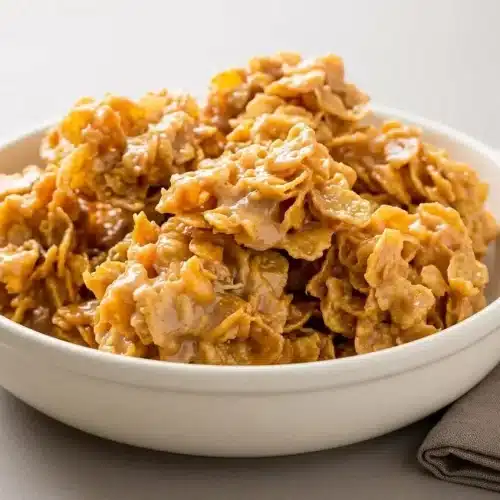
Peanut Butter Cornflake Cookies

Equipment
- Saucepan
- Baking Sheet
- Ice cream scoop
- Parchment Paper
Ingredients
- 1 cup granulated sugar
- 1 cup light corn syrup
- 1 cup creamy peanut butter
- 1 teaspoon vanilla extract
- 6 cups corn flakes
Instructions
- Heat the sugar, corn syrup, and peanut butter together in a large saucepan over medium-high heat, stirring continuously across the bottom. Watch for active bubbles breaking through the center of the mixture, which signals that heating should stop.
- Move the saucepan off the burner immediately, then incorporate the vanilla and fold in the cornflakes. Finish folding when a glossy peanut butter coating covers the flakes evenly, without dry pockets of cereal.
- Portion the warm mixture promptly onto parchment paper with an ice cream scoop. The coating thickens as it cools, so the clusters should release more easily while the mixture remains warm.
- Leave the cookies undisturbed on the parchment for 20 to 30 minutes. The clusters should cool enough to hold their shape when lifted, with a less glossy surface and a chewy interior.