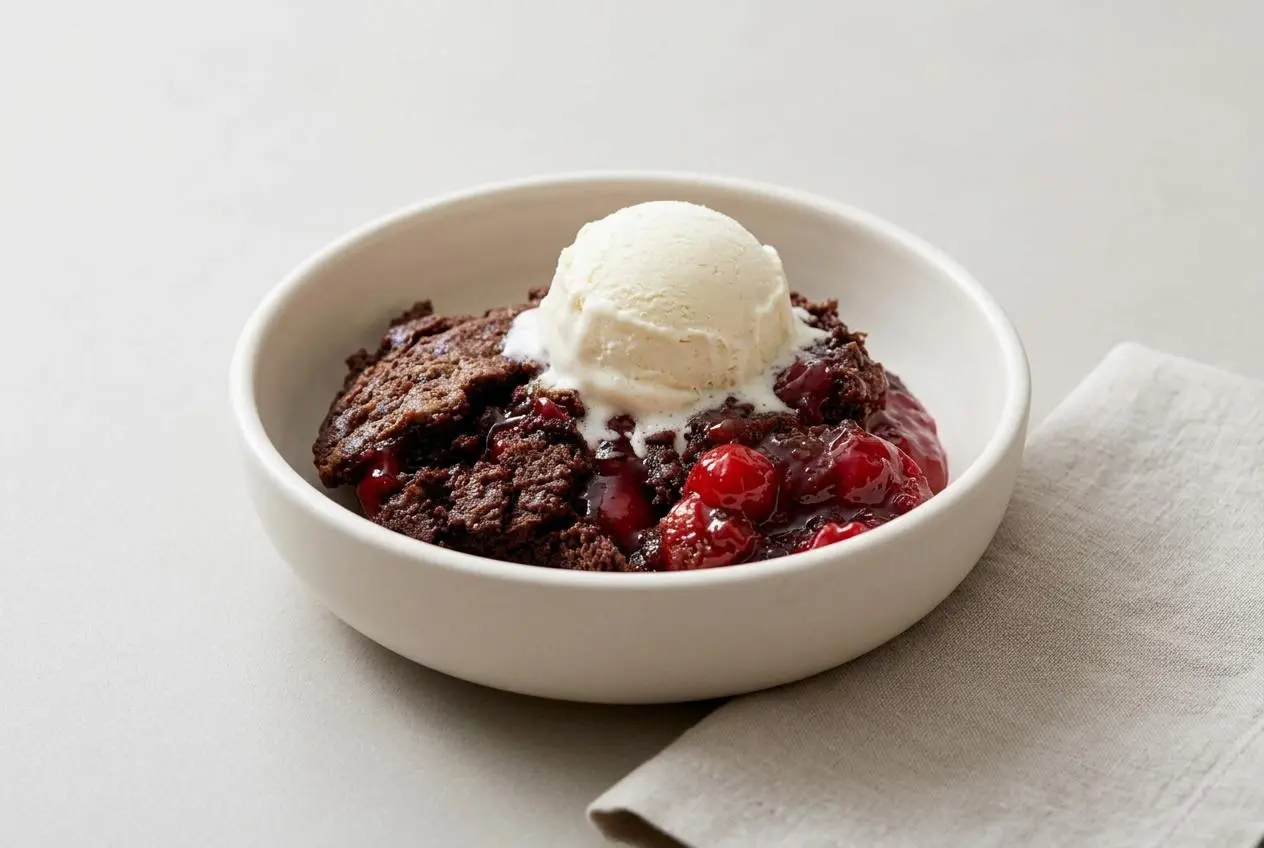
Chocolate cherry dump cake is a three-ingredient dessert made by layering cherry pie filling, dry chocolate cake mix, and melted butter without stirring. Bake it at 350°F for 42 to 45 minutes for warm, bubbling cherries beneath a crisp, uneven chocolate topping.
With its rich cocoa aroma and glossy red fruit, chocolate cherry dump cake lands somewhere between a cake and a cobbler. You assemble it right in the baking dish, leaving the cherries underneath and the chocolate mixture on top.
It’s an easy dessert for family dinners or gatherings, with about 10 minutes of prep and no mixing bowl to wash. The oven does the work, but butter coverage makes a real difference. Those crisp chocolate pockets are worth getting right.
Set the baking dish on a level counter before layering so the fruit, dry mix, and butter spread evenly.
Essential Ingredients and Proportions
Cherry pie filling supplies juicy fruit and moisture, devil’s food cake mix builds the chocolate topping, and butter adds richness and helps it crisp. Optional whipped topping or ice cream gives each warm serving a cool, creamy contrast.
- 2 cans (21 oz each) cherry pie filling
- 1 box Betty Crocker™ Super Moist™ Devil’s Food Cake Mix
- 3/4 cup butter, melted
- Whipped topping or vanilla ice cream, if desired
The filling’s thickened syrup keeps the cherries together while supplying moisture to the topping during baking. Its fruity tartness also breaks up the richness of the chocolate and butter.
Cake mix provides flour, sugar, cocoa, and leavening in one blend. Use it dry, straight from the box. Don’t prepare the batter described on the package or add its listed eggs, oil, or water.
Melted butter moistens the surface of the dry mix and helps create the crust. Because the layers stay separate, the topping develops a mixture of crisp edges and softer chocolate pockets rather than the uniform crumb of a conventional cake.
I like to check the cherry filling for stray pits as I spoon it into the dish, before the chocolate layer hides the fruit.
Why Two Cans of Cherry Pie Filling Matter
Use both 21-ounce cans for the full box of cake mix in a 13×9-inch dish. That amount gives you an even fruit bed across the bottom, with enough syrup to support the topping as it bakes.
One can spread across the same dish makes a much thinner layer. With less moisture underneath, more of the cake mix may stay powdery, especially where butter coverage is uneven. Two cans help, but they don’t replace careful butter distribution.
Keep the pan size and proportions together. A smaller dish with the full recipe creates deeper layers and changes how the dessert bakes; a larger dish spreads everything thinner. The specified 3-quart dish gives the filling room to bubble without crowding the topping.
Choosing the Best Chocolate Cake Mix
Devil’s food cake mix gives this dessert its dark chocolate character. It pairs well with cherry filling because the cocoa flavor remains noticeable alongside the sweet fruit syrup.
A standard chocolate or milk chocolate mix can give a lighter chocolate flavor, depending on the brand. Neither is automatically a poor choice, but the flavor and topping texture may differ. Use the listed devil’s food mix for the closest match to this method.
Package sizes and formulas can change, so avoid treating every chocolate mix as identical. The dark surface also makes browning harder to judge, which is why bubbling fruit and a set topping matter more than color alone.
Step-by-Step Assembly Method for the Chocolate Cherry Dump Cake
Build the layers in order and leave them separate. This recipe makes 12 servings, with a 45-minute cooling rest after baking to help the hot filling thicken before scooping.
- Set the oven to 350°F and coat the bottom of a 13×9-inch, 3-quart glass baking dish or a 3-quart casserole with cooking spray.
A light coating helps release the sticky fruit when you serve the dessert. - Spoon both cans of cherry pie filling into the prepared dish and level the fruit with a spatula.
An even bed of cherries and syrup gives the chocolate layer moisture across the pan. - Scatter the dry cake mix over the filling, then gently shake the dish from side to side to level it without pressing or stirring.
The surface should look loose and evenly covered rather than piled into thick mounds. - Drizzle the melted butter in slow zigzags over the cake mix, then carefully tilt the dish to spread it across as much of the surface as possible.
Broad butter coverage helps limit powdery patches and encourages a crisp chocolate crust. - Bake for 42 to 45 minutes, checking that the topping looks mostly dry and the fruit bubbles around the edges before removing the dish.
Look for active red syrup bubbles, a set, slightly crackled surface, and a fragrant cocoa aroma. - Leave the baked dessert to cool for 45 minutes before scooping.
The filling thickens as it rests, so each serving holds together better than it would straight from the oven.
Serve the cake warm with whipped topping or vanilla ice cream, if desired. Keep any leftovers loosely covered in the refrigerator.
Baking Tips and Common Mistakes
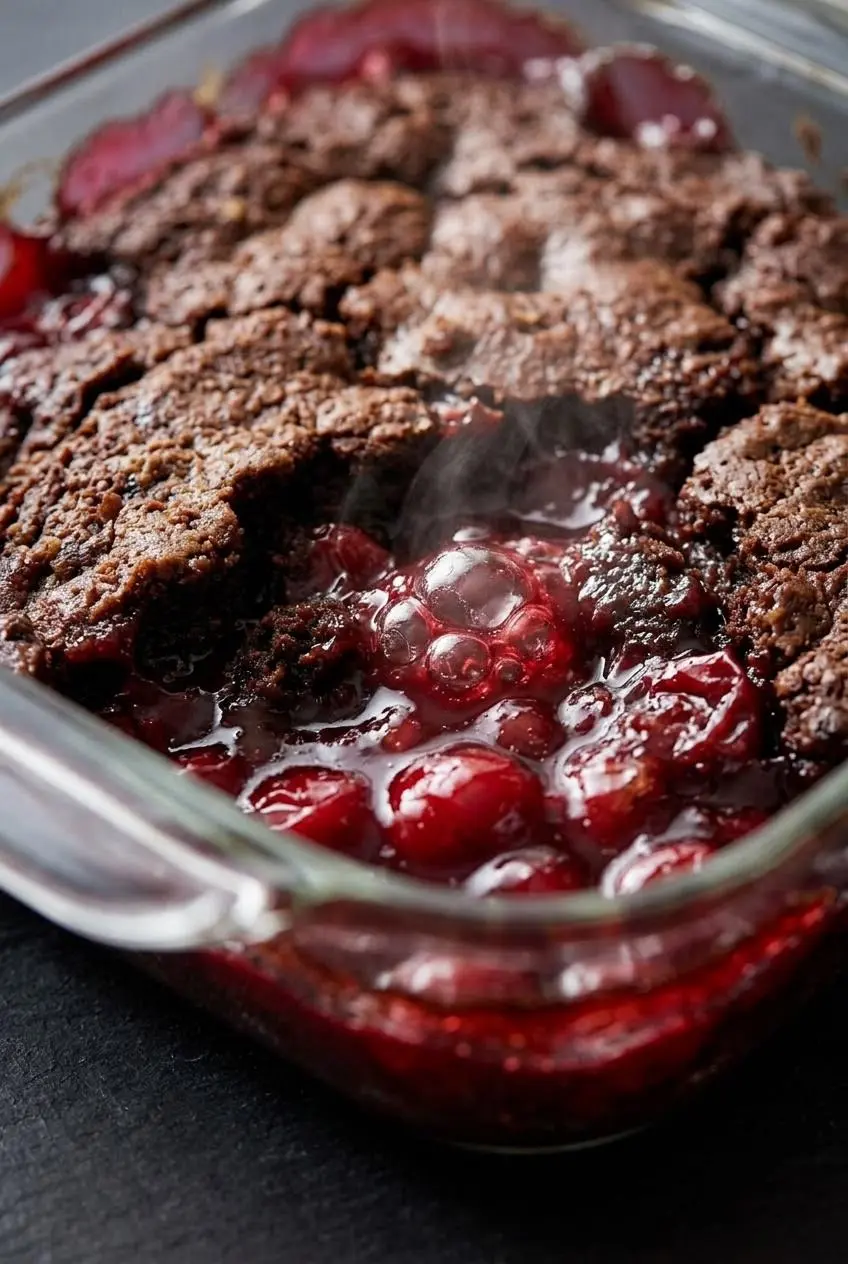
The most useful checks are layer separation, butter coverage, and bubbling edges. These tell you more than a toothpick pushed through a fruit-filled dessert.
- A dense, gummy topping: Stirring wets the dry mix throughout and destroys the distinct fruit-and-crust layers. Keep the mix on top and use a gentle shake, not a spoon, to level it.
- Dry, powdery patches: Thick mounds of mix or gaps in the butter can leave floury areas. Spread the mix evenly before baking; during a mid-bake check, gently nudge nearby pooled butter over visible dry spots with a spatula, without digging into the cherries.
- A greasy pool beside a dry area: Butter can collect in low spots when the topping is uneven. Redirect the surface butter toward the dry mix rather than stirring the entire dessert.
- A loose serving: Hot fruit syrup flows readily, even when the dessert has finished baking. Give it the full cooling rest instead of adding baking time solely because the center looks juicy.
- A dark top with little bubbling: Chocolate color can hide whether the topping has set. Check the baking time, surface texture, and active bubbles around the edges together; aroma alone doesn’t establish doneness.
The same layer-first approach appears in a classic dump cake: moisture reaches the dry topping during baking rather than through mixing beforehand.
Melted Butter Versus Cold Sliced Butter
Melted butter is the method used here. Cold sliced butter is an optional alternative, with a different way of managing surface coverage.
- Melted butter: A slow drizzle lets you cover broad areas immediately, and careful tilting helps move butter into gaps. It also allows the irregular crisp pockets that give this dessert its cobbler-like texture.
- Cold sliced butter: Thin pats arranged closely across the top release butter as they melt. Even spacing matters because wide gaps can still leave dry mix between the pats.
Neither method fixes a deep mound of dry cake mix underneath. Level the chocolate layer first, and don’t press it firmly into the fruit.
Easy Variations and Flavor Additions
Keep these changes optional and separate from the three-ingredient method above. Choose a flavor direction rather than piling on every addition, which can overwhelm the cherries.
- Almond extract: A light touch mixed into the cherry filling before layering can emphasize the fruit’s almond-like aroma.
- Ground cinnamon: A light sprinkle in the filling adds warm spice without changing the layering technique.
- Dark chocolate: Chips added over the fruit create richer, melted chocolate pockets beneath the crust.
For a different chocolate dessert built around cookies, try an Oreo dump cake rather than adding cookies to this cherry version.
Fudge-Layered Black Forest Style
For a richer chocolate-and-cherry combination, drizzle warm hot fudge sauce over the fruit before adding the dry cake mix. Keep the fudge as a separate layer, then continue with the butter topping.
Chocolate chips offer another route to that Black Forest-inspired flavor. The fudge makes the filling saucier, while chips create distinct melted pockets. Either addition makes the dessert richer, so a cool topping provides a welcome contrast.
Slow Cooker Crock Pot Method
A slow cooker is an optional alternative when oven space is limited, but expect a softer topping. The covered insert holds moisture, so it won’t create the same crisp surface as the oven.
Grease the insert and arrange the filling, dry cake mix, and butter in the same order, without stirring. Cook on High, checking for bubbling fruit and a set topping rather than relying on the oven’s baking time.
Slow cooker size and heating performance vary, so there isn’t one dependable timing conversion for every appliance. Use the oven method when a crisp crust or predictable serving schedule matters most.
Brownie Mix Substitution Guidelines
Brownie mix can produce a denser, chewier chocolate layer, but it isn’t a direct equivalent to cake mix. Different formulas contain different proportions of flour, sugar, cocoa, and leavening.
Treat this as an experimental variation, not a guaranteed swap with a fixed extra baking time. Keep the layers separate and watch for dry patches and an unset topping. For the texture and timing described here, stick with devil’s food cake mix.
Serving and Presentation Ideas
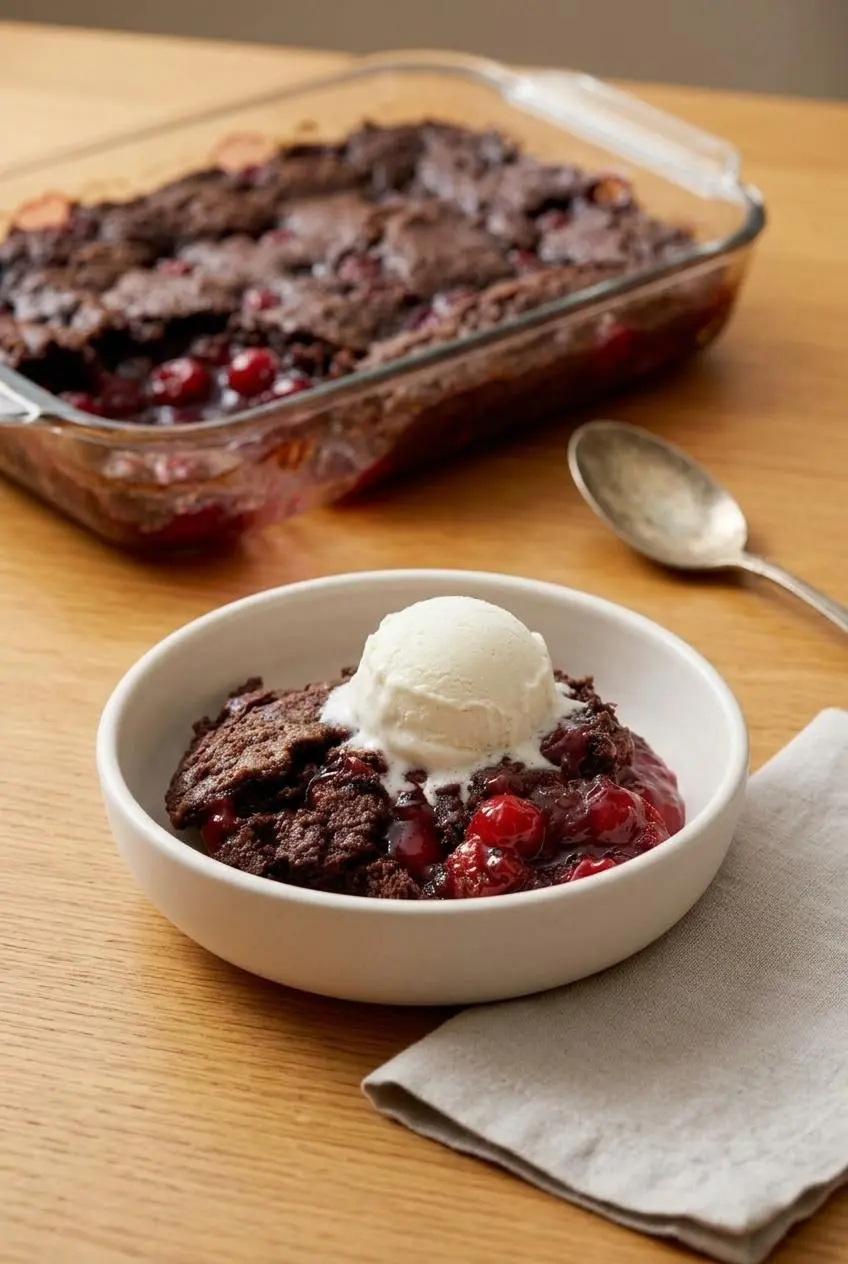
Scoop the dessert into shallow bowls after its cooling rest. It’s more like a fruit cobbler than a neatly sliced layer cake, so include both cherries and chocolate crust in each portion.
- Vanilla ice cream: The cold, creamy scoop softens against the warm cake and balances the rich cocoa flavor.
- Whipped topping or freshly whipped cream: A fluffy topping keeps the serving lighter in texture while still adding creaminess.
- Shaved dark chocolate or cocoa: An optional finishing sprinkle emphasizes the chocolate without adding another sauce.
For gatherings, leave the dessert in its baking dish and offer toppings separately. Add cold toppings to individual bowls just before serving so they don’t melt across the entire cake.
Storage and Reheating Guidelines
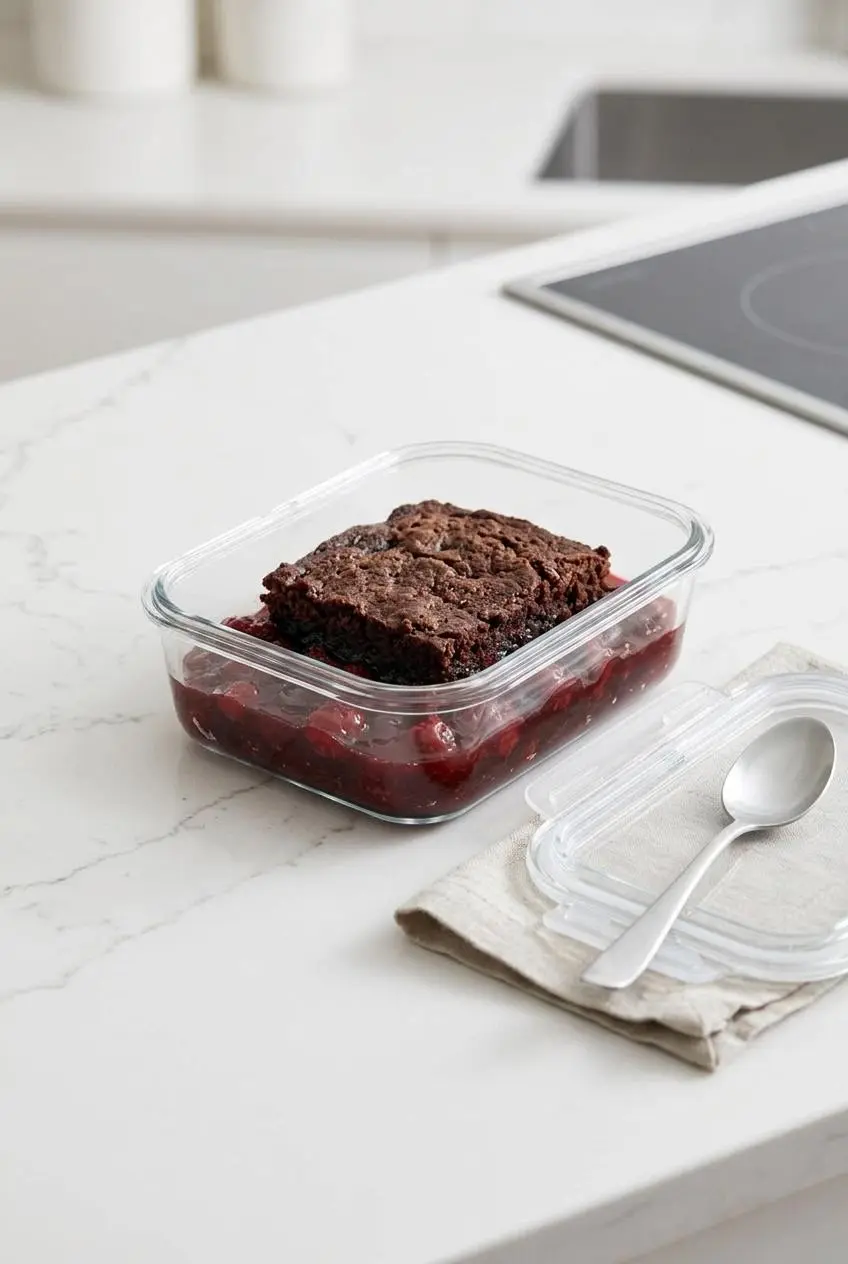
Refrigerate leftovers loosely covered in the baking dish, or transfer portions to covered containers. Don’t leave the dish on the counter throughout a gathering; put the remaining cake away after serving.
Reheat only the amount you plan to eat. For a softer texture, use a microwave-safe bowl and warm in brief intervals, checking between them so the cherry syrup doesn’t become excessively hot.
For a less-soft topping, place a portion in an oven-safe dish and warm gently in the oven until heated through. The oven can help dry the surface, though the crust may not return to its freshly baked texture.
Add ice cream or whipped topping after reheating. Keep those toppings separate from the stored cake so they don’t soak into the crust.
Conclusion
This chocolate-and-cherry dessert delivers a juicy fruit layer and crisp cocoa pockets with no mixing bowl needed. Even layers and generous butter coverage make the biggest difference.
Keep the layers separate, check for bubbling edges, and allow the full cooling rest. Then scoop it warm and let a little vanilla ice cream melt into the cherries.
Frequently Asked Questions
What Is the Biggest Mistake to Avoid When Making a Dump Cake?
Stirring the layers is the biggest mistake. It blends the fruit syrup into the dry mix and can create a heavy, gummy topping instead of a distinct crust over juicy cherries.
Can You Use One Can of Cherry Pie Filling Instead of Two?
Not with the full box of mix in the specified 13×9-inch dish. Use both cans for this recipe. A one-can version needs adjusted proportions and a smaller dish, so it isn’t the same method.
How Do You Prevent Dry Cake Mix Spots Without Stirring?
Level the dry mix, drizzle butter across the whole surface, and tilt the dish carefully to improve coverage. If dry patches remain during baking, gently move nearby surface butter over them without disturbing the fruit layer.
How Should Leftover Chocolate Cherry Dump Cake Be Stored and Reheated?
Keep leftovers covered in the refrigerator. Warm individual portions in the microwave for a softer topping or gently in the oven for a less-soft surface, then add cold toppings just before serving.
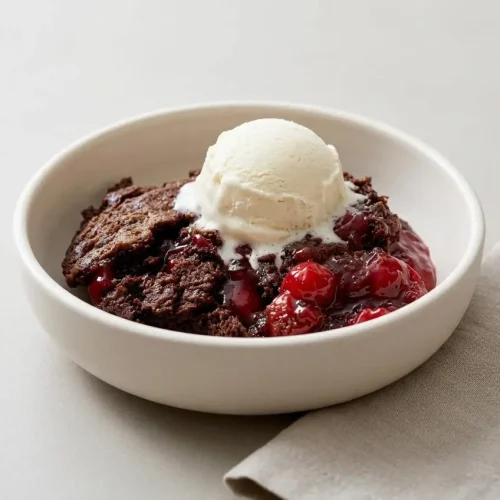
Chocolate Cherry Dump Cake

Equipment
- 13×9 inch glass baking dish
- Cooking spray
Ingredients
- 2 cans cherry pie filling 21 oz each
- 1 box Betty Crocker™ Super Moist™ Devil’s Food Cake Mix
- 3/4 cup butter, melted
- Whipped topping or vanilla ice cream, if desired
Instructions
- Set the oven to 350°F and coat the bottom of a 13×9-inch, 3-quart glass baking dish or a 3-quart casserole with cooking spray. A light coating helps release the sticky fruit when you serve the dessert.
- Spoon both cans of cherry pie filling into the prepared dish and level the fruit with a spatula. An even bed of cherries and syrup gives the chocolate layer moisture across the pan.
- Scatter the dry cake mix over the filling, then gently shake the dish from side to side to level it without pressing or stirring. The surface should look loose and evenly covered rather than piled into thick mounds.
- Drizzle the melted butter in slow zigzags over the cake mix, then carefully tilt the dish to spread it across as much of the surface as possible. Broad butter coverage helps limit powdery patches and encourages a crisp chocolate crust.
- Bake for 42 to 45 minutes, checking that the topping looks mostly dry and the fruit bubbles around the edges before removing the dish. Look for active red syrup bubbles, a set, slightly crackled surface, and a fragrant cocoa aroma.
- Leave the baked dessert to cool for 45 minutes before scooping. The filling thickens as it rests, so each serving holds together better than it would straight from the oven.