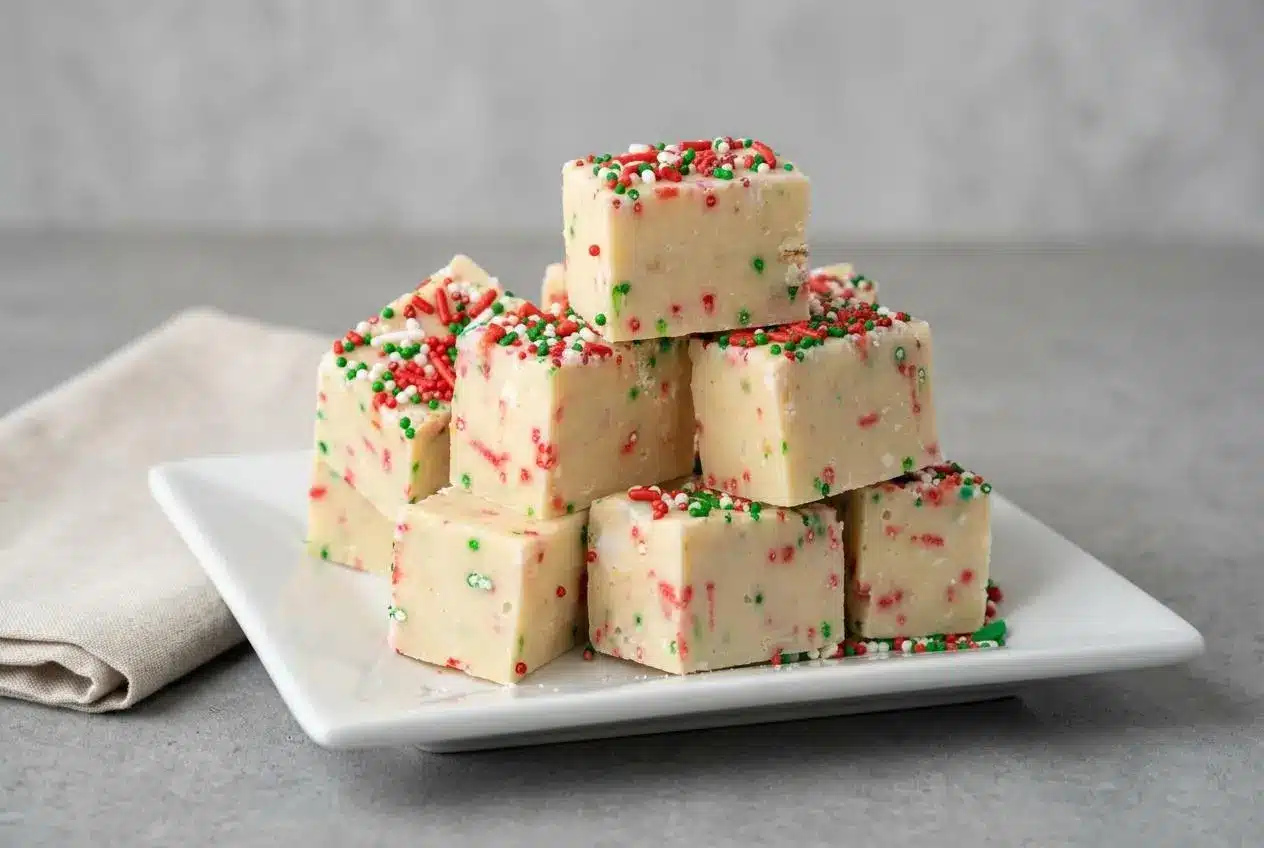
Sugar cookie fudge is a creamy, buttery confection made with white chocolate chips, sweetened condensed milk, dry sugar cookie mix, butter, and sprinkles. Melt the mixture, spread it in a lined pan, and refrigerate until firm for sweet, vanilla-rich squares.
This sugar cookie fudge captures the buttery flavor of cookie dough in a smooth, sliceable treat. The cookie mix brings that familiar bakery aroma, while white chocolate gives each bite a velvety finish.
It fits beautifully on holiday cookie trays, but changing the sprinkles makes it just as welcome at birthdays and showers. Most of the work happens at the stove, followed by hands-off chilling. The trick is gentle heat.
Measure everything and line the pan before heating the milk, so the thick fudge mixture never has to wait.
Key Ingredients for Sugar Cookie Fudge
White chocolate provides structure, condensed milk adds sweetness and moisture, cookie mix supplies bakery flavor, and butter rounds out the richness. Sprinkles bring color and a light contrast to the creamy texture.
- 1 (14-ounce) can sweetened condensed milk
- 2 ½ cups white chocolate chips
- 1 ¼ cups sugar cookie mix
- 2 tablespoons butter
- Christmas sprinkles
Use the sugar cookie mix dry, rather than preparing cookie dough according to the package. Don’t add the eggs, water, or other ingredients intended for baking cookies. Those additions would change the fudge’s moisture balance and setting behavior.
Choose a mix with the classic vanilla-and-butter flavor you want in the finished squares. Before using it in this no-bake dessert, check its ready-to-eat status and the handling directions explained below.
Butter softens the bite and gives the vanilla sweetness a richer finish. Measure it accurately: adding extra butter can leave the fudge softer or greasier than intended.
Sprinkles work both inside the fudge and on top. The folded-in portion adds little flecks of color, while the topping stays more distinct. Save some for the surface before stirring the rest into the pot.
I measure the white chocolate before starting the stove so I can focus on stirring rather than opening bags over a hot pot.
Why Sweetened Condensed Milk Is Essential
Sweetened condensed milk is the thick, sweet milk product this recipe needs. Its concentrated consistency helps the melted chocolate form a smooth mixture that firms as it cools.
Evaporated milk is not a direct substitute. It lacks the added sugar and syrupy thickness of sweetened condensed milk, so it changes both the sweetness and the consistency. Using it with these quantities can leave a loose mixture instead of clean-cut fudge.
Check the can carefully before opening it. The labels can look similar, but the contents behave differently. This method also doesn’t call for boiling the milk into caramel or cooking it to a candy-making temperature.
Selecting Quality White Chocolate Chips
Choose white chocolate chips you enjoy eating straight from the bag. Their flavor is prominent here, so a waxy or overly sweet chip will carry through to the finished fudge.
For true white chocolate, look for cocoa butter on the ingredient label. White baking chips and candy coatings may use different fats and can melt or set differently. A higher price alone doesn’t guarantee a smoother result; heat control still matters.
Chopped white chocolate baking bars can melt readily, but pieces pack into a measuring cup differently from chips. For the most predictable result with the listed cup measurement, use chips rather than improvising a bar conversion.
How to Make Sugar Cookie Fudge Step by Step
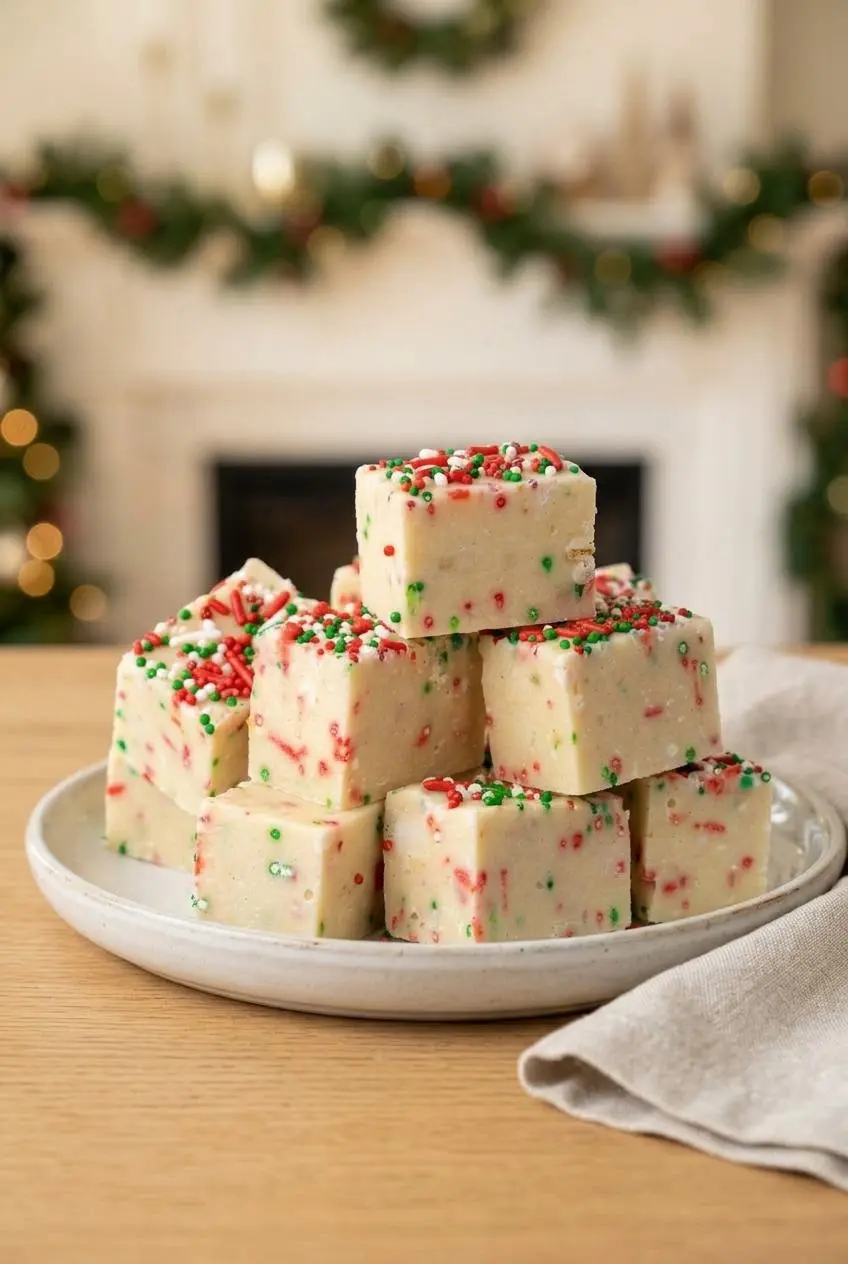
Prepare the cookie mix appropriately before beginning, then keep the melting stage controlled and brief. You’ll need a 9×9 baking dish, parchment paper, non-stick spray, a large pot, and a heatproof spatula.
The recipe yields 36 pieces. Allow about 5 minutes for preparation, 5 minutes for cooking, and at least 2 hours for setting, with any cookie-mix preparation handled separately.
- Fit parchment into a 9×9 baking dish, leaving edges available for lifting, and lightly coat it with non-stick spray.
Press the paper into the corners so the fudge can spread into an even square. - Warm the sweetened condensed milk in a large pot over medium heat, stirring frequently.
The milk should become hot without developing a browned layer on the bottom. - Add the white chocolate chips, appropriately prepared dry sugar cookie mix, and butter, then stir until fully combined and take the pot off the heat.
Look for a thick, glossy mixture without visible chocolate pieces or dry pockets. - Fold a generous amount of Christmas sprinkles into the mixture after removing it from the burner.
Use gentle strokes to distribute the color without repeatedly working the sprinkles through the warm fudge. - Spread the mixture across the lined dish and scatter additional sprinkles over the surface.
Level the corners and center to create an even thickness for slicing. - Refrigerate for at least 2 hours, or overnight, until firm, then lift out the slab and cut it into bite-sized pieces.
The center should hold its shape and the cut edges should remain upright rather than slump.
Stovetop Gentle Melting Method
Medium heat warms the condensed milk at the start. Once you add the chocolate, keep a close eye on the pot and reduce the burner to low or medium-low if the mixture heats rapidly.
Stir continuously during melting, sweeping the spatula across the bottom and into the corners. Thick mixtures can scorch underneath before the top looks especially hot. A heavy-bottomed pot makes that heat easier to manage.
Remove the pot as soon as the mixture becomes smooth. Continued cooking won’t improve the set. The finished mixture should fall from the spatula in a thick ribbon, with a glossy surface and a warm vanilla-and-butter aroma.
Before adding sprinkles, let intense steam subside while keeping the mixture spreadable. A long cooling pause can make it difficult to transfer neatly.
Microwave Method for Fast Prep
As an alternative, place the condensed milk, white chocolate chips, appropriately prepared dry cookie mix, and butter in a roomy microwave-safe bowl. Heat at 50 percent power in 30-second bursts, stirring thoroughly between each burst.
Scrape the bottom and sides each time. The mixture may look partly unmelted when you remove it, but stirring distributes the heat and helps soften the remaining chocolate. Don’t extend a burst just because some chips still hold their shape.
Stop heating once stirring produces a smooth mixture. Then fold in the sprinkles, transfer to the prepared pan, and chill as directed above. The microwave replaces the melting stage, not the setting time.
Essential Preparation and Food Safety
No-bake preparation needs special attention to the cookie mix because conventional mixes are intended for baking. Don’t assume that warming the fudge mixture cooks the flour thoroughly.
Check the package before starting. For this preparation, choose dry sugar cookie mix explicitly labeled suitable for ready-to-eat use, or follow preparation directions the manufacturer provides specifically for that purpose.
Preparing Dry Cookie Mix for a No-Bake Dessert
Home heating can be uneven, so a warm bowl or lightly toasted appearance doesn’t establish that a conventional dry mix is ready to eat. Avoid relying on an improvised microwave or oven treatment as a safety guarantee.
If the manufacturer provides a validated preparation process for using its mix in uncooked desserts, follow that process exactly. Let any heated mix cool as directed, then whisk out clumps before measuring it into the fudge.
If the package only supplies baking directions and you can’t confirm suitability for no-bake use, choose another dry sugar cookie mix intended for ready-to-eat preparations. Don’t use taste-testing as a way to check untreated mix.
Choosing the Right Pan Size for Fudge Thickness
The 9×9 pan gives this batch a balanced thickness and supports the stated yield of 36 pieces. Cut the slab into six rows in each direction for evenly sized squares.
- 9×9 pan: Use this size for the intended thickness and portion size.
- 8×8 pan: The same mixture makes thicker squares, so check the center carefully before slicing.
- 9×13 pan: The fudge spreads into a thinner layer; piece count depends on how you cut it, not on additional mixture.
Leave parchment extending above opposite sides of the pan to form lifting handles. Once the slab is firm, lift it onto a cutting board instead of trying to cut around the dish’s corners.
Use a sharp knife and wipe the blade between cuts. Press straight down rather than sawing, which can drag sprinkles and roughen the edges.
Troubleshooting Common Fudge Mistakes
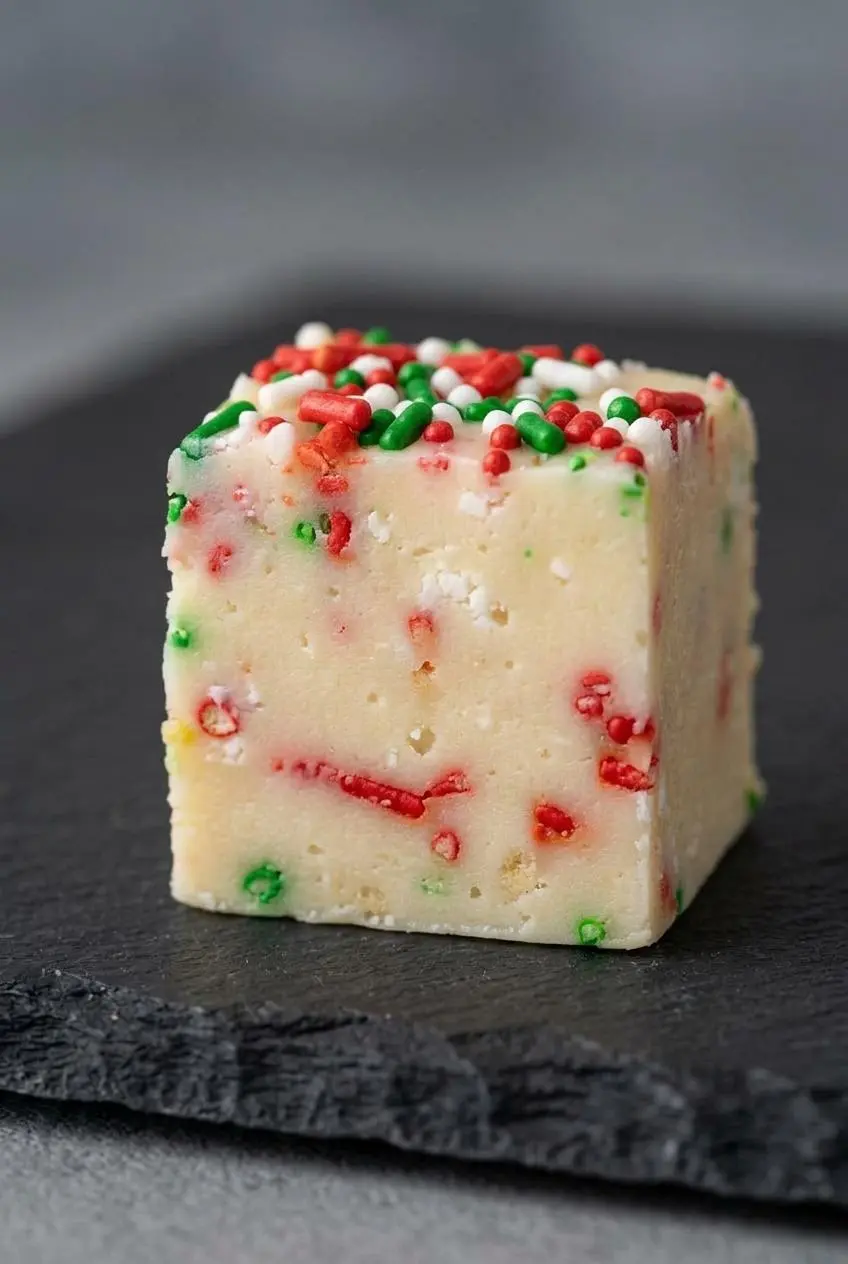
Check ingredient choice, measurement, and heat before trying to repair a disappointing batch. Adding extra liquid or cooking the mixture harder can make the original problem worse.
- Streaky color: Hot fudge and repeated stirring can dissolve sprinkle coatings; let intense heat subside and fold gently.
- Dry pockets: Clumped cookie mix hasn’t dispersed; whisk the dry mix before adding it and scrape the pot thoroughly while stirring.
- Scorched flavor: The mixture overheated against the pot; avoid scraping browned residue into the fudge, since chilling won’t remove the burnt taste.
Jimmies and flat confetti sprinkles often keep their appearance better than tiny nonpareils, though brands vary. If color bleeding worries you, keep the folded-in portion modest and emphasize the surface topping.
Troubleshooting Fudge That Will Not Set
- Soft center: The slab may need more chilling; return it to the refrigerator and wait until the middle holds its shape before cutting.
- Loose throughout: Check whether you used evaporated milk or another unsweetened milk product; additional chilling may not correct that substitution.
- Sticky, spreading edges: An inaccurate chocolate measurement or added liquid may have changed the balance; don’t add water or milk to loosen a correctly mixed batch.
Firm fudge can still have a tender bite. Judge it by whether the slab lifts and the squares retain their edges, rather than expecting a hard candy texture.
Fixing Separated or Oily Fudge
- A slight oily sheen while melting: Remove the pot from the burner and stir gently, allowing the temperature to settle before deciding whether more heat is necessary.
- Oil pooling around the mixture: Excessive heat may have disrupted the mixture; continued heating is unlikely to help and can worsen separation.
- Grainy or stiff chocolate: Overheating or uneven mixing may be responsible; use controlled heat from the start and stop once the chocolate incorporates.
Don’t automatically add milk to repair separation. Extra moisture changes this recipe’s balance, and there isn’t a dependable universal repair amount. A badly separated or scorched batch may not recover its intended texture.
Storage and Gifting
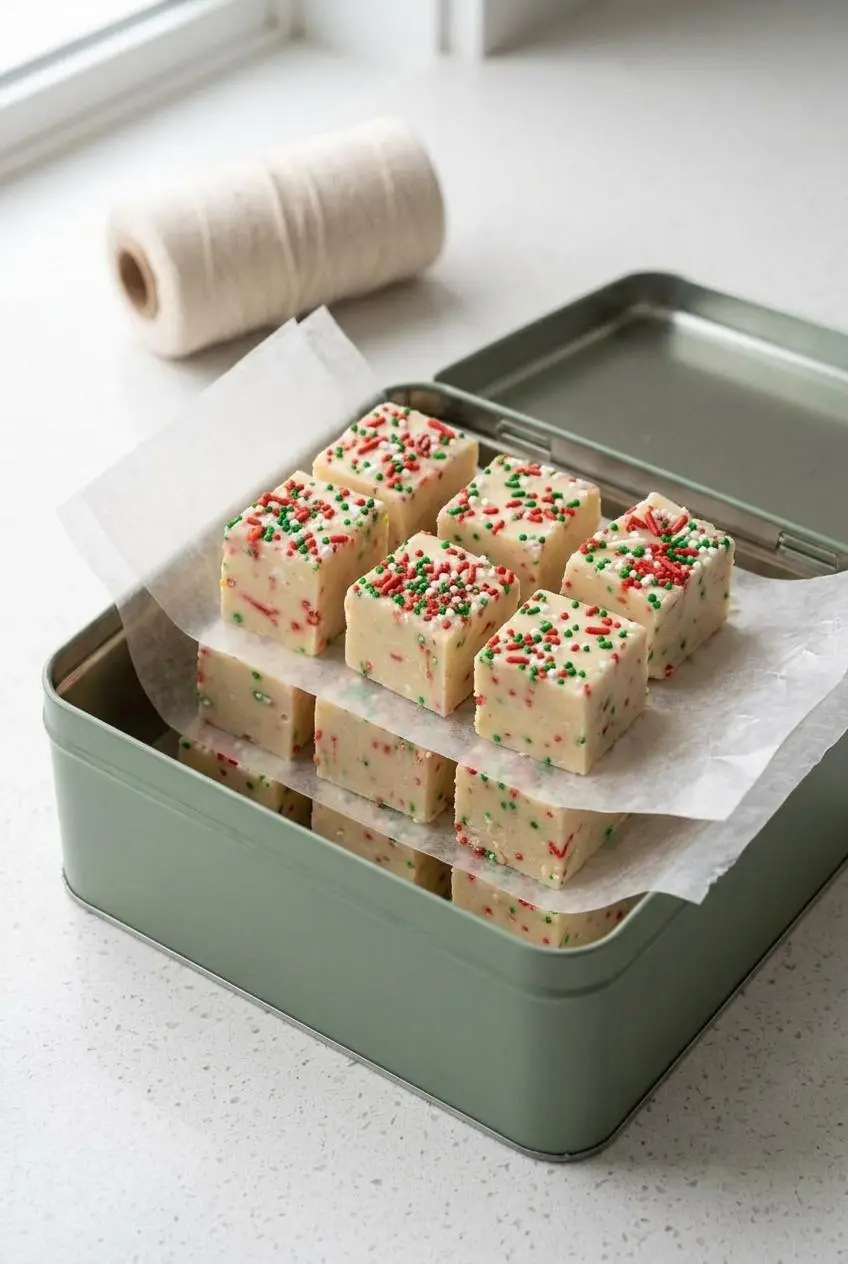
Keep finished fudge covered and chilled, protecting it from moisture and refrigerator odors. Transfer firm squares to an airtight container rather than leaving the cut slab exposed in its pan.
Place parchment or wax paper between stacked layers so the pieces don’t stick together. Use a container that holds them comfortably without pressing the topping into the next layer.
For gifts, line a food-safe tin or box with parchment and package the squares only after they have set fully. Keep the package chilled until handing it over, and tell the recipient to refrigerate it.
An assorted tin can pair these vanilla-rich squares with rocky road fudge for a contrasting chocolate flavor. Separate the varieties with paper so their toppings stay tidy.
Creative Variations for Any Celebration
Keep the milk, chocolate, cookie mix, and butter measurements unchanged when adapting the flavor or decorations. These optional finishes work around that balance rather than replacing it.
- Almond extract: A restrained addition gives a bakery-style almond aroma; avoid a generous pour that overwhelms the vanilla.
- Vanilla bean: An optional vanilla bean accent deepens the vanilla character without changing the main ingredients.
- Fine sea salt: A light optional addition provides a savory contrast to the sweetness.
- White chocolate drizzle: Drizzle melted white chocolate over the set slab, then return it to the refrigerator until the finish firms before packaging.
Crushed Candy Cane Peppermint Fudge
For an optional peppermint version, fold finely crushed candy canes or peppermint crunch into the mixture alongside the holiday sprinkles. Keep the pieces small so they distribute evenly and don’t interrupt clean slicing.
Peppermint adds a bright finish against the sweet white chocolate. Use it as an accent rather than replacing a substantial portion of the fudge mixture with candy.
Celebration Birthday Sprinkle Fudge
Swap the Christmas sprinkles for rainbow jimmies for birthdays, or pastel confetti sprinkles for showers and spring celebrations. The method stays the same.
Choose one coordinated color palette and reserve some sprinkles for the top. For another spring dessert option, easy Easter fudge fits a pastel treat tray.
Conclusion
This creamy fudge brings buttery cookie flavor and colorful sprinkles together in neat, shareable squares. Accurate measurements and controlled melting do most of the work.
Choose cookie mix suitable for no-bake use, keep the chocolate’s heat gentle, and let the center firm fully before slicing. A little patience makes the treat tin much tidier.
Frequently Asked Questions
Do You Need to Heat-Treat the Raw Sugar Cookie Mix?
Conventional raw cookie mix needs appropriate preparation before use in an uncooked dessert. Choose mix labeled suitable for ready-to-eat use, or follow the manufacturer’s validated preparation directions. Don’t assume the fudge’s melting stage treats the flour adequately.
Why Did My Sugar Cookie Fudge Turn Out Soft or Greasy?
Soft fudge can result from insufficient chilling, inaccurate measurements, or using evaporated milk. Greasiness often points to excessive heat during melting. Let a correctly measured batch chill until firm, and avoid further heating if the mixture begins separating.
Can I Use Evaporated Milk Instead of Condensed Milk?
No. This recipe requires sweetened condensed milk for its concentrated sweetness and thick consistency. Evaporated milk doesn’t behave the same way and isn’t a direct replacement with these quantities.
How Should You Store Sugar Cookie Fudge for Later?
Keep firm squares chilled in an airtight container, with parchment or wax paper between layers. Protect the fudge from moisture and odors, and keep gift packages chilled until you hand them over.
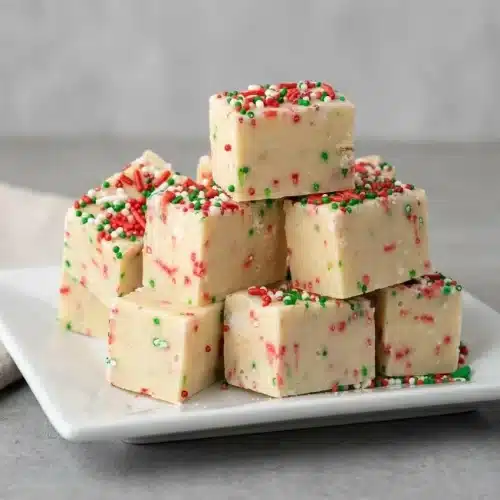
Sugar Cookie Fudge

Equipment
- 9×9 baking dish
- Parchment Paper
- Non-stick Spray
- Large Pot
- Spatula
Ingredients
- 1 can sweetened condensed milk 14-ounce
- 2 ½ cups white chocolate chips
- 1 ¼ cups sugar cookie mix
- 2 tablespoons butter
- Christmas sprinkles
Instructions
- Fit parchment into a 9×9 baking dish, leaving edges available for lifting, and lightly coat it with non-stick spray. Press the paper into the corners so the fudge can spread into an even square.
- Warm the sweetened condensed milk in a large pot over medium heat, stirring frequently. The milk should become hot without developing a browned layer on the bottom.
- Add the white chocolate chips, appropriately prepared dry sugar cookie mix, and butter, then stir until fully combined and take the pot off the heat. Look for a thick, glossy mixture without visible chocolate pieces or dry pockets.
- Fold a generous amount of Christmas sprinkles into the mixture after removing it from the burner. Use gentle strokes to distribute the color without repeatedly working the sprinkles through the warm fudge.
- Spread the mixture across the lined dish and scatter additional sprinkles over the surface. Level the corners and center to create an even thickness for slicing.
- Refrigerate for at least 2 hours, or overnight, until firm, then lift out the slab and cut it into bite-sized pieces. The center should hold its shape and the cut edges should remain upright rather than slump.