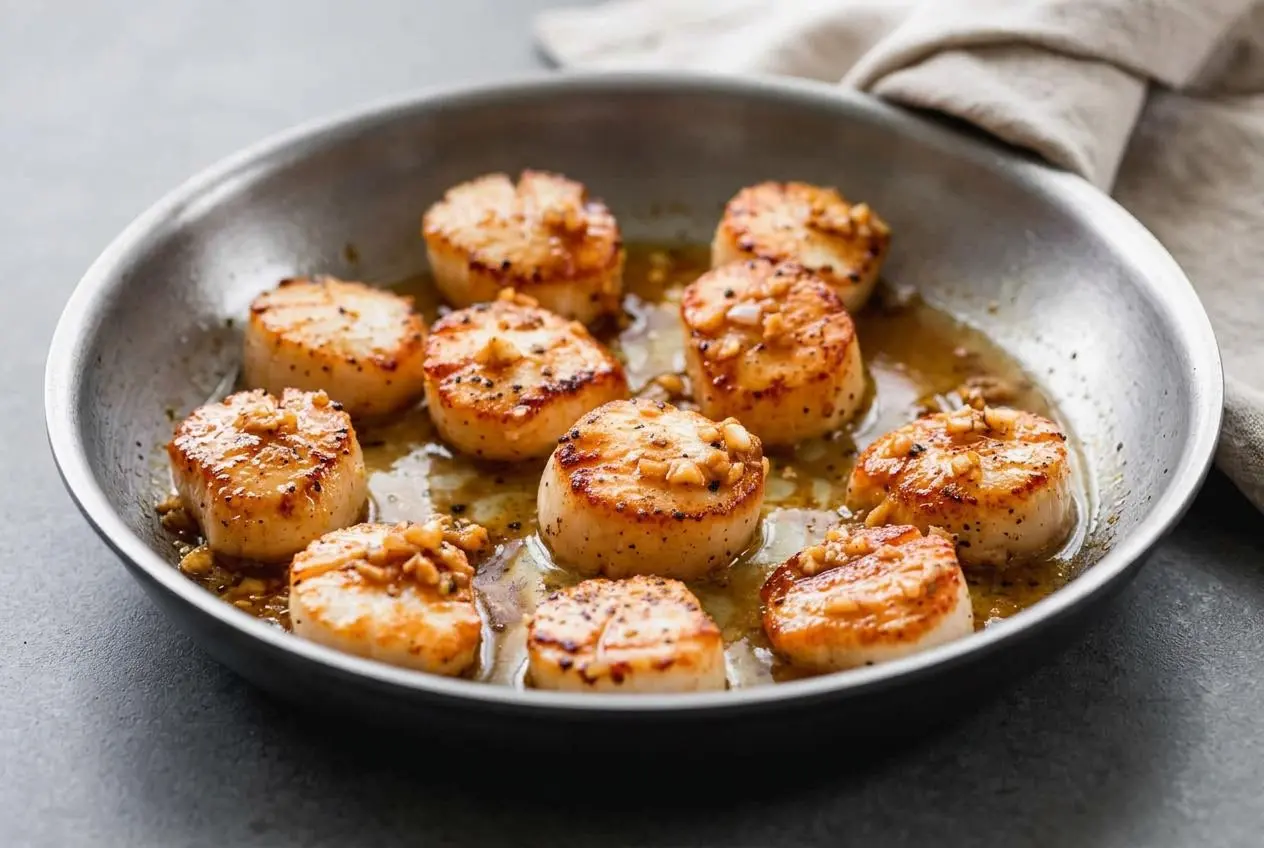
For a golden crust and tender center, dry sea scallops thoroughly, sear them undisturbed in a hot skillet for 2 minutes, then finish the second side quickly with butter.
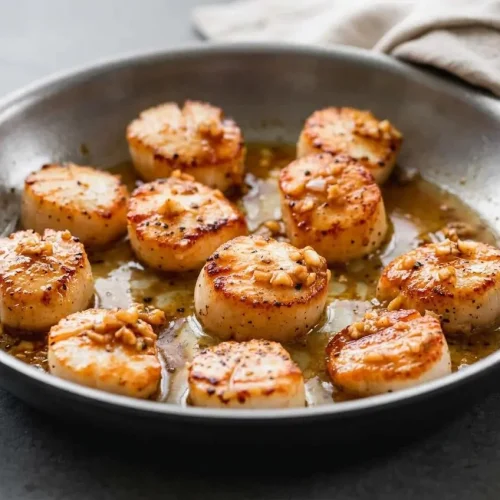
This Seared Scallops Recipe turns fresh sea scallops into a fast, restaurant-style dinner with caramelized edges and a buttery center.
The skillet should start with a lively sizzle, then quiet slightly as the crust forms. That little change is your cue that dinner is going somewhere good.
Pat every scallop dry before the pan heats up, then season right before it goes into the oil so surface moisture does not get a head start.
Ingredients for Pan-Seared Scallops
Each ingredient supports the sear: scallops provide sweetness, oil handles the initial heat, butter adds richness, and salt and pepper sharpen the savory crust.
- 1 ½ lbs Sea Scallops
- salt and pepper
- 1 Tablespoon butter
- 1/2 Tablespoon olive oil
- Garlic and butter for serving
The olive oil creates the first layer of heat protection while the butter brings flavor and helps the scallops brown. Freshly cracked pepper adds a warm aroma that comes through especially well against the scallops’ mild sweetness.
I use clean paper towels and press gently but firmly, replacing them if they become damp, because a dry surface makes the difference between a crust and a puddle.
How to Pan Sear Scallops
- Blot the scallops very dry, pull away the small side muscle if present, and season with salt and pepper just before cooking.
The scallops should feel dry to the touch rather than slick or wet. - Heat a large skillet over high heat, then add the olive oil and 1 Tablespoon butter before arranging the scallops with space between each one.
They should make a gentle, immediate sizzle when they meet the pan. - Leave the scallops in place for 2 minutes without nudging or turning them.
A deep golden ring should develop where each scallop touches the skillet. - Lower the heat to medium-high and turn each scallop with tongs, then cook the second side for 1 to 2 minutes.
The sides should look partly opaque while the center remains tender and lightly translucent. - Press one scallop lightly and remove the batch from the pan when it feels firm with a small spring back.
Residual heat will continue to finish the center as the scallops rest. - Set the scallops aside, then add 2 tablespoons butter, 3 to 4 cloves garlic, juice from half a lemon, and ¼ cup white wine, chicken or vegetable broth to the skillet; cook for 2 minutes while scraping up the browned bits.
The sauce should smell garlicky and bright, with the browned bits dissolved into the butter.
Spoon the warm garlic butter sauce over the scallops and garnish with fresh chopped parsley, if desired. Serve right away while the crust still has its contrast with the soft center.
Selecting the Best Scallops: Dry vs. Wet and Sizing
Buying the right scallops solves most searing problems before the skillet is even hot. Look for large sea scallops that can sit flat in the pan and develop a proper caramelized crust.
Dry vs. Wet-Packed Scallops
Dry sea scallops are untreated and usually look ivory, cream, or pale peach with a slightly tacky surface. They may feel moist, but they should not be sitting in a pool of milky liquid.
Wet-packed scallops are often treated with water and sodium tripolyphosphate, a phosphate solution that encourages them to retain moisture. That extra liquid can escape in the skillet, lowering the pan temperature and turning the sear into steaming. If wet-packed scallops are your only option, dry them exceptionally well and cook in batches.
Understanding Size Counts From U10 to Bay Scallops
Seafood count labels tell you how many scallops make up a pound. “U10” means under 10 scallops per pound, so these are large, thick scallops with enough surface area for a strong crust. A 10/20 count also works well for this method.
Bay scallops are much smaller and cook too quickly for the same hard sear. Save them for a gentler sauté, where they can cook without becoming tough before they brown.
Removing the Tough Side Muscle
Check the side of each scallop for a small, firmer rectangular flap. Pinch it between your fingers and pull it away in one motion before drying and seasoning the scallop.
This side muscle is edible, but it stays noticeably chewier than the rest of the scallop. Removing it gives every bite a more even, tender texture.
Natural Scallop Color Variations
Do not judge scallops by whiteness alone. Cream, pale peach, and soft pink tones are natural, and they can still be sweet, fresh-tasting, and beautifully tender after searing.
Key Ingredients and Pan Science
A great crust comes from managing moisture and heat in two phases: hot oil for the sear, then butter for flavor once the scallops have browned.
Choosing High Smoke Point Oils
Use the olive oil in this recipe for the first high-heat stage, choosing a light or refined olive oil rather than extra virgin olive oil. The oil can handle the initial heat while the butter adds flavor without taking the full blast of the skillet on its own.
If you need an optional swap, avocado oil or grapeseed oil also works well for the initial sear. Keep the butter for the finishing stage, when the pan has settled slightly after the first side browns.
The Role of Butter Basting
Butter gives the scallops their rich finish and helps carry the flavor of the browned bits left in the skillet. During the final minute, tilt the pan slightly and spoon the foaming butter over the scallops if the pan shape allows it.
For an optional herb browned butter variation, let the butter turn lightly nutty after the scallops come out, then add fresh thyme or flat-leaf parsley. The herbs should perfume the butter without becoming dark or brittle.
Timing Salt to Prevent Moisture Loss
Salt draws moisture toward the surface of delicate seafood, which is helpful for seasoning but unhelpful when it sits too long before searing. Season the scallops immediately before they hit the skillet, after they are fully dry.
Pepper can go on at the same time. Avoid seasoning while the scallops are still resting on paper towels, since moisture can collect again as they sit.
Crucial Searing Tips and Troubleshooting
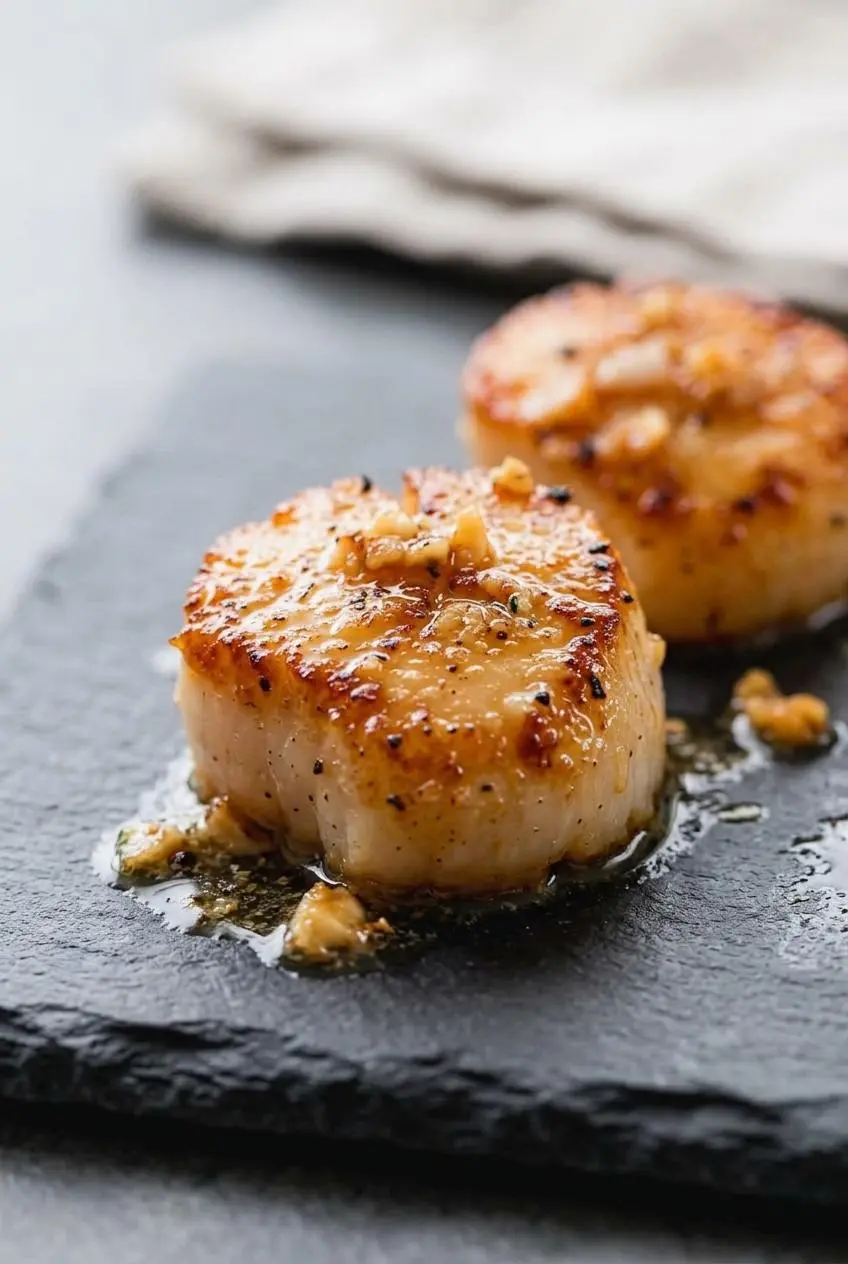
Scallops reward patience for a few minutes and punish overhandling almost immediately. These fixes keep the texture tender and the crust intact.
The Science of Natural Pan Release
Scallops cling to hot metal at first because their proteins are setting against the skillet. As the underside browns into a firm crust, the scallop naturally loosens and releases more easily.
- The scallops stick when you try to turn them: Give them more time without moving them. Forcing them early can tear off the browned surface.
- The pan fills with liquid: The scallops were likely too wet, too crowded, or both. Remove the cooked batch, carefully wipe away excess liquid if needed, and heat the skillet again before continuing.
- The butter is browning too fast: Keep the first sear driven by oil and add fresh butter after reducing the heat for the second side or sauce.
Testing Doneness With the Springiness Cue
A properly cooked scallop feels firm but springy when pressed lightly with tongs or a fingertip. It should resist a little, then bounce back, rather than feeling squishy and raw or tight and hard.
- Rubbery scallops: They stayed in the pan too long. Pull scallops when the sides are turning opaque and the center still looks tender.
- Gray, steamed scallops: Excess moisture prevented browning. Dry them thoroughly and leave space around each one.
- Scallops that seem almost done: Take them off the heat. Their residual warmth continues cooking the center while they rest.
A thermometer can be awkward for these small, delicate pieces of seafood. The golden base, partly opaque sides, and gentle bounce give a more useful real-time check.
Serving Suggestions and Plating Ideas
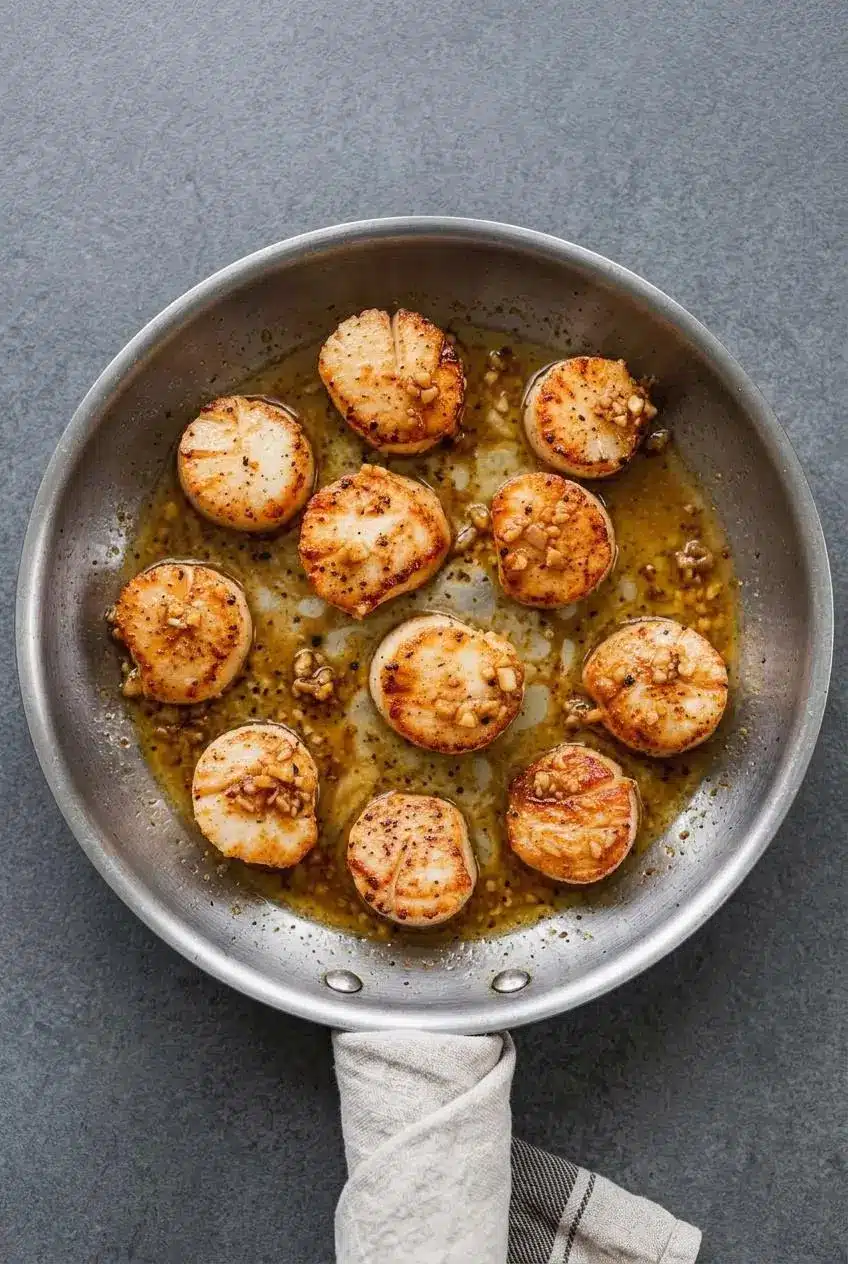
Seared scallops need a warm base and something fresh alongside them. Keep the plate ready before the scallops come out of the skillet so their heat and crust do not fade while you finish dinner.
Building the Garlic Lemon Butter Pan Sauce
After moving the scallops to a warm plate, use the browned bits in the skillet as the backbone for the garlic lemon butter sauce. The garlic, lemon juice, and white wine or broth lift the fond from the pan and turn it into a glossy spooning sauce.
For an optional citrus tarragon variation, use broth instead of wine and add fresh orange juice with tarragon after the scallops are out of the pan. Lemon zest and cracked pink peppercorns are another optional finish when you want a floral, brighter edge.
Starch and Vegetable Accompaniments
- Serve scallops over creamy Parmesan risotto when you want the sauce to settle into a rich, soft base.
- Garlic butter pasta or a smooth potato puree makes a comforting foundation without competing with the scallops.
- Charred asparagus and sautéed garlicky greens add welcome bitterness and texture.
- A crisp Greek salad brings a cool, tangy contrast to the warm butter sauce.
Warm the dinner plates before serving. Lean seafood cools quickly, and a warm plate keeps the scallops inviting from the first bite to the last.
Storing and Reheating Seared Scallops
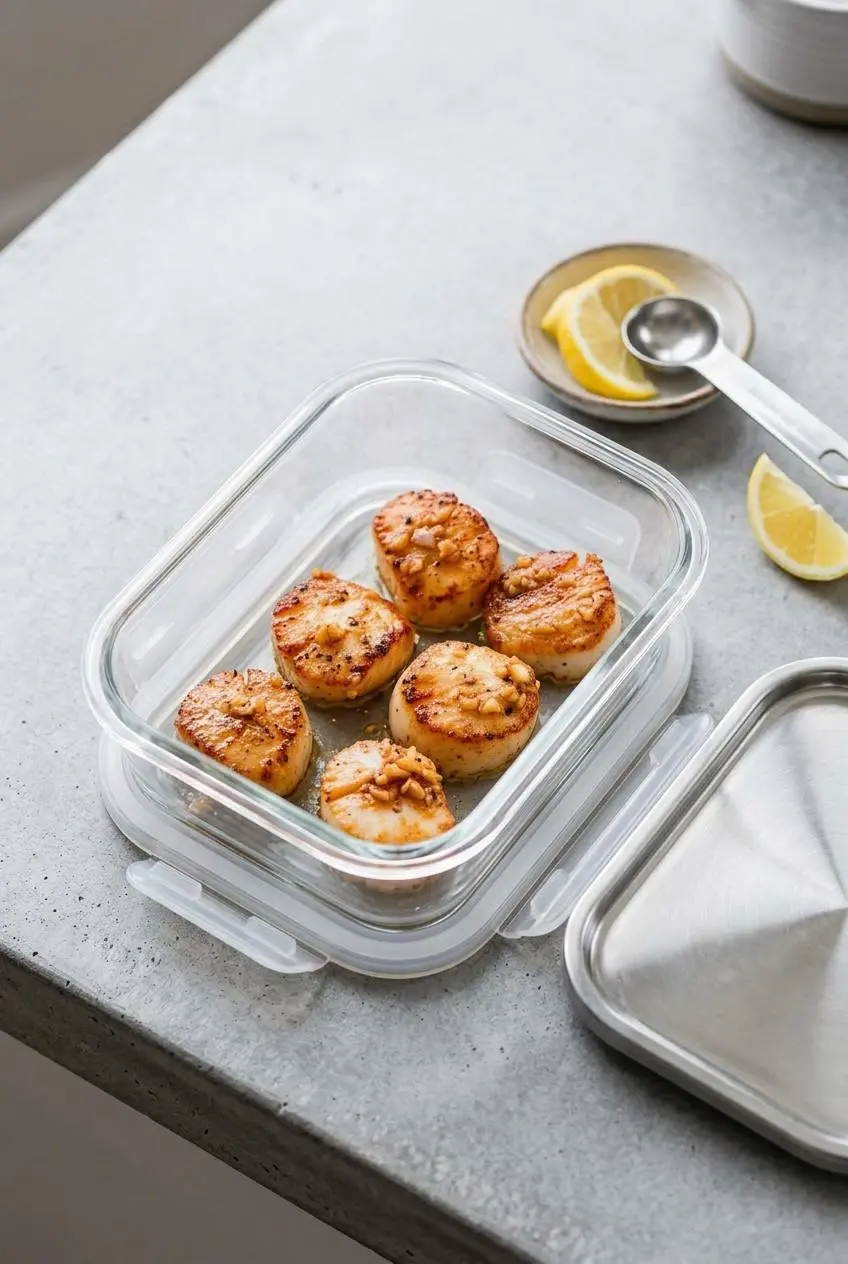
For the best texture, cook scallops close to serving time. If you have leftovers, cool them promptly, keep them in an airtight container in the refrigerator, and use them within up to 2 days.
Rewarm only the portion you plan to eat. A lightly buttered skillet over low heat works best, and a low-temperature air fryer can warm scallops gently without blasting them with intense heat. Add a small splash of broth or a little butter if they seem dry.
A high-power microwave tends to tighten the scallop proteins quickly, leaving the center chewy. Reheat only until warmed through, then stop before the scallops become firm and bouncy again.
Conclusion
Dry the scallops thoroughly, give them room in a very hot skillet, and leave the first side alone for the full sear. Those three details build the golden crust without sacrificing the tender middle.
Finish with butter, trust the springy touch cue, and serve while everything is hot. A great scallop dinner is mostly about knowing when to stop cooking.
Frequently Asked Questions
How Long Should You Sear Scallops on Each Side?
Sear large sea scallops for 2 minutes on the first side without moving them. Flip and cook the second side for 1 to 2 minutes. Remove them when the sides are mostly opaque and the center feels gently springy.
What Is the Difference Between Wet and Dry Scallops?
Dry scallops are untreated, so they dry well and brown more cleanly in a hot skillet. Wet-packed scallops hold added water and phosphates, which can release into the pan. That released liquid lowers the heat and makes a golden crust harder to achieve.
Why Did My Seared Scallops Turn Out Rubbery?
Scallops become rubbery when they cook beyond the tender, springy stage. Waterlogged scallops can also boil in their released liquid before they get a chance to sear. Dry them well, avoid crowding, and remove them from the heat while the center is still tender.
Should Scallops Be Cooked in Butter or Oil?
Start with high-heat olive oil to form the crust without scorching the butter. Add butter during the final minute or after removing the scallops for richer flavor. This two-stage approach gives you both browning power and a buttery finish.
Can Frozen Scallops Be Used for Pan Searing?
Frozen sea scallops can work well when fully thawed in the refrigerator according to package directions. Dry them very thoroughly with paper towels before seasoning. Do not add them to the skillet while icy or wet, since excess moisture will interfere with browning.
Seared Scallops Recipe

Equipment
- Large Skillet
- Paper towels
- Tongs
Ingredients
- 1 ½ lbs Sea Scallops
- salt and pepper
- 1 Tablespoon butter
- 1/2 Tablespoon olive oil
- Garlic and butter for serving
Instructions
- Blot the scallops very dry, pull away the small side muscle if present, and season with salt and pepper just before cooking. The scallops should feel dry to the touch rather than slick or wet.
- Heat a large skillet over high heat, then add the olive oil and 1 Tablespoon butter before arranging the scallops with space between each one. They should make a gentle, immediate sizzle when they meet the pan.
- Leave the scallops in place for 2 minutes without nudging or turning them. A deep golden ring should develop where each scallop touches the skillet.
- Lower the heat to medium-high and turn each scallop with tongs, then cook the second side for 1 to 2 minutes. The sides should look partly opaque while the center remains tender and lightly translucent.
- Press one scallop lightly and remove the batch from the pan when it feels firm with a small spring back. Residual heat will continue to finish the center as the scallops rest.
- Set the scallops aside, then add 2 tablespoons butter, 3 to 4 cloves garlic, juice from half a lemon, and ¼ cup white wine, chicken or vegetable broth to the skillet; cook for 2 minutes while scraping up the browned bits. The sauce should smell garlicky and bright, with the browned bits dissolved into the butter.