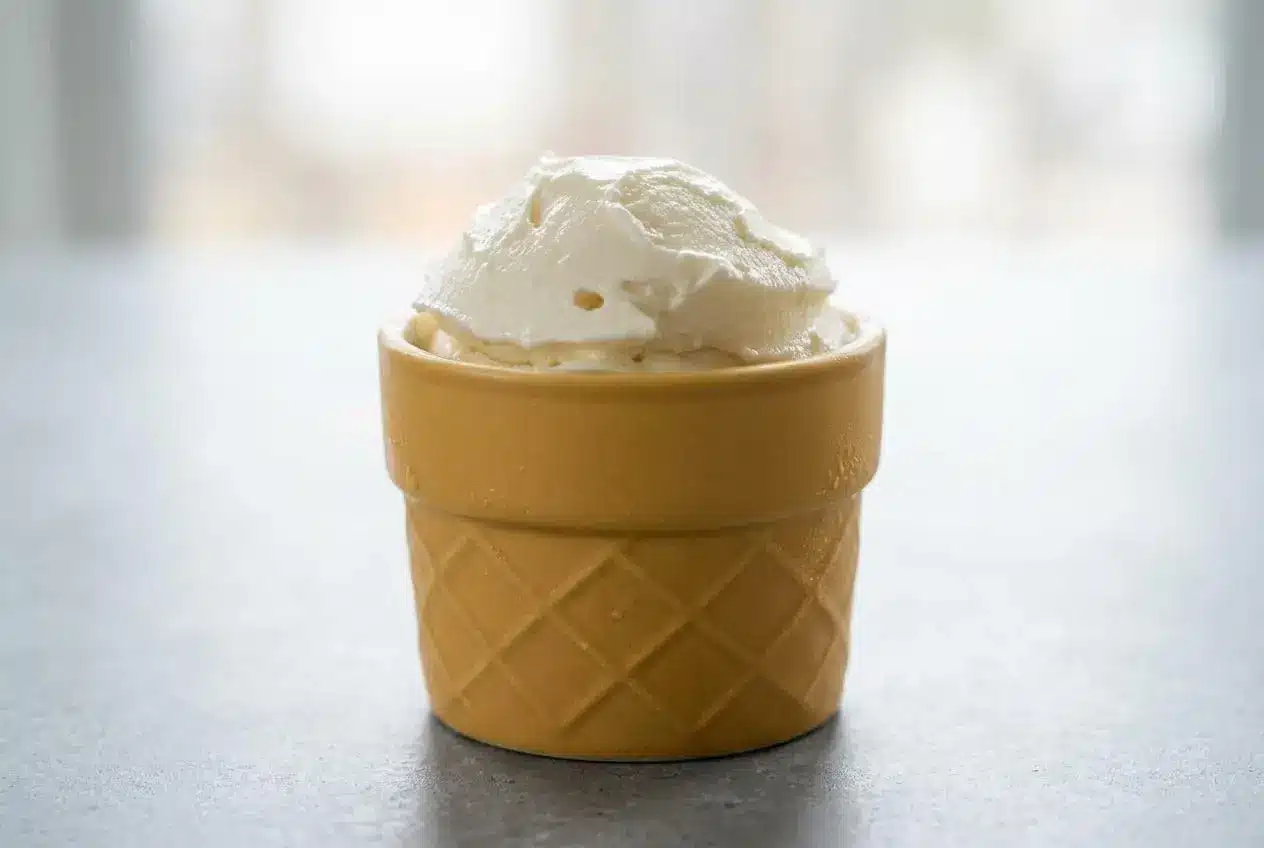
This Ninja Creami vanilla ice cream uses a cream cheese base for a rich, dense texture and smooth vanilla flavor. It also covers the fixes that turn crumbly first spins into creamy scoops.
Ninja Creami Vanilla Ice Cream is one of the easiest ways to get that scoop-shop feel at home without cooking a custard. The machine does the hard work, but the base matters just as much.
What makes this version stand out is the balance of full-fat dairy, sugar, and a little cream cheese for body and smoothness. The first spin can look surprisingly powdery, and that’s where the magic starts.
Set the pint on a truly flat freezer surface so the top freezes level and the machine can shave it evenly.
Why This Recipe Guarantees Creamy Results
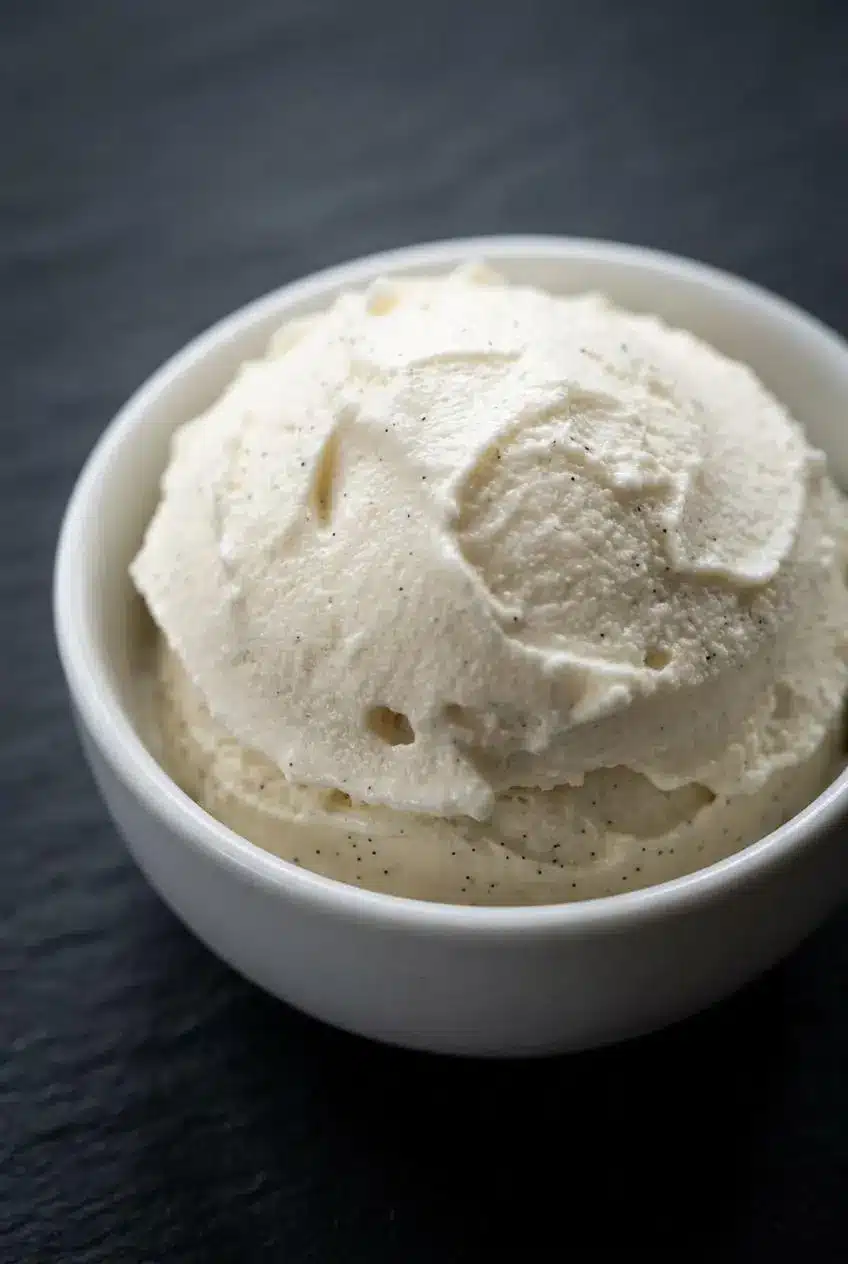
This recipe works with the way the Ninja Creami is built to process a fully frozen pint into a smooth dessert. Instead of churning air into the base, the machine shaves and blends a hard block, so the ingredients need to support creaminess before the spin even starts.
The small amount of cream cheese is the big helper here. It adds body, helps the base stay smoother, and cuts down on that icy texture that can happen when a mix is too lean or not fully blended. Combined with whole milk and heavy whipping cream, it gives the ice cream a rich, dense texture that feels closer to classic premium vanilla ice cream.
If your first spin looks dry or powdery, don’t panic. That’s very common with the Ninja Creami, and it usually means the base is extra cold rather than ruined. A quick re-spin brings it together beautifully.
Key Ingredients for the Creamiest Texture
Each ingredient plays a real job here, from building body and richness to keeping the vanilla flavor smooth and balanced.
- 1 TBSP (1/2 ounce) cream cheese
- 1/3 cup granulated sugar
- 1 1/2 tsp vanilla extract
- 1 cup whole milk
- 3/4 cup heavy whipping cream
The full-fat dairy matters. Whole milk gives the base a clean dairy flavor, while heavy whipping cream adds the richness that keeps the finished texture plush instead of icy.
Cream cheese is the quiet workhorse. It helps the mixture emulsify more smoothly, adds a little tang, and gives the ice cream that dense, creamy body people usually want from a vanilla base.
Sugar does more than sweeten. It also helps the texture stay softer and less brittle once frozen, which makes the pint process more evenly.
Vanilla is front and center here, so use the best extract you have. If you want a deeper flavor with those classic specks, homemade vanilla paste is a great swap for part or all of the extract.
I always warm the cream cheese for about 10 seconds first, because it blends into a smooth paste much faster and avoids stubborn little lumps.
How to Make Ninja Creami Vanilla Ice Cream
- Place the cream cheese in a microwave-safe bowl and warm it for 10 seconds.
It should soften enough to stir easily without melting into liquid. - Stir in the sugar and vanilla extract until a thick paste forms.
The goal is a smooth mixture that looks like frosting, with no visible cream cheese lumps. - In a separate measuring cup, combine the whole milk and heavy whipping cream, then add that liquid to the paste a little at a time while stirring.
Starting slowly helps the sugar dissolve fully, and the finished base should feel smooth rather than gritty. - Pour the mixture into a Ninja Creami pint, cover it, and place it on a level spot in the freezer for 24 hours.
A flat frozen surface helps the machine process the pint evenly and reduces the chance of an uneven spin. - Take the pint out, remove the lid, set it into the outer bowl, and lock the machine parts into place as directed for your model.
The base should be frozen solid and level across the top. - Select the Ice Cream function and let the machine run for about 2 minutes.
The machine will be loud, especially at the start, and that is completely normal. - Open the pint and check the texture before serving.
If it looks smooth and silky and holds its shape on a spoon, it’s ready to eat.
If the texture looks sandy or crumbly after that first cycle, add 1 tablespoon of milk and run a re-spin. That second pass is often the difference between dry-looking crumbs and truly creamy vanilla ice cream.
Tips for Perfect Ice Cream Every Time
- Dissolve the sugar well: If the sugar is not fully mixed in, the base can taste grainy. Stir until the liquid feels smooth, not sandy.
- Freeze flat: A slanted top can cause uneven processing. Keep the pint upright on a flat surface from the start.
- Let the pint sit briefly before spinning: A short rest on the counter can help the machine process the surface more smoothly.
- Expect noise: The first spin is loud. That sound is normal for the Ninja Creami shaving a very hard base.
- Don’t overfill the pint: Stay within your container’s fill line so the machine can process safely and evenly.
- For Deluxe pints: Increase the ingredients by about 1.5 times to better fit the larger container, while keeping the same ratio of dairy, sugar, vanilla, and cream cheese.
- Follow your model’s assembly directions: Standard and Deluxe machines use different pint sizes, so it helps to match the recipe volume to your specific container.
Troubleshooting: From Crumbly to Creamy
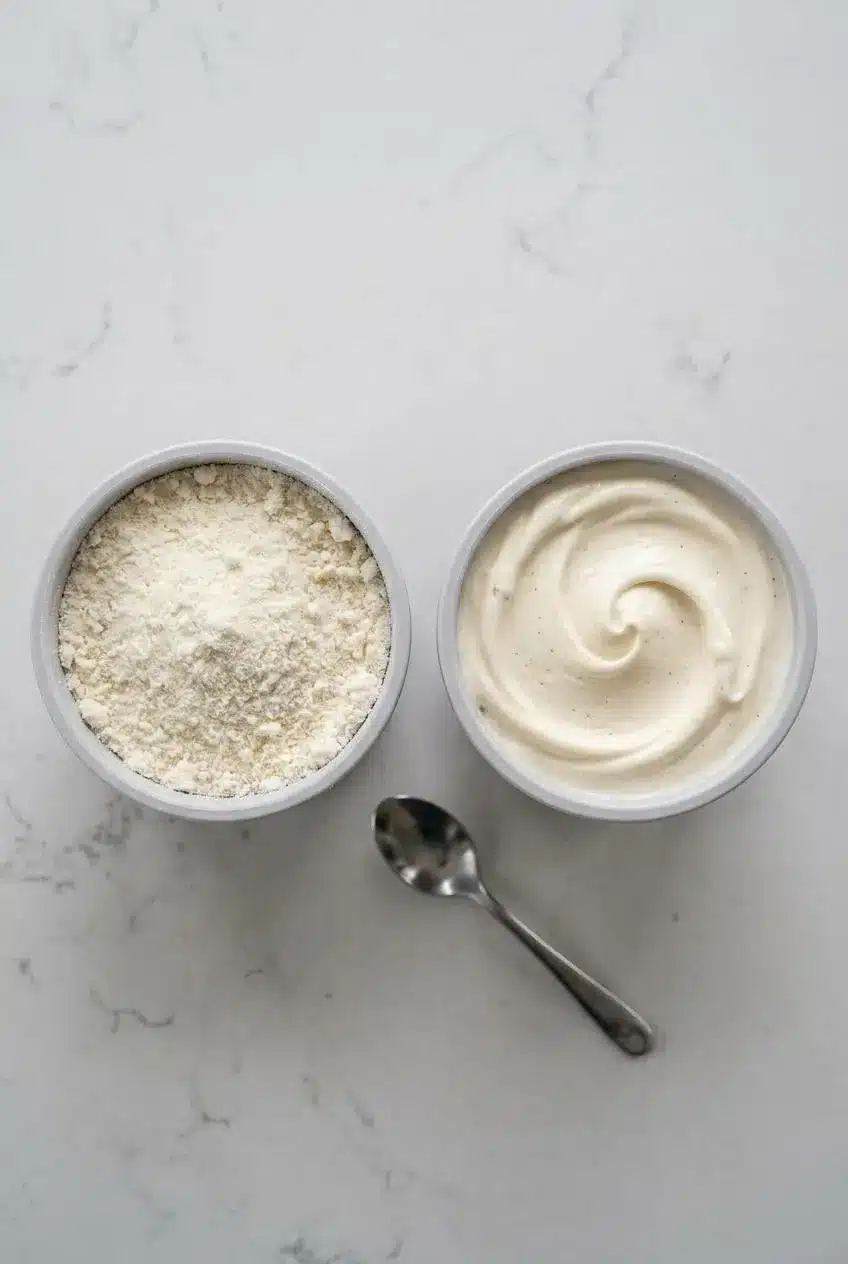
Most Creami problems are texture problems, and most of them are easy to fix once you know what you’re looking at.
- Problem: It’s powdery or crumbly. This is the most common one. The base is usually just very cold and dry after the first shave. Add 1 tablespoon of milk or cream, then use the Re-Spin function. If needed, do it once more. After the re-spin, it should look smooth and silky instead of dusty.
- Problem: It’s icy, not creamy. This often happens when the base is too low in fat or the sugar was not dissolved well. Stick with whole milk and heavy cream for the creamiest texture, and make sure the base is fully smooth before it goes into the pint.
- Problem: It’s too soft or soupy. The base may not have frozen firmly enough before spinning. If the pint is not solid all the way through, the machine can turn it slushy instead of creamy. Return it to the freezer until it is fully hard, then spin again.
- Problem: It tastes a little greasy. That usually points to a base with more fat than the texture needs or too much processing after it already turned smooth. This balanced recipe is less likely to do that, but richer variations can cross that line.
- Problem: There are little cream cheese bits in the finished ice cream. The cream cheese likely was not softened and mashed thoroughly at the start. Next time, mix it with the sugar and vanilla until it becomes a completely smooth paste.
Which Vanilla Base Is Right for You? A Comparison
If you’ve ever wondered whether cream cheese, pudding mix, or a plain dairy base is better, the answer depends on the texture and flavor you want most.
Cream Cheese Base (The Creamiest)
This is the main version on this page, and it’s the one to choose if your goal is the richest, smoothest result. The cream cheese helps reduce iciness and gives the ice cream a dense body that works especially well in the Ninja Creami.
- Texture: Thick, creamy, and stable.
- Ease: Very easy, with one extra mixing step.
- Flavor: Classic vanilla with a very slight tang that fades into the background.
- Best for: Anyone who wants the most scoop-shop style texture.
Pudding Mix Base (The Easiest)
This version is a popular shortcut. Omit the cream cheese and sugar, then whisk 4 tbsp of instant vanilla pudding mix into the milk and cream before freezing.
- Texture: Creamy and very dependable.
- Ease: Probably the fastest path to a smooth pint.
- Flavor: Sweeter and a little more like vanilla pudding than classic ice cream.
- Best for: When you want convenience and don’t mind that pudding-style note.
Classic Dairy Base (No Add-Ins)
If you want a more traditional dairy flavor, you can leave out the cream cheese and use the milk, cream, sugar, and vanilla on their own. You can also bump the sugar slightly if you prefer a sweeter result.
- Texture: Lighter and less dense.
- Ease: Very straightforward.
- Flavor: Clean and simple, with a pure vanilla dairy taste.
- Best for: People who want a classic base and don’t mind doing a re-spin if needed.
There’s also a condensed milk route, which gives a softer sweetness and extra body. It can work well, but it changes the flavor profile more noticeably than the cream cheese version.
Flavor Variations and Mix-In Ideas
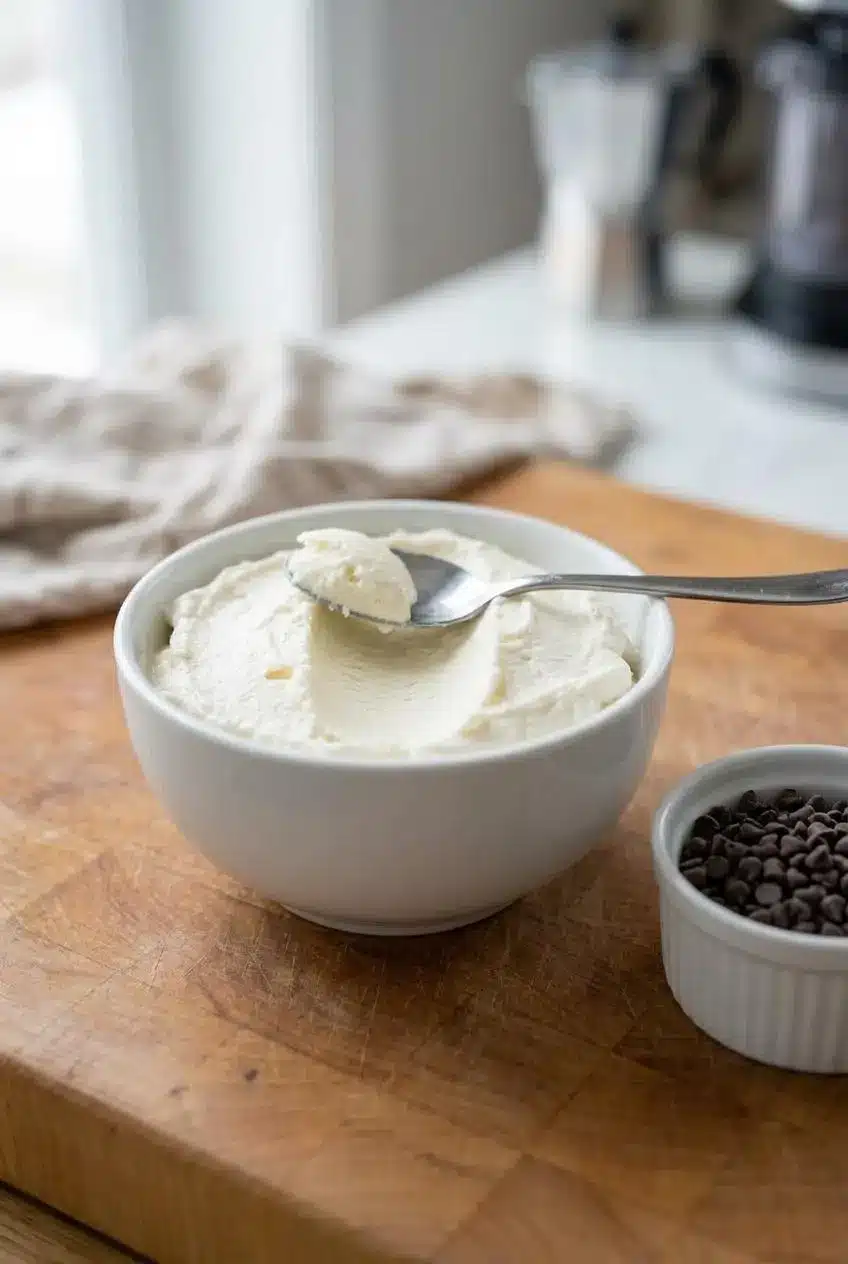
Once you’ve got the vanilla base down, this recipe becomes a very flexible starting point for all kinds of flavors.
Dairy-Free and Vegan Version
You can make a very good dairy-free pint by using 1 tbsp vegan cream cheese, 3/4 cup full-fat canned coconut cream, and 1 cup creamy plant milk such as oat milk. The result is still rich and smooth, though the flavor will lean a little more coconut-forward and won’t taste exactly like the dairy version.
High-Protein Option
Whisk in 1 scoop of vanilla or unflavored protein powder with the base before freezing. Expect the texture to be a bit more prone to dryness after the first spin, so a re-spin is often needed for the best finish.
If protein desserts are your thing, this dedicated high-protein ice cream is worth bookmarking too.
Popular Mix-In Combinations
Wait until the ice cream is fully creamy before adding anything chunky. Then make a hole down the center, add your mix-ins, and run the Mix-In function.
- Crushed sandwich cookies turn it into an easy cookies-and-cream style pint.
- Mini chocolate chips add crunch without getting too hard.
- Small brownie chunks make it feel extra dessert-table worthy.
- A scoop over warm pie or a brownie is hard to argue with.
If you want a fun way to serve it, this vanilla base works beautifully in homemade ice cream sandwiches.
How to Store and Re-Spin Leftovers
Ninja Creami leftovers need a different approach from store-bought ice cream. After scooping what you want, smooth the top of the remaining ice cream flat in the pint, put the lid back on, and return it to the freezer.
When you want more, run the pint through the same Ice Cream setting again to bring back the creamy texture. If it looks dry after that pass, add a small splash of milk and re-spin until the texture comes back together.
Because this recipe uses dairy, keep the ingredients and leftover pint properly chilled. The FDA notes that dairy products should stay under 40° F in cold storage.
Conclusion
This cream cheese version makes it much easier to get rich, smooth vanilla ice cream from your Ninja Creami without guessing your way through the texture.
The biggest trick is also the easiest one. If the first spin looks crumbly, use the Re-Spin button and keep going until it turns silky.
Frequently Asked Questions
Why Is My Ninja Creami Ice Cream Always Powdery?
Because the base is often frozen very hard, and that first spin can leave a dry, crumbly texture. Add 1 tablespoon of milk or cream and use Re-Spin. If needed, repeat once more until the ice cream looks smooth and creamy.
Can I Use Low-Fat Milk or Cream?
You can, but the texture will usually be less creamy and more icy. Full-fat dairy gives this recipe the richness and body that help the Ninja Creami produce a smoother pint.
How Do I Store and Eat Leftovers?
Flatten the surface of the leftover ice cream in the pint, cover it, and return it to the freezer. When you want another serving, process it again on the Ice Cream setting to bring back the creamy texture.
Can I Add Mix-Ins Like Chocolate Chips or Cookies?
Yes. Spin the ice cream until creamy first, make a hole down the center, add the mix-ins, and then use the Mix-In function. Smaller mix-ins usually blend more evenly and are easier to scoop.

Ninja Creami Vanilla Ice Cream

Equipment
- Ninja Creami
- Ninja Creami Pint
- Mixing Bowl
Ingredients
- 1 TBSP cream cheese (1/2 ounce)
- 1/3 cup granulated sugar
- 1 1/2 tsp vanilla extract
- 1 cup whole milk
- 3/4 cup heavy whipping cream
Instructions
- Place the cream cheese in a microwave-safe bowl and warm it for 10 seconds. It should soften enough to stir easily without melting into liquid.
- Stir in the sugar and vanilla extract until a thick paste forms. The goal is a smooth mixture that looks like frosting, with no visible cream cheese lumps.
- In a separate measuring cup, combine the whole milk and heavy whipping cream, then add that liquid to the paste a little at a time while stirring. Starting slowly helps the sugar dissolve fully, and the finished base should feel smooth rather than gritty.
- Pour the mixture into a Ninja Creami pint, cover it, and place it on a level spot in the freezer for 24 hours. A flat frozen surface helps the machine process the pint evenly and reduces the chance of an uneven spin.
- Take the pint out, remove the lid, set it into the outer bowl, and lock the machine parts into place as directed for your model. The base should be frozen solid and level across the top.
- Select the Ice Cream function and let the machine run for about 2 minutes. The machine will be loud, especially at the start, and that is completely normal.
- Open the pint and check the texture before serving. If it looks smooth and silky and holds its shape on a spoon, it’s ready to eat. If it’s crumbly, add 1 tablespoon of milk and run a re-spin.