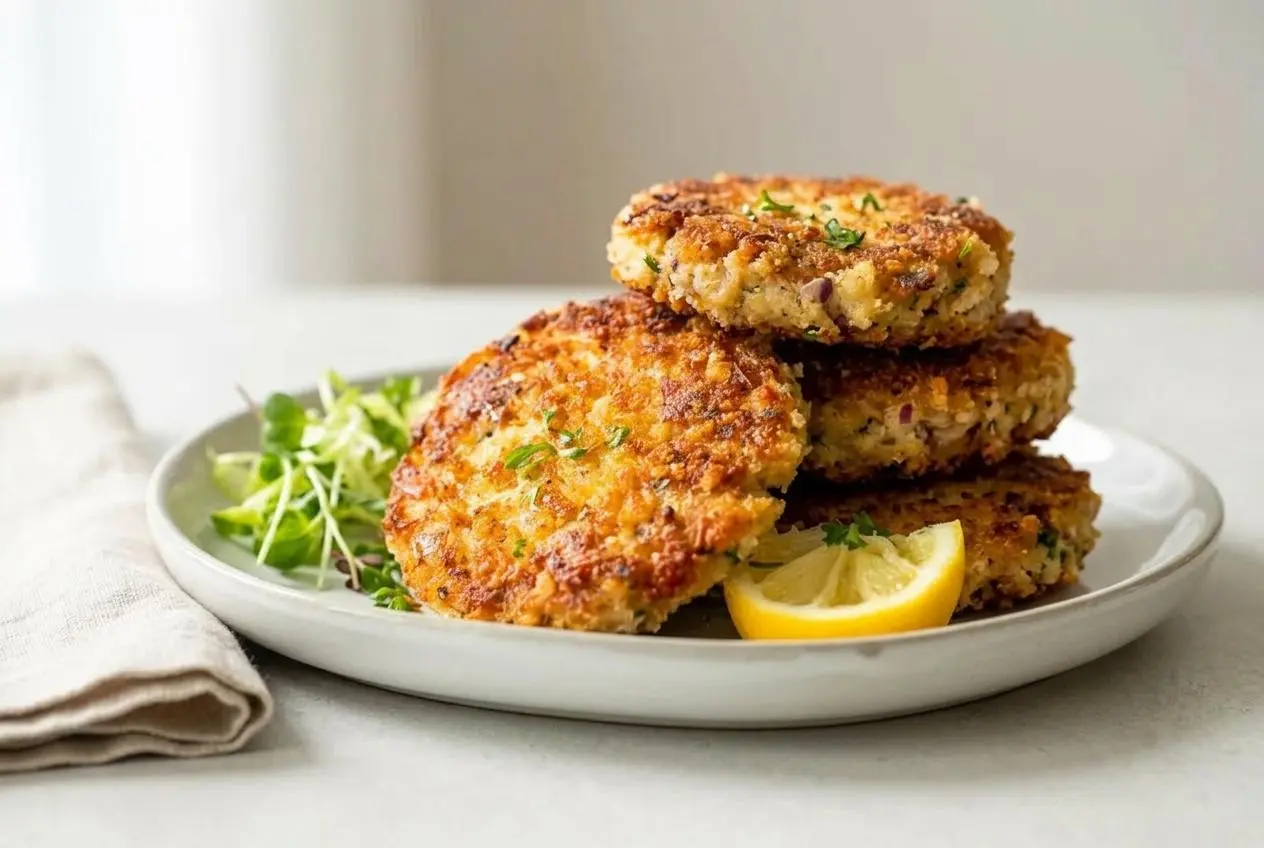
To make crisp, flavorful tuna patties that hold together, drain the tuna very well, mix it with the right binders, coat lightly with panko, and fry until deep golden brown without crowding the pan.
Tuna Patties are one of the easiest ways to turn canned tuna into a real dinner instead of a backup plan. They cook fast, taste savory and bright from lemon and herbs, and come out crispy outside with a tender, flaky center.
They’re especially good when you want something quick but still satisfying. The small tricks matter here, and they make all the difference.
Before you start, set out a shallow dish for the panko coating so you can move quickly once the patties are shaped.
Why You’ll Love These Tuna Patties
- Crispy on the outside with a moist, flaky middle.
- Ready in about 18 minutes, so they fit busy weeknights.
- Made with canned tuna but packed with lemon, Parmesan, garlic, and herbs for big flavor.
- Easy to serve as patties, burgers, or a protein for salads and lunch plates.
Key Ingredients for Perfect Tuna Patties
Each ingredient has a job here, from creating structure and moisture to building crunch, brightness, and a savory finish.
Tuna Patty Mixture
- 1 5 oz tuna in water (drained very well)
- 1 12 oz can of tuna in water (drained very well)
- 1/4 cup panko (plus an additional 2 tbsp)
- 1/2 cup Parmesan
- 1/2 cup chopped red onions
- 3 tsp minced garlic
- 2 tsp dried parsley
- 1/4 tsp onion powder
- 1/4 tsp dried dill
- 1/8 tsp crushed red pepper
- 1/2 tsp celery seeds
- 2 tsp pepper
- 1 1/4 tsp salt
- 3 tbsp mayonnaise
- 2 tsp lemon zest
- 3 tsp lemon juice
- 3 eggs (lightly beaten)
For Frying
- 1/4-1/2 cups panko
- 6 tbsp vegetable oil (add more as needed)
Well-drained tuna is the foundation. If it goes into the bowl wet, the patties tend to turn soft and fragile. Tuna packed in water is the most predictable choice for this recipe, and solid white albacore in water usually gives the cleanest flakes and most consistent texture. If you keep canned tuna around for more than patties, a classic Tuna Salad is another smart use for it.
Panko does two jobs. In the mixture, it helps absorb extra moisture and supports the structure. On the outside, it gives the crust a lighter, crisper finish than regular breadcrumbs. Eggs and mayonnaise are the main binders, and they also keep the inside from tasting dry or tight.
Parmesan adds salt and a deep savory note, while lemon zest and juice wake up the whole mixture so it doesn’t taste flat. Red onion, garlic, dill, parsley, and celery seeds give the patties a classic tuna cake flavor with a little more character.
I always press the drained tuna a little longer than I think I need to, because a drier tuna mixture is much easier to shape and fry cleanly.
The Best Binders for Tuna Patties
Different binders change the texture more than most people expect, so it helps to choose based on the result you want.
| Binder | Texture | Best For |
|---|---|---|
| Panko | Light, crisp, and airy | A crunchy exterior and a less dense patty |
| Regular breadcrumbs | Softer and tighter | A more uniform patty that feels a bit more compact |
| Almond flour | Tender and slightly delicate | Gluten-free or lower-carb versions |
Cold mashed potato is also a great binder when you want a softer, more tender interior. It adds moisture and helps the patties hold together, though the crust will be a little less crisp than one made with panko.
How to Make Tuna Patties Step-by-Step
The goal is a mixture that stays together easily and fries into a real crust instead of a pale coating.
- Place all of the tuna patty mixture ingredients in a mixing bowl and stir until everything is evenly combined.
The mixture should feel moist but not wet, and it should hold its shape when pressed together. - Scoop the mixture with a 1/4 measuring cup and shape it into patties.
Keeping the patties a similar size helps them cook at the same pace. - Spread 1/4 cup of the panko for frying in a shallow dish, then lightly coat both sides of each patty, adding more panko if needed.
A thin coating is enough to help the outside turn crisp and evenly golden. - Heat 3 tbsp of vegetable oil in a large skillet over medium high heat, adding more oil as needed for the second batch.
When the patties hit the pan, you should hear a gentle sizzle rather than a harsh splatter. - Cook about 4 to 5 patties at a time and flatten them with a spatula to about 1/8 inch thick once they are in the skillet.
Do not crowd the pan, or the patties will steam and lose some of their crust. - Fry for about 3 to 4 minutes per side, then turn carefully and cook the other side until golden brown.
Wait for a deep golden brown color, not just pale yellow, before flipping. - Transfer the cooked patties to paper towel and repeat with the remaining oil and patties.
They should come out crisp at the edges and still feel tender in the center. - Let the patties cool for a few minutes before serving.
This short rest helps them firm up slightly so they hold together better on the plate.
If you’re worried about breakage, use one spatula to lift and another to steady the top during the flip. It feels a little fussy, but it works.
Tips to Keep Tuna Patties from Falling Apart
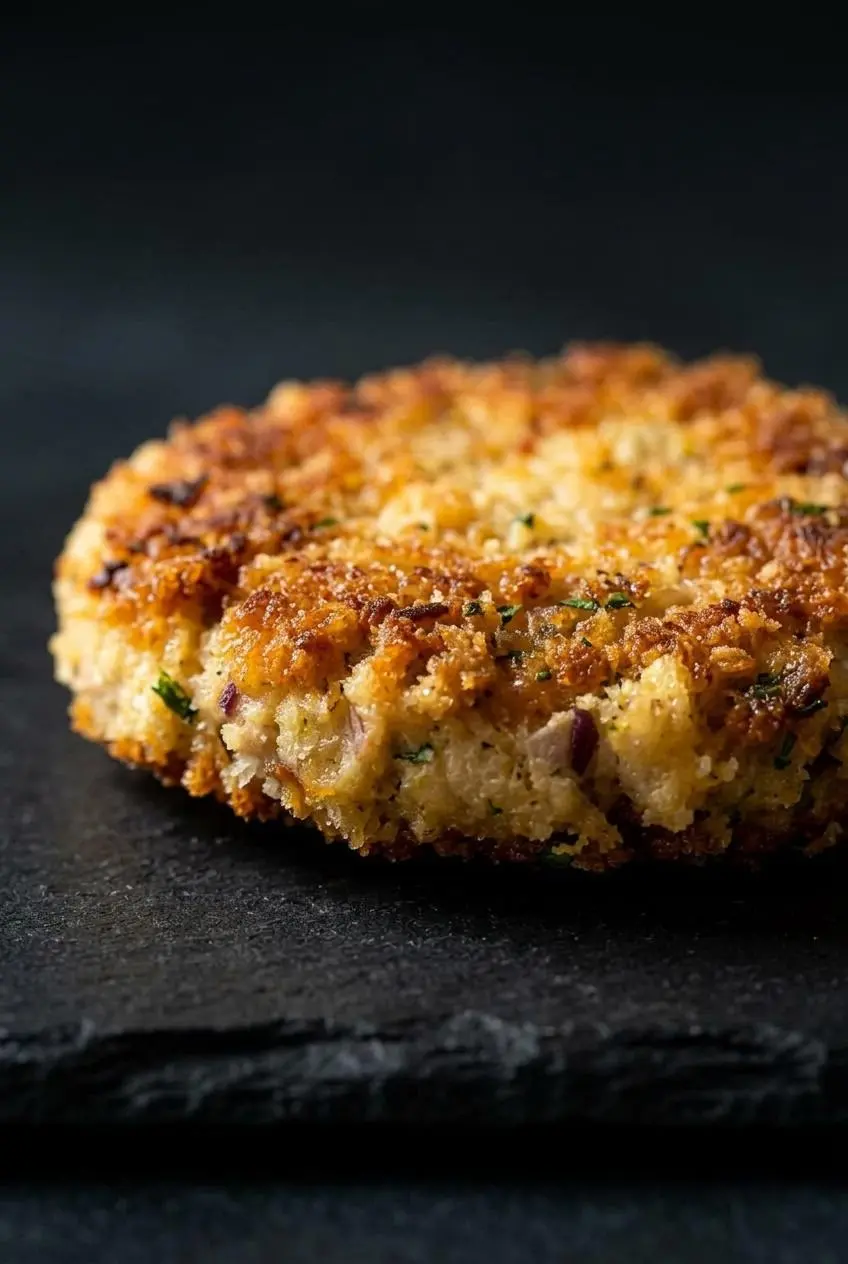
If tuna patties crumble, the fix is usually simple. Most problems come down to moisture, structure, or flipping too soon.
- Drain the tuna thoroughly. This is the biggest one. Extra liquid makes the mixture loose, and loose patties break in the skillet. Press out as much moisture as you can before mixing.
- Use the right binders. The eggs, panko, and mayonnaise work together here. Egg helps the patties set, panko absorbs moisture and supports the shape, and mayo keeps the inside from drying out.
- Chill the patties. If your mixture feels soft, refrigerate the formed patties for 30 minutes before frying. That brief chill helps them firm up and makes flipping much easier.
- Flip with care. Let the first side develop a good crust before turning. If you try to flip too early, the patties can split. A thin spatula, or even two spatulas, helps a lot.
Troubleshooting Common Tuna Patty Problems
When a batch goes sideways, there’s usually a clear reason. This quick guide helps you fix the problem without guessing.
| Problem | Likely Cause | How to Fix It |
|---|---|---|
| Patties are falling apart | Tuna was too wet, or the mixture did not have enough binder | Drain the tuna more thoroughly, mix well, and chill the shaped patties before cooking if needed |
| Patties are dry | The mixture lacks moisture, or the patties cooked too long | Make sure the mayonnaise and eggs are fully mixed in, and pull the patties once both sides are browned |
| Patties are bland | Not enough seasoning or acid | Do not skip the salt, pepper, lemon zest, lemon juice, garlic, and herbs, which keep canned tuna from tasting flat |
| Patties are soggy or oily | The pan was crowded, or the oil was not hot enough | Cook in batches, wait for a gentle sizzle, and drain the finished patties briefly on paper towel |
Recipe Variations and Cooking Methods
The skillet method gives the crispiest crust, but you’ve got a few useful options if you want less oil, easier cleanup, or a faster shortcut.
How to Make Tuna Patties in the Air Fryer
Shape the patties the same way, then lightly coat them with panko as usual. Arrange them in a single layer in the air fryer basket, spray the tops lightly with oil, and cook at 400 °F until crisp and browned, flipping halfway through so both sides color evenly. This method is great when you want a cleaner finish with less pan work.
Lighter, Healthier Baked Tuna Patties
Place the shaped, coated patties on a lined baking sheet and give the tops a light spray or brush of oil so they brown instead of drying out. Bake at 400 °F until the patties feel firm and look golden, then flip once for more even color. The crust is a little less dramatic than pan-fried, but the flavor still holds up well.
The Easiest 3-Ingredient Version
If you need the stripped-down version, use drained tuna, egg, and breadcrumbs or cracker crumbs to make quick patties. It works in a pinch and gives you a solid texture, but it won’t have the same depth as the full version with Parmesan, lemon, garlic, and herbs.
If you’d rather make the same idea with salmon, Salmon Patties are a natural swap and follow a very similar method.
What to Serve with Tuna Patties
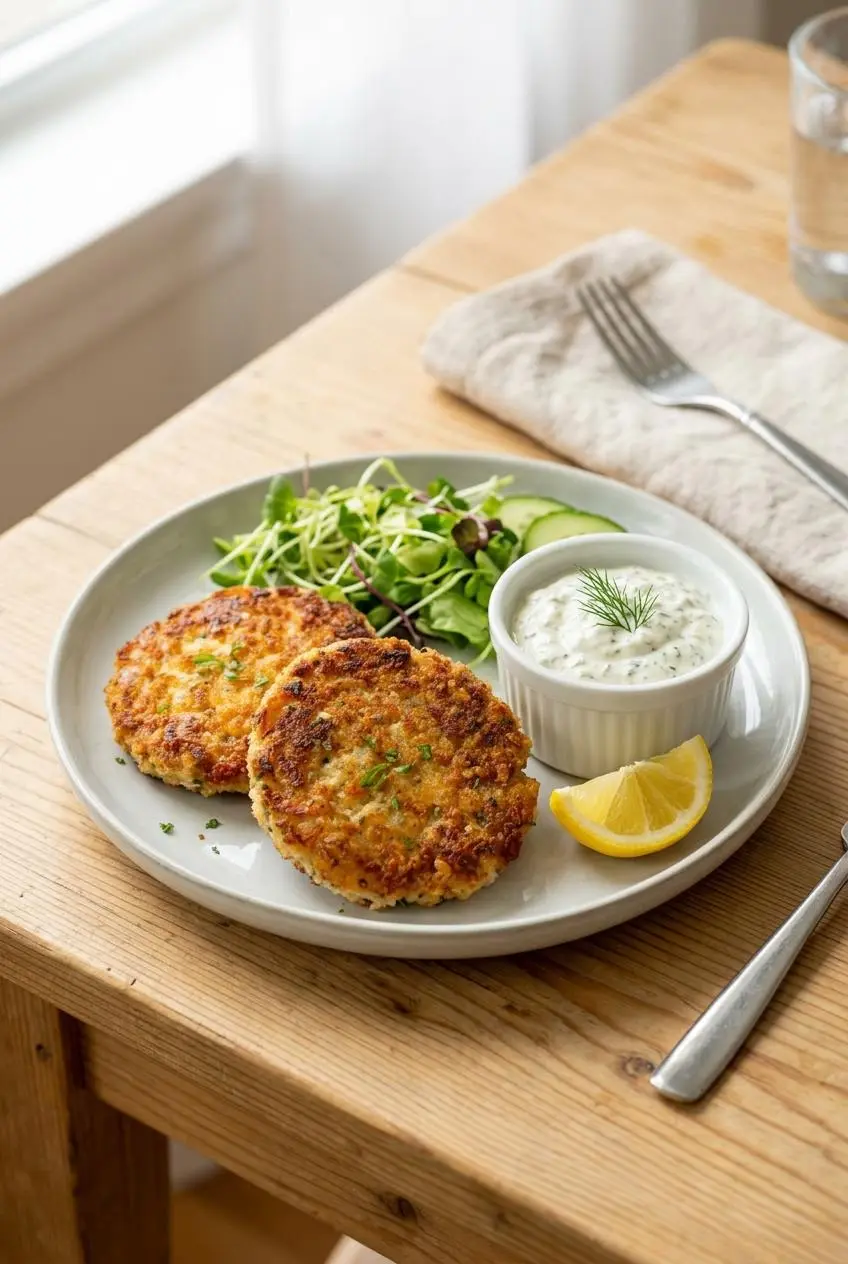
Tuna patties are easy to turn into a full meal. They work warm from the skillet, tucked into a bun, or plated with crisp sides that balance the richness.
- Serve them on a bun with lettuce and tomato for a tuna burger.
- Pair them with coleslaw, potato salad, or a crisp green salad.
- Set them next to a simple Greek Salad when you want something fresh and sharp against the crispy coating.
- Crumble leftovers over salad for lunch, or plate them with vegetables for a quick dinner.
Simple Dipping Sauces
A good sauce makes these feel a little extra without much work.
Quick tartar sauce: Stir together mayonnaise, chopped pickles or relish, a squeeze of lemon juice, and a little black pepper until creamy and tangy.
Sriracha aioli: Mix mayonnaise with sriracha and a squeeze of lemon juice. It’s rich, spicy, and especially good if you add a pinch of crushed red pepper to the patties.
Lemon-dill yogurt dip: Combine plain Greek yogurt, lemon juice, dill, and a pinch of salt. This one is cool and bright, which is nice with the hot crust.
Storage, Reheating, and Make-Ahead Tips
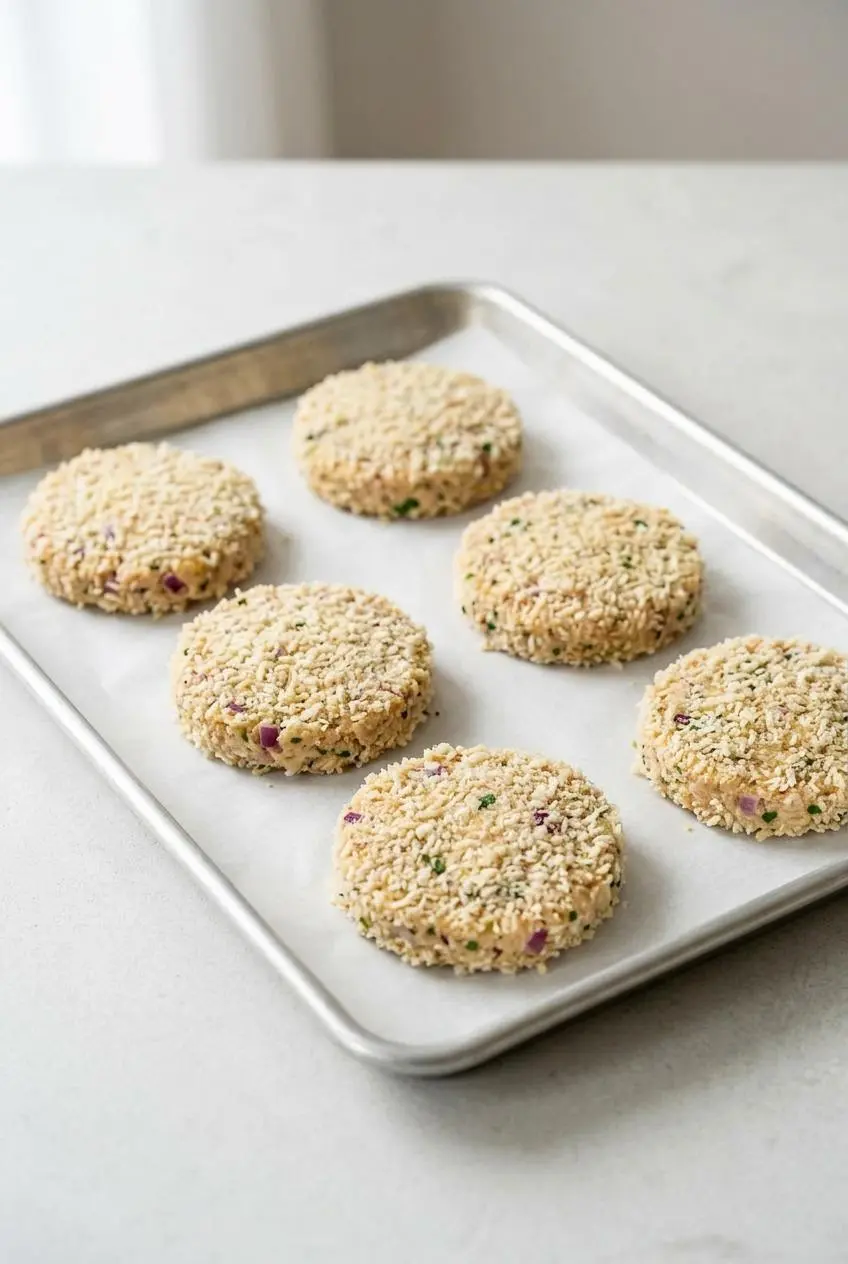
These patties are best fresh, but you can still handle leftovers and prep smartly if you want a head start.
How to Store Leftovers
Cool the patties before packing them into an airtight container and keep them chilled. For the best texture, place a paper towel underneath or between layers to absorb any condensation, then reheat only the portion you plan to eat.
How to Handle Extra Patties for Later
If you want to get ahead, you can mix and shape the patties, then keep them chilled until you’re ready to cook. If they soften while sitting, a short chill helps them firm up again before they hit the pan.
The Best Way to Reheat
A skillet, oven, or air fryer gives you the best shot at bringing back the crisp exterior. Reheat just until hot throughout, and for fish leftovers, safe handling and reheating of seafood matters just as much as the method you choose. Try to skip the microwave if crispness is the goal, because it softens the coating quickly.
Conclusion
These tuna patties work because the method is straightforward and the details are doing real work. Drain the tuna well, use enough binder, and let the crust form before flipping.
The payoff is a batch of patties that are crisp, savory, and sturdy enough to serve any way you like. Once you make them this way, canned tuna starts looking a lot more exciting.
Frequently Asked Questions
Why are my tuna patties dry or bland?
Dry patties usually need more moisture in the mix or less time in the pan. Bland patties almost always need enough salt, pepper, lemon, herbs, and aromatics, because canned tuna on its own can taste pretty muted.
Can I make tuna patties ahead of time?
Yes. You can mix and shape them ahead, then keep them chilled until you’re ready to cook. If the mixture loosens as it sits, chill the formed patties so they firm up before frying.
What’s the best way to reheat tuna patties?
The best choices are a skillet, air fryer, or oven so the outside can crisp again. The microwave will warm them, but it usually makes the coating soft.
Can I use canned salmon instead of tuna?
Yes. Canned salmon works very well here, and the method stays basically the same. Just drain it thoroughly before mixing so the patties hold their shape.
How do I make gluten-free tuna patties?
Swap the panko for gluten-free panko, crushed gluten-free crackers, or almond flour. Almond flour gives a softer crust, while gluten-free panko stays closest to the original texture.
What can I use as a binder for tuna patties instead of eggs?
Mayonnaise, Greek yogurt, or cold mashed potato can help bind an egg-free batch. Mashed potato is especially useful because it adds moisture as well as structure, though the final texture will be a bit softer.

Tuna Patties

Equipment
- Large Skillet
- Spatula
- Mixing Bowl
Ingredients
Tuna Patty Mixture
- 1 5 oz can tuna in water, drained very well
- 1 12 oz can tuna in water, drained very well
- 1/4 cup panko plus an additional 2 tbsp
- 1/2 cup Parmesan
- 1/2 cup chopped red onions
- 3 tsp minced garlic
- 2 tsp dried parsley
- 1/4 tsp onion powder
- 1/4 tsp dried dill
- 1/8 tsp crushed red pepper
- 1/2 tsp celery seeds
- 2 tsp pepper
- 1 1/4 tsp salt
- 3 tbsp mayonnaise
- 2 tsp lemon zest
- 3 tsp lemon juice
- 3 eggs, lightly beaten
For Frying
- 1/4-1/2 cups panko
- 6 tbsp vegetable oil add more as needed
Instructions
- Place all of the tuna patty mixture ingredients in a mixing bowl and stir until everything is evenly combined. The mixture should feel moist but not wet, and it should hold its shape when pressed together.
- Scoop the mixture with a 1/4 measuring cup and shape it into patties. Keeping the patties a similar size helps them cook at the same pace.
- Spread 1/4 cup of the panko for frying in a shallow dish, then lightly coat both sides of each patty, adding more panko if needed. A thin coating is enough to help the outside turn crisp and evenly golden.
- Heat 3 tbsp of vegetable oil in a large skillet over medium high heat, adding more oil as needed for the second batch. When the patties hit the pan, you should hear a gentle sizzle rather than a harsh splatter.
- Cook about 4 to 5 patties at a time and flatten them with a spatula to about 1/8 inch thick once they are in the skillet. Do not crowd the pan, or the patties will steam and lose some of their crust.
- Fry for about 3 to 4 minutes per side, then turn carefully and cook the other side until golden brown. Wait for a deep golden brown color, not just pale yellow, before flipping.
- Transfer the cooked patties to paper towel and repeat with the remaining oil and patties. They should come out crisp at the edges and still feel tender in the center.
- Let the patties cool for a few minutes before serving. This short rest helps them firm up slightly so they hold together better on the plate.