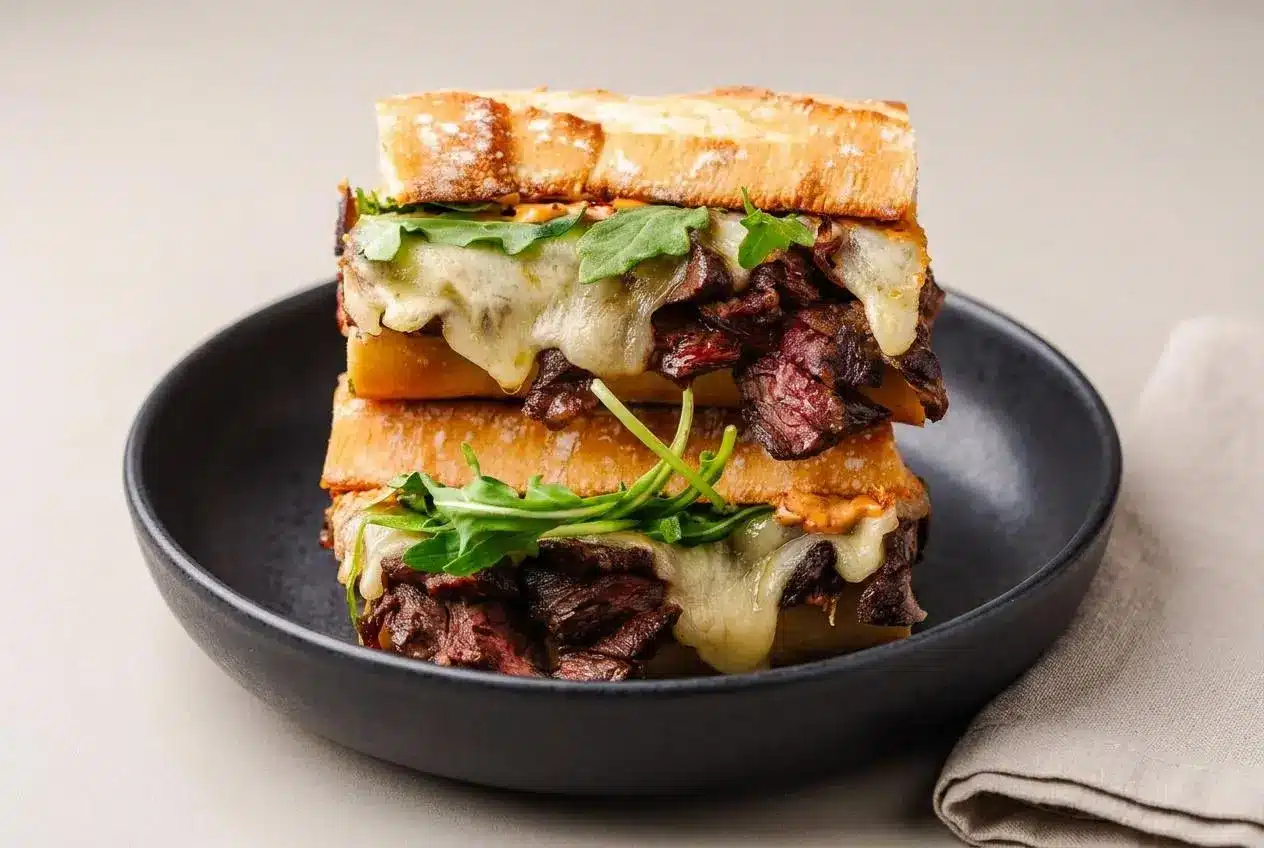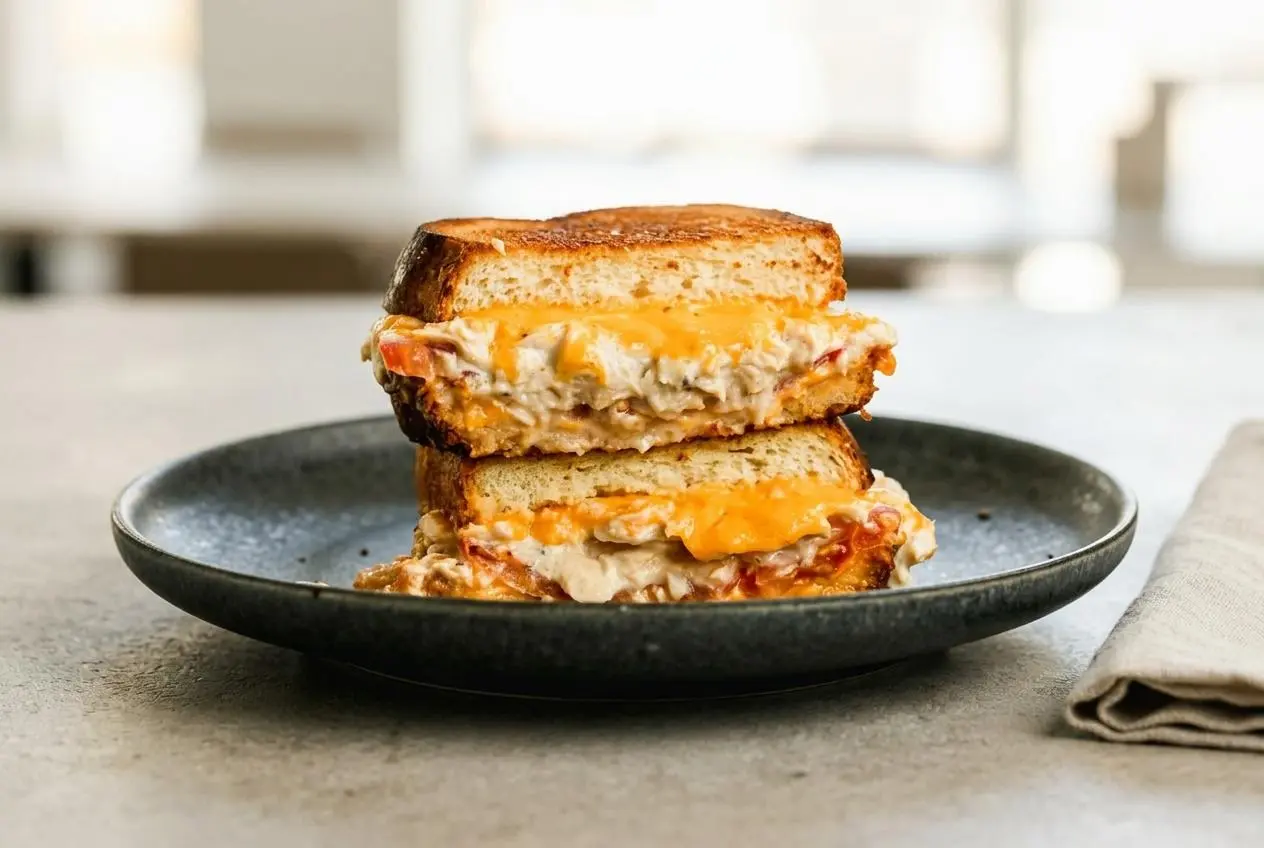
A classic tuna melt combines creamy tuna salad, melted cheese, and golden toasted bread. The key is well-drained tuna, good melting cheese, and medium-low heat so the bread crisps while the center turns hot and gooey.
This Tuna Melt Recipe is the kind of quick comfort food that feels bigger than the effort. You get savory tuna, stretchy cheese, and that diner-style crunch in about 10 minutes.
It also solves the two things that ruin a melt fast: soggy bread and cheese that stays stubbornly solid. The cheese barrier trick makes all the difference.
Drain the tuna really well before you mix anything, or the filling can turn loose and watery.
Why This Is the Best Tuna Melt Recipe
This version is built to give you a crisp, deeply golden crust and a creamy, cheesy center without guesswork. The filling stays rich but not wet, the bread holds together, and the method is easy to repeat. It’s a dependable classic, with enough technique built in that you can make a great melt every time.
Ingredients You’ll Need
Each ingredient has a real job here, from keeping the filling creamy to adding tang, structure, and that irresistible melty finish.
- 12 ounces canned albacore white tuna, packed in water, drained
- 1/3 cup mayonnaise, more to taste (or substitute half mayo, half plain Greek yogurt)
- 2 Tablespoons finely chopped red onion
- 2 teaspoons fresh lemon juice
- pinch Dried oregano
- salt and pepper, to taste
- 4 slices thick cut white sandwich bread
- 4 slices cheese (cheddar, provolone, swiss, or your fav kind)
- sliced avocado (optional)
- sliced tomato (optional)
I usually reach for solid white albacore because it stays pleasantly chunky in the bowl, but any good canned tuna can work if you drain it thoroughly.
The mayo gives the tuna salad body and richness, while lemon juice brightens it so the filling doesn’t taste flat. Red onion adds bite, oregano brings a little savory depth, and thick bread helps the sandwich stay crisp instead of collapsing in the pan. Cheese is doing double duty here: flavor and structure.
The Best Tuna
If you want a cleaner flavor and firmer texture, water-packed albacore is a great fit for a tuna melt. It holds its shape well, so the filling stays creamy and combined instead of turning mushy. Chunk light tuna is softer and usually more budget-friendly, so it still works well if that’s what you have.
Water-packed tuna tastes lighter, while oil-packed tuna brings more richness. Either can make a good sandwich, but both need the same treatment: drain them well. Pressing the tuna gently in a sieve or against the can lid helps remove excess liquid so your bread stays crisp.
The Best Cheese
The best cheese for this sandwich melts smoothly and still has enough flavor to stand up to the tuna. Some cheeses bring sharper bite, while others give you that classic stretchy pull.
| Cheese Type | Flavor Profile | Melt Factor |
|---|---|---|
| Sharp Cheddar | Tangy, nutty | Good, can be oily |
| Provolone | Mild, slightly sweet | Excellent, very stretchy |
| American | Mild, creamy, salty | The best, super smooth |
| Swiss | Nutty, mild | Very good, great stretch |
If you like a more balanced melt, pairing cheddar with provolone or American gives you both flavor and gooey texture. Swiss is a nice option if you want something mellow and a little more diner-style.
The Best Bread
Choose bread that can hold the filling without turning flimsy in the skillet. Thick-cut white sandwich bread is the classic choice and gives that familiar diner sandwich feel. Sourdough adds a bit of tang and stays sturdy, while rye gives the sandwich a stronger, slightly earthy flavor.
Whatever bread you choose, thicker slices are your friend. They create a better bread-to-filling ratio and make it easier to get a deep golden crust before the sandwich gets too delicate to flip.
How to Make a Classic Tuna Melt
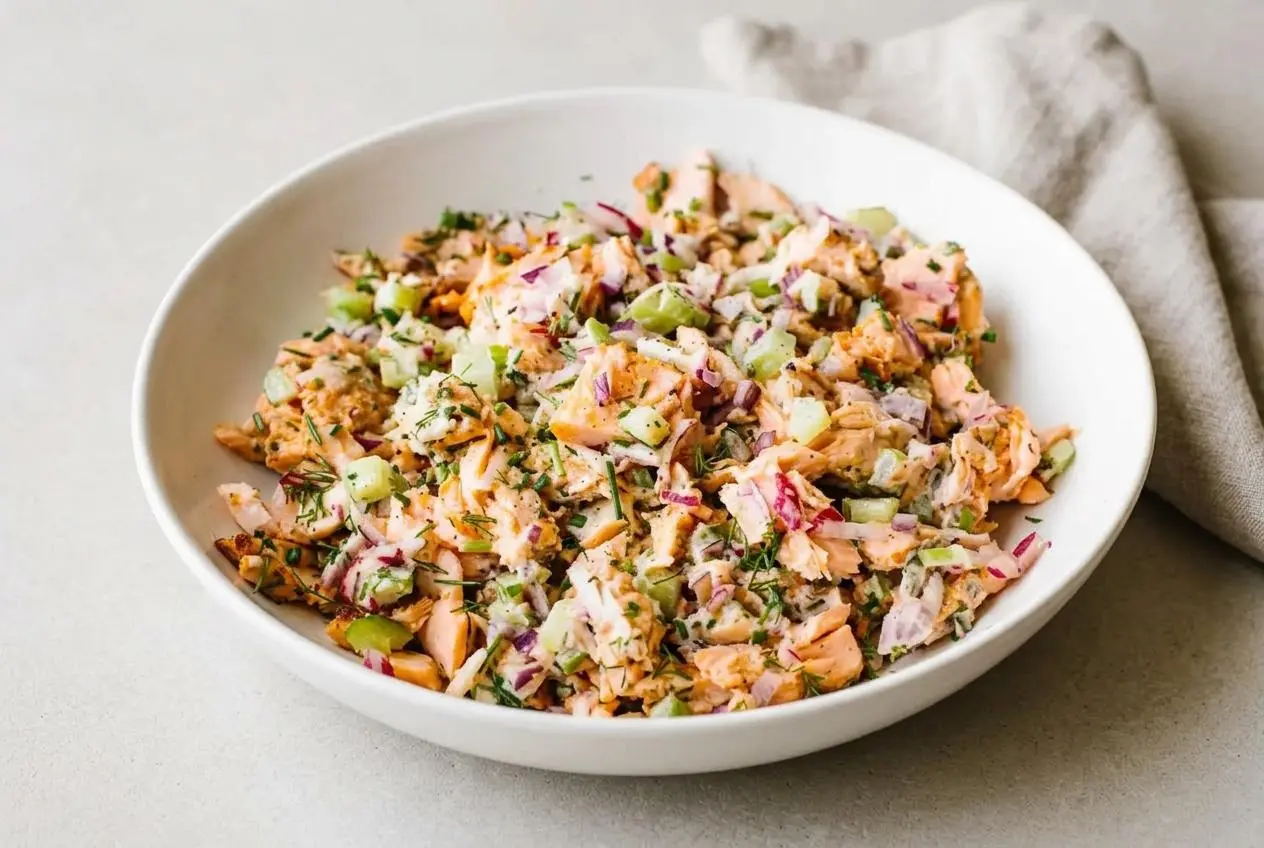
A great tuna melt starts with a solid tuna salad base. If you want more ideas for the filling itself, this classic tuna salad is a useful jumping-off point.
- Stir the tuna, mayonnaise, red onion, lemon juice, and oregano together in a medium bowl, then season with salt and pepper to taste.
The mixture should look creamy and evenly combined, but not overly wet or soupy, so add more mayo only if it seems too dry. - Butter the outsides of the bread, then pile the tuna mixture onto the unbuttered sides and add cheese, any optional avocado or tomato, another slice of cheese, and the top bread slices.
Placing cheese on both sides helps keep the filling tucked in and gives you a better melt through the center. - Set the sandwiches in a skillet over medium-low heat and cook until the first side is toasted and the cheese starts to soften, then flip and finish the second side until the bread is crisp and the cheese is melted.
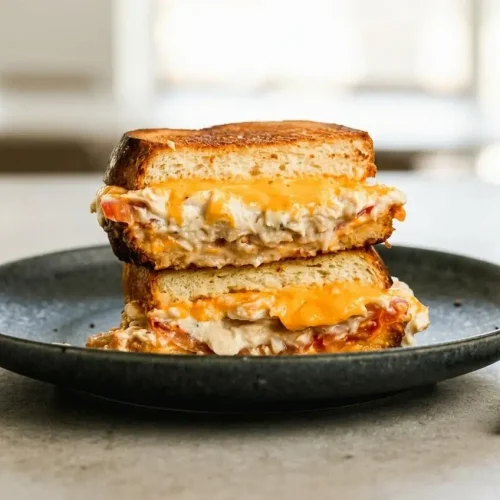
You’re looking for a deep golden brown crust that sounds lightly crisp when cut, with gooey cheese all the way through.
Be patient with the heat here. Medium-low gives the cheese time to melt before the bread races past golden into burnt.
Tips for a Perfect, Non-Soggy Melt
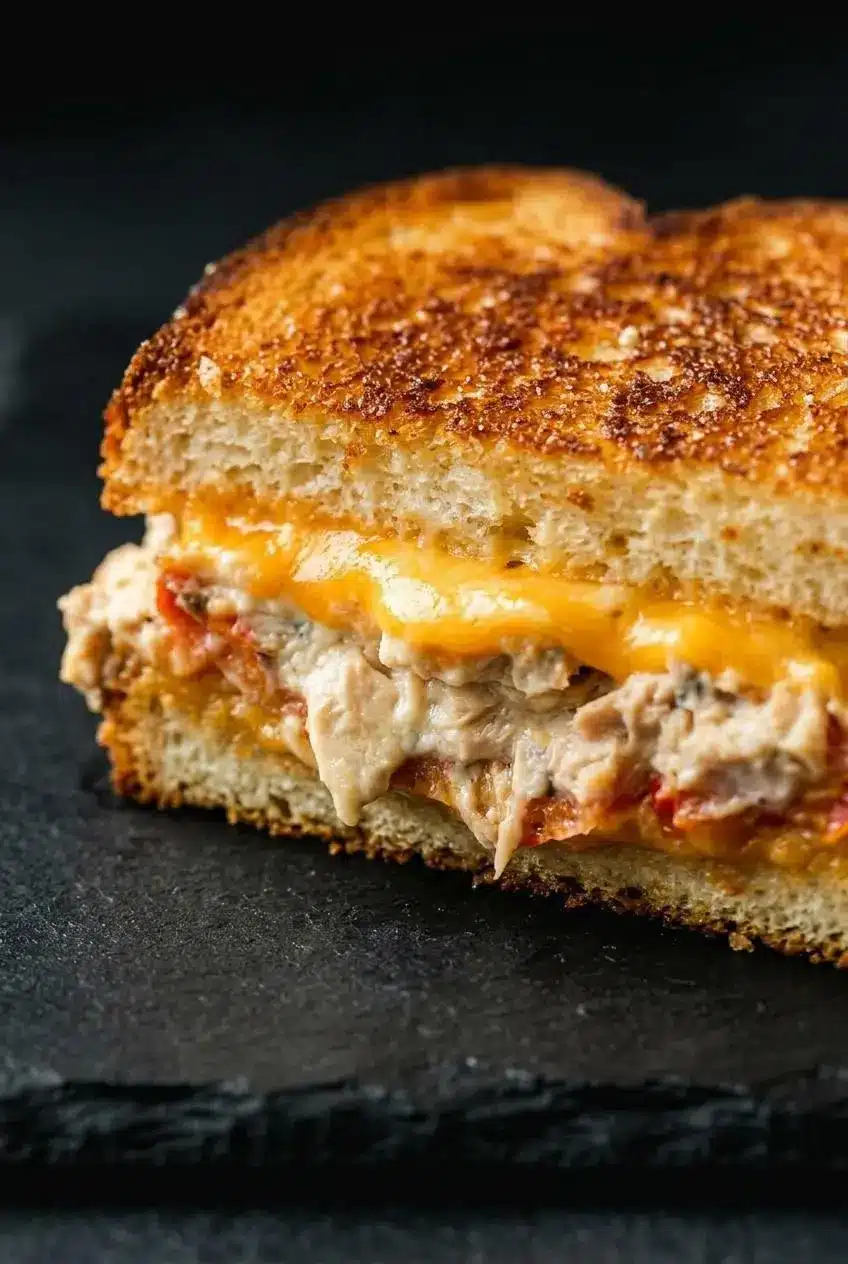
This is where a good tuna melt turns into a great one. A few small choices make the sandwich crisp, sturdy, and properly cheesy instead of wet in the middle or scorched outside.
- Drain the tuna well. This is the first rule. If the tuna is watery, the filling will be watery too. A quick press in a sieve helps a lot.
- Use the cheese barrier trick. Put one slice of cheese against the bread, add the tuna salad, then top with the second slice. That cheesy seal helps protect the bread from moisture.
- Try mayo on the outside. A thin smear of mayonnaise on the exterior can brown more evenly than butter and gives the crust extra crispness and color.
- Cook over medium-low heat. High heat burns the bread before the cheese gets fully melty. Low and steady is the move here.
- Watch the filling texture. Tuna salad should hold together softly, not slump or spread like a dip. Start with the listed mayo, then adjust only if needed.
- Don’t overfill the sandwich. Too much filling pushes out the sides when you press or flip, which makes the sandwich messy and harder to toast evenly.
Tuna Melt Troubleshooting
| Problem | Likely Cause | Fix |
|---|---|---|
| My sandwich is soggy. | The tuna was not drained enough or the bread was too soft for the filling. | Drain the tuna thoroughly, use sturdy bread, and add cheese directly against the bread as a moisture barrier. |
| My bread burned but the cheese isn’t melted. | The skillet was too hot. | Lower the heat to medium-low and give the sandwich more time to warm through. |
| My tuna salad is watery. | Too much mayo or excess liquid in the tuna. | Start with the stated amount, mix, and add more only if the filling needs it. |
| My sandwich falls apart when I flip it. | It was overfilled or the bread was too thin. | Use thick slices and keep the filling in a compact layer rather than mounding it high. |
Tuna Melt Variations (Oven, Air Fryer, and More)
The skillet version is hard to beat, but this sandwich is flexible. If you want a different texture or an easier batch method, these variations all work well.
Air Fryer Tuna Melt
Assemble the sandwich as usual, then place it in the air fryer basket and cook at 370°F until the bread is crisp and the cheese melts, flipping halfway through. Keep an eye on it, since different air fryers brown at different speeds. This method gives you a very crisp exterior with less pan watching.
Open-Faced Oven-Baked Tuna Melt
For an open-faced version, place bread slices or split English muffins on a baking sheet, spoon the tuna mixture on top, and finish with cheese. Broil until the cheese is bubbly and lightly golden. This is a good choice when you want the top extra cheesy and a little more hands-off.
Spicy Tuna Melt
If you like a little heat, mix sriracha, finely chopped jalapeños, or a pinch of red pepper flakes into the tuna salad. The spice cuts through the richness nicely and makes the sandwich feel a touch less classic diner, a touch more punchy.
Lighter Tuna Melt (with Greek Yogurt)
You can swap half or all of the mayonnaise for plain Greek yogurt for a lighter, tangier filling. It won’t taste quite as rich, but it still works well, especially if you like a brighter, less heavy bite.
Flavorful Tuna Salad Add-Ins
| Add-In | What It Adds | Best For |
|---|---|---|
| Finely chopped celery | Fresh crunch | A more textured filling |
| Dill pickles or relish | Tang and brightness | A classic deli-style flavor |
| Capers | Salty pop | A sharper, brinier bite |
| Fresh dill or parsley | Color and freshness | A lighter finish |
| Chopped hard-boiled egg | Extra richness and body | A heartier sandwich |
If you love this whole family of hot, cheesy sandwiches, another classic Patty Melt is worth making next.
What to Serve with a Tuna Melt
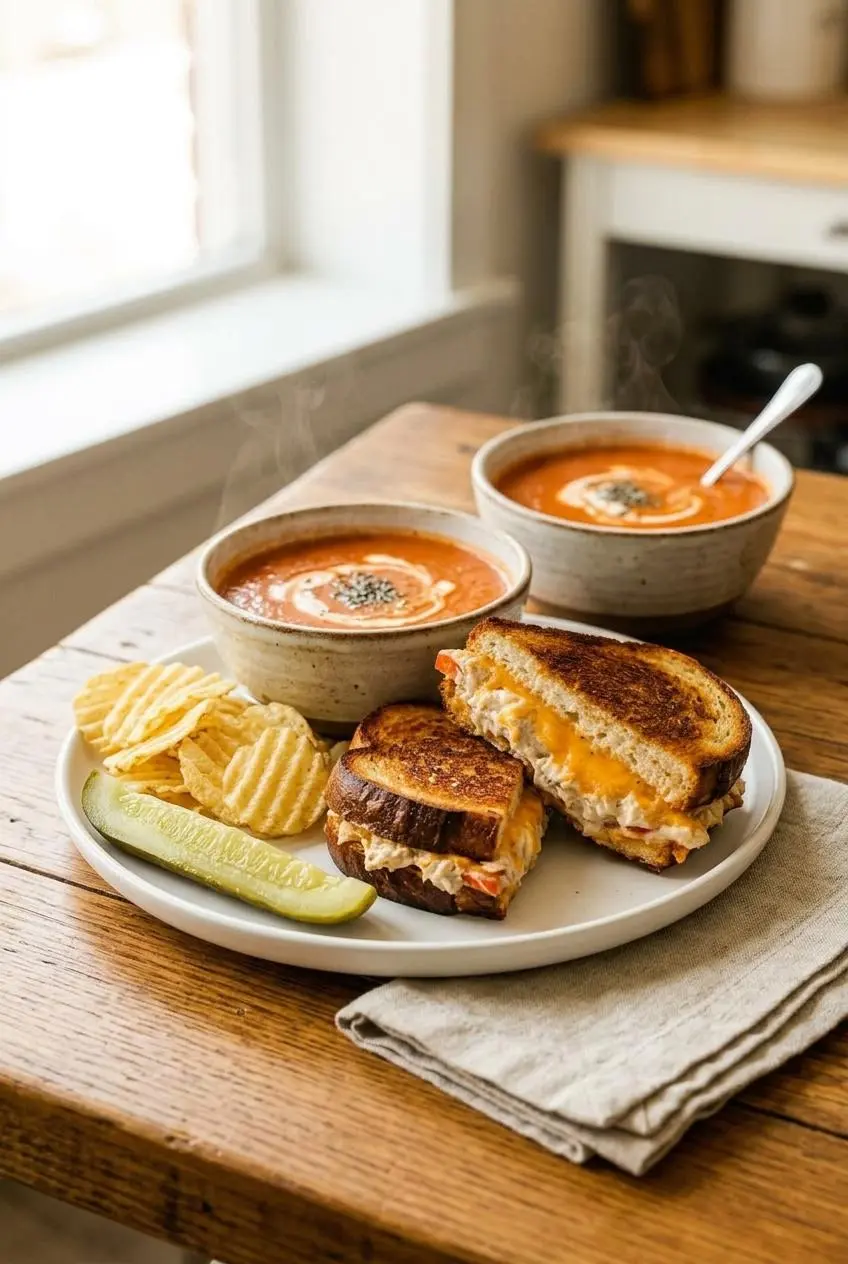
A tuna melt is rich and savory, so it pairs best with sides that bring crunch, acidity, or something cool and simple.
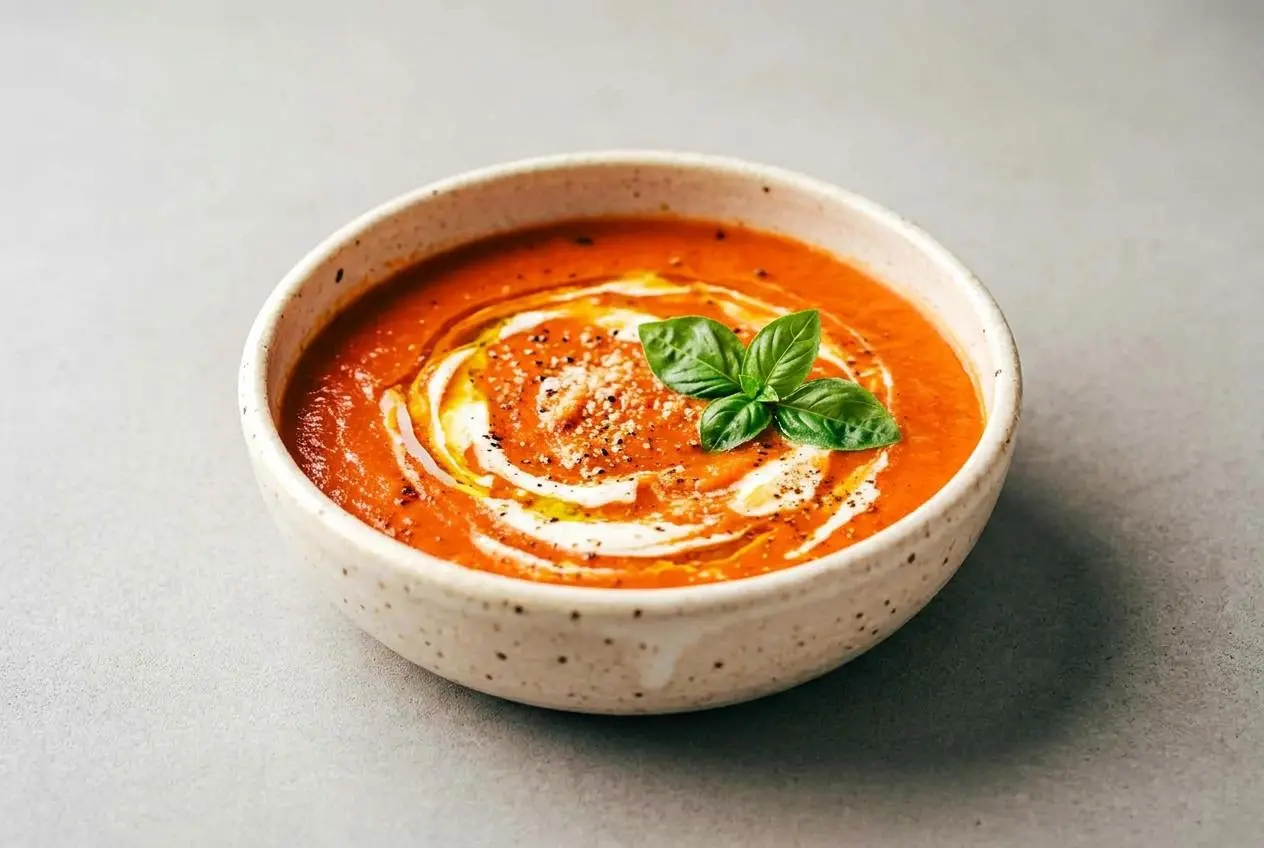
- A warm bowl of creamy tomato soup for dipping
- Classic potato chips for extra crunch
- A dill pickle spear with creamy coleslaw for diner-style balance
- A simple green salad with vinaigrette if you want the meal to feel lighter
Storage, Make-Ahead, and Reheating
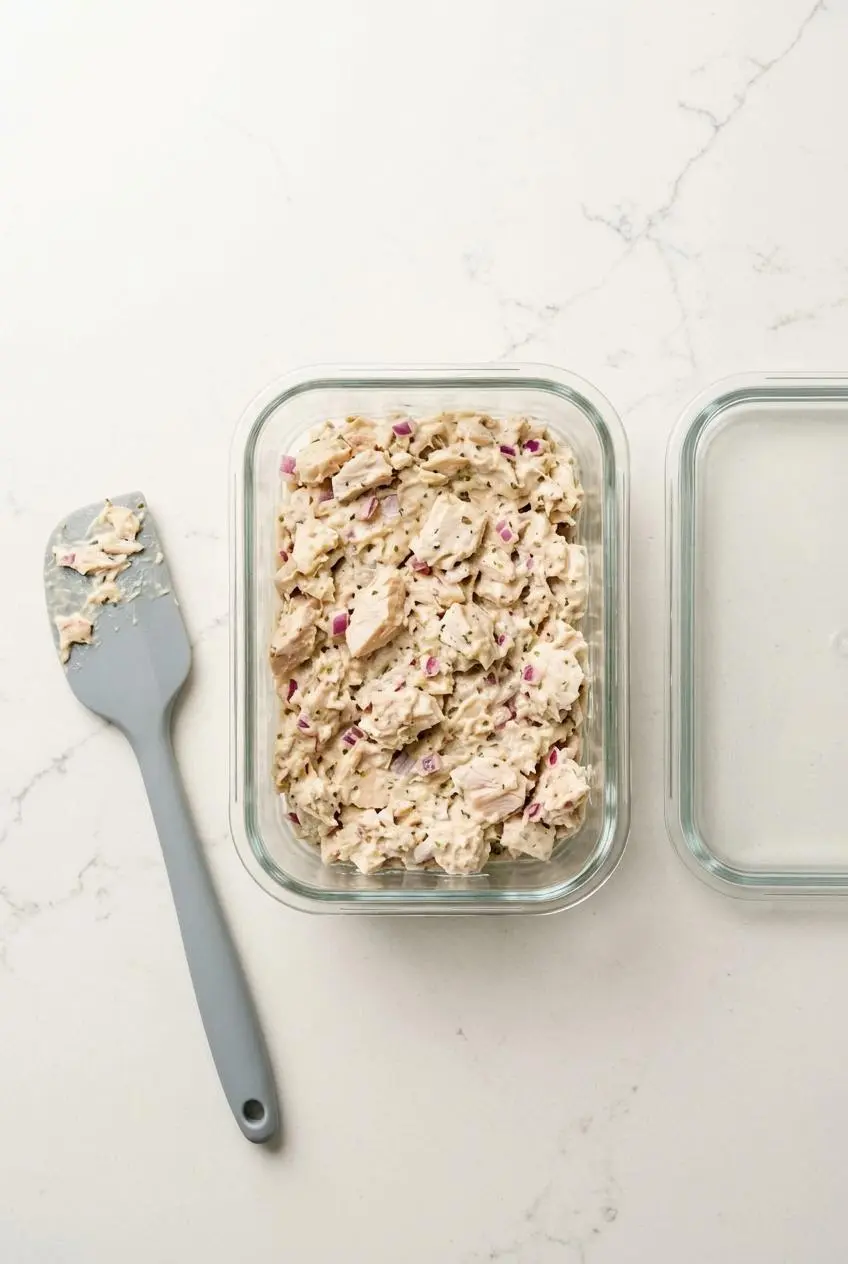
If you want to get ahead, make the tuna salad first and keep the bread separate until you’re ready to cook. Once opened, canned tuna should be refrigerated and used within 3 to 4 days, which lines up well with keeping prepared tuna salad for up to 3 days in an airtight container in the fridge for best quality and food safety within 3 to 4 days.
If you assemble the sandwich before cooking, keep it chilled and cook it as soon as practical so the bread does not soften too much. For leftovers, storing the tuna salad separately from the bread gives you the best shot at keeping texture pleasant.
To reheat a cooked tuna melt, use a skillet over low heat or warm it briefly in the air fryer until the outside crisps back up and the middle is heated through. Skip the microwave if you can, because it tends to leave the bread soft and steamy.
If you like planning lunches around canned tuna, easy tuna pasta salad is another smart make-ahead option.
Conclusion
This tuna melt delivers the good stuff fast: creamy filling, stretchy cheese, and bread that turns deeply golden instead of soggy. Once you know the balance of draining well, layering smart, and cooking gently, it becomes an easy lunch you can trust.
Keep it classic or tweak it with spice, herbs, or a lighter filling. Either way, a hot crispy sandwich is only a few minutes away.
Frequently Asked Questions
What is the best cheese for a tuna melt?
Cheeses that melt smoothly work best. Cheddar brings stronger flavor, while provolone or American gives you the gooiest texture. Swiss is also a great option if you want a mild, nutty finish.
How do you keep a tuna melt from getting soggy?
Start by draining the canned tuna very well. Use sturdy, thick-sliced bread, and place a slice of cheese against the bread before adding the tuna salad. That cheese barrier helps block moisture and keeps the sandwich crisper.
Can I make the tuna salad ahead of time?
Yes. You can make the tuna salad ahead and keep it chilled in an airtight container. For the best texture, assemble and cook the sandwich right before serving.
What’s the difference between a tuna melt and a regular tuna sandwich?
A tuna melt is served hot and cooked until the cheese melts and the bread toasts. A regular tuna sandwich is usually served cold on soft, untoasted bread.
Tuna Melt Recipe

Equipment
- Skillet
- Medium bowl
Ingredients
- 12 ounces canned albacore white tuna, packed in water, drained
- 1/3 cup mayonnaise more to taste (or substitute half mayo, half plain Greek yogurt)
- 2 Tablespoons finely chopped red onion
- 2 teaspoons fresh lemon juice
- 1 pinch Dried oregano
- salt and pepper to taste
- 4 slices thick cut white sandwich bread
- 4 slices cheese (cheddar, provolone, swiss, or your fav kind)
- sliced avocado optional
- sliced tomato optional
Instructions
- Stir the tuna, mayonnaise, red onion, lemon juice, and oregano together in a medium bowl, then season with salt and pepper to taste. The mixture should look creamy and evenly combined, but not overly wet or soupy, so add more mayo only if it seems too dry.
- Butter the outsides of the bread, then pile the tuna mixture onto the unbuttered sides and add cheese, any optional avocado or tomato, another slice of cheese, and the top bread slices. Placing cheese on both sides helps keep the filling tucked in and gives you a better melt through the center.
- Set the sandwiches in a skillet over medium-low heat and cook until the first side is toasted and the cheese starts to soften, then flip and finish the second side until the bread is crisp and the cheese is melted. You’re looking for a deep golden brown crust that sounds lightly crisp when cut, with gooey cheese all the way through.