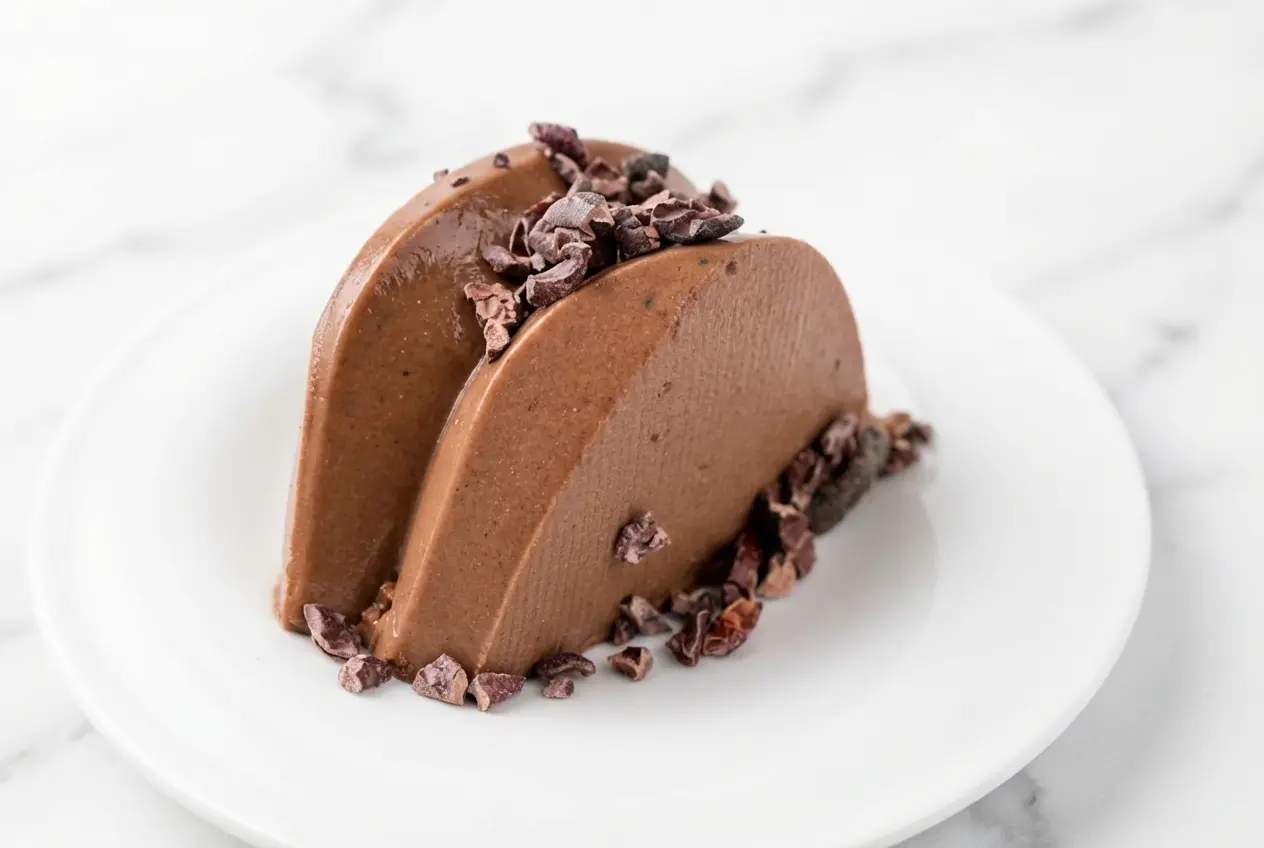
In my kitchen, protein desserts usually fall into one of two camps, chalky shakes pretending to be pudding, or sugar-free treats with that overly artificial finish. This high protein gelatin dessert is the one I come back to when I want something macro-friendly, low-carb, and genuinely satisfying after a workout or at the end of a busy day.
It lands somewhere between chocolate panna cotta and old-school jello, only creamier, richer, and far more polished than you’d expect from a quick muscle recovery snack. If you’ve been hunting for a keto dessert that actually tastes like dessert, this one earns a permanent spot in the fridge.
Why You’ll Love This Recipe
Chocolate depth without extra sugar: I discovered that 1/2 teaspoon of espresso powder and a pinch of fine sea salt wake up the cocoa powder in a big way. You do not taste coffee, but the whole dessert takes on a deeper, more bakery-style chocolate flavor.
Silky texture every time: The 20-second immersion blender step is the little trick that makes this high protein gelatin dessert feel special. It smooths out tiny lumps, fully blends the Heavy cream with the gelatin and protein, and creates a clean, elegant finish.
Light, not rubbery: In my kitchen, micro-aeration from blending makes all the difference. Instead of a dense block, you get a delicate, panna-cotta-like wobble that feels far more luxurious than most macro-friendly sweets.
Fits real-life goals: This is the kind of Keto dessert that handles sweet cravings without derailing your routine. If chilled treats are your thing, it sits right alongside favorites like protein ice cream, especially when you want something cool, creamy, and easy to prep ahead.
Ingredients and Substitutions
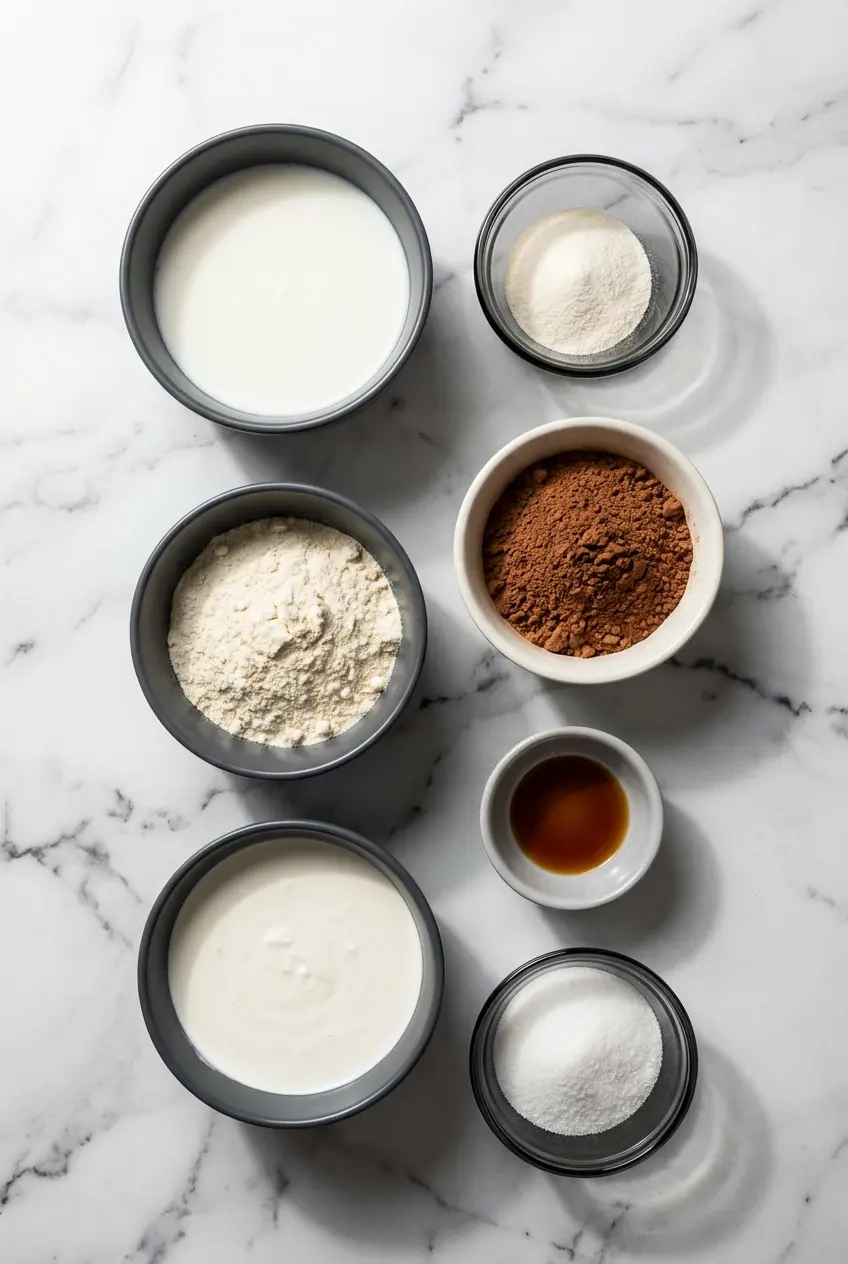
These ingredients keep the dessert simple, rich, and reliable, with enough flexibility to match your preferred milk, sweetener, and protein powder.
Ingredients
- 3 ½ cups (840 ml) milk of choice, divided
- 2 tablespoons unflavored gelatin powder
- 3 scoops (90 g) unflavored protein powder
- 6 tablespoons (45 g) cocoa powder
- ½ cup (120 g) fresh heavy cream or whipping cream
- 1 ½ teaspoon vanilla extract
- sugar substitute to taste
Ingredient Notes & Substitutions
Low-carb milk: For the best keto dessert profile, I usually reach for unsweetened almond milk or macadamia nut milk. Both keep the flavor clean and let the cocoa and vanilla come through without adding extra sweetness.
Sugar-free sweetener: Choose one that dissolves easily and tastes smooth when chilled. A powdered monk fruit blend or allulose usually gives the most natural finish, which matters because cold desserts can make grainy sweeteners stand out.
Heavy cream: This is what gives the dessert its panna-cotta-like richness. If you need a dairy-free version, full-fat canned coconut cream is the best swap, and it brings a lush texture that still feels indulgent.
Unflavored protein powder: Unflavored whey protein isolate is ideal because it blends smoothly and keeps the chocolate flavor front and center. Casein and some plant-based powders absorb liquid differently, so you may need a slight splash more milk to keep the mixture silky rather than overly thick.
Unflavored gelatin: Plain gelatin is the backbone of the recipe and gives you control over sweetness and flavor. It is far more dependable here than boxed mixes when you want a creamy, from-scratch result.
How to Make High protein gelatin dessert
Bloom the Gelatin and Build the Chocolate Base
- Pour 1/2 cup of the low-carb milk into a heat-resistant jar that is large enough to hold the full mixture later. Sprinkle the unflavored gelatin evenly over the top, then leave it alone for a few minutes so it can soften and hydrate fully.
- In a deep saucepan, whisk together the cocoa powder, unflavored protein powder, 1/2 teaspoon of espresso powder, and a pinch of fine sea salt. Add about 1/2 cup of milk first and whisk until you have a smooth, dark paste with no dry pockets, then gradually whisk in all of the remaining milk.
Heat Gently and Finish the Mixture
- Set the saucepan over medium-low heat and whisk continuously so the protein and cocoa do not catch on the bottom. Warm it just until it is close to simmering, fragrant and steamy, then remove it from the heat before it boils.
- Pour the hot cocoa mixture over the bloomed gelatin and stir thoroughly until every bit of gelatin has dissolved. Add the heavy cream, vanilla extract, and sugar-free sweetener to taste, then mix until the liquid looks glossy and evenly combined.
- Use an immersion blender for exactly 20 seconds to emulsify the mixture. This short blending step knocks out clumps and introduces tiny air bubbles, which gives the finished dessert that lighter, creamy texture.
Mold, Chill, and Unmold
- Pour the finished mixture into a jello mold and let it stand until it cools to room temperature. Once it is no longer warm, refrigerate for about 3 to 4 hours, or until fully set and softly jiggly.
- To release it, run the tip of a knife gently around the edges. If you are using silicone, loosen the sides slightly with your fingers, then invert onto a serving plate and decorate however you like before serving.
Chef Secrets for the Perfect Texture
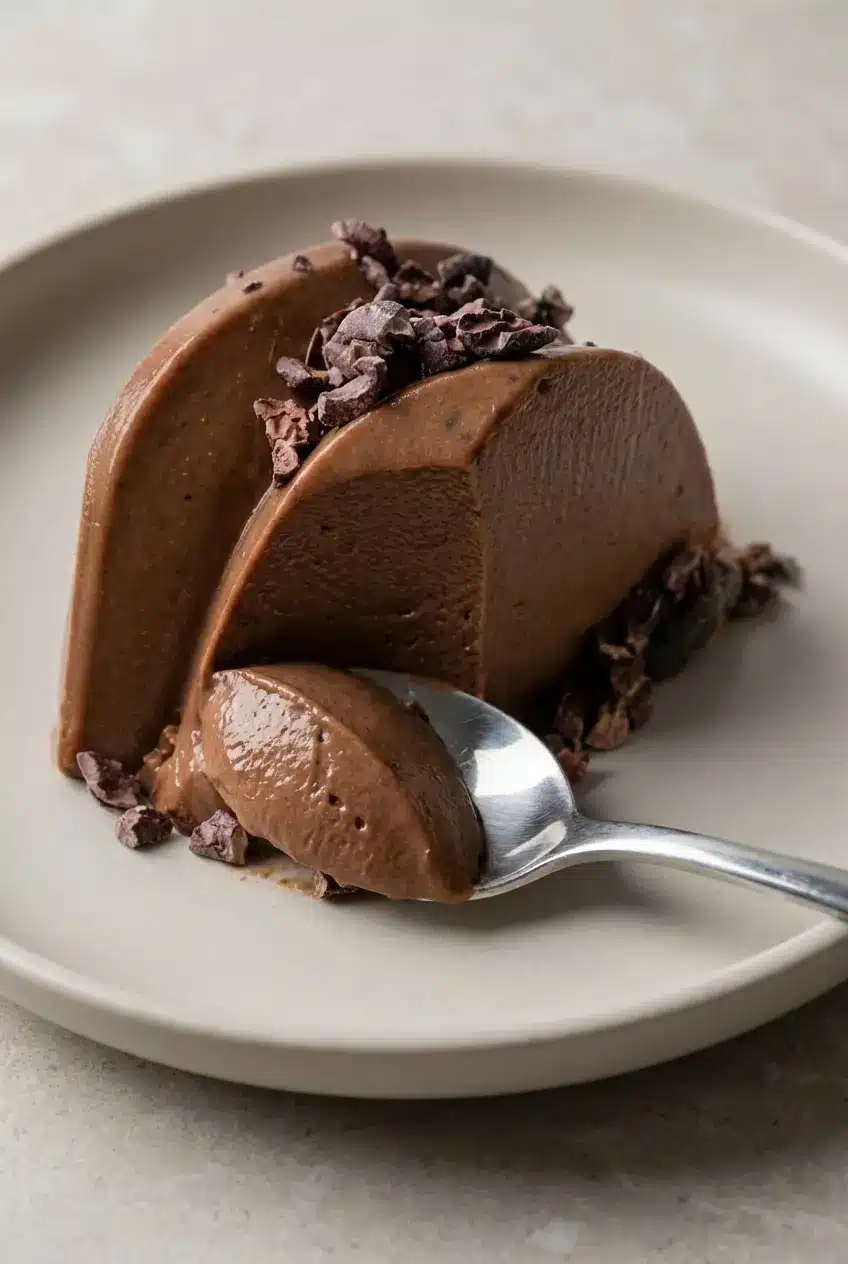
The immersion blender trick is not just for looks, it is doing real work. It helps the fats from the heavy cream blend smoothly with the gelatin and protein, so the mixture sets as one unified dessert instead of separating into a firmer bottom and creamier top.
That quick 20-second blend also creates micro-aeration, which is why the texture feels lighter on the spoon. The result reminds me more of a delicate molded custard than a basic protein jello.
Espresso powder and salt are the quiet heroes here. They sharpen the chocolate flavor the same way they do in a rich mocha ganache, giving ordinary cocoa powder a deeper, rounder finish without pushing the dessert into obvious coffee territory.
The paste step matters just as much as the blending step. When you whisk the cocoa and protein powder with a small amount of milk first, you break up dry pockets early, which saves you from stubborn lumps later on.
The Science of Gelatin Temperatures
Gelatin is forgiving, but only up to a point. It melts smoothly with gentle heat, and for a dessert like this I aim for a light simmer range, about 150°F or 65°C, where everything warms enough to dissolve well without stressing the gelatin structure.
If the mixture boils, the protein structure in the gelatin starts to weaken, and that can leave you with a softer set or a dessert that never firms up the way it should. That is why I pull the pan off the heat just before it reaches a full simmer, when the surface is steamy and lively but not bubbling hard.
Tempering matters too. Blooming gelatin in cold liquid first gives the granules time to hydrate, so when the hot cocoa mixture hits the jar, it melts into the dessert instead of forming gummy bits.
Choosing Your Protein Powder Whey vs Casein vs Collagen
Whey protein isolate is my first choice for this dessert because it gives the smoothest, creamiest result while still feeling light. It also works especially well as a muscle recovery snack because it blends neatly into the chocolate base without making the texture heavy.
Casein behaves differently. It tends to absorb more liquid and can make the dessert thicker, sometimes a little grainier, especially if you rush the mixing stage or skimp on whisking the initial paste.
Collagen dissolves beautifully and brings its own set of amino acids, but it does not add the same milky body as whey. If you use Collagen instead, I usually find the dessert tastes best with a touch more heavy cream or coconut cream to bring back that plush, creamy mouthfeel.
Pro Tips & Troubleshooting
Pro Tips
- Always bloom gelatin in cold liquid before adding anything hot. That one habit prevents lumps and gives you a smoother final set, and it is the same technique I rely on for other gelatin treats like probiotic gummy bears.
- If you are using a metal or ceramic mold, lightly grease it with a whisper of coconut oil, then wipe away the excess. You will barely notice it, but unmolding becomes much easier.
- Whisk the cocoa and protein with a small amount of milk first to form a paste. This simple move is one of the best defenses against hidden dry clumps.
- If you add yogurt or extra cream for a variation, let the mixture cool slightly first so it stays smooth and does not curdle.
Common Mistakes to Avoid
- Do not dump all the milk into the dry protein powder at once. That almost always creates clumps that are difficult to smooth out later.
- If the dessert separates into two layers while cooling, the mixture was usually not emulsified well enough, or it went into the fridge while still too hot. The immersion blender step and a short room-temperature cooling period help prevent this.
- Do not let the mixture come to a rolling boil. Excess heat can weaken the gelatin and affect the final set.
- Be careful with plant-based protein powders, since many absorb more liquid and can turn gritty unless you adjust the milk slightly.
- Do not store the dessert uncovered in the refrigerator, or the surface can dry out and become tough.
Serving & Storage
Serving Ideas
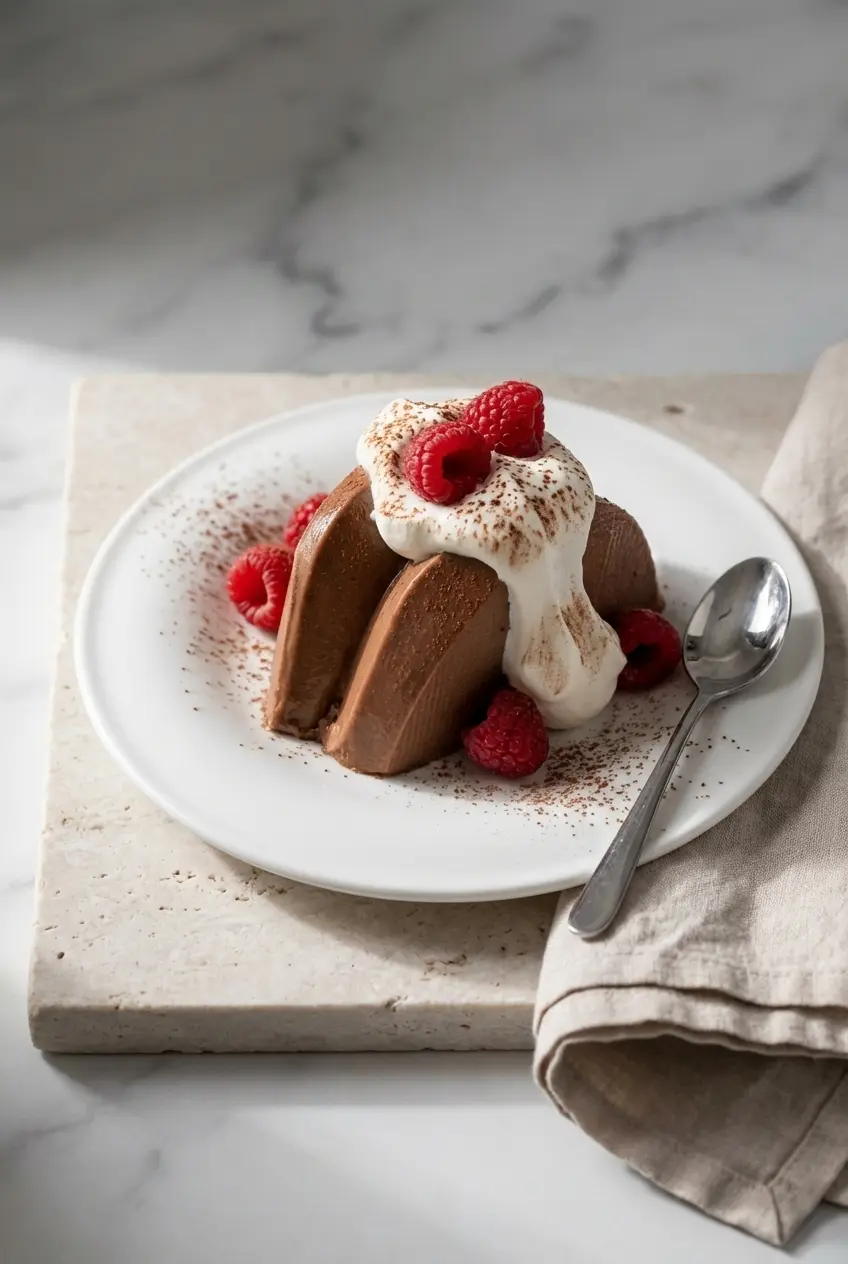
This dessert is at its best when served very cold, with a generous spoonful of sugar-free whipped cream and a few fresh raspberries on top. The contrast between the deep chocolate and bright fruit makes each bite taste a little more polished.
A light dusting of extra cocoa powder, keto-friendly dark chocolate shavings, or raw cacao nibs adds a nice finishing touch right before serving. That creamy, smooth, satisfyingly jiggly texture is part of the fun, and it has the same playful charm that makes molded treats like cat pudding so appealing on the table.
Storage & Make-Ahead
Protein jello keeps well in the fridge for about 3 to 4 days. Cover it tightly so the surface stays soft and silky instead of drying out and turning rubbery.
I do not recommend freezing this one. Once thawed, gelatin desserts tend to weep water and lose that smooth, creamy texture that makes them worth making in the first place.
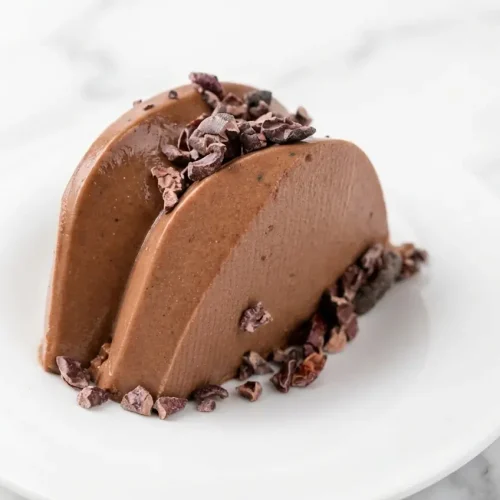
Creamy High Protein Gelatin Dessert

Equipment
- Immersion Blender
- Deep saucepan
- Heat-resistant jar
- Jello mold
Ingredients
- 3 ½ cups (840 ml) milk of choice, divided
- 2 tablespoons unflavored gelatin powder
- 3 scoops (90 g) unflavored protein powder
- 6 tablespoons (45 g) cocoa powder
- ½ cup (120 g) fresh heavy cream or whipping cream
- 1 ½ teaspoon vanilla extract
- sugar substitute to taste
Instructions
Bloom the Gelatin and Build the Chocolate Base
- Pour 1/2 cup of the milk into a heat-resistant jar that is large enough to hold the full mixture later. Sprinkle the unflavored gelatin evenly over the top, then leave it for a few minutes to soften and hydrate fully.
- In a deep saucepan, whisk together the cocoa powder, unflavored protein powder (along with a pinch of fine sea salt and 1/2 teaspoon espresso powder if desired). Add about 1/2 cup of milk first and whisk until you have a smooth, dark paste with no dry pockets. Gradually whisk in the remaining milk.
Heat Gently and Finish the Mixture
- Set the saucepan over medium-low heat and whisk continuously so the protein and cocoa do not catch on the bottom. Warm it just until it is close to simmering (around 150 F or 65 C), fragrant, and steamy, then remove it from the heat before it boils.
- Pour the hot cocoa mixture over the bloomed gelatin and stir thoroughly until every bit of gelatin has dissolved. Add the heavy cream, vanilla extract, and sugar-free sweetener to taste, then mix until the liquid looks glossy and evenly combined.
- Use an immersion blender for exactly 20 seconds to emulsify the mixture. This short blending step knocks out clumps and introduces tiny air bubbles, giving the finished dessert a lighter, creamy texture.
Mold, Chill, and Unmold
- Pour the finished mixture into a jello mold and let it stand until it cools to room temperature. Once it is no longer warm, refrigerate for about 3 to 4 hours, or until fully set and softly jiggly.
- To release it, run the tip of a knife gently around the edges. If using silicone, loosen the sides slightly with your fingers, then invert onto a serving plate and decorate before serving.
Notes
Nutrition
Conclusion
This high protein gelatin dessert proves that a low-carb, macro-friendly sweet can still feel elegant. With the espresso and salt boosting the chocolate, plus that 20-second immersion blender step, the final texture lands beautifully close to rich chocolate panna cotta.
If you give it a try, have fun with the toppings and small swaps that fit your routine. It is the kind of chilled dessert that looks impressive unmolded on a plate, yet feels easy enough for any weekday kitchen.