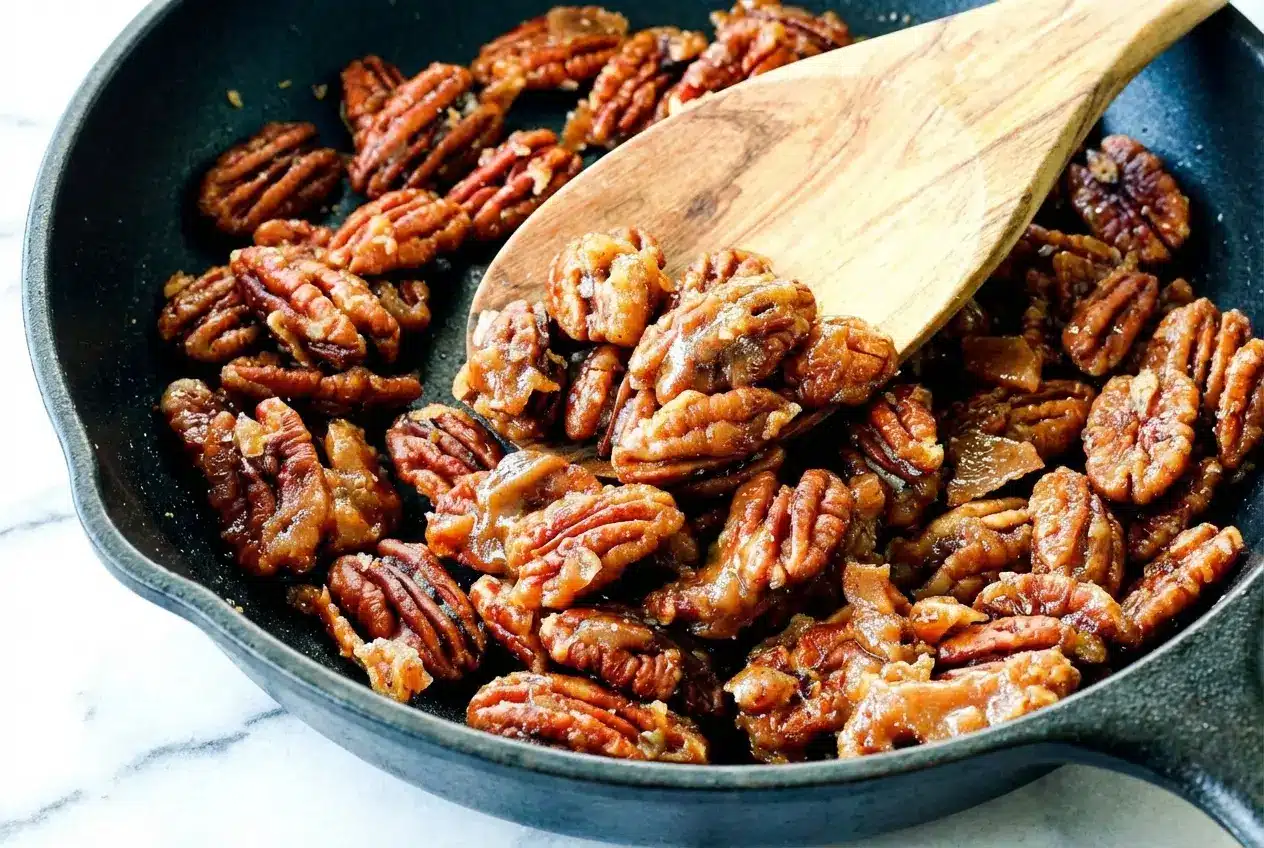
Every year when the holiday bowls come out and friends start drifting into the kitchen, I make a quick batch of Candied Nuts before anything else. That warm vanilla scent and glossy sugar shell make the whole house feel festive in under 10 minutes.
If stovetop caramel has ever felt fussy or unpredictable, this method clears up the mystery. I use one tiny trick, a splash of water in the skillet, to help the sugar melt evenly so the nuts turn out shatteringly crisp instead of patchy or clumpy.
Why You Will Love This Recipe
Fast holiday magic: In my kitchen, these candied nuts go from pantry staples to a glossy, crunchy treat in less time than it takes to preheat the oven.
That perfect texture: You get salty-sweet, caramelized crunch with a delicate candy coating that snaps instead of sticking to your teeth.
The secret twist: I discovered that adding exactly 1 tablespoon of water with the sugar, butter, and vanilla in the nonstick skillet helps the sugar dissolve evenly from the start, which makes caramelization far more reliable.
Bakery-style aroma: That little splash of vanilla extract gives the nuts a slow-roasted, cozy fragrance that makes caramelized walnuts and glazed pecans smell like they came from a holiday market.
Ingredients and Substitutions
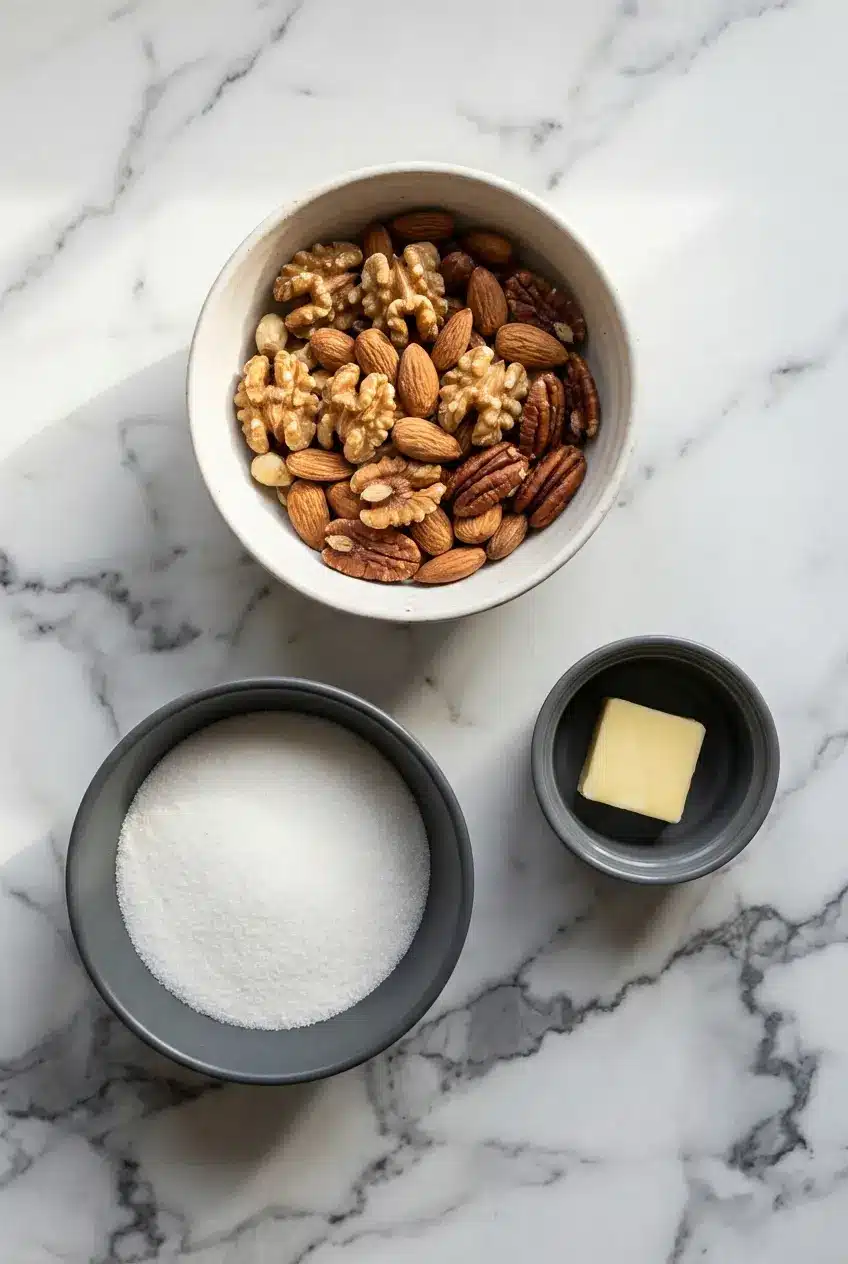
These few ingredients do all the heavy lifting, building a crisp caramel shell with rich butter flavor and just enough salt to keep every bite balanced.
Ingredients
- 1 cup whole raw nuts
- 1/4 cup sugar
- 1 tablespoon butter
Ingredient Notes & Substitutions
Whole raw nuts: Whole nuts are the best choice here because they handle the heat better than chopped pieces. Walnuts, pecans, almonds, cashews, and hazelnuts all work beautifully, with caramelized walnuts and glazed pecans being two of the most requested versions in my kitchen.
Granulated sugar: Plain white granulated sugar is the standard because it melts cleanly and forms the clearest, glossiest candy coating. If you want a lower-sugar variation, a granulated Stevia or Monk Fruit blend can work, though the texture may be a little different from classic candied nuts.
Butter: Butter gives the caramel a smoother finish and a richer flavor. Salted or unsalted both work, but if you use salted butter, go a little lighter when finishing with cracked sea salt.
Flavor additions: A pinch of cayenne or chili powder brings a spicy edge, while cinnamon and nutmeg lean cozy and holiday-ready. Dried cranberries are lovely stirred in at the end, and a few bits of candied orange peel make the batch taste especially festive.
How to Make Candied Nuts
Start the skillet
Set a large nonstick skillet over medium heat, then add 1 cup whole raw nuts, 1/4 cup sugar, and 1 tablespoon butter. For the foolproof version I always use, add 1 tablespoon water and a splash of vanilla extract right into the pan so the sugar starts dissolving evenly from the first minute.
Stir until glossy
- Use a heat-proof spatula and keep the nuts moving constantly as the pan warms. At first, everything will look a little wet and cloudy, then the sugar will start to cling to the nuts in a pale, sandy layer.
- Keep stirring over medium heat, lowering the heat if anything smells too dark too quickly, until the sugar melts into the butter and coats the nuts completely, approximately 5-7 minutes. Right at the end, the mixture changes fast and turns glossy, fluid, and richly fragrant.
Watch for the grainy stage
Do not panic when the sugar looks grainy, crusty, or clumped. That stage is completely normal, and with steady stirring it will melt and liquify at the very end into a smooth caramel that hugs every nut.
Cool and finish
- As soon as the nuts are fully coated, transfer them immediately to parchment paper. Separate them with 2 forks while they are still hot, or leave them in clusters and break them apart with your fingers once cooled.
- Before they cool, sprinkle with cracked sea salt. The nuts and candy coating will harden in 5-7 minutes, and once they are cool, you can chop them if you want smaller pieces for topping salads or desserts.
Chef Secrets for the Perfect Crunch
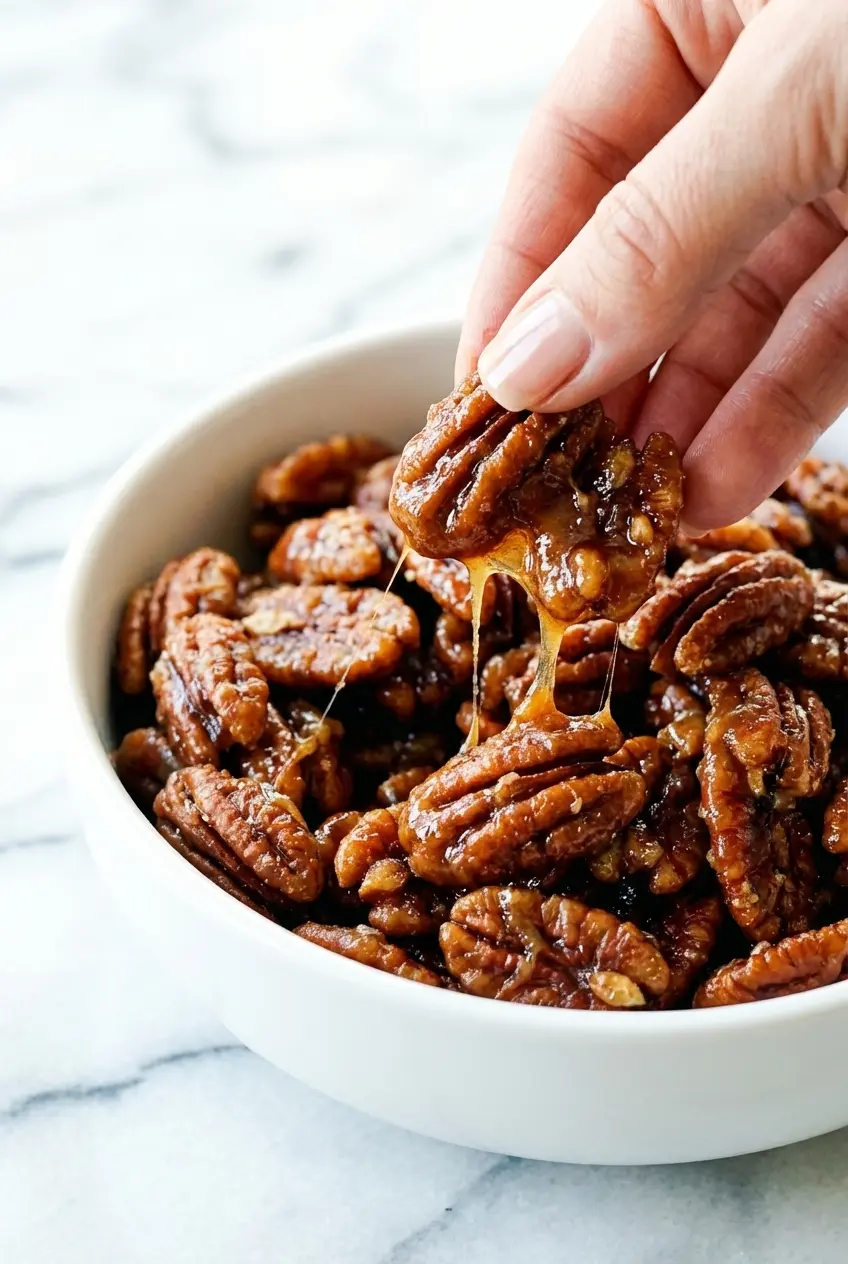
The biggest secret is gentle heat. If the burner is too high, sugar goes from not-yet-melted to burnt and bitter in a blink, and there is no rescuing that batch.
The tablespoon of water changes the whole game. It dissolves the sugar early, then evaporates as the pan heats, which gives the sugar time to caramelize more evenly over the nuts instead of scorching in dry spots.
For cooks who like precise numbers, the coating should reach the hard crack stage for the cleanest snap. That is also why these nuts harden quickly once they hit the parchment paper.
The same sugar timing matters for candied grapes too.
The Science of Stovetop Caramelization Versus Oven Roasting
The stovetop method works through direct conduction heat, which means the sugar melts quickly where it touches the hot pan. That fast contact creates a thin, shiny caramel shell that looks clear and tastes almost praline-like.
That is why the coating on stovetop candied nuts feels glossier and more glassy than oven versions. A little authoritative culinary science helps explain why direct heat changes sugar so quickly.
Oven-roasted versions usually rely on whipped egg whites to help sugar and spices cling to the nuts. The result is a thicker, puffier, more matte crust with deep crunch, but it is a different texture from the sleek candy coating you get on the stovetop.
When I want glossy, crisp candied nuts for gifting or a salad topping, I choose the stovetop method every time. When I want a drier, spiced snack mix feel, the oven has its place.
Pro Tips & Troubleshooting
Pro Tips
- Use a heat-proof silicone spatula so you can keep stirring without scraping up stuck sugar or risking a utensil that softens in the heat.
- Keep the nuts whole while candying them. Chopped nuts are more likely to burn before the sugar has time to melt properly.
- Be patient during the sandy phase. The sugar often clumps before it finally melts into a smooth caramel.
- Have your parchment paper ready before you start cooking, because once the sugar turns glossy, the nuts need to come out of the skillet right away.
Common Mistakes to Avoid
- Do not pull the pan off the heat too early just because the sugar turns white and clumpy. That crystallized stage is normal and simply needs a bit more time.
- Avoid high heat, which can burn the sugar before the nuts are evenly coated, leaving a bitter flavor.
- Never let the finished nuts cool in the hot skillet, or they can fuse into one stubborn sheet stuck to the pan.
- If your candied nuts turn out sticky or chewy instead of crisp, they likely needed a little more cooking time for the sugar to reach the proper stage.
- For easy cleanup, pour a shallow layer of water into the sticky skillet and bring it to a boil. The hardened sugar will dissolve right back into the water.
Serving and Storage
Serving Ideas
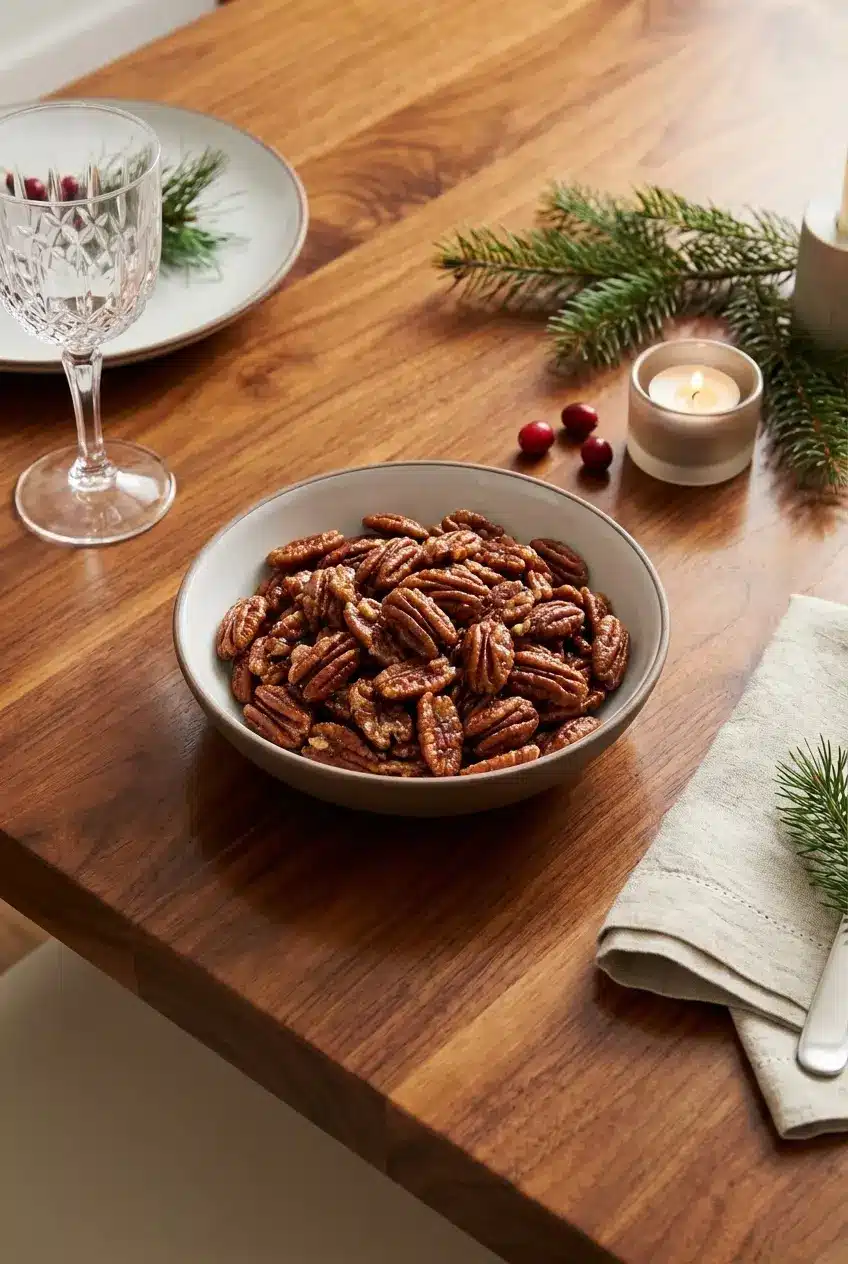
These are far more than a snack bowl nibble. I love scattering them over a spinach salad with apple slices and feta, where the sweet crunch plays beautifully against sharp cheese and crisp fruit.
They are also wonderful tossed with popcorn for movie night, spooned over roasted sweet potatoes, or used to finish Dijon green beans when the table needs one last crunchy element.
Chopped nuts are excellent on matcha brownies.
For holiday gifting, I pile them onto a charcuterie board with dried fruit, cheese, and dark chocolate. They instantly make the spread feel more thoughtful and a little more special.
Storage and Make-Ahead
Once completely cool, store the nuts in an airtight container at room temperature. They keep their best crunch for about 1 to 2 weeks if the kitchen is cool and dry.
Skip the refrigerator for this one. Fridge humidity can soften the candy coating and turn beautifully crisp candied nuts sticky.
If you are packaging them for gifts, let them harden fully before sealing the container. Any lingering warmth traps steam, and steam is the enemy of crunch.
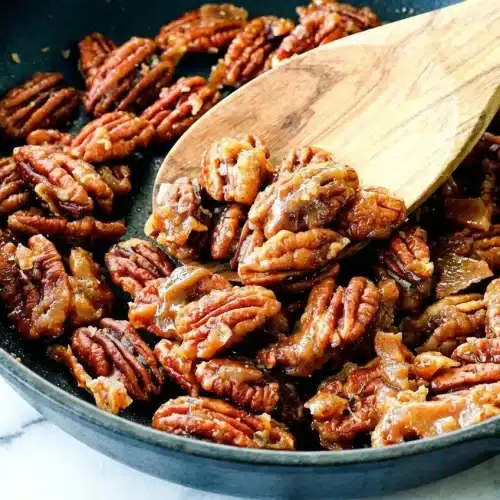
Quick Candied Nuts

Equipment
- Large nonstick skillet
- Heat-proof silicone spatula
- Parchment Paper
Ingredients
- 1 cup whole raw nuts
- 1/4 cup sugar
- 1 tablespoon butter
Instructions
Start the skillet
- Set a large nonstick skillet over medium heat, then add the whole raw nuts, sugar, and butter. For a foolproof caramel, add 1 tablespoon of water and a splash of vanilla extract directly into the pan so the sugar begins dissolving evenly from the very first minute.
Stir until glossy
- Using a heat-proof spatula, keep the nuts moving constantly as the pan warms. The mixture will initially look wet and cloudy, then the sugar will cling to the nuts in a pale, sandy layer.
- Continue stirring over medium heat for approximately 5 to 7 minutes, lowering the heat if it smells too dark. The sugar will eventually melt completely, coating the nuts in a glossy, fluid, and fragrant caramel.
Watch for the grainy stage
- Do not panic when the sugar looks grainy, crusty, or clumped. Maintain steady stirring until it melts and liquifies into a smooth caramel that coats every nut.
Cool and finish
- Immediately transfer the fully coated nuts to a sheet of parchment paper. Separate them with two forks while they are still hot, or leave them in clusters and break them apart with your fingers once cooled.
- Sprinkle with cracked sea salt before they cool. Allow the nuts to harden on the parchment for 5 to 7 minutes before serving or chopping.
Notes
Nutrition
Final Thoughts
This is the kind of recipe I come back to every holiday season because it is fast, dependable, and tastes like far more effort than it takes. That small splash of water smooths out the whole stovetop process and helps deliver crisp, glossy nuts without the usual sugar drama.
Tuck a batch into a gift tin, set out a bowl for guests, or pair them with other homemade treats like stuffed dates for a beautiful edible gift box. Once you make them once, it is hard not to start dreaming up your own spice blends and favorite nut combinations.