There is something almost unfair about the price of those tiny jars of Italian pistachio spread, the kind that tastes like a pastry shop in Milan and looks like a jewel. In my kitchen, I wanted that same luxury without paying bakery-counter prices every time I craved it.
This pistachio butter recipe is my go-to when I want professional results at home, especially for desserts. The method tackles the two classic homemade problems head-on: that disappointing brownish color and the gritty, stubborn texture that never quite turns silky.
Why You’ll Love This Recipe
Neon-green color, not olive-brown: The Blanch-Then-Toast protocol is the trick I leaned on after too many dull batches, blanching loosens the skins, and a gentle dry-off toast helps lock in that bright Pistachio Paste look.
Sweet and salty depth: Candying the nuts in a sugar syrup builds flavor in a way raw blending never can, it tastes rounder, more “bakery,” and the salt makes the pistachio sing instead of turning cloying.
Silky emulsion that behaves: A good Nut Butter should feel creamy on the tongue, not sandy, and the oil plus a touch of water creates a stable Emulsion that stays smooth instead of splitting into greasy puddles.
Ingredients and Substitutions

These are simple pantry staples, but each one has a job: the pistachios bring color and flavor, the sugar and water create the syrup coat, and the oil helps you dial in a spreadable finish.
Ingredients
- 200 g raw shelled pistachios
- 100 g granulated sugar
- 30 g water
- 24-36 g neutral oil
- 1/4 teaspoon coarse kosher salt
Ingredient Notes & Substitutions
Raw shelled pistachios: These are non-negotiable for that vibrant green Pistachio Butter, roasted and salted snack pistachios are darker, drier, and the color turns muddy once you process them.
Neutral oil: Think grapeseed, canola, or a light vegetable oil, anything with a quiet personality so the pistachio stays the star. I start with the lower end, then add more only if the paste needs to loosen.
Granulated sugar: The syrup stage depends on granulated sugar behaving predictably at temperature, liquid sweeteners change the chemistry and can leave you with a sticky, unstable paste.
Coarse kosher salt: This is your flavor dial, it sharpens the nuttiness and keeps the sweetness from feeling flat, especially if you plan to use the paste in macarons or pastry cream.
How to make pistachio butter recipe
Blanch, chill, and peel for bright color
- Bring a pot of water to a full boil, then add the pistachios and immediately take the pot off the heat. Let them sit 30 to 60 seconds, just long enough for the skins to loosen without “cooking” the nuts.
- Scoop the pistachios straight into a bowl of ice water to stop the heat fast. When you rub one between your fingers, the brown skin should slip and wrinkle like it is ready to come off.
- Drain onto a clean kitchen towel, then gently rub to encourage the skins to release. Peel off any stubborn bits by hand, what you are chasing is that clean, bright green surface that makes the final spread look like it came from a pastry lab.
Dry-toast for flavor, then candy in syrup
- After peeling, dry the pistachios thoroughly, then toast them gently at 300°F to drive off moisture and wake up a light Maillard Reaction. You will smell a soft, nutty perfume, not a roasted, snack-nut aroma.
- In a small saucepan, combine the sugar and water and cook over high heat until the syrup hits 244°F (118°C), about 5 minutes. The bubbles look thick and glossy at this point, like molten glass that moves slowly.
- Add the pistachios and stir until every nut is lacquered with syrup. Spread them out on a baking sheet and let them cool completely, they should feel dry to the touch, not tacky, before you blend.
Grind, then emulsify to a silky paste
- Transfer the cooled pistachios to a food processor or blender with the salt, then keep blending for 10 to 15 minutes. It will go from crumbs, to damp sand, to a thick paste, and finally to something that looks glossy and cohesive.
- With the machine running, stream in the neutral oil to thin and smooth the Pistachio Paste. Stop and scrape as needed, the goal is a creamy texture that smears easily without looking oily.
- If the emulsion breaks and looks curdled or separated, keep the processor running and add a few tablespoons of ice water, one tablespoon at a time, until it turns smooth again. That little bit of water helps the mixture grab and hold the fat, restoring a stable emulsion instead of a slick, greasy split.
Secrets for a Silky and Vibrant Spread

Butter vs. paste matters: What you are making here is closer to sweetened Pistachio Paste, the kind pastry chefs fold into buttercream and ganache, rather than a purely savory nut butter. If you were expecting something dairy-based or white-chocolate-rich like sweet pistachio cream, this version is cleaner, nuttier, and designed to blend seamlessly into desserts.
Color is mostly skin management: Those papery brown skins are the main culprit behind a khaki finish, and blanching plus careful peeling is what keeps the spread vivid. The blanch step also brightens the color by cleaning the surface and quickly halting surface enzyme activity, which is exactly what we want before we grind.
Temperature control is texture control: Long blending creates friction heat, and too much heat can push oils out fast, leaving you with a greasy ring. If the bowl feels warm, I pause briefly, because a calm, steady blend gives a smoother finish.
The syrup stage is precise for a reason: Hitting 244°F (118°C) puts the sugar in the firm ball stage, which coats the nuts without turning into a hard brittle. That coating helps the paste blend up plush and thick, perfect for piping.
The ice water “miracle” is real: It feels backwards to add water to nuts and oil, but in a broken emulsion, tiny doses of cold water help the paste re-bind into a creamy suspension. I have saved more than one batch in humid weather this way, when everything wants to seize or split.
Pro Tips & Troubleshooting
Pro Tips
- Give the blending the full 10 to 15 minutes, it often looks hopelessly crumbly right before it turns glossy and smooth.
- Remove as much skin as you can, that is the single biggest difference between “green” and “brown” Pistachio Butter.
- If you are using a blender, a tamper and frequent scraping keep the thick paste moving so it does not overheat in one spot.
- Toast gently after blanching, a low oven wakes up flavor and dries the nuts so the paste emulsifies more easily.
Common Mistakes to Avoid
- Letting the syrup go past 244°F (118°C), it can push you toward a brittle candy texture that will not blend smoothly.
- Using roasted salted pistachios from the snack aisle, they often taste too salty and blend up dry and dull in color.
- Ignoring a hot food processor motor, take a short break if the machine feels hot to the touch during the long blend.
- Adding all the oil at once, slow additions help you stop at the exact texture you want.
Serving & Storage

Serving Ideas
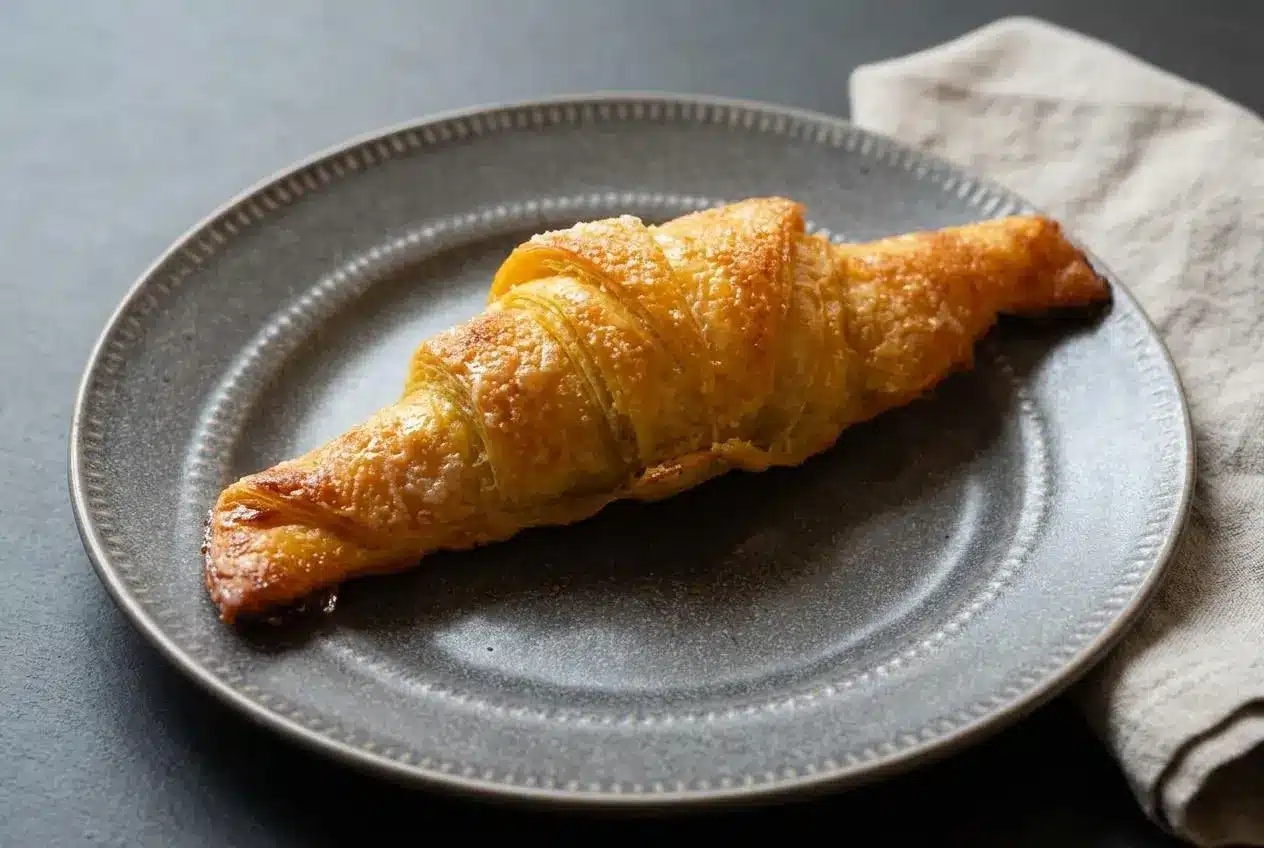
For bakery-quality treats, I love piping this into laminated dough, the flavor stays bold even after baking, especially in flaky pistachio croissants. It is also gorgeous swirled into oatmeal or spread thickly on toasted brioche with something tart like raspberry jam.
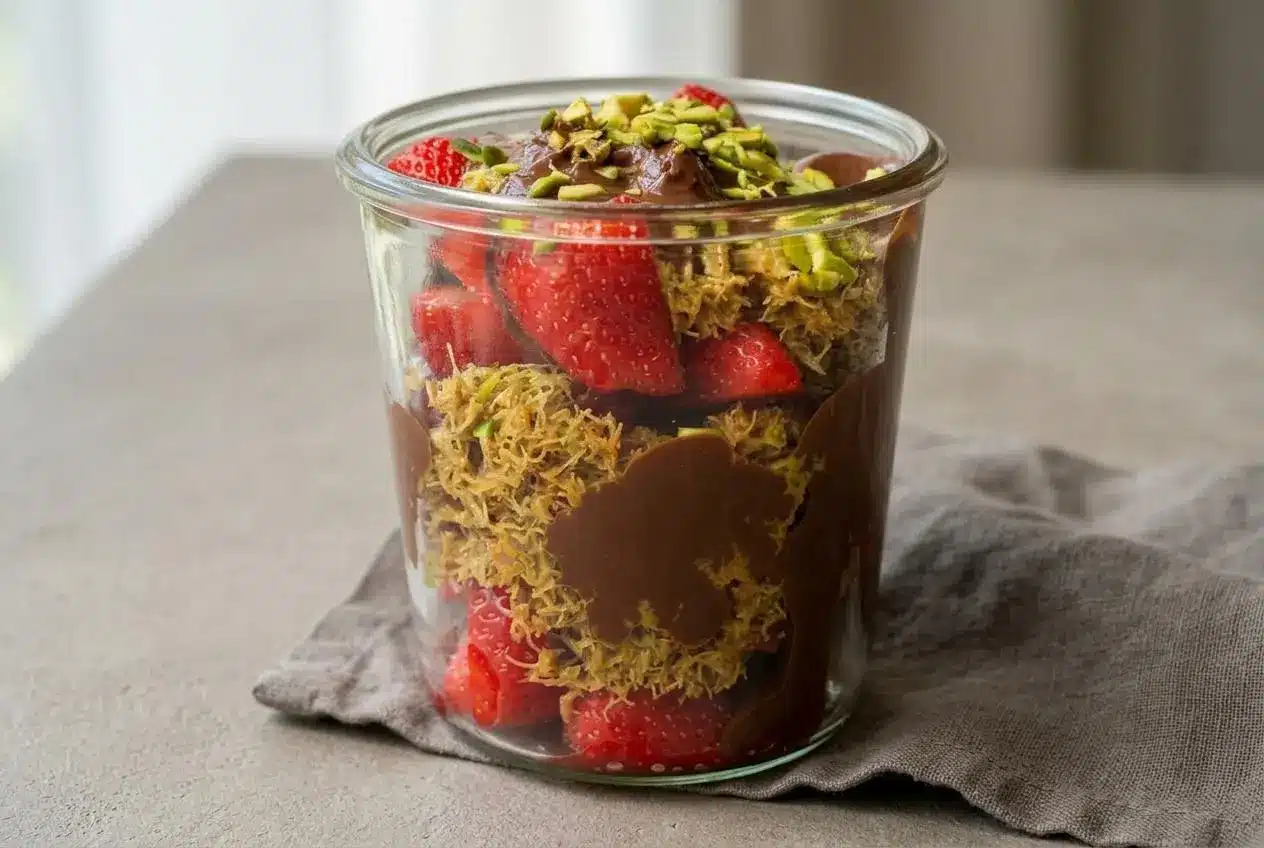
For desserts, a spoonful drizzled over vanilla gelato tastes like a fancy gelateria order, and pairing it with homemade pistachio gelato doubles down on that true pistachio flavor. It also makes an elegant finishing ribbon on cheesecake or a quick upgrade to plain yogurt.
Storage & Make-Ahead
Because this paste includes water from the syrup stage and the emulsion fix, I store it in the fridge rather than the pantry. It is best used within 2 to 3 weeks, and general guidance for foods stored in the fridge lines up well with keeping homemade spreads fresh and stable.
It will firm up when cold, so let it sit at room temperature until it softens to a spreadable, satin texture. If it looks a little dense after chilling, a quick stir brings it back to life.

Silky Homemade Pistachio Butter Recipe

Equipment
- Food processor
- Saucepan
- Candy thermometer
Ingredients
- 200 g raw shelled pistachios
- 100 g granulated sugar
- 30 g water
- 24-36 g neutral oil
- 1/4 teaspoon coarse kosher salt
Instructions
Blanch, chill, and peel for bright color
- Bring a pot of water to a full boil, then add the pistachios and immediately take the pot off the heat. Let them sit 30 to 60 seconds, just long enough for the skins to loosen without cooking the nuts.
- Scoop the pistachios straight into a bowl of ice water to stop the heat fast. When you rub one between your fingers, the brown skin should slip and wrinkle like it is ready to come off.
- Drain onto a clean kitchen towel, then gently rub to encourage the skins to release. Peel off any stubborn bits by hand to reveal the clean, bright green surface underneath.
Dry-toast for flavor, then candy in syrup
- After peeling, dry the pistachios thoroughly, then toast them gently at 300°F to drive off moisture and wake up a light nutty perfume.
- In a small saucepan, combine the sugar and water and cook over high heat until the syrup hits 244°F (118°C), about 5 minutes. The bubbles should look thick and glossy.
- Add the pistachios and stir until every nut is lacquered with syrup. Spread them out on a baking sheet and let them cool completely until dry to the touch.
Grind, then emulsify to a silky paste
- Transfer the cooled pistachios to a food processor or blender with the salt, then keep blending for 10 to 15 minutes. It will transform from crumbs to a thick paste, and finally to a glossy mixture.
- With the machine running, stream in the neutral oil to thin and smooth the paste. Stop and scrape down the sides as needed to ensure an even texture.
- If the emulsion breaks or looks separated, keep the processor running and add a few tablespoons of ice water, one tablespoon at a time, until it turns smooth and creamy again.
Notes
Conclusion
If you have ever wanted that bright-green, silky pistachio spread you see in pastry cases, this method gets you there with a Blanch-Then-Toast backbone and a chef’s little ice-water rescue. Once you taste it, you will start finding excuses to tuck it into everything from cookies to croissants.
Keep the base the same, then play gently, a touch more salt, a slightly looser blend for drizzling, or a thicker paste for piping. When you are in a pistachio mood, those flaky pistachio croissants are a natural next stop.