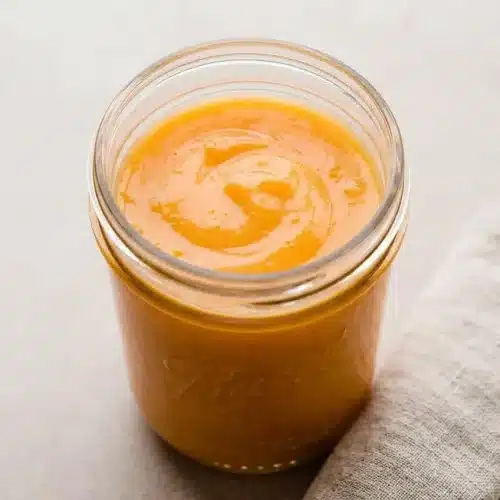
Orange Curd Recipe

Create a silky, bright, and perfectly balanced orange curd with this foolproof stovetop recipe. It's a luxurious spread or dessert filling made with fresh citrus flavor.
Equipment
- Heavy saucepan
- Whisk
- Instant-read thermometer
Ingredients
- 2 1/2 large oranges, zested
- 194 grams orange juice, freshly squeezed (about 3/4 cup + 1 tbsp)
- 30 grams lemon juice, freshly squeezed (about 2 tbsp)
- 140 grams granulated sugar (about 2/3 cup)
- 2 large egg yolks, at room temperature
- 2 large whole eggs, at room temperature
- 1 pinch of salt
- 1/2 tsp vanilla extract
- 85 grams salted butter, at room temperature & cubed (about 6 tbsp)
Instructions
- Put the granulated sugar in a medium non-reactive saucepan and rub in the orange zest with your fingertips before adding any heat. The sugar should look damp and sandy, and you’ll notice a strong burst of orange aroma almost immediately.
- Juice the oranges and lemon, then strain both juices to remove pulp and seeds; set the cubed butter, a fine-mesh sieve over a medium bowl, and an instant-read thermometer nearby. Having everything ready now keeps the curd smooth later, when it needs to be strained and finished right away.
- Whisk the orange juice, lemon juice, egg yolks, whole eggs, and salt into the zesty sugar until the mixture is fully combined. At this stage it will look thin and glossy, more like a citrus custard base than a finished curd.
- Cook over low heat for 14 to 18 min, whisking constantly, until the curd thickens and reaches 180 to 190 °F for a softer set or 195 to 200 °F for a thicker set. For the first 8 to 10 min it may seem unchanged, then it will start steaming, smell more citrusy than eggy, and thicken more quickly.
- Check for doneness by dipping a spoon into the curd and drawing a finger through the back of it. If the line stays clear without the curd running back together, it’s ready to come off the heat.
- Pour the hot curd through the sieve into the waiting bowl and press it through with a spatula. This catches any tiny bits of cooked egg or zest and leaves the texture much smoother.
- Stir the butter into the strained curd until completely melted, then mix in the vanilla extract. The curd will turn glossier and silkier as the butter emulsifies into it.
- Cool the curd to room temperature, then transfer it to an airtight jar or container and refrigerate. It will look a little looser while warm, but it firms up noticeably as it chills.
Notes
Expert Tip: Use a non-reactive pan, such as stainless steel or enamel, to prevent the acidic citrus from reacting with the metal and causing an off taste.
Technique Tip: For the smoothest curd, cook over low heat and whisk constantly to prevent the eggs from scrambling. Always strain the finished curd through a fine-mesh sieve to catch any small bits.
Storage: Once cooled, store the orange curd in an airtight container or jar in the refrigerator for 1 to 2 weeks.
Freezing: You can freeze cooled curd in a freezer-safe container for up to one year. To use, thaw it in the refrigerator overnight and stir well to restore its silky texture.
Nutrition information is an estimate based on common ingredients and serving sizes. Values may vary depending on brands, portions, and substitutions.